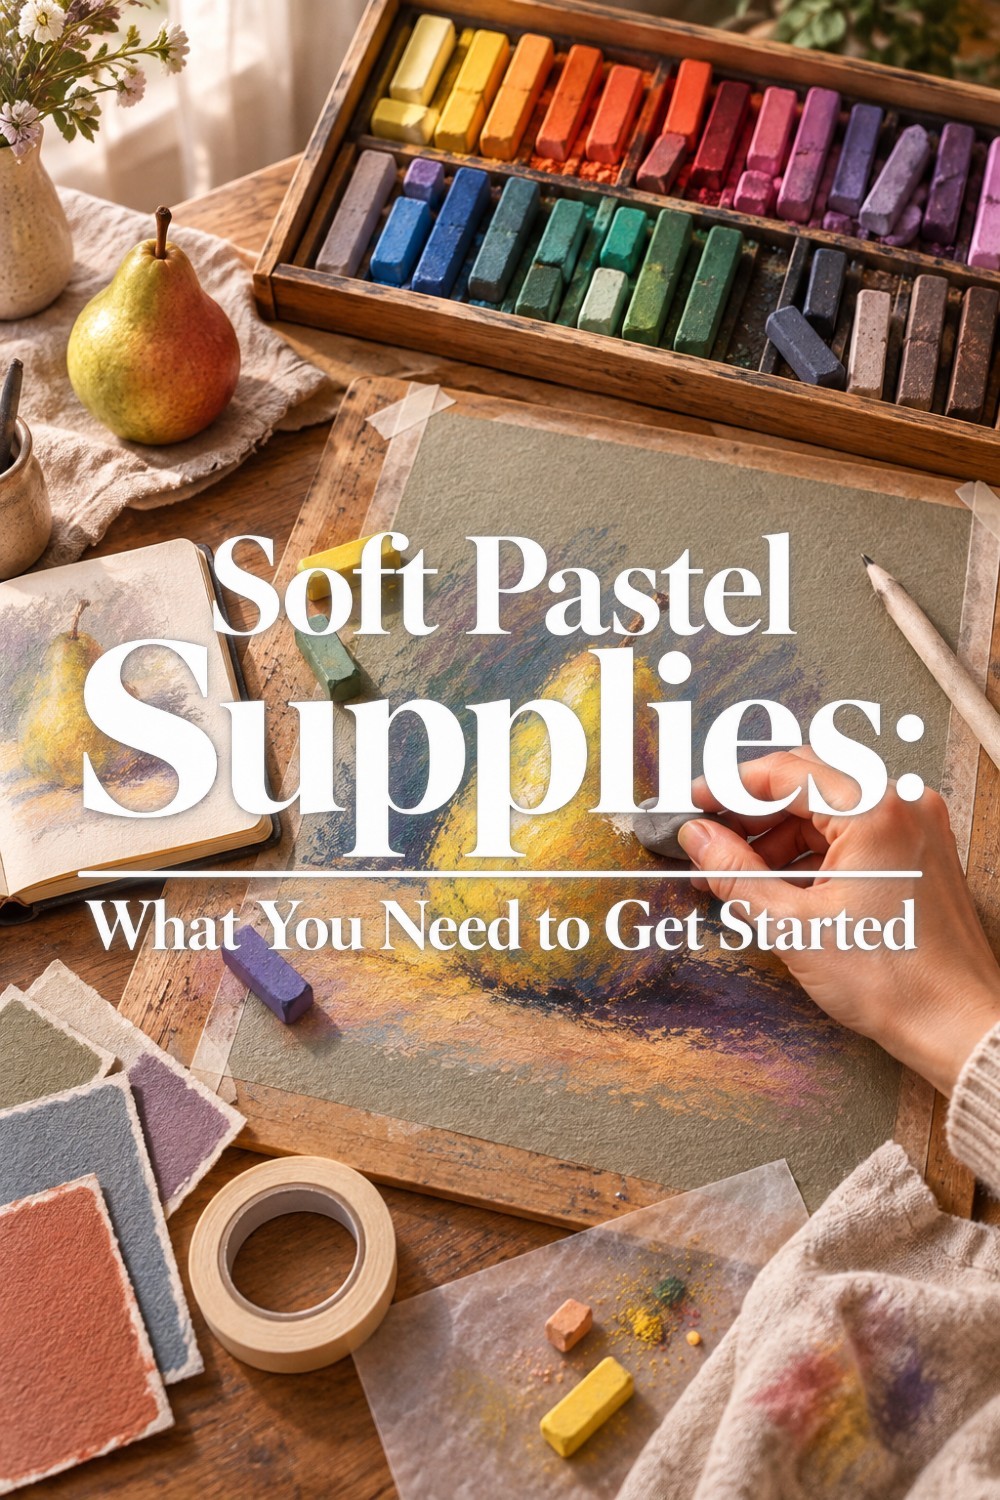
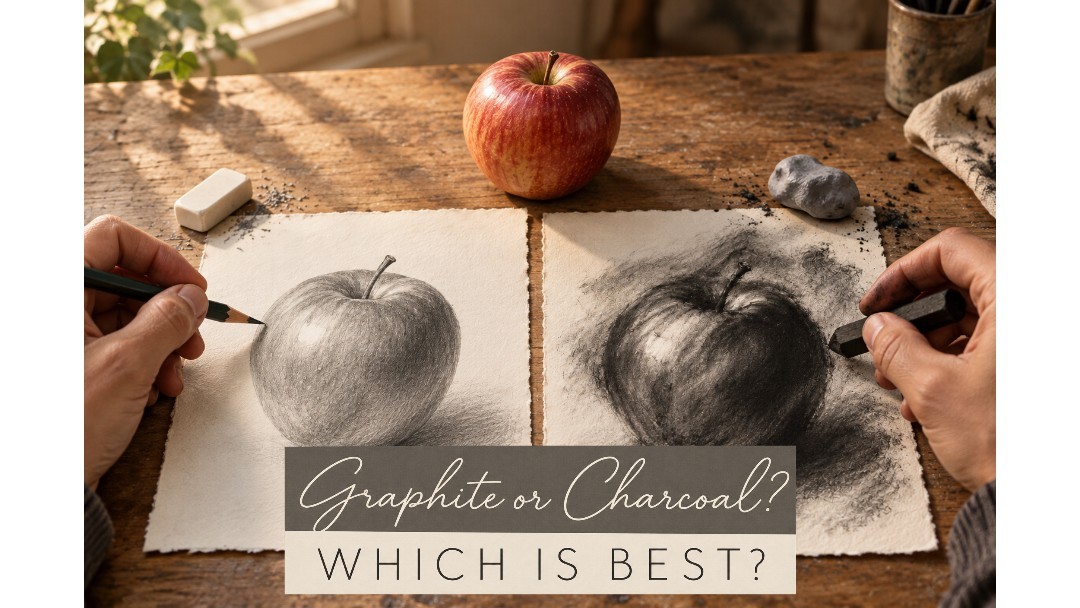
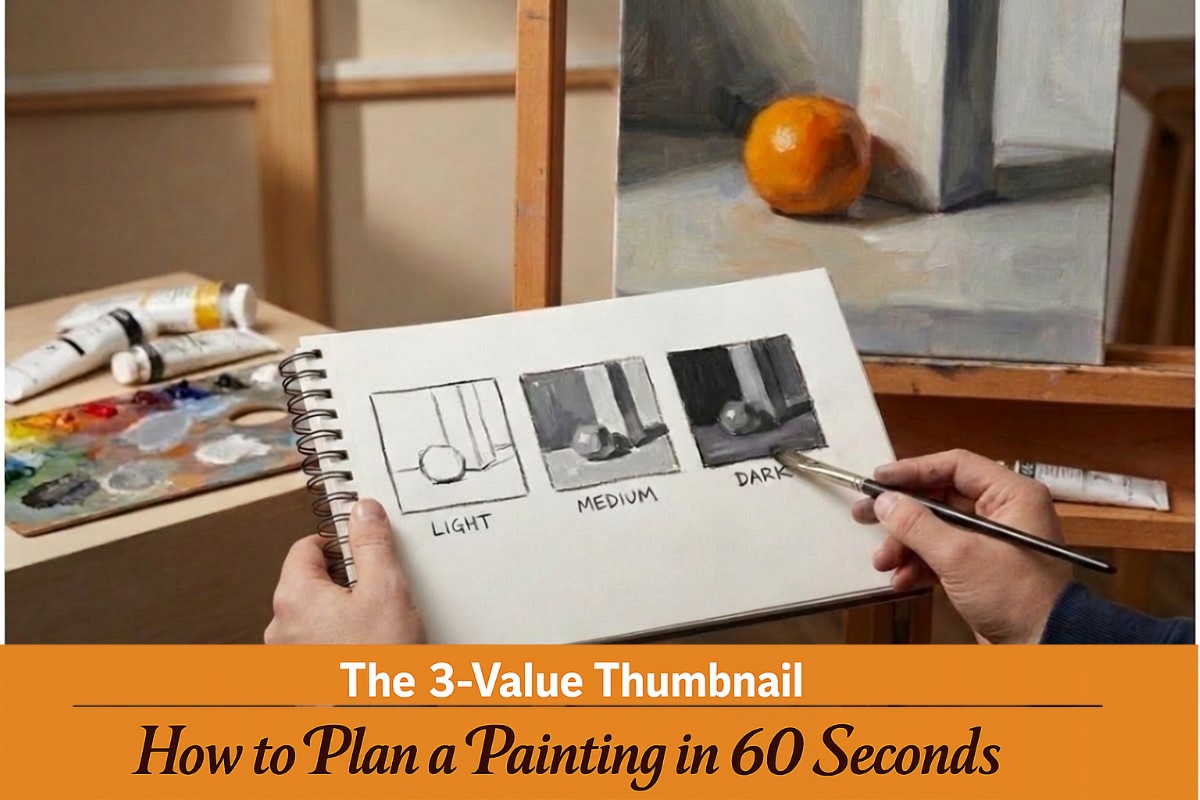
A beginner’s guide to pastels, paper and useful tools
History
Pastels first appeared in the 16th century. They were developed from natural chalks used by the masters like Da Vinci and Michelangelo.
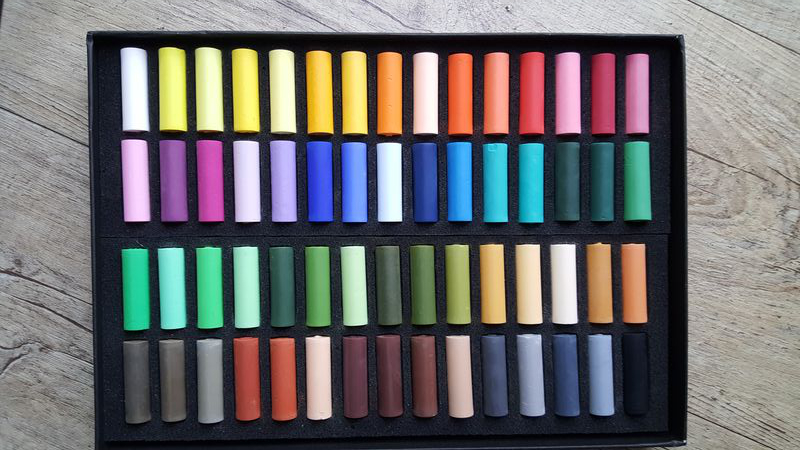
Made from pure pigment mixed with Gum Arabic, they were held together with animal glue and were only available in red, black and white.
In the 18th century pastels moved into the mainstream of art mediums. Today there are more than one and a half thousand pastel colours available.
Which pastels to buy
Buying pastels can be very confusing for the beginner.
Pastels are divided into oil pastels and soft pastels, sometimes also called chalk pastels (which is a misnomer as they are not the same as chalk at all).
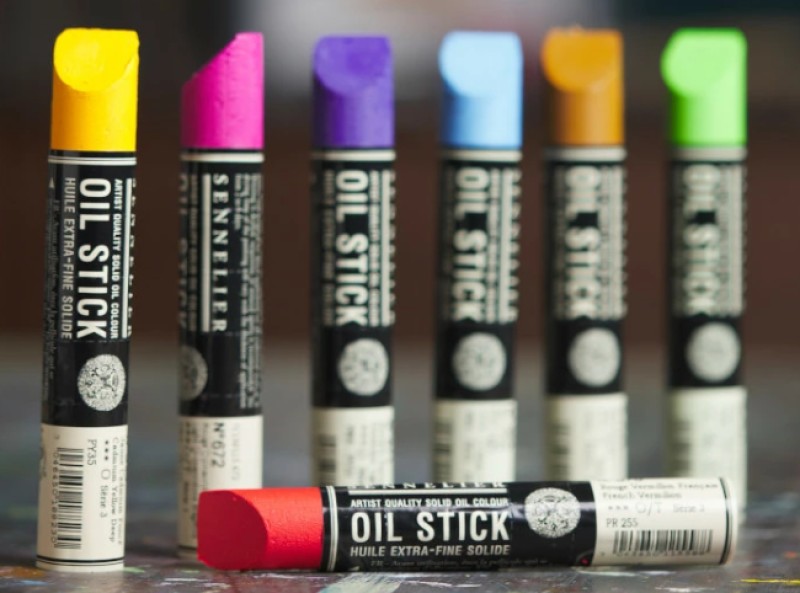
Oil pastels, which at first glance look the same as soft pastels, are totally different so read the label carefully to make sure you are buying soft pastels not oil pastels.
There is also a type of wax pastel on the market which is water-soluble and can be used as an underpainting for soft pastels. They do not behave like soft pastels and can’t be mixed in with them.
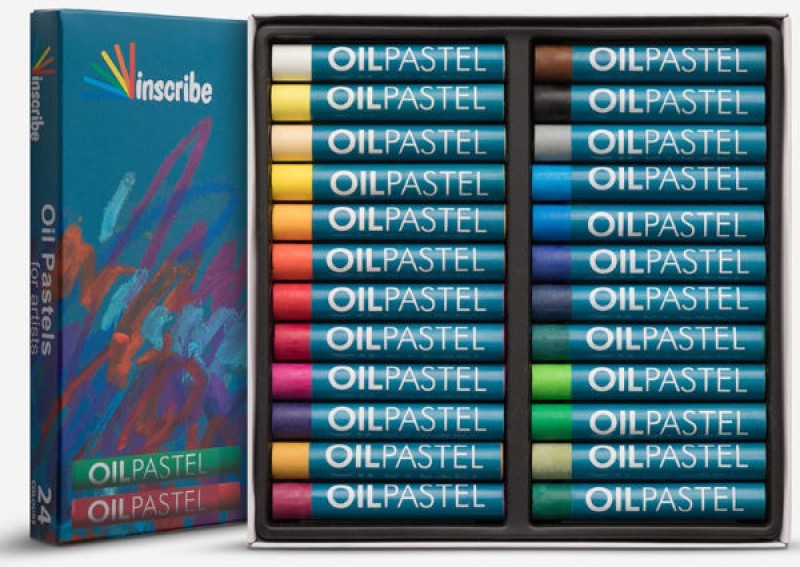
To complicate things even further, there are different types of soft/chalk pastels which have different degrees of hardness or softness. They can be used on their own or combined with each other to get the best of their different properties.
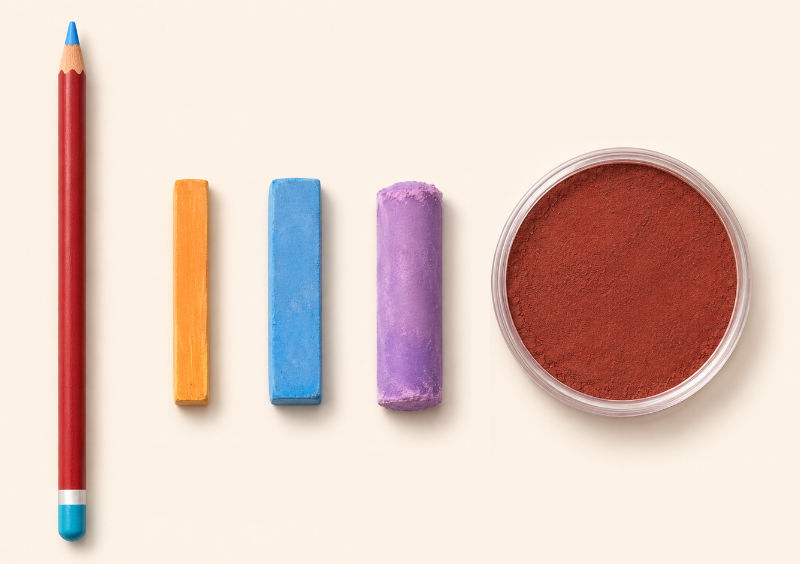
From left: pastel pencils, hard sticks, medium sticks, soft sticks and pan pastels.
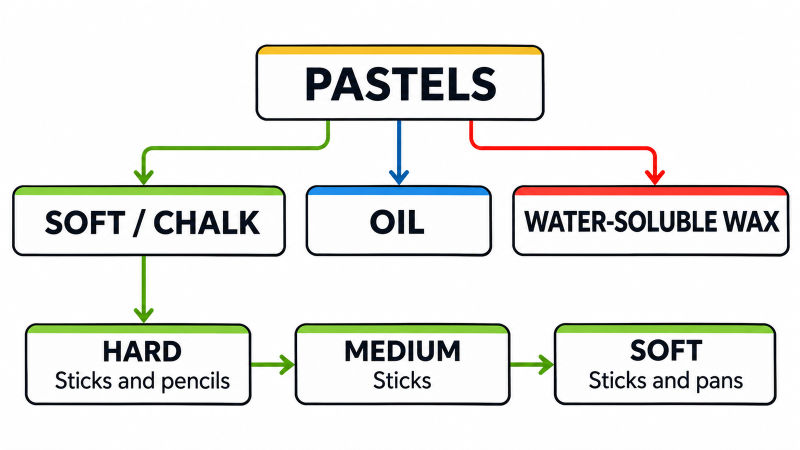
Pastel types: oil and water-soluble wax pastels are separate from soft/chalk pastels; the latter range from hard sticks and pencils to medium and soft sticks and pans.
Hardest soft/chalk pastels
These are often sold in rectangular sticks. There are a large number of brands available and quality varies greatly. For a beginner, a starter set of hard pastels is a good option. Some brands are available in half sticks which are the most economical.
Hard pastels have a larger proportion of filler to pigment. The advantage of this is that it’s easy to get detail in the form of thin lines using hard pastel sticks and they don’t fill the tooth of the paper as quickly as softer pastels do.
The disadvantages are that because there is more filler, the colours are not as saturated as softer pastels. Because they are hard it takes more of the pastel to cover an area and they don’t blend as readily as softer pastels.
There is a wide choice of harder pastel brands to choose from. As a beginner, it’s safer to stick to the well-known brands and avoid very cheap pastels as they may be so hard that they are difficult to use.
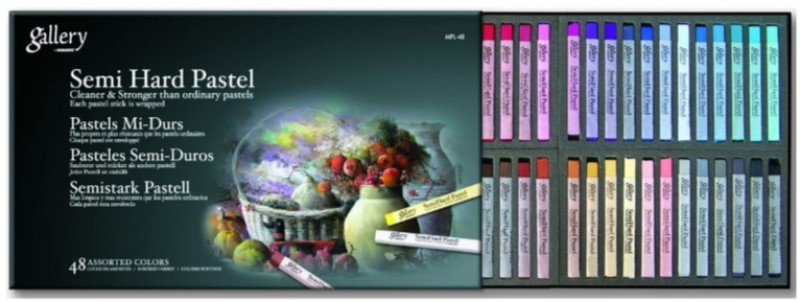
Medium-hard soft pastels
Like Goldilocks the medium-hard pastels are not as hard as the hard pastels and not as soft as the soft pastels and are probably the most popular type.
Half sticks are available in a wide range of colours. Start with a smallish starter set which includes often used colours. Once you have established what your favourite subjects are and what colours you use most, you can supplement your basic set with other themed sets e.g. portrait, landscape or wildlife etc. Unfortunately medium soft pastels are not conveniently labelled as such. Price is usually a good guide. Medium hard pastels are often more expensive than hard pastel sticks, but not as expensive as very soft pastels.
Possibly the most popular brand of medium soft pastels are the Rembrandts which are widely available internationally and have a large selection of colours and are available in half sticks which are more economical.
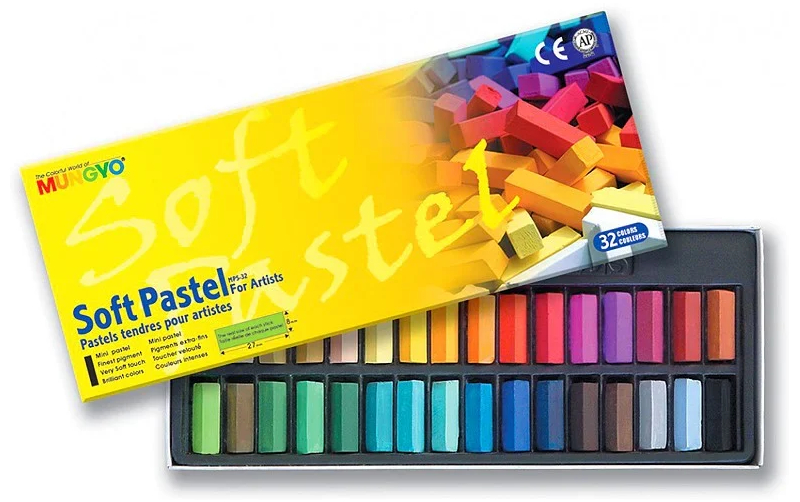
Soft pastels
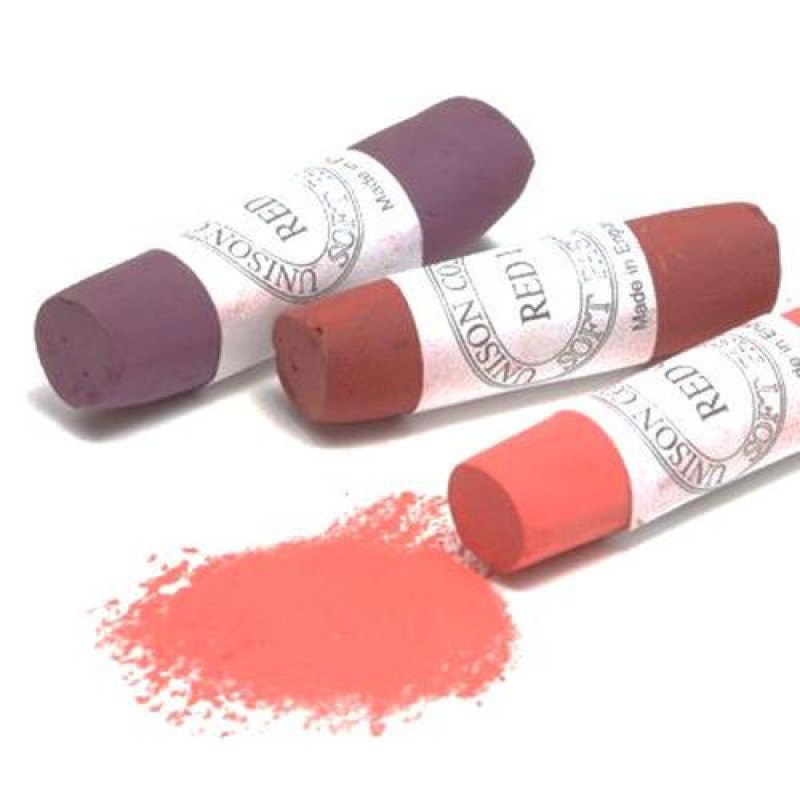
Soft pastels are a joy to use as they go onto the paper very smoothly and their colour saturation is second-to-none. The drawback however is that they create more dust, crumble very easily and fill the tooth of the paper more quickly.
It may be best for the beginner to get familiar with the hard and mid-soft pastels before investing in a set of very soft pastels.
Some well-known brands include Sennelier, Unison, Schmincke, Grand American etc. The good quality soft pastels are also the most expensive as they contain less filler and more pigment. They do last for a long time however as a little goes a very long way.
Pan pastels
A new format for pastels known as pan pastels and sold under the name PanPastel is becoming increasingly popular. As the name suggests, they come in pans in range of 80 colours. Special applicators called Sofft Tools come with the sets or can be purchased separately. The softest of all the pastel types, pan pastels are excellent for smooth covering of large areas. They can also be used for small areas as the tools come in a wide variety of shapes, some with pointed ends and narrow edges for getting into small spaces.
They are costly but because they are so pigment-rich, they have incredible covering power and they save a lot of time. They are also virtually dust free and can (depending on your paper), be erased with an ordinary eraser.
If your budget allows, buy pans in the primary colours which can be mixed to produce a wide variety of colours. The lighter versions of a colour are called tints and the darker versions of the same colour shades. Using the pure colours you can make your own tints and shades by adding black or white. You can recognize a pure colour by the number 5 after the colour number.
Pastel pencils
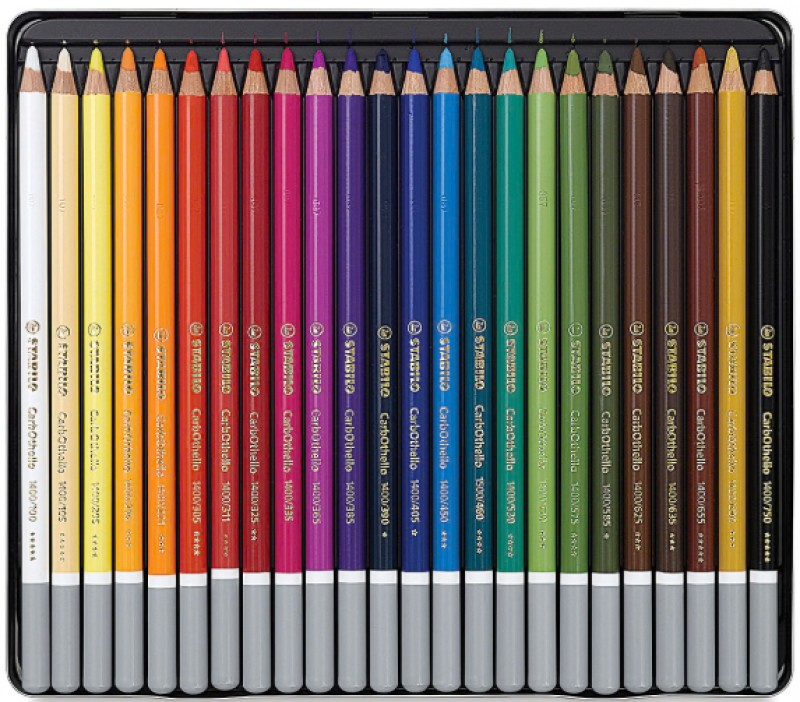
These consist of fairly hard pastel encased in wood to form a pencil. They are useful for fine detail as they can be sharpened to a fine point. (Use a scalpel or craft knife to sharpen as ordinary pencil sharpeners tend to break them very easily).
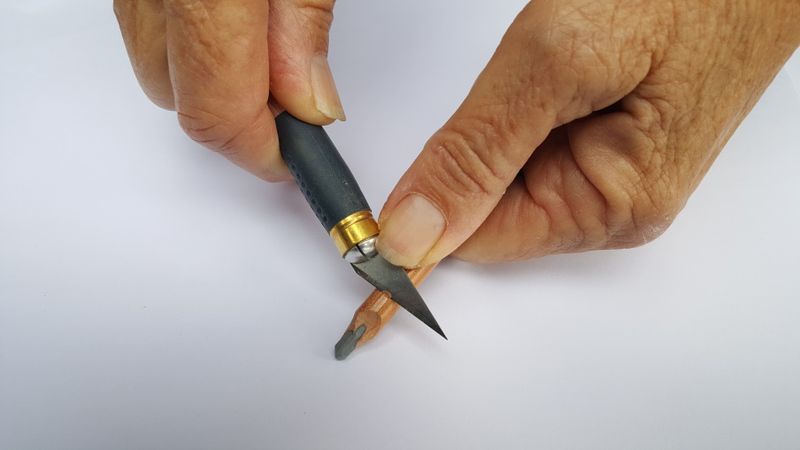
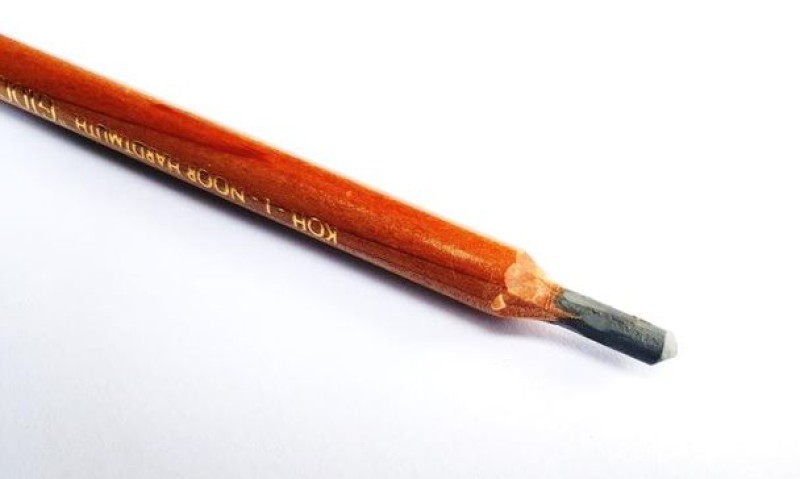
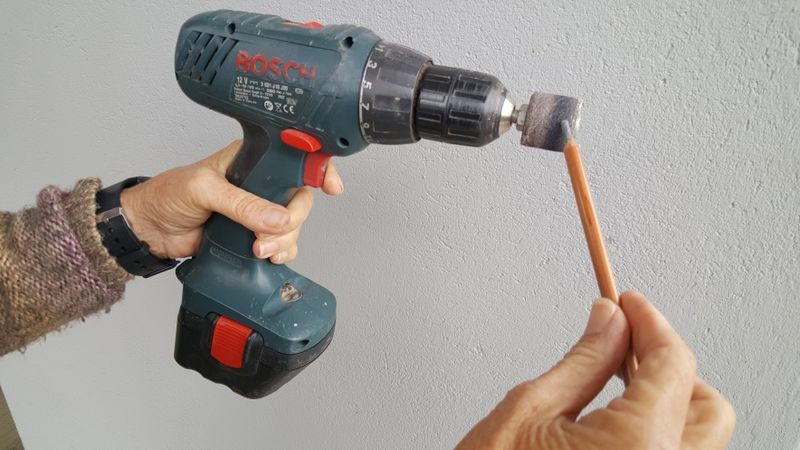
To hone the point even further you can use sandpaper, or, if you are lazy or in a hurry, attach a sanding disc to an electric drill which sharpens them in no time at all.
There are many manufacturers of pastel pencils. Some are harder than others. Caran d’Ache are excellent quality and probably the softest brand. They are much more expensive so if you are on a tight budget aspire to buying at least the black and white Caran d’Ache pencils for applying the final darks and highlights to your piece.
Other brands are very similar in quality. A starter set of 6 or 12 will give a beginner a chance to become familiar with pastel pencils before investing in more pencils in one particular brand. It’s better to stick with the well-known brands as some cheaper pastel pencils can be very scratchy. Stabilo, Derwent, Faber Castell, Caran d’Ache and CretaColor and Koh-i-noor are all excellent brands.
Pastel paper
With pastels, the type of paper (substrate) you use makes a big difference, arguably even more than the type of pastel you use.
Pastel paper comes in many types. All have varying degrees of “tooth” or texture. This texture gives the powdery, soft pastels something to cling to which prevents them falling off.
The more the tooth, the more layers of pastel can be applied. Having the ability to apply multiple layers may be more or less important depending on your choice of subject and the effects you want to achieve.
Papers with less tooth
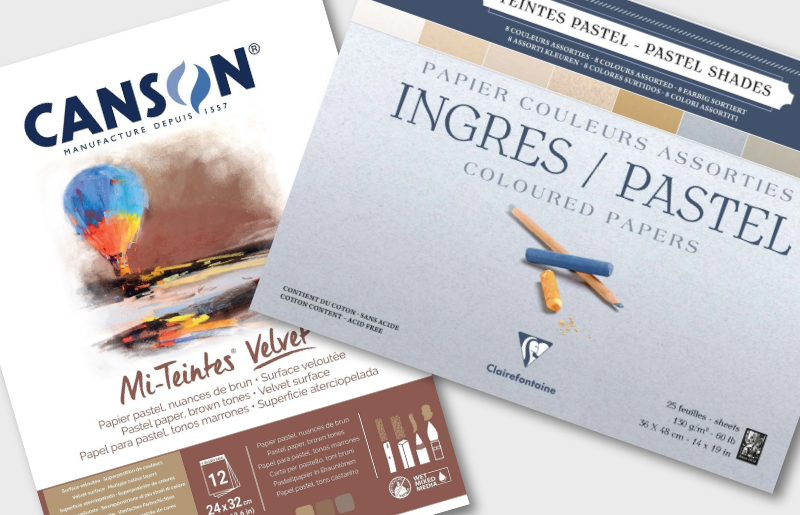
Watercolour paper, which can be toned with a wash in the colour of your choice, is a good option as watercolour paper is readily available and the coating of colour increases the tooth of the paper and makes the pastels adhere better. The number of layers you can apply will be limited.
Ingres or Mi Teintes papers are popular pastel papers in the lower price range. Textured on one side and smooth on the other, they come in a wide range of colours. It‘s usually best to use a toned paper as it gives you a ready-made mid tone as well as showing the true colours of the pastels to advantage.
When using these thinner papers it is difficult to achieve multiple layers as the tooth of the paper fills very quickly.
Papers with lots of tooth
Sanded papers are papers which are covered with a gritty substance that increases the tooth of the paper and makes the pastel adhere better. They are fairly robust and some (not all so check first), can stand up to the use of wet media as well.
The nature of the covering ranges from sand-like particles which are sharp enough to damage your skin if you do finger blending, to a soft, evenly-textured surface. Both will hold large amounts of pastel before the tooth becomes filled.
A drawback of some of the rougher heavily textured papers is that it is difficult to achieve fine detail if that’s what you want.
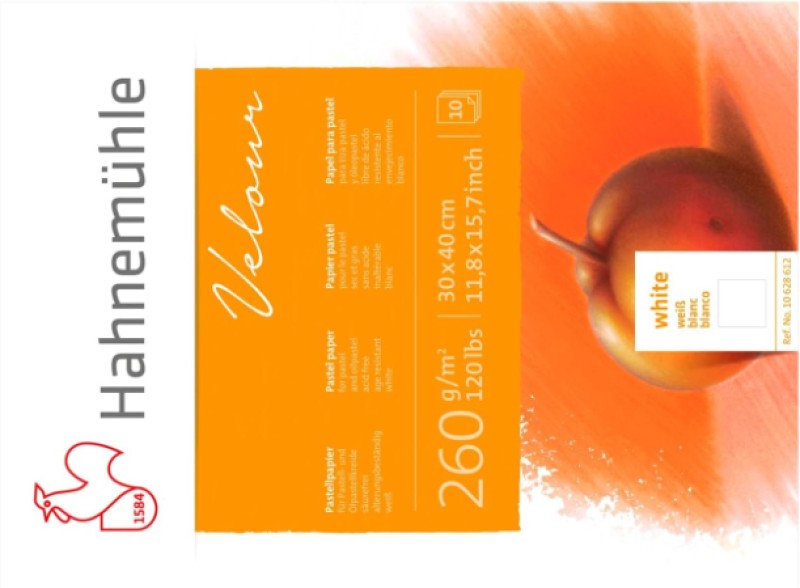
Velour is a specialized paper which is great for layering and gives beautifully soft effects but is probably not a good idea to use this paper until you have some experience with pastels. Velour paper is also best mounted onto a backing board before painting as it’s fairly thin and can crease and fold easily.
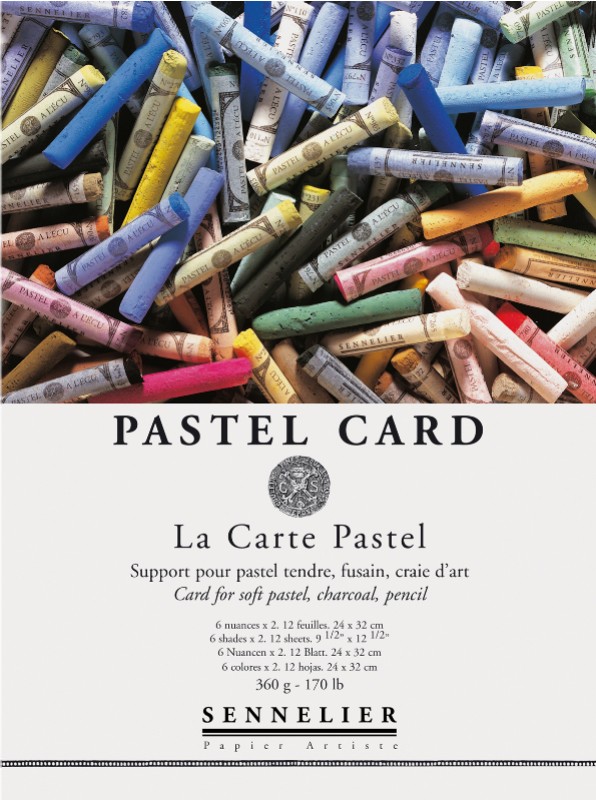
Sennelier has a pastel card which, if you have some experience, also gives beautiful results but it is a definite no-no if you intend to get it wet in any way. The surface dissolves if water touches it.
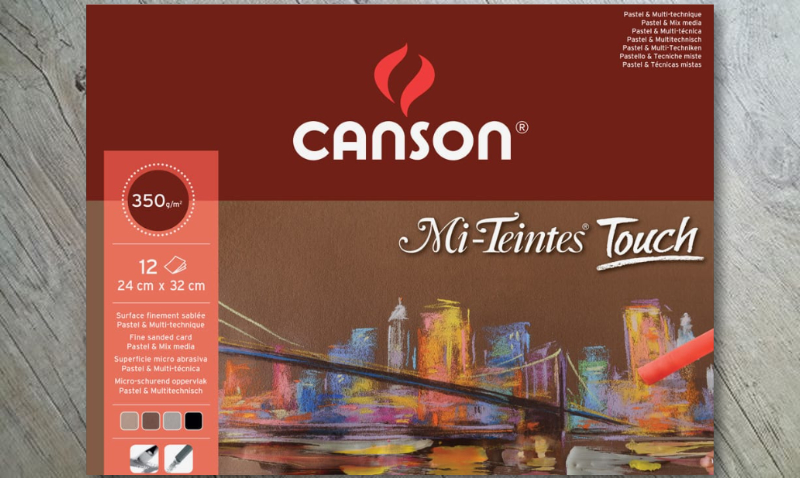
Canson Mi Teintes Touch is more textured than Canson’s other pastel papers. This is a good choice, even for beginners although it is a lot more expensive than the Teintes or Ingres papers. For detailed work using many layers, e.g when painting animal fur and other fine detail, you can achieve results not possible using the smoother papers.
Clairefontaine Pastelmat is a very popular paper. It’s delightful to work with and strong enough to stand up to alcohol or water washes used in underpainting. It is not as rough as the sanded papers but has the same ability to grab the pastel.
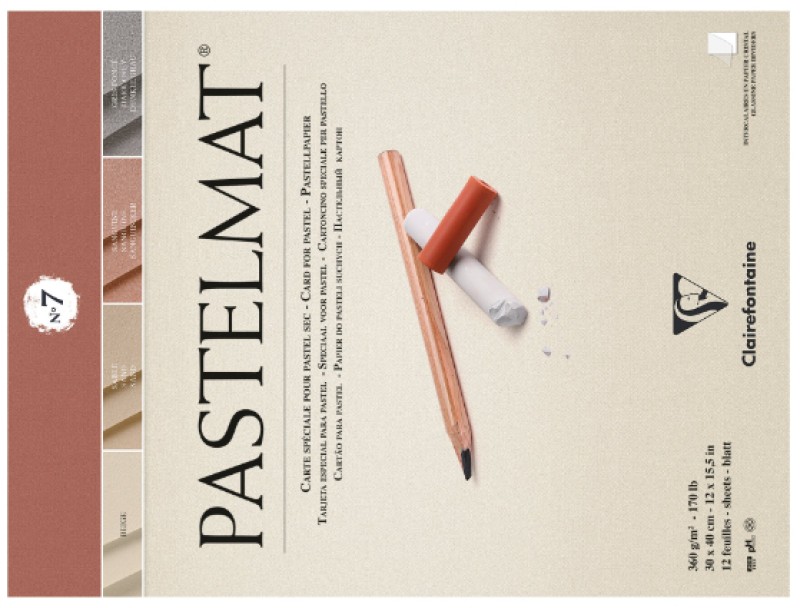
An added advantage of the more expensive textured papers is that because of the tooth, they grab onto the pastel which means there is less dust flying around.
Other supplies you may need
Gloves
If you don’t like touching the pastels but want to blend with your fingers, gloves are the answer. Not all pastel brands are non-toxic. Some may contain cadmium or cobalt pigments so be sure to do your research before buying, especially when children have access to the pastels.
Masking tape
Tape is useful for taping your paper to a stiff board before starting. Many pastel papers are relatively thin and can get easily creased if not taped down. Also, taping the edges of your paper gives a lovely clean edge when removed which looks good and makes the piece easier to handle without having to touch the pastel.
Drawing board
A drawing board, although not essential is very useful for pastel work. Working upright means that any pastel dust will fall down and not lie on the surface which could cause colour contamination.
There are a wide range of desktop and free-standing easels for sale if your budget allows. It is possible to make one at home or the easiest is to just to suspend a board to which the pastel paper can be attached with masking tape from a nail on the wall at a convenient height.
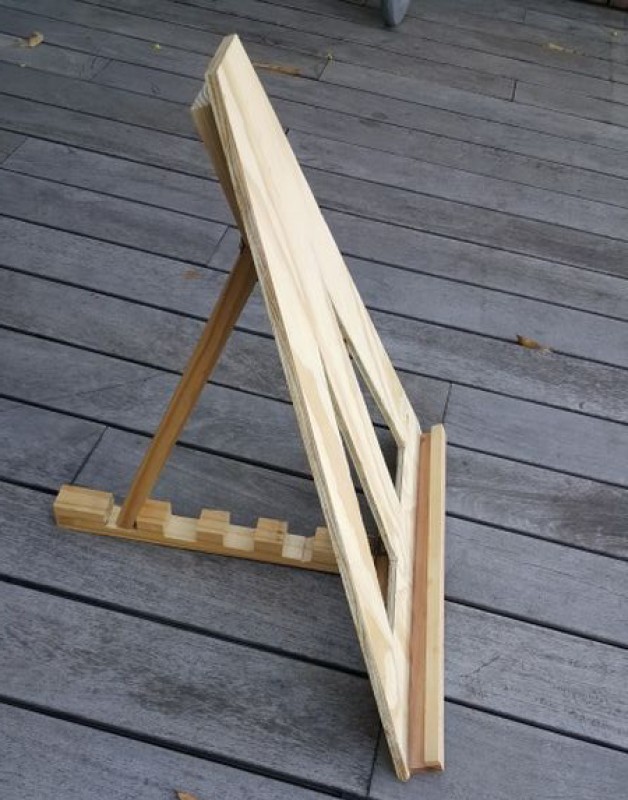
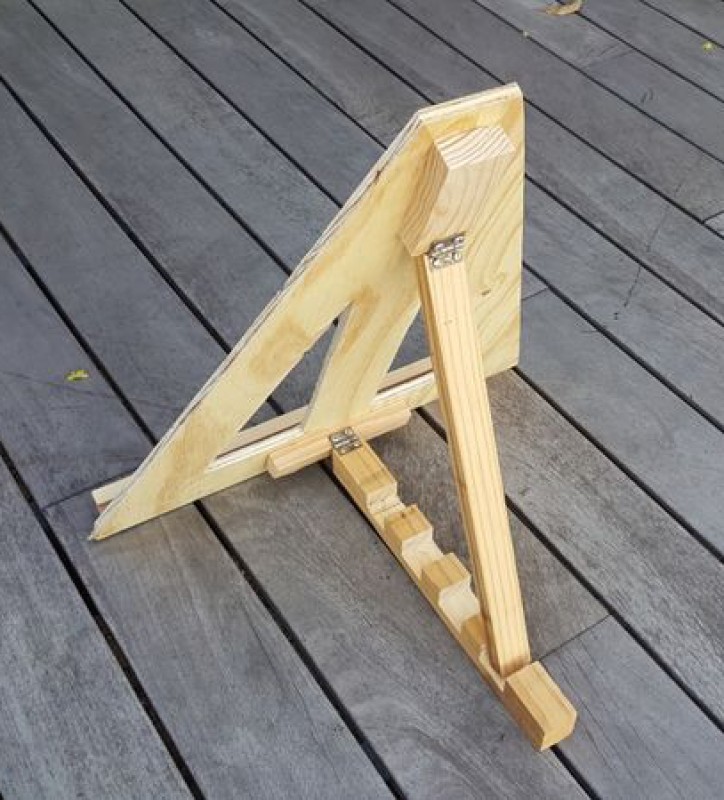
A simple DIY desktop easel with adjustable drawing angles.
Blending pastels
Fingers
These are the oldest and most readily available method of blending pastels. Just be sure to use a different finger for each colour (and remember which is which) or you may contaminate your colours. Finger blending gives great control of the pressure you apply and is good for blending out large areas like backgrounds but they don’t fit into narrow spaces. Fingers don’t remove much of the pastel you are trying to blend which is an advantage.
Blending sticks
If you don’t want to use your fingers, blending stumps or tortillions are a good bet. They will remove a little of the pastel you have laid down, but they are easy to use with different amounts of pressure to achieve different effects.
Colour shapers
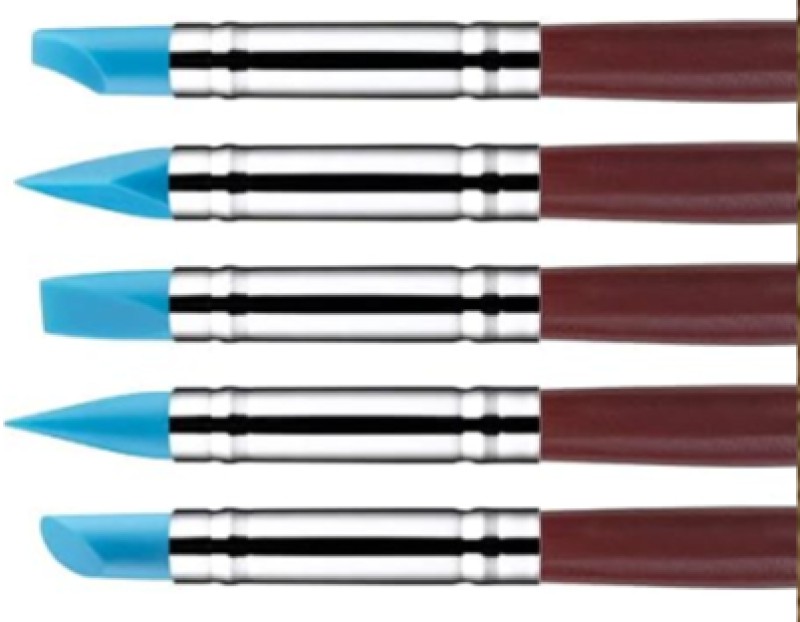
They don’t remove any of the pastel while blending and because they come in a variety of shapes you can use them to blend in the tightest corners. They are not very useful for blending large areas.
Cotton buds
Their advantage is that they are readily available and inexpensive. The biggest drawback is that they remove a lot of the pastel you are trying to blend. (This may however be what you want). Best used in small areas as they are inclined to fall apart quickly from the friction of blending large areas like backgrounds.
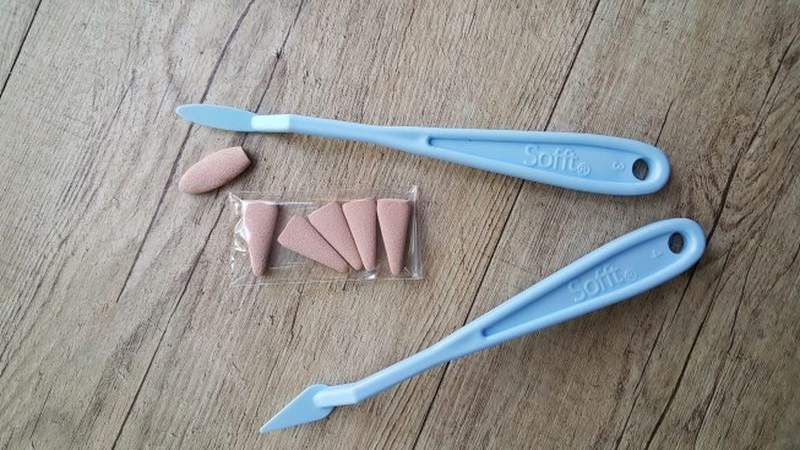
Sofft tools
A new blending tool came onto the scene together with pan pastels which can be used with other pastel types as well. Sofft tools are the brand name given to these blending sticks and sponges. They look like makeup applicators but work much better. They also remove a little of the pastel you are blending which can be a drawback. They are easily cleaned by wiping on a kitchen towel. The spongy heads of the Sofft tools are interchangeable and come in different shapes which make blending small and larger areas equally easy. The sponges are best for smooth coverage of really large areas.
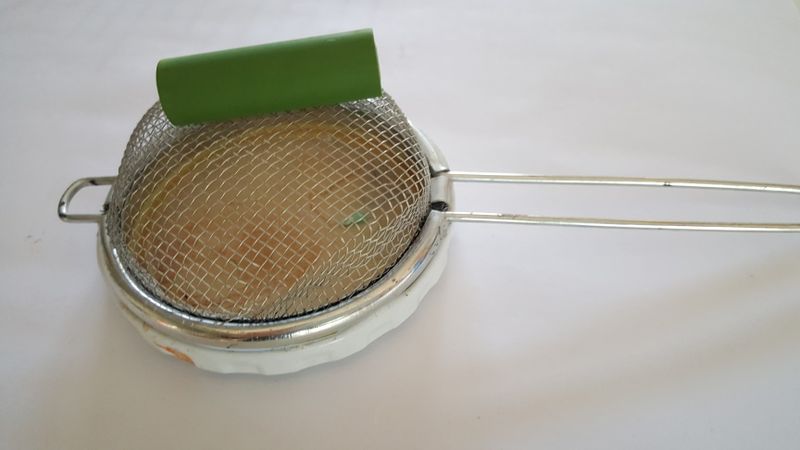
Chamois leather cloth
A natural chamois leather will give a very smooth finish to a blended surface but will remove a lot of the pastel at the same time. Turn this to your advantage by folding the chamois into a point and using it to lift areas of pastel off the paper where you may have used the wrong colour or want to lighten the value.
Erasing
Kneaded eraser
A kneaded eraser is a useful tool to erase mistakes. Shape the point to the desired shape for the area you want to erase and dab the eraser with a tapping motion. Keep reshaping it as the pastel sticks to the eraser, giving a clean surface each time. This can be painstaking work.
Blower tool
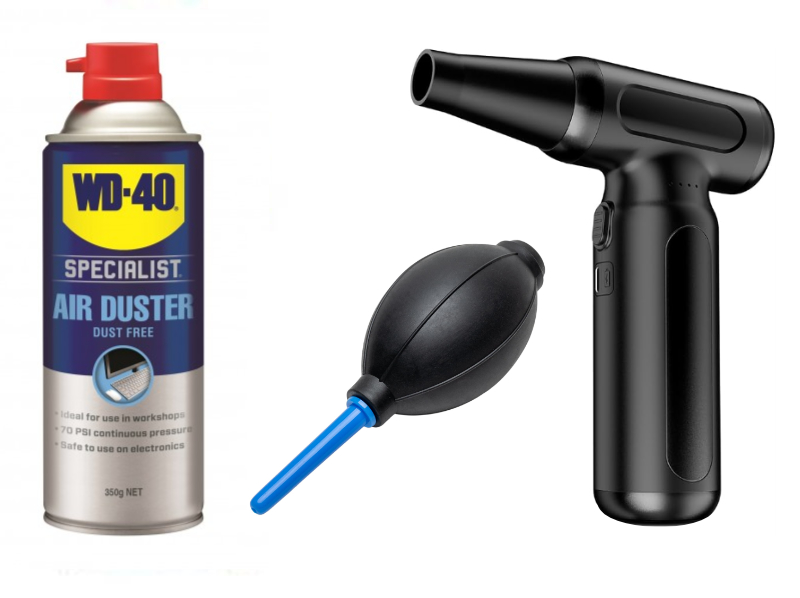
On paper with more tooth but with a delicate surface like velour, it is best to erase by blowing the pastel out of the paper as far as possible. A compressed air jet like used in photography is effective. There are also manually-operated puffer bulbs available.
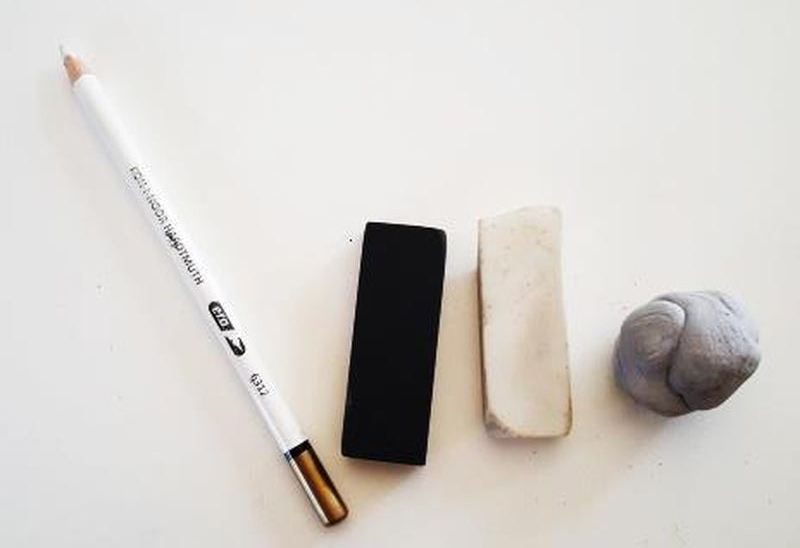
Ordinary erasers
On some papers it is possible to use a regular eraser or pencil eraser to remove pastel. Always try on a scrap piece of paper first before using on your piece to prevent nasty surprises. On dark papers use a black vinyl eraser.
Baking soda
If you want to remove all the pastel from a finished piece and reuse the paper for another pastel then rub in liberal amount of baking soda. Remove with a stiff brush and repeat if necessary. It won’t remove all the colour, but what remains can be covered over with a light or dark pastel depending on the background you want for the new piece. This method will only work if you haven’t used fixative and your paper is robust with sufficient tooth. The advantage of using baking soda over just brushing off the pastel is that the baking soda mixes with the pastel and there is no dust flying around.
Transferring the drawing
Because it is not all that easy to erase graphite from pastel paper, it’s best to do your drawing on a separate piece of paper and then, when you are satisfied, transfer it to your pastel paper of choice.
Graphite transfer paper can be used to transfer your drawing. If you’re using a toned paper and graphite won’t show up, rub the back of your drawing with a generous layer of pastel in an appropriate colour for your surface. Rub the pastel in well with your fingers, turn your drawing over and tape it down over your pastel paper. Use a ballpoint pen or a pencil trace over the lines of your drawing. Check to see if the pastel shows up by lifting the taped down drawing soon after you have started. Don’t wait till the end and have to start again.
When working on Velour and other papers with a very easily damaged surface, use a 9B pencil which is not very sharp to press down (gently) on the lines of your drawing to transfer it. If you use a harder point, like a ballpoint you could leave dents in the surface you can’t remove. Once again check progress early on in the transfer process.
Cleaning up
Wet wipes are useful to have handy to remove pastel dust from fingers.
Cleaning pastels
Pastel sticks get dirty easily when lying next to each other. To keep them clean store them in the slotted foam rubber containers the sets are sold in. If you buy your pastels individually, or if your original sticks have been broken into many pieces, an easy way of cleaning them is to put a layer of rice (uncooked) in a container with a lid. Add the dirty pastel sticks to the container, close the lid and gently shake. I usually shake the container left to right instead of up and down as it is a gentler motion. In no time the pastels will be clean.
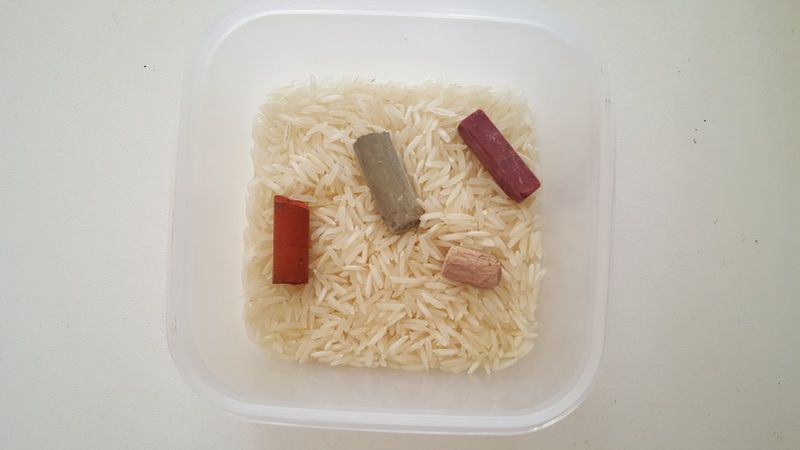
You can also use paper towels to clean individual pastels before use.
Cleaning pan pastels
The pots of pan pastel can easily be cleaned by gently swiping the Sofft tool over the pan. The pastel on the head of the tool can be removed by rubbing gently onto a kitchen towel. Do this with a side-to-side motion not backwards and forwards or you will dislodge the tip.
The tips can be removed and washed in hand soap, rinsed, dried and replaced.
Storing pastels
Pastels are best stored first by colour and then value. i.e. you can store all your yellows together but it’s easier to find what you’re looking for if you have them sorted by value – lightest to darkest or vice versa.
It is often convenient to remove the paper covering from the pastel (usually only softer pastels have a paper sleeve protecting them) and break it into pieces to use the long side for broad sweeps of colour. This means the brand name and type information is lost.
An inexpensive way of storing pastels is to buy plastic storage boxes which are divided into compartments.
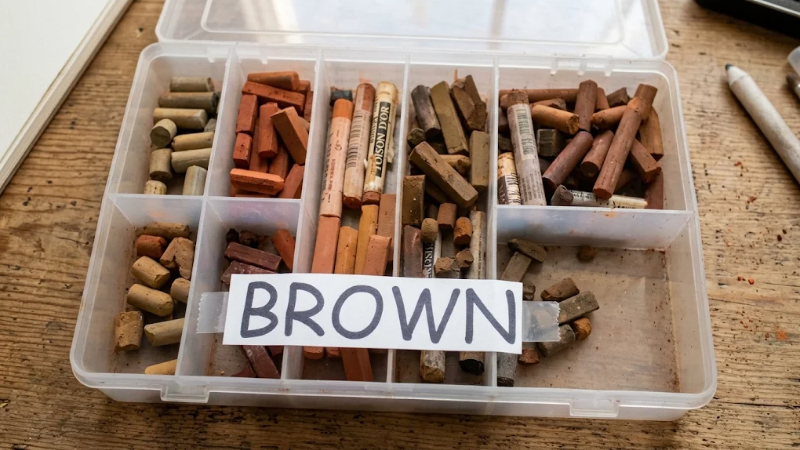
The boxes can be stacked on top of each other to save space and marked on the outside as to what colour each box contains.
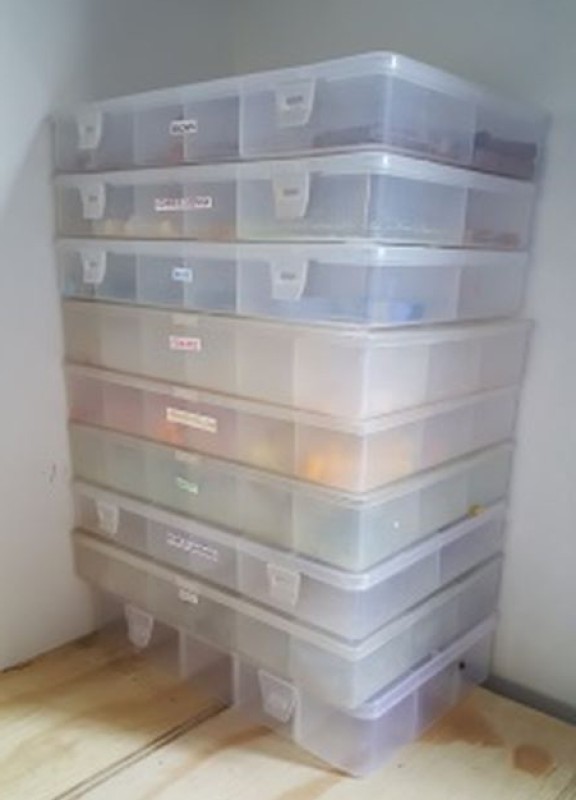
When you see you are coming to the end of a particular pastel, even though you may no longer know the name, you can compare it to a colour chart of the brand you buy and can identify which pastels to re-order.
Fixing pastel paintings
As pastels, once applied, are powdery, they are easily dislodged or smudged and should be framed behind glass.
Pastel fixatives are available which when sprayed on the drawing, will hold the particles together and make it more difficult for them to move. The drawback is that the fixative can sometimes affect the colour and brightness of certain pastels.
Fixative is also useful when you want to add additional layers of pastel over your piece but the tooth of the paper is full and the pastel won’t stick. By spraying with fixative you gain enough “tooth” to apply another layer of pastel on top which you otherwise couldn’t. With the more textured paper like pastel mat, velour and sanded paper fixing should not be necessary.
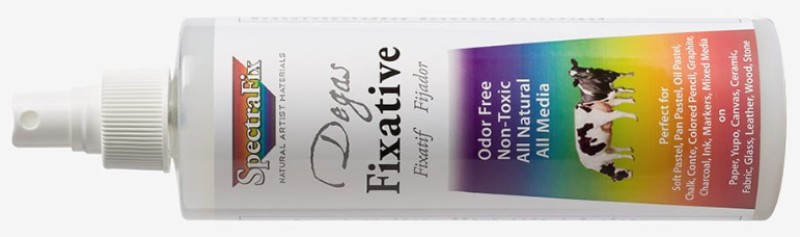
As a beginner you can substitute hairspray for fixative on your practice artworks, but test first on scrap paper before using on your piece to ensure it sprays a nice fine mist and not blobs. When you get to the level that you are selling your art, it would be best to stick to tried and tested archival brands of fixative even if they are much more expensive.
Storing pastel paintings
Storing finished pastel pieces takes some special care. Ideally they should be stored flat with the pastel side up. To prevent smudging from covering layers, cover the piece with glassine paper, or if you can’t get your hands on that, substitute baking / parchment paper or tracing paper.