Class Tutorial
Equipment Used in Acrylic Painting
Compared to traditional mediums like oil paints or pastels, acrylic paint is relatively new. It’s versatile and besides its own unique look it can be used to simulate oil or watercolour. It’s also forgiving – if you make a mistake you can paint over it and because acrylics dry so fast you can finish a painting in hours.
Note: this page contains affiliate links to products on Amazon. If you purchase through the links I will earn a small commission for the sale at no extra cost to you.
What Paint Do I Buy?
The choices available are mindboggling so how to decide what to buy?
If you’re a complete beginner, or at best a novice, (which you probably are if reading this tutorial); then the best is just to jump in the deep end and get the feel of using acrylics. The more you paint the clearer you get on what subjects you prefer painting, what consistency of paint you prefer, what colours you use most often etc. etc
If you are on a budget, student grade acrylics are the best option. Once you’re confident that your paintings won’t end in the bin, you can upgrade to artist quality materials, even if only for a few colours that you use a final layer over the top of student grade paint.
(Artist grade paints have more pigment, are easier to blend and some, not all, of the colours are more saturated or brighter. They are also much more expensive).
If your budget doesn’t stretch to artist grade paint don’t worry, excellent results using good student grade paints are also possible. The best guideline is to buy the best you can afford.
Just bear in mind though that as student grade paints have less pigment in them, over time their colours will fade sooner than artist quality paints. As a result never sell your paintings that have been painted using student quality paints.
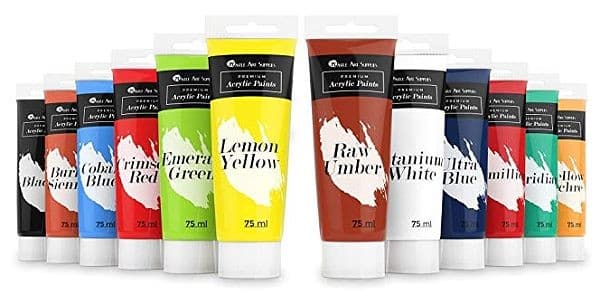
A starter set of paints from a well-known brand is a place to start.
Note: this page contains affiliate links to products on Amazon. If you purchase through the links I will earn a small commission for the sale at no extra cost to you.
Some starter packs contain student grade paints, other are artist quality. Most are soft-bodied consistency paints. These packs will include the primary colours; red, yellow and blue as well as white and black. (Some sets will have additional colours included as well.) The pack shown above is an artist quality set.
Tip : You can click the image above to purchase the starter pack shown off Amazon.
Important: Acrylic paints dry darker than what they look like when wet. This effect is exaggerated with the cheaper quality paints. Always bear this colour shift in mind when mixing your colours and painting.
Soft vs Hard Bodied Acrylics
You get three different consistencies of acrylic paint: soft body, hard body and flow acrylics.
Soft Body Acrylics
Soft-bodied means the consistency is middle-of-the-road between heavy bodied acrylics and flow acrylics. These are the paints you will use to paint most of the time. These are also the paints you will most often find being sold in the store. As a result most tubes of acrylic paint will not say soft body on the tube – if it doesn’t then you can assume it it soft bodied acrylic paint inside.
When soft bodied acrylics dry they tend to slump / flatten out / lose their height off the canvas. This means you loose most brush strokes left while painting and a smooth finish remains on the paint.
Hard Body Acrylics (Impasto Acrylics)
Hard bodied acrylics, also called impasto acrylics are thicker, like heavy cream. They are used to paint the lovely thick, oil paint like strokes onto the canvas.
When these paints dry they will not loose their height or the brush marks in the paint.
Flow Acrylics
Flow acrylics have an ink like consistency. This gives you the ability to paint with your acrylic paint as though they are watercolour paints.
They can also be used for other interesting techniques like pour paintings and airbrushing.
Tip: Soft bodied paints can easily be modified to become thicker like heavy bodied paints or thinner like fluid acrylics by adding gel medium or water to them.
Important: Don’t be tempted to buy Craft paints which are lower on the quality scale than student grade paints and often give disappointing results which could put you off painting with acrylics altogether.
They can, however, be economical for underpainting areas i.e. as a base layer which will be completely covered with better quality paint.
Which Colours To Buy - There Are So Many
If you don’t go the starter set route, then be sure to buy tubes of red, yellow, blue as these are your primary colours and can’t be mixed. You will also need a tube of white as it can also not be mixed.
For more info on why and how to mix your colours correctly, you can visit my Colour Mixing Tutorial as well as my tutorial on how the Colour Wheel works.
Paint colours come in as many names as there are manufacturers. In artist quality paints, the pigments included in the paint are listed on the tube so you know exactly what you’re getting irrespective of the brand name. This is not so with student grade paints. A good idea is to ask the assistant, (or Google), what the names of the primary colours of your brand of choice are, and buy them.
The colours that I generally use are : Lemon Yellow, Yellow Ochre, Sap Green, Viridian Green, Ultramarine Blue, Cerulean Blue, Red, Crimson, Raw Umber, Burnt Sienna and Titanium White.
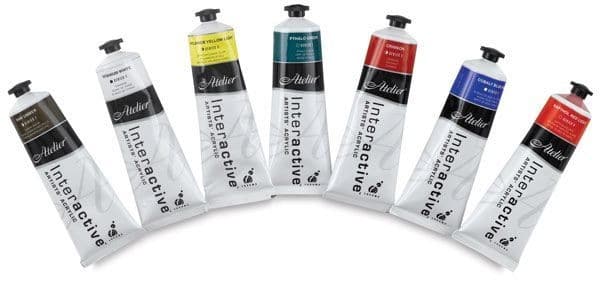
My favourite brand of acrylic paint is the Aletier Interactive range of paints. These acrylics have fabulous coverage, don’t change colour as much when dry and are open acrylics.
If your budget allows, for convenience sake add burnt umber (a dark brown) which, while it can be mixed from the primaries, is used often enough to warrant buying a ready mixed version) and purple (which is difficult to mix).
Later, when you know what colours you use most often in the subjects you prefer painting; you can add other ready-mixed colours to your collection for the sake of convenience.
If you are concerned that you may not be able to mix the exact colours in your reference picture, remember getting the colour to match exactly is much less important to a good outcome than getting the values, (how light or dark a colour is), correct. It is better to use a very limited palette (few colours) which you mix to make others as it gives a unity of colour to your painting which can be lost if you use lots of different tubes of already-mixed colours.
Remember: Knowing how to mix your colours is much more powerful than owning every colour in a tube as they are seldom exactly the colour you need. They are merely a starting point from which to mix the final colour you want.
Which Paint Brushes Do I Need?
Once again the choice is astounding.
Acrylic paints are well suited to the less expensive synthetic brushes. Softer brushes, used for watercolours, are usually too soft to move the thicker acrylic paint around.
Two exceptions to this are the mop brush which must be very soft. It’s then not used to spread the paint, only smooth it.
The other being a soft filbert brush (which is one of my favourite brushes). I like it because of it’s versatility. I use the soft filbert brush for gentle blending work when painting with the flat edge. I can then instantly turn it 90 degrees to get a sharp, almost rigger like, edge for detail work.
The shape of the brush determines the type of mark it makes.
The size of brush will depend on the type of paintings you prefer doing. If you paint large pictures then large brushes will save you a lot of time. Small scale paintings will need small brushes for the fine detail required. A good basic range of brushes would include the following categories:

Tip: Have a selection of small, medium and large flat, round and filbert brushes. You will get by with one fan brush, one rigger and one mop brush.
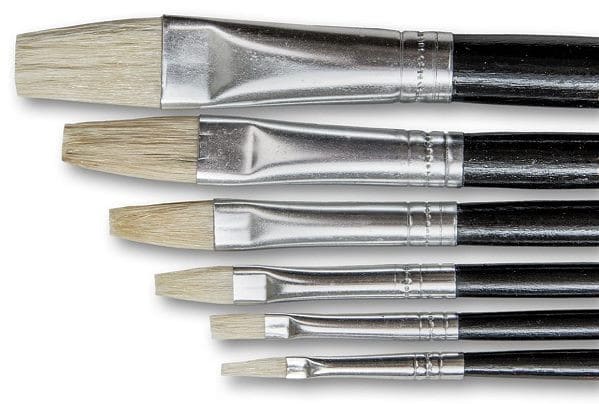
The brushes I use most can be bought from any Dollar Store. They are dirt cheap, last for ages and come in a pack with looks like this:
Sponges
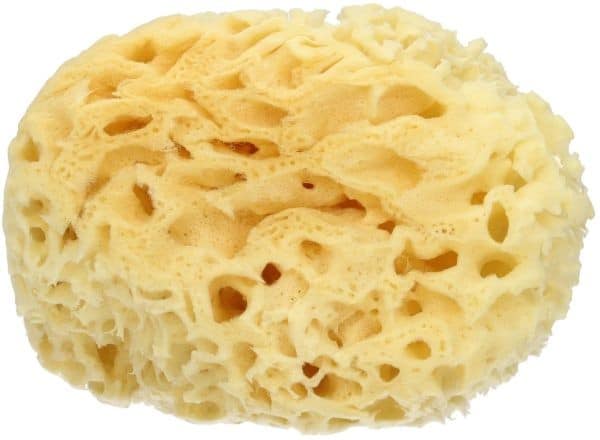
Sponges are very useful for spreading paint onto the canvas quickly like when underpainting backgrounds, skies etc. They are also great for creating instant tree texture. I have found that Natural sea sponges work best.
To keep them in good condition, always since them in plenty of water after use.
How To Look After Your Brushes
- Never allow acrylic paint to dry on your brush as it’s very difficult to remove and bad for the brush.
- When painting, keep brushes you are not using now but will use again soon damp to prevent the paint from drying on them
- Rinse brushes you are finished with immediately.
- Wash all the brushes you have used thoroughly after you have finished painting for the day.
- Don’t leave brushes standing in a jar of water as the bristles will deform and the brush becomes useless. The wooden handle will also gradually soak up water, making it crack or expand.
Soap
After you complete a painting session it is best to wash your brushes in luke warm water using a soap.
You can use standard bar of household hand soap or you can opt for a soap designed specifically for cleaning brushes.
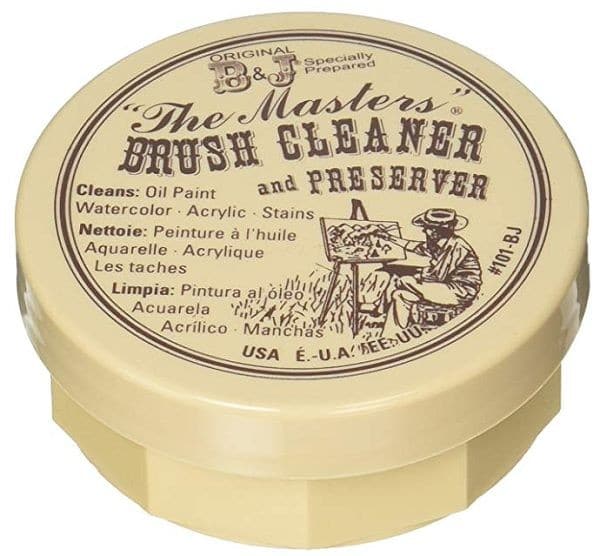
Brush cleaning soaps, like the one shown below are designed specifically to remove any paint residue from your brush quickly. They are also designed to condition the bristles at the same time. As a result you will find your brushes beautifully soft after using one of these soaps.
Other Items Used in Acrylic Painting
Clean Water
You clean brushes and thin your acrylic paint with water so you will need a supply of clean water at hand.
Containers for Washing
Waterproof containers (large and medium size) to wash and rinse your brushes.
I like to use either an empty jam bottles or large plastic yogurt containers.
Here is the process I use for washing my brushes:
Have at least two containers for rinsing your brushes.
Wipe most of the paint off the brush onto a paper towel first before washing as this saves you from having to replace the water during a painting session.
Washing – Use a large container for the first wash so that the water doesn’t get so dirty. You can add a bit of dishwashing soap to the (preferably warm) water to help remove the paint. You can also drop in a rough-textured stone to scrub the brush against. Alternatively a metal strainer with the handle cut off dropped into the container rounded side up also makes a great scraper to clean brushes against. (It should fit reasonably snug so it doesn’t move around too much.)
Rinse – The second container is for rinsing. It can be smaller than the first container and the water it contains should be changed regularly during a painting session to ensure it remains clean.
After the rinse, dry the brush off using an old towel. You can use an old bathing towel which you cut up into smaller pieces, or you can use an old tea towel. Both work well as they are super absorbent and can hold a lot of water before becoming saturated.
Temporary Brush Holder
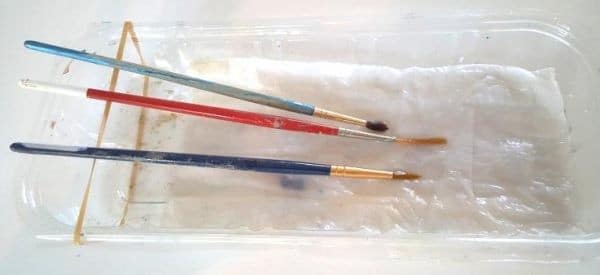
To keep your brushes damp until you use them later, use a shallow flat plastic disposable container and stretch an elastic band over one end.
Put a folded paper towel in the bottom and thoroughly wet it. Lay the bristle end on the paper towel and the handle end on the elastic band. This will keep the bristles damp without submerging the ferrule (silver part where the bristles are glued in).
When your painting session is finished for the day, thoroughly wash your brushes in warm water and soap.
Rinse properly and then gently squeeze the water out of the bristles, (don’t tug on the bristles) and then use a thin layer of hair conditioner on your fingers to shape the brush before hanging it out to dry.
Brush Drying Rack
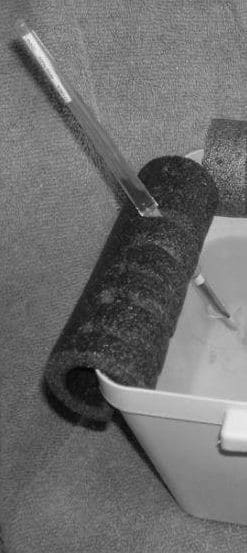
Brushes should never be placed bristles-up to dry. The water runs into the ferrule and eventually weakens the glue thus shortening the life of your brush.
Improvise a drying rack for your brushes using bulldog clips threaded onto a piece of string to hang the brushes bristles-down so that any water left in the bristles drains away.
Or you can use pipe insulation cut open at the bottom and slipped over the side of a container. Cut slits in the outside and wedge your brushes in their to dry.
No brush lasts forever. When you brushes start to look a bit splayed at the end and start losing their shape it’s time for new ones.
Tip: Don’t throw the old brushes out. They are highly prized for painting textures like grass or animal fur.
Painting Surfaces
Paper
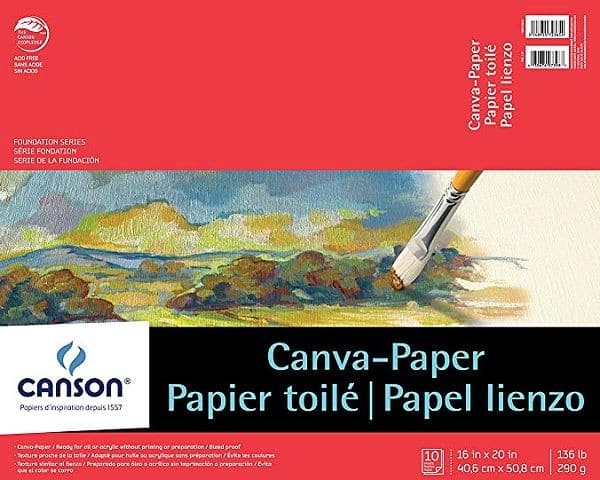
Perhaps the easiest when starting out, is to buy a pad of acrylic or canvas paper. Great for practicing on, it has the advantage of a canvas-like texture. Should the texture be too much to your liking, a couple of coats of gesso will even out the bumps.
Attach the paper to a stiff backing board (e.g. hardboard) with masking tape or bulldog clips before starting to paint. A big advantage of paintings on paper is that they take up little storage space.
Watercolour paper is also suitable for acrylics. So is any thick paper that won’t buckle when wet media are applied.
Canvas
Canvas is the traditional surface for oil and acrylic paintings. They are made from linen and then sealed with a primer. If you buy ready-to-use canvases just make sure they are not primed for oil painting or acrylic paint won’t stick.(Most will be primed with Gesso, which is acrylic based so are okay to use.)
Bought canvases, which are already stretched and prepared, are convenient and come in a wide variety of styles and sizes.
Box Canvass
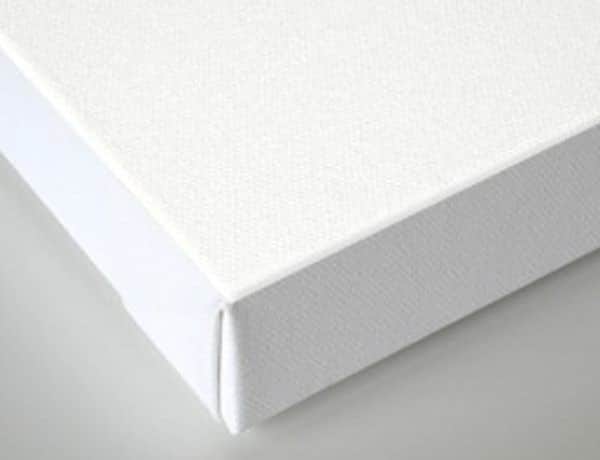
You get box canvasses which are wooden frames over which the canvas has been stretched. You can see what one looks like in the image above.
Canvas Panels
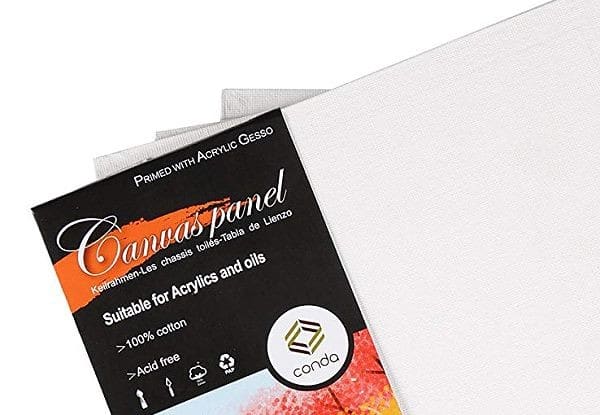
These are a slightly cheaper alternative to box canvasses. They are made of canvas glued to a hard backing.
The drawback of panels is that if your painting is worthy of hanging on a wall, you will have to frame the panel whereas a box canvas can be hung as is. The plus side is they take up less storage space than box canvases, which makes them ideal to paint on while on holiday.
Wood
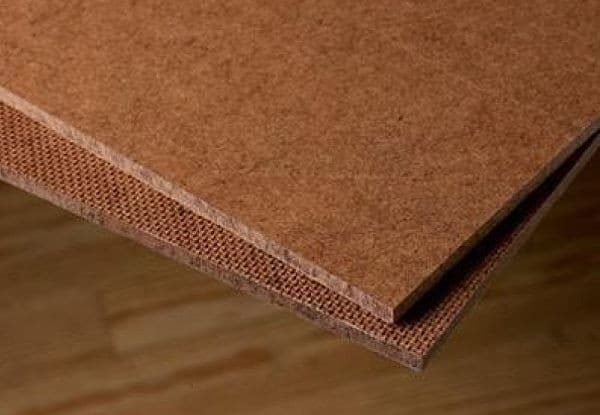
The smooth side of hardboard / Masonite is an excellent surface for painting on with acrylics. It’s relatively inexpensive and can be cut to any size at a lumber yard.
You can paint directly onto the board but it’s advisable to give it a coat of (good quality) matt acrylic house paint, gesso or matt acrylic gel (which dries clear and won’t cover the colour of the wood), to give more tooth for the paint to stick to.
Any other type of wood is suitable as well. As long as it is dry, sanded to remove dirt and prepared with gesso or acrylic medium.
Matt Board
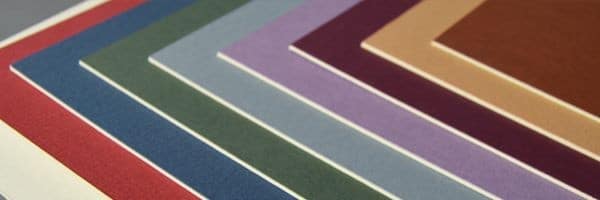
Used in picture framing, mount board or mat board is a readily available surface on which to paint. It can be purchased in packs but you can often pick up off cuts from a framing shop.
No preparation is needed before painting but just be sure to paint an X of acrylic paint or transparent mat gel onto the back to prevent the board from buckling. (Alternatively you could tape it down onto a stiff board before painting)
Cardboard
Cardboard cereal boxes or cartons are a really inexpensive surface for practicing techniques.
Tape them down to a board with masking tape to prevent buckling.
More heavy-duty cardboard used in cardboard boxes can also be used. Coat with gesso or mat acrylic gel to seal or it will absorb a lot of paint.
Important: As cardboard does not stand up to the test of time well so never sell any painting you have done on cardboard.
Only paint onto cardboard as a cheap alternative to a canvas in order to test a new technique or to experiment on.
Painting Palettes
A palette is the surface you use to mix your paints on. Usually you want your palette to be portable so that you can lift it up to the canvas in order to check your colour mixes or to easier clean it after a painting session.
Let’s take a look at some of the options available when painting in acrylic.
Disposable Palettes
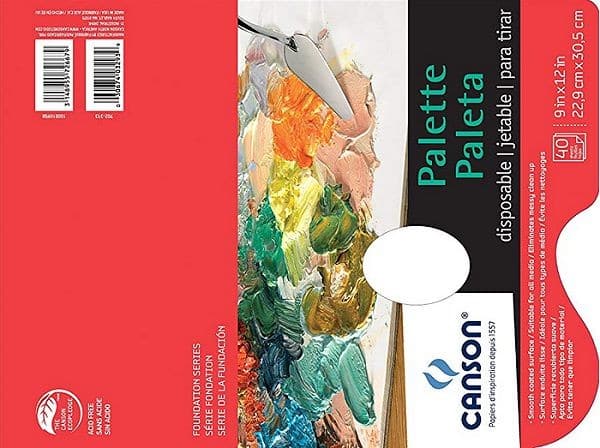
Disposable palettes are essentially a pad of wax coated paper. The wax coating stops the paint from penetrating into the paper.
Various brands of tear-off palettes are available. They are also available in different sizes. I prefer a 9″ x 12″ sized palette, but if you have a larger project with many colours on it, you may even consider a larger one.
Disposable paper plates are also often used as disposable palettes.
An even cheaper option is to use a plastic plate / dish lined with cling film.You then only discard the cling film at the end of the session.
Glass
A sheet of glass (with the edges smoothed) works well.
Many artists use spray paint to paint the underside of the glass either white or neutral grey in order to see their colours being mixed better. Yet other artists prefer to keep the glass clear as you can then hold the palette up to the painting and look through the palette at the painting to see if the colour you have mixed looks correct.
When your glass palette needs cleaning, soak it in water for a while then scrape off the paint with a paint scraper or safety razor.
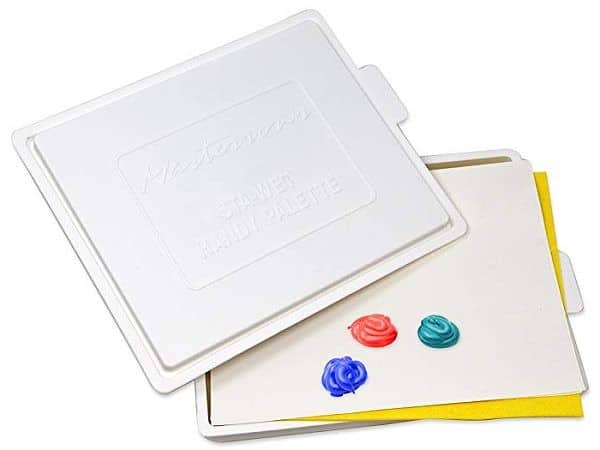
Stay Wet Palette
As stay wet palette prevents your acrylic paints from drying out by keeping the paint moist.
You can buy stay wet palettes that are designed to keep your paints from drying out. You can see what a bought one looks like above.
It’s easy to make your own very effective stay wet palette at home. All you need is an airtight plastic container, some baking or greaseproof paper and a paper kitchen towel.
Line the container with a double layer of paper towel and wet the towel thoroughly. (Pour off any excess water).
Cut a sheet of baking paper to the size of the container bottom. Two layers will be stronger.
Make a small hole in the lid of your container to let some air in to stop your paints getting too runny from too much trapped moisture.
As long as you keep the lid closed between painting sessions, the paint will remain usable for a number of days.
Other Acrylic Painting Equipment
Now let’s take a look at some of the other, smaller / general type of equipment we use when painting in acrylics.
Palette Knives
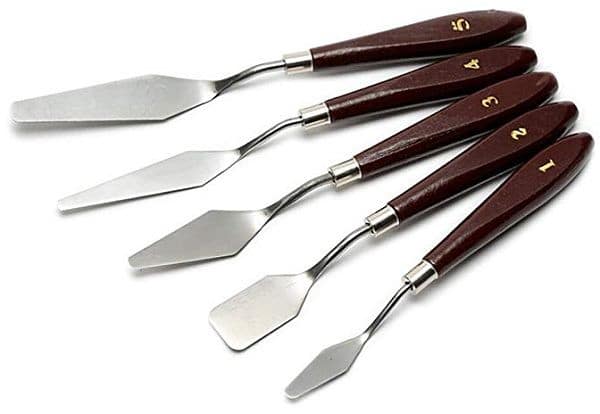
An assortment of palette knives is useful for mixing paint.
Get at least one palette knife with a long edge suitable for moving and mixing larger amounts of paint on your palette. A small knife is better when mixing small amounts of paint.
(I have the set shown above and use knives no. 4 most of the time and knife no.1 for smaller work.)
Be careful when using a palette knife to mix paint on your stay wet palette as you may tear the baking paper. Rather mix the paint on a separate surface (e.g. disposable plastic plates/ ceramic tiles, glass) then transfer the mixed paint into the stay wet palette to prolong it’s painting time.
You can of course use a palette knife to paint with instead of a brush.
Paper Towels
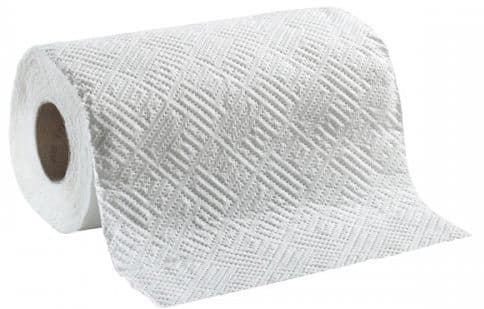
Paper towels are an acrylic painter’s best friend. Use them to wipe excess paint off brushes before washing, remove wet paint from your painting surface, clean up spills, blotting your brushes etc. etc.
I like to use the rolls of kitchen paper towels like shown above. More often than not when painting, I have the paint brush in one hand and the roll of paper towel in the other. That is how often it is used.
Easel
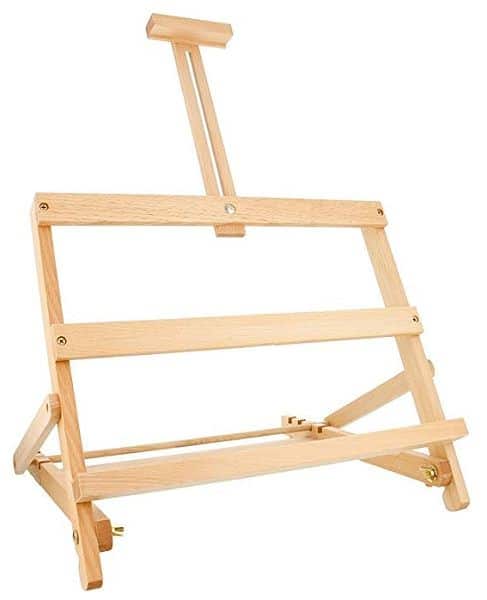
An easel is used to stand your canvas on as you paint and there are many to choose from – desktop or freestanding.
When painting in the studio I like to sit so I use a table top easel. When painting outdoors I prefer standing so then I use a French Easel.
If you don’t have an easel, you can improvise with two horizontal nails in the wall to hold your painting at a height most convenient for you.
When using an easel, it is best to have your painting surface totally upright as an angled painting surface can lead to distortion because of perspective.
I personally do however have my easel at a slight angle to prevent the canvas from flopping forwards as I paint. In order to combat the perspective problem, I looks slightly down onto the canvas. In other words the canvas is slightly below eye level when I paint so that my viewing angle cancels out the angle of the canvas.
If you prefer to keep your canvas upright, then view the canvas with the horizontal center of the canvas at eye level. You can then use Bostik Blu Tack to stick the canvas to the easel to prevent it from falling forwards if your easel down’t have a built in mechanism.
Masking Tape
Useful to stick paper to a board before painting, as a mask while painting and a myriad of other uses.
Protective Clothing
Acrylics are hard to remove from your clothing. If you get any on your clothes immediately wash it off before it dries.
To prevent accidentally getting paint on your clothes, you can wear an apron.
If you are painting in a carpeted room then you can cover the floor with a drop cloth while you paint.
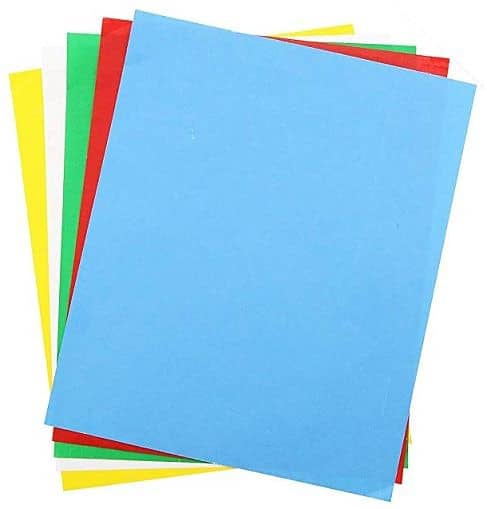
Dress Makers Carbon
Dress makers carbon is fantastic for transferring your drawings onto the canvas.
The carbon is water soluble so if you make a mistake you can use a damp cloth to remove it again.
It also comes in different colours so if you are painting a red flower then you can use the red sheet for the flower and the green sheet for the leaves. That way if your drawing lines do shine through in the final painting, then tend to blend in and disappear.
Extras
(not essential but useful)
There is a wide range of additives available which you can add to your acrylic paints. These are either used to change the consistency or properties of the paint. Two of the most commonly used are texture paste and retarding medium.
Texture Paste
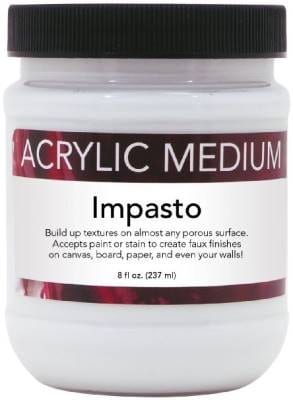
Texture paste (also known as impasto medium or modelling paste) added to soft body paint changes it to the texture of heavy body acrylics. Useful if you like your brush strokes to show in the finished piece.
For added texture you can also sculpt with texture paste directly onto your substrate, let it dry and paint over it. (You need a stiff substrate like hardboard to do this successfully. Flexible surfaces like canvas may result in the texture paste popping off.)
Texture paste can also be used to stick items to your canvas before painting.
You can learn more about how to use texture paste in my Texture Painting Tutorial.
Retarding Medium
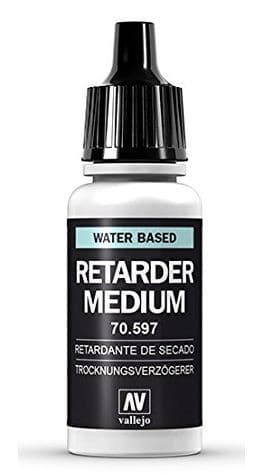
A common complaint with acrylics is that they dry too fast which makes blending difficult. However a medium known as a retarder can be used as an easy way of slowing down the drying time of acrylics enough to make blending easier.
Retarders come in different shapes and sizes, under different names and may be liquid or gel but they all work in the same way i.e. by slowing down the evaporation of water from the paint.
You can even make your own retarder using food grade glycerine available at a pharmacy. Mix 1 part glycerine into 4 parts water. You can then paint an even layer onto your substrate before you start painting or add the glycerine solution to the water you dip your brush into when painting.
Another useful retarder is KY Jelly which is basically water in a gel form. Mixing a bit with your paint results in the water in the gel being released slowly and hence the paint dries more slowly too.
Another way to slow the drying time of your painting is to use a spray bottle filled with ordinary tap water.
Make sure the spray bottle sprays a very fine mist and spray lightly onto your painting as soon as you feel the paint starting to drag on your brush.
The window you have for using a spray bottle is very narrow. If you spray onto paint which is already starting to dry (tack up), the water will lift the paint off and leave unwanted spots all over your painting. (This is an ideal way of simulating the texture of ground or sand but be sure to first cover any parts of your painting where you don’t want spots.)
An alternative to spraying directly onto the canvas is to use the mister to lightly spray your paintbrush. The thin film of water will be enough to activate the paint and won’t dilute the paint as much as dipping the brush directly into water would.
Acrylic Painting Medium
Acrylic painting medium has a number of uses.
It can be mixed with the paint as you work to make the paint go further and assist with blending.
It is also useful to seal surfaces before painting or as a clear layer over a finished painting.
Acrylic painting medium come in Matt or Gloss so you can choose what type of finish you prefer on the final painting.
Tip: Although it is technically not a requirement, I prefer to use the medium from the same manufacturer as the paint I am using. That way I know the two are 100% compatible with each other.
Glazing Medium
Glazing medium is used to dilute paint for painting very thin transparent layers. It is better than using water as too much water could cause the paint to lose it ability to bind properly.
The glazing medium ensures there is enough binder for the very thin paint to adhere to adhere to the canvas.
Acrylic Varnish
Varnishing a finished acrylic painting brings out the depth of colour and is an extra layer of protection. The varnish comes in matt, gloss or satin finish.
Tip: Satin varnish is a mix of matt and gloss so gives you a semi-gloss finish to the final painting.
Secret: A varnished acrylic painting can often make it look indistinguishable from an oil painting.
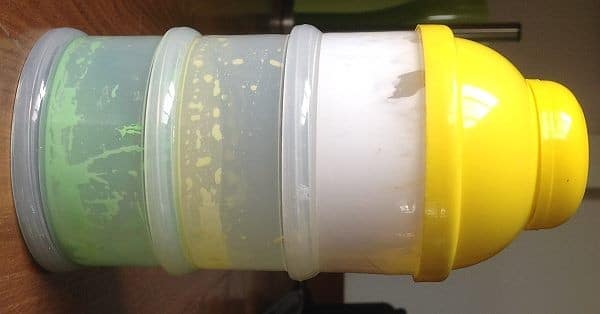
Storage Containers
If you need to store paints for extended periods of time that you have custom mixed, then you can use these containers.
They are normally used to dispense baby formula when travelling, but they work fabulously for storing paint in as they are air tight.
When not using the colour, make sure the lid is tightly closed. If the paint looks like it’s getting too dry, mist lightly.
The paint remains usable for up to two weeks or more in these containers.
Gesso
Gesso (pronounced djesso) is essentially a mixture of a binder glue and a chalk pigment.
It is used to seal the surface you are painting on. Traditionally that would be a linen canvas or a wood panel.
Important: Gesso is NOT the white paint you paint with. Gesso has a glue binder which makes it flexible and thus suitable for sealing surfaces. You can’t use normal white paint to seal a surface (gesso is the cheaper option anyway). By the same token you don’t want to use gesso as a white paint when painting.
That concludes this introductory lesson on acrylic painting.
Once you have your equipment, then you can move on to the next tutorial on painting some delicious apples.
Click the button below to view the real time follow along version of this class:
Pin Me
