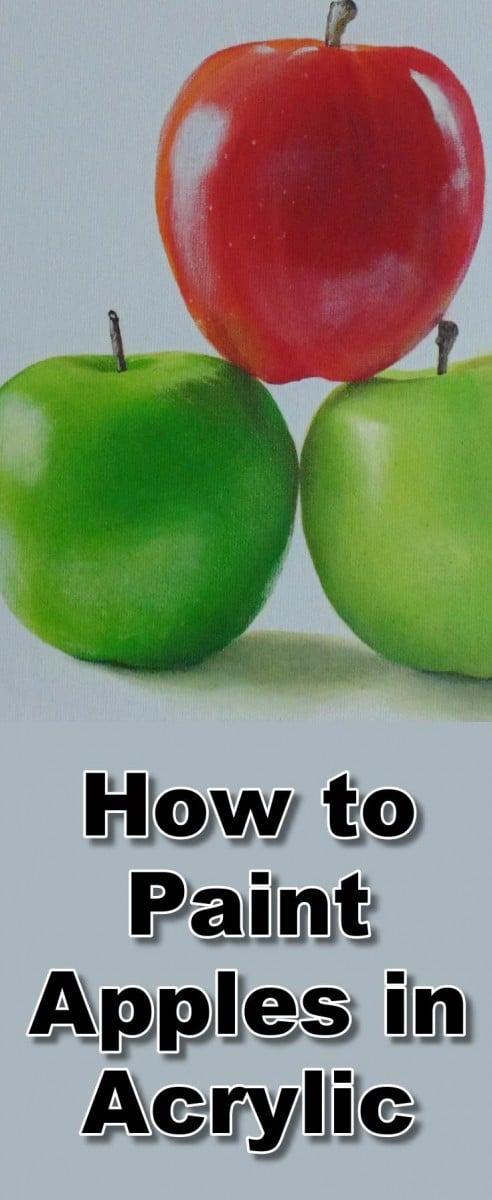
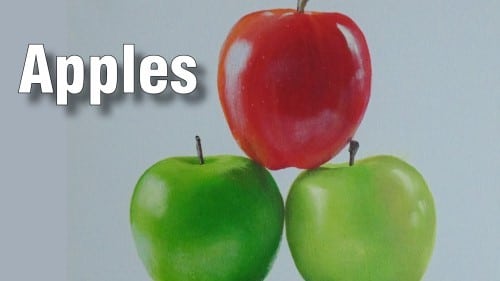
Class Video
Class Tutorial
Introduction
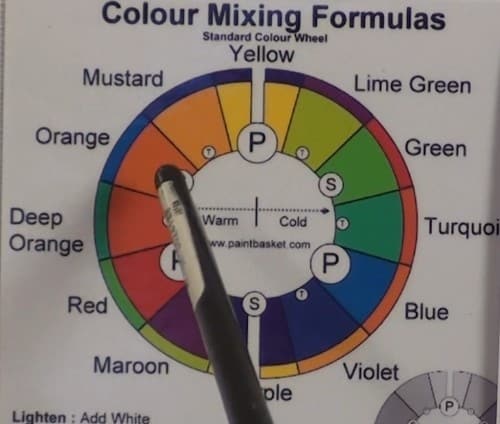
There are two important aspects of colour mixing:
1. Know the colour wheel – know it by heart – OWN it!
2. Know the rules of colour mixing.
Using the colour wheel
Find the three primary colours (blue, red, and yellow) on the colour wheel. They are the only true colours that you actually need to buy.
Now move on to secondary colors. They are made by mixing a small amount of one primary colour into a larger amount of another primary colour – yes, just like in your early school years when you learned that yellow and red made orange, and so on. The three secondary colours are orange, green, and purple.
Then, tertiary colours are made by mixing a secondary colour and an adjacent primary colour, to create colours such as yellow-orange (mustard), red-orange (deep orange), yellow-green (lime), blue-green (turquoise), blue-purple (violet), and red-purple (maroon).
Know the opposite colours:
YELLOW – PURPLE
BLUE – ORANGE
RED – GREEN
Colour mixing rules
1. How to mix a highlight colour:
First hold the colour wheel so that YELLOW is at the top (think SUN!). To make a highlight colour, add a bit of the next color UP on your colour wheel and a tiny bit of white, if necessary, to lighten it. Listen as Nolan explains why to NOT add white alone to create a highlight. White creates a grayer or duller version of a colour; it does not create a highlight.
Compare the highlighted colour against your reference. Add a tiny dab of the opposite colour to dull it down if need be.
2. How to mix a shadow:
Use the opposite colour to your base colour to get the closest shadow colour. Compare to your reference picture and adjust as needed.
Spotting the underlying colour
Where the sun hits the object will obviously be where the highlight colour is.
Your base colour will be between the highlight and shadow. Once that is determined, then you will use the next colour up to highlight or lighten it; and use the next colour down to darken it; and lastly use the opposite colour for the dark shadow.
When an object is reflective, look for the actual colour under the reflection and paint that first, then put a light layer of the reflected colour on top.
Red apple - mixing colours
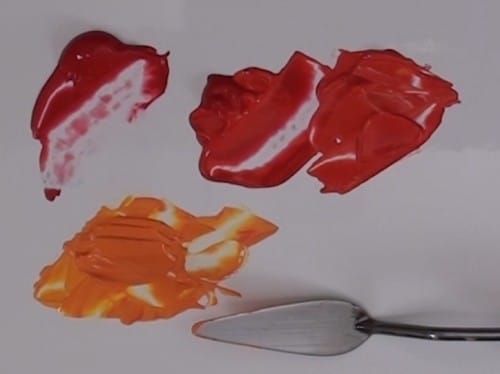
Lay down some red, then add some orange to lighten it, then add yellow to the red -orange mix to create a highlight colour. A weak colour like yellow is best laid down first , then small amounts of the darker colour should be added gradually.
Red apple - painting the base layer
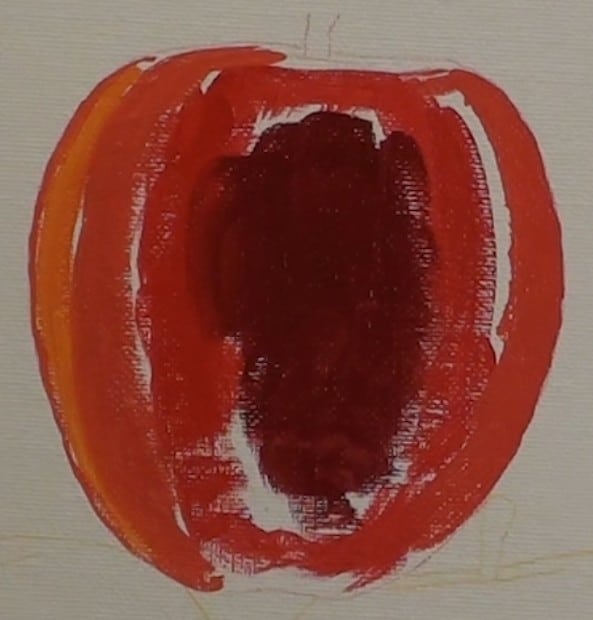
Use your preferred method to transfer the shape of the apples onto the canvas.
Pick up some of the pure red paint on your filbert brush and lay it next to your reference photo. The areas it matches most closely will be the areas to paint first. Wipe excess paint from your brush and continue with that technique for the next darker tone. Follow that with a lighter version. Then paint the yellowish tone close to the left edge. End with a darker tone along the far left.
Add the appropriate tones in the correct places for the remainder of the apple.
Wipe the excess paint off the brush. Use the brush flat and blend the colours lightly together.
Now use a smaller brush to paint the top of the apple, using the colours as seen in the reference photo.
Create a looking-in effect by using a lighter shade for contrast. Be sure to dry the paint thoroughly before adding any more paint on top of it.
Red apple - detail
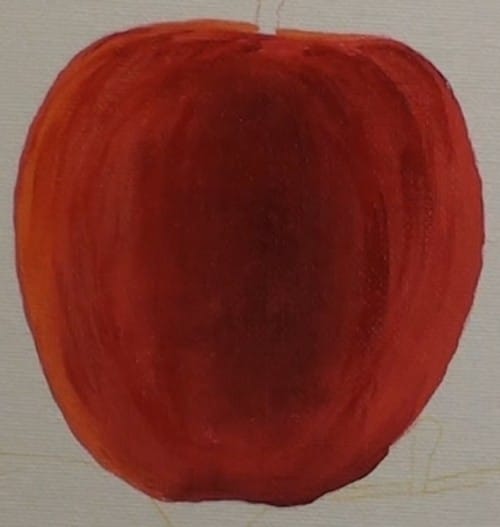
Return to using the the filbert brush to paint the subtle lines on the apple. Be sure you contour the lines to the shape of the apple. Remove excess paint from the brush and soften the lines. Dry the apple to “set” the paint.
Mixing the reflection colour
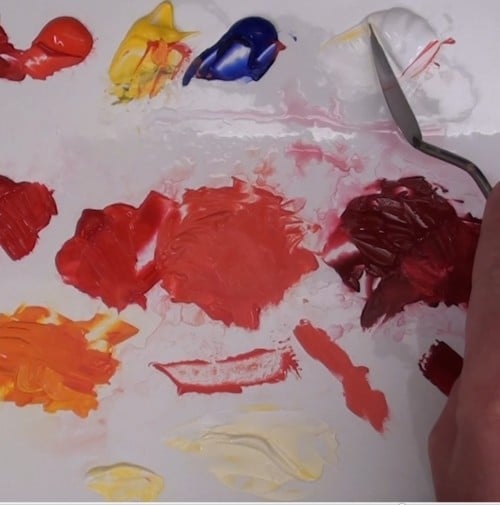
Mix a white-yellow color for a sun reflection.
Red apple - painting reflections
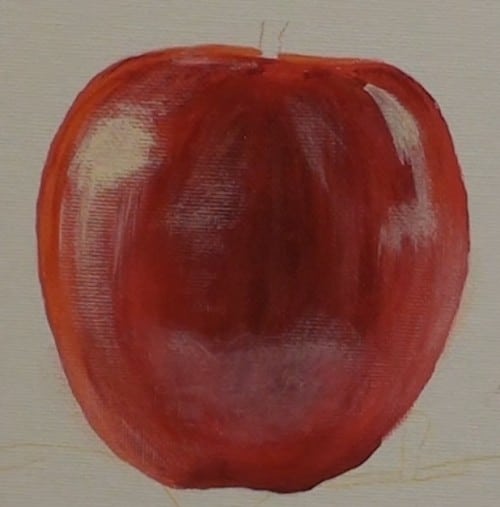
Using a filbert brush, begin putting in reflections in the sunlit areas. Avoid leaving hard edges.
Finish up with the other types of reflections.
Green apple - colour mixing
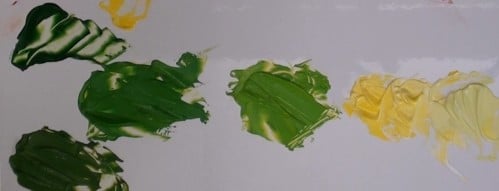
Save the red colours off to the side, then clean the palette.
Mix a green for your base colour, then all the other tones of it that you will need.
Green apple - painting
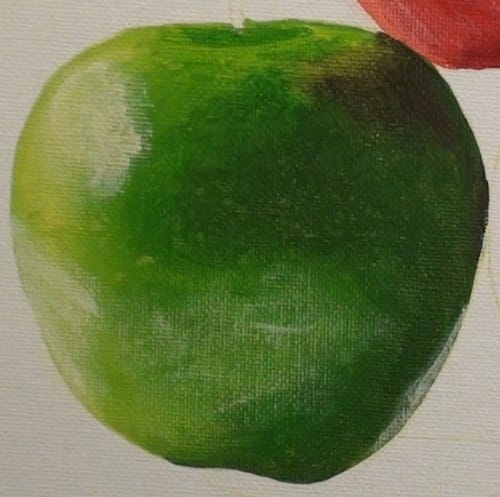
Use the same techniques for applying the paint as you did for the red apple. Add the light dots as randomly as possible. Use the same reflection colour to paint the sunlit areas, then a reddish colour to show the reflection from the red apple.
Use all the same techniques to paint the third apple.
Painting the stems
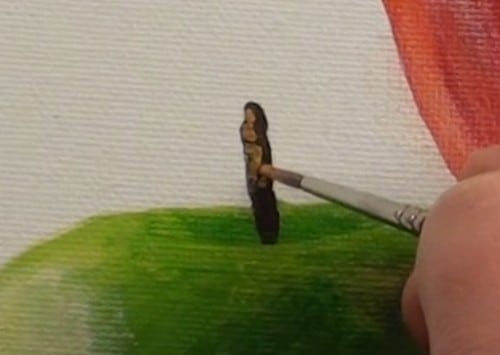
With a fine liner brush, apply some raw umber to the stems. Dry. Dab on some highlights with yellow ochre.
Cast shadows
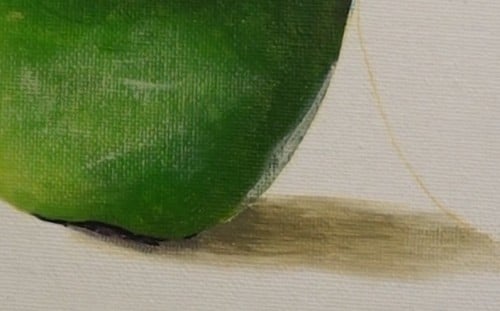
Note that the shadows cast by the apples are darker at the base, then fade away. Add some green to the black shadow colour and paint the shadow. Use a damp filbert brush to soften out the shadows.
Final painting
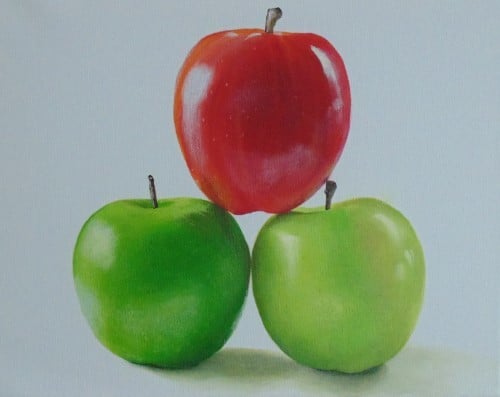
Click the button below to view the real time follow along version of this class:
Pin Me
