Short Class Video
Class Tutorial
Drawing the eyes, ears and nose
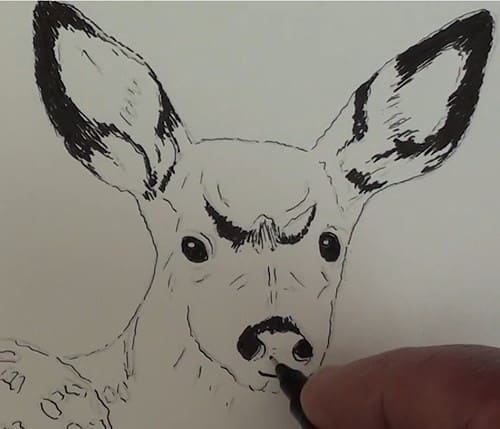
Where there is no need for very thin lines I will use a 0.3mm felt-tipped pen (UNIPIN black waterproof) to fill in any of the dark areas. Because of the fur, I am adding in the darks of the ear with a series of short lines. First fill in all the darkest areas of the ears as well as the forehead and nose.
I’ve gone back to my mapping pen. When adding the shading carefully compare what you are doing against the reference photograph. Be careful in not adding in too many lines. It is easy to draw in but extremely difficult to erase. Rather begin a bit lighter than you think it should be. You can always come back later and darken up where necessary. In some areas you can use cross-hatching but mostly keep the lines to follow the contour of the body.
Drawing the face
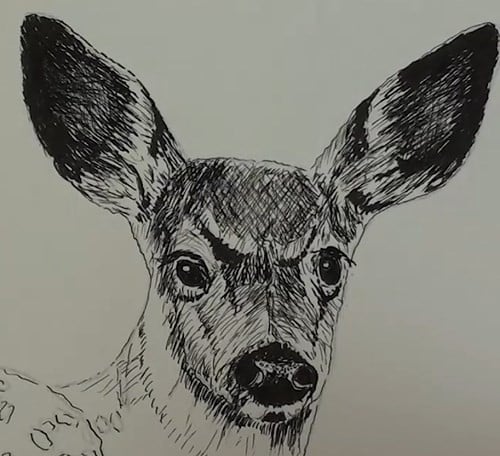
Don’t be too hasty to complete the face as this is the main focal point of the painting. You don’t want to loose the characteristic look in the face. Think carefully on where you place each pen stroke. Draw in the shading under the mouth and the few lines around the neck. This helps with the shading of the face. Notice how the lines show up the volume of the face and head. Because the main light is from the left, the right side will be in shadow.
Drawing the neck area
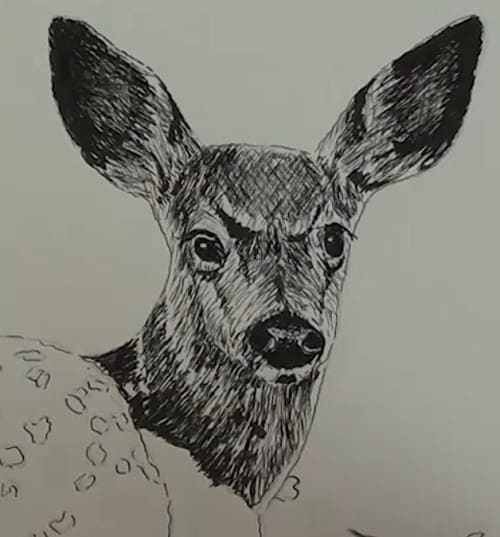
A few touch-ups to the ears and face. There are some dark areas in the neck so back to the felt tipped pen. Even in the dark areas all pen strokes must follow the lay of the hairs as they indicate the volume and perspective of the body.
Drawing the main body
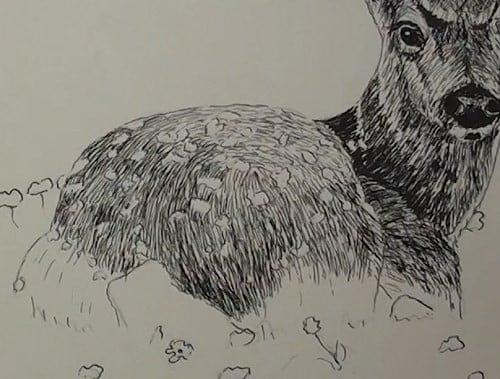
Here we need the fine pointed pen. Add a few light guide lines to help in the adding the fur. At this stage leave all the white spots clear of any lines. The body has some subtle tonal ranges, ie, some places lighter than the others. I suggest first adding the fur in very lightly over the whole body, following the guide lines. Do this specially is you are a beginner with pen and ink drawing. I have years of experience so I’m going ahead and directly adding in the majority of the shading as I work. The pen strokes change in the area of the neck against the body. Continue until you reach where the body disappears into the grass. Edge off neatly against the small stones.
Drawing the grass
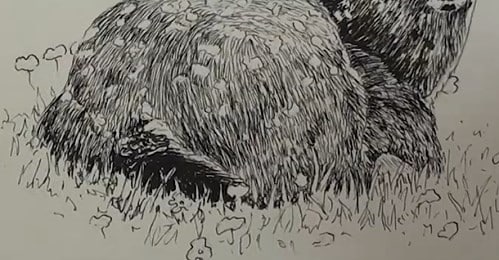
We change techniques here for where the grass overlaps Bambi’s body. Plot the long grass and then shade next to them so that the blades stand out as light colored grass. Add a few strokes to suggest grass in the foreground. Where I fill the darks of the tail you can see how I indicate the blades of grass. Finish off the grass on the left. Do some final touch-ups where you feel it is necessary.
Painting the watercolor wash over the Deer
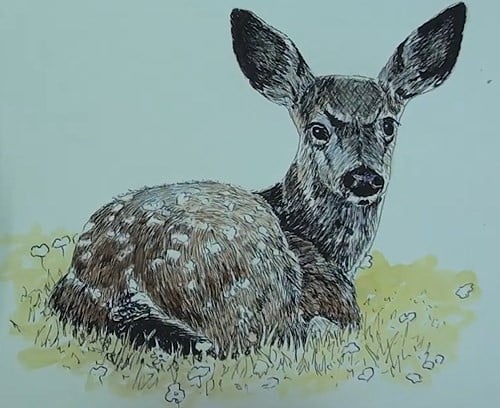
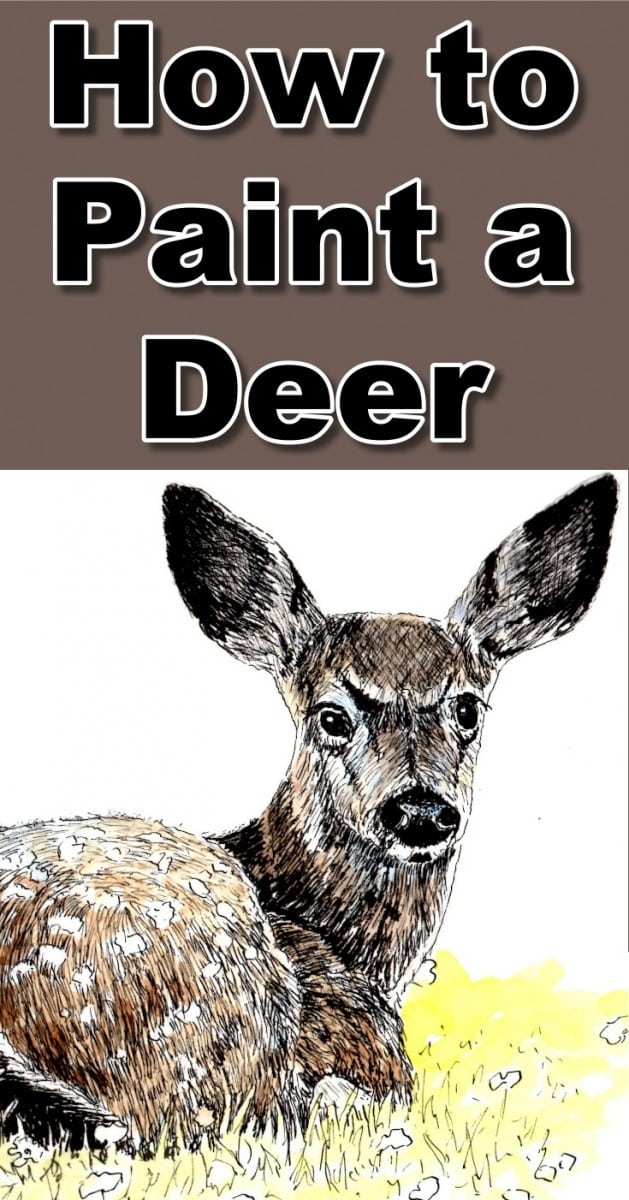
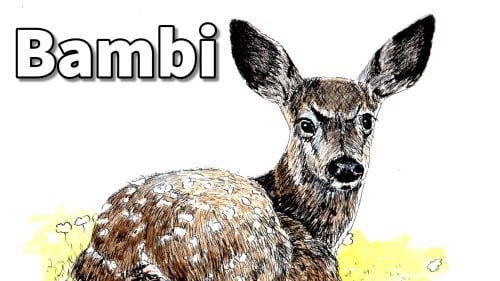
Paint in some light yellow-green color in the background, leaving open the rock, fallen leaves, and the flowers. Mix some Burnt Sienna with a touch of Blue and lightly wash it over the body, leaving out the white spots. Wash a very light grey over the face without covering the very light areas. Make a dark brown mix and carefully darken up the deeper shadow areas.
Final drawing
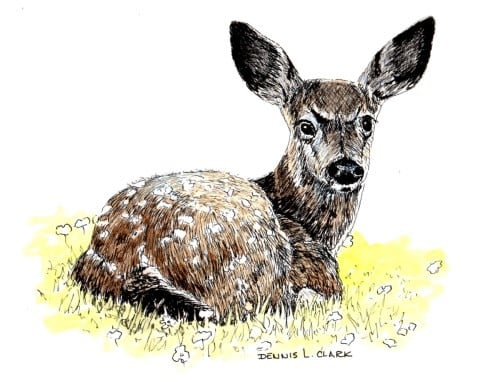
Click the button below to view the real time follow along version of this class:
Pin Me
