Class Video
Class Tutorial
Template
Instead of making a tracing and then transferring the outlines, you may also use the printout (If you don't mind marking it.). Place a blue Dress Makers transfer sheet under the print and tape the print securely to the drawing paper. Use a black ballpoint pen to do the transfer. With this method you can easily see if all the necessary outlines have been transferred.
Begin the outlines
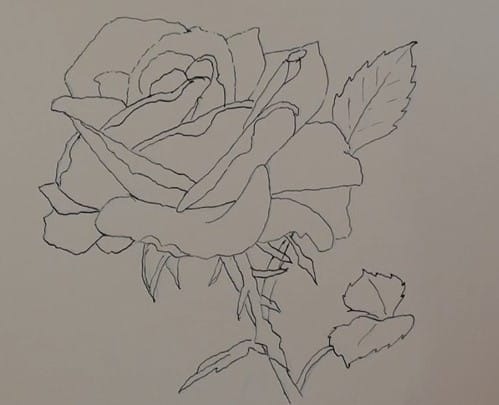
Begin the outlining of the rose and petals. Do this with the thinnest nib possible as we don't want a thick line spoiling the final drawing. Here a mapping pen nib is being used.
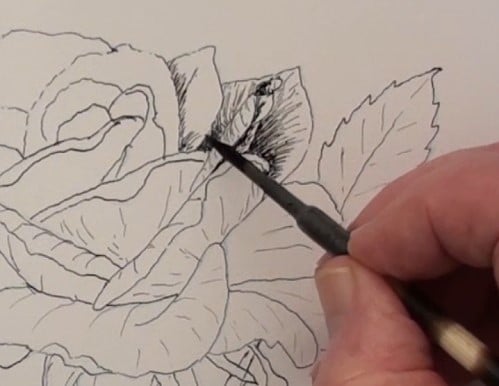
Start indicating the molding (forms) of the petals
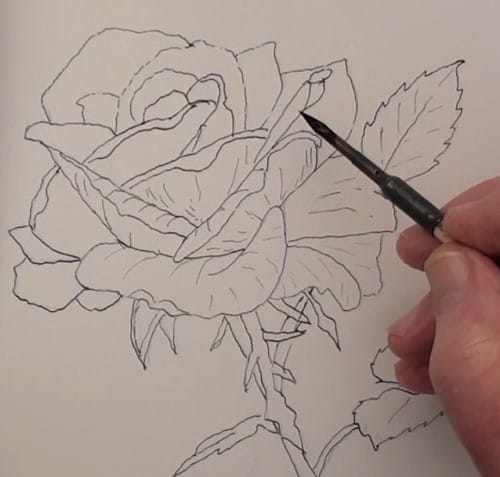
The petals are not flat and somehow we have to give the illusion of rounding onto the flat surface of the paper. In order to do this correctly we need to very lightly sketch in some guide lines. Notice how this is drawn in with curved lines.
Begin the shadow areas
Begin to add in the shadows cast by the upper petals. By adding these shadows to the rose drawing the shape and form becomes quickly visible. Don't deepen the shadows too much at this stage.
Progress on the petals
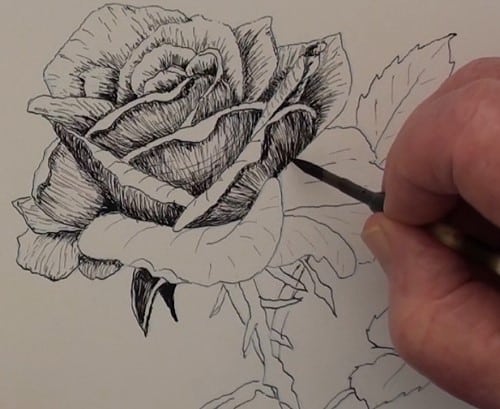
The rose petals are almost finished. Be careful in not filling in too much into the highlight areas. There has to be a good balance between light and dark areas. Notice in the middle petal there are a few horizontal curved lines that add to the impression of the petal rounding.
Add the water drops
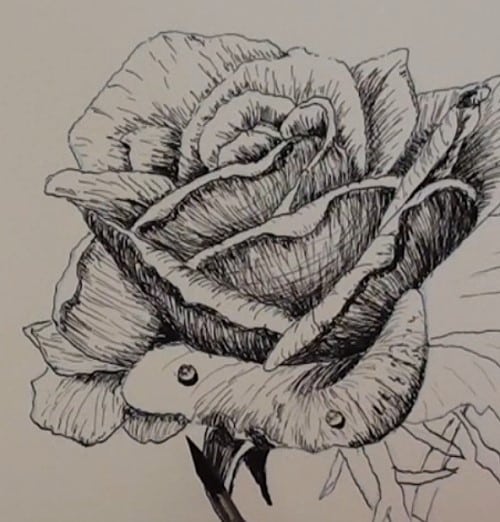
Draw in a few water drops for interest. (a few drops of rain) Be careful in not leaving out the highlight.
Final touches to the rose
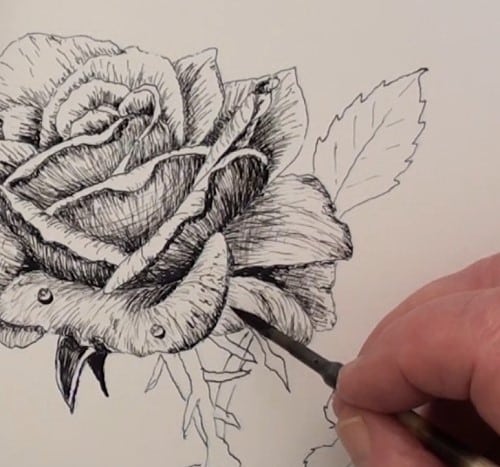
For the petals facing directly towards the light source (top left) only a few thin lines are needed to show up the petals. Add a few discreet cross-hatchings in the very dark areas. Remember to periodically clean the dried or semi-dried ink off the nib.
Drawing the stem and leaves
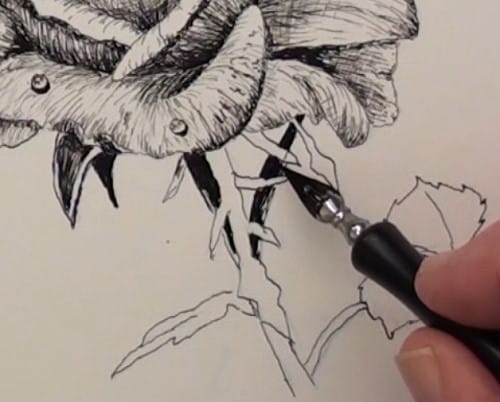
Here you may use a thicker nib for the blocking in of the main shadow. Finish off the leaves with short straight lines. Leave the caterpillar-eaten hole in the one leaf for interest.
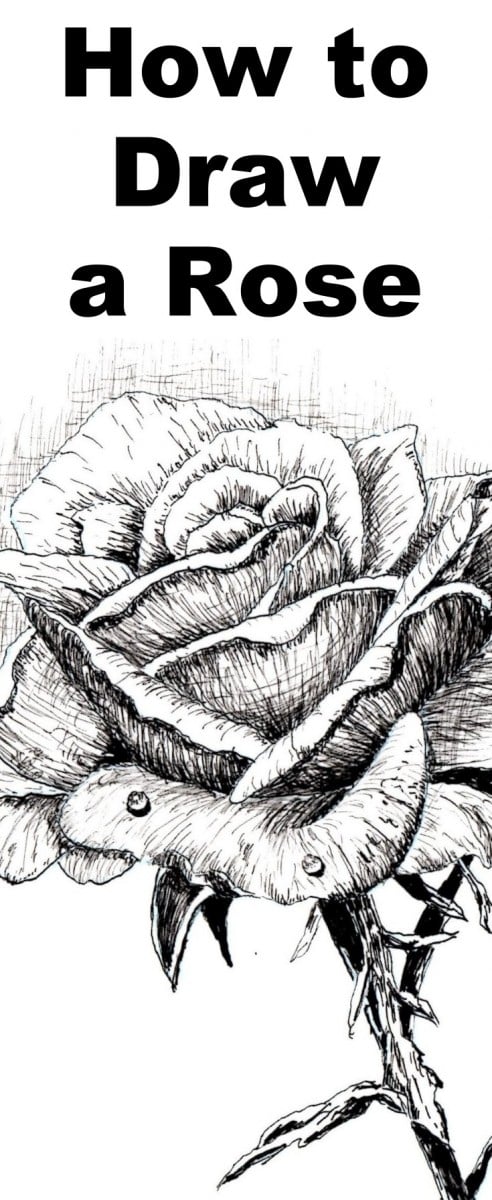
Final drawing

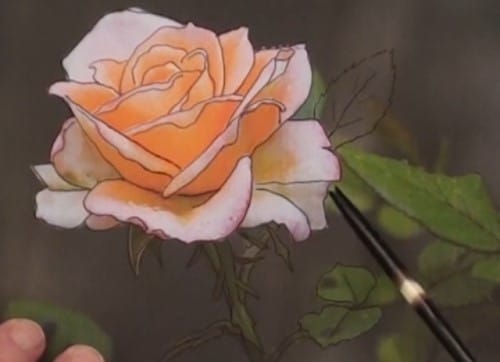
Click the button below to view the real time follow along version of this class:
Pin Me