Short Class Video
Class Tutorial
Template
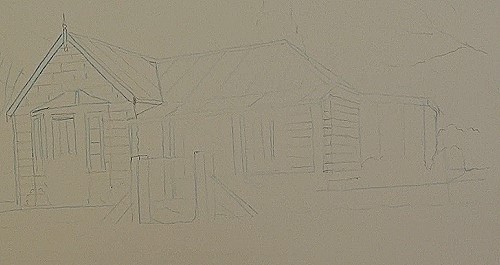
Transfer the template outlines to your drawing paper. In this lesson a blue dress designer’s transfer paper has been used.
Start outlining the house
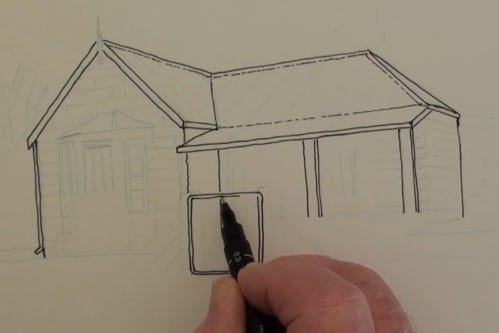
Begin the outlining of the house first before any detailing starts. This will bring the whole structure into view. Notice that not all lines are solid. A 0.3mm pen has been used here. Don’t make the lines too thick.
Add the gate and posts
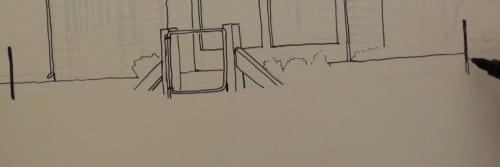
Add the posts and the gate’s main structure. Be careful not to fill in the “invisible” lines.
Begin the bay window
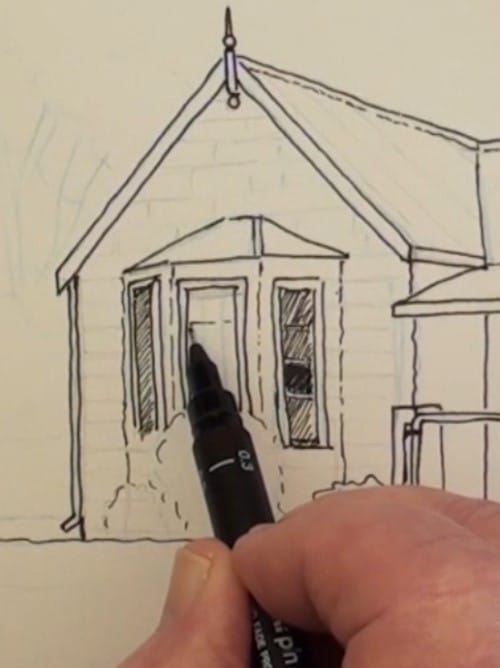
When drawing in small and intricate details it is good practice to have the reference print/photo close to where you are working. It reduces any error that may occur. The reflections on the glass are executed with sloping lines.
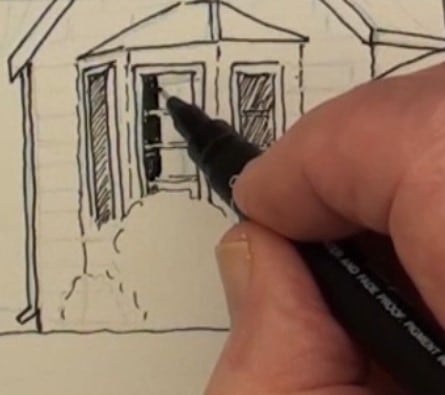
Complete the bay window and the shrub below it. Add the window on the right.
The tree behind the house
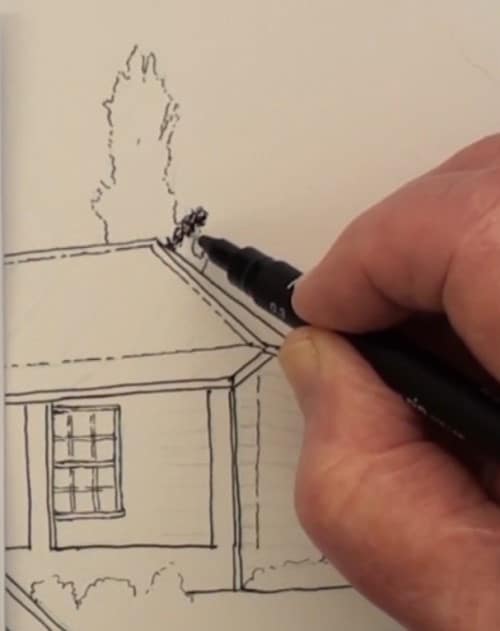
Sketch the tree outline with a series of short strokes. Do not make it a solid outline. These small lines will later give the illusion of leaves. Begin adding the illusion of leaves with small strokes in various directions.
Draw the roof
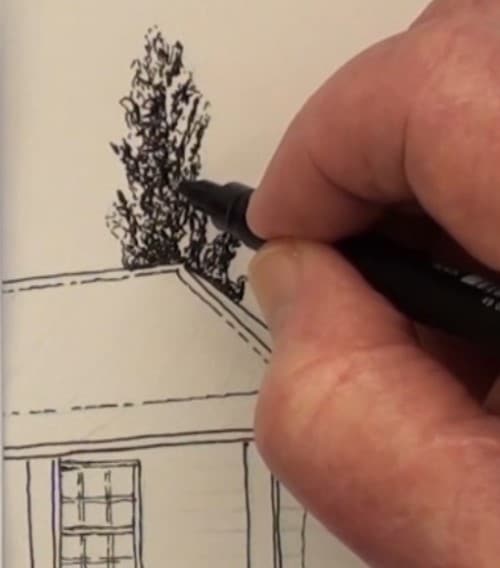
Here you can see the finished tree. For the corrugated roof in the sun use the “long stroke-dot-long stroke” method with the lines not too close to each other. Don’t line all the dots up – stagger them. On the shadow side the lines are all solid and close to each other to give the impression of the roof in shadow. Add the shadows under the gutters and finish the veranda roof.
The masonry at the bay window
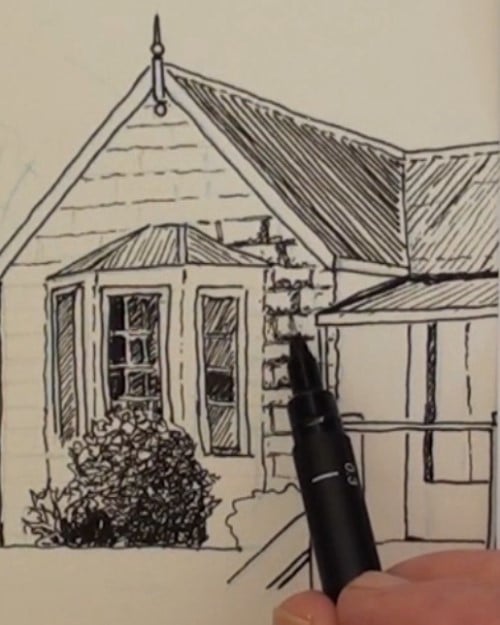
Carefully draw in the profiles of the blocks. Notice the lines are not solid. Begin also to add the shadows below each block and on the right hand side as the sun is shining from the left.
Add some very thin diagonal lines for the cast shadow of the eaves.
The left hand trees
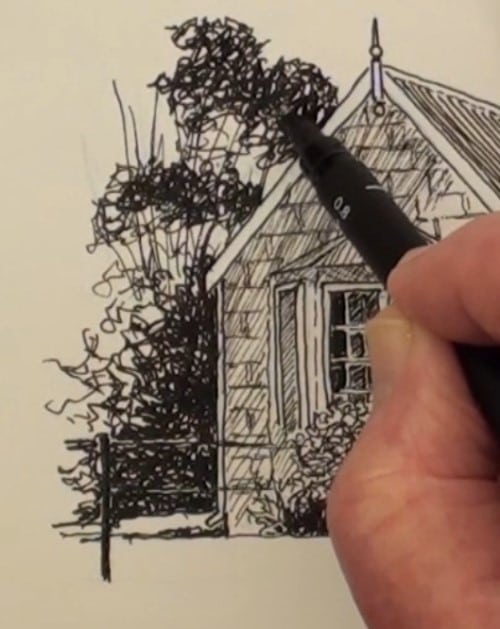
The finished wall. Begin, with squiggly strokes, to add the shrub at the house corner. Then draw the gum trees as shown.
The main tree on the right
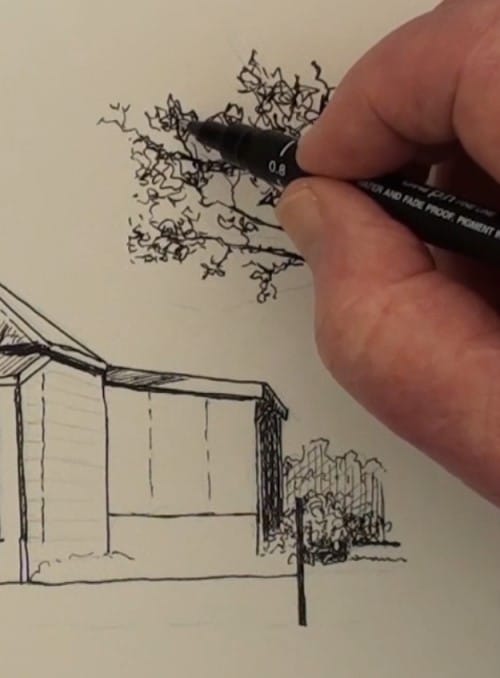
This is actually one of the branches off the tree. The branches thin down towards the tips. Don’t try to draw individual leaves. The side twigs on the tree are thin lines. Notice that the distant trees are drawn in very lightly with a thin nib. Add vertical lines for the shading.
The right side of the house
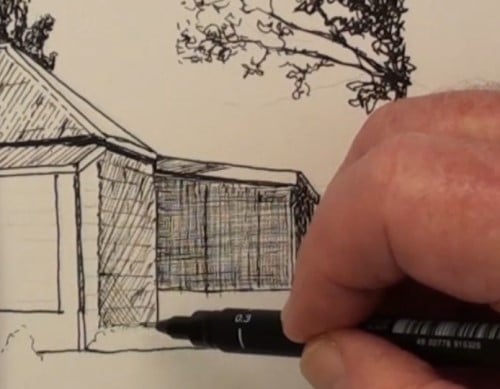
Because the sides of the lean-to is made from shade cloth, draw, with thin lines, the cross-hatching with horizontal and vertical lines. The masonry blocks on the side have been lightly sketched in. Use diagonal lines to give the illusion that the wall is in shade.
Work on the verandah
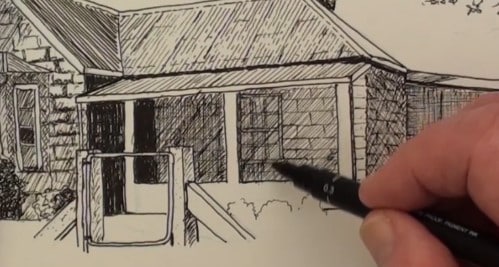
The walls and the windows are in complete shade and all the diagonal lines are added only after the masonry blocks have been sketched in. The doorway is very dark and the short wall next to it is in deeper shade. Don’t obliterate the sandstone block – they must just be visible.
Add vertical lines as well in the shaded wall. They add to the impression of a vertical wall. Add extra crosshatching to the shadows on the bay window wall.
The front garden
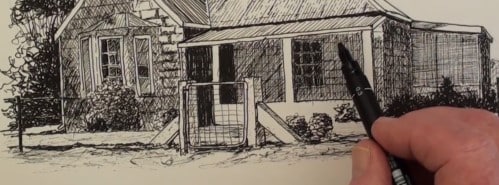
Add some fence posts as shown. Draw in the plants next to the walls and near the gate. Draw in the wire netting on the gate and begin marking in the foreground.
Finishing off the drawing

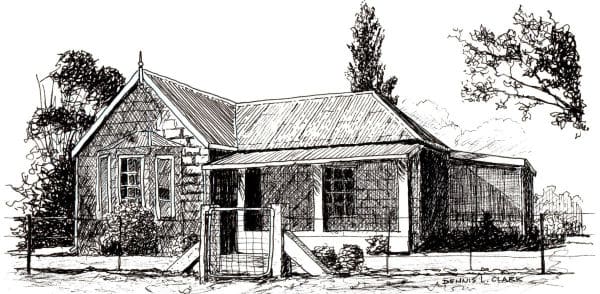
Add the roof shadow on the right and add some shadow cast on the lean-to side wall. The shade of the wall under the veranda is not deep enough so add additional diagonals opposite to the first set. Add a bit more shading to the gate posts.
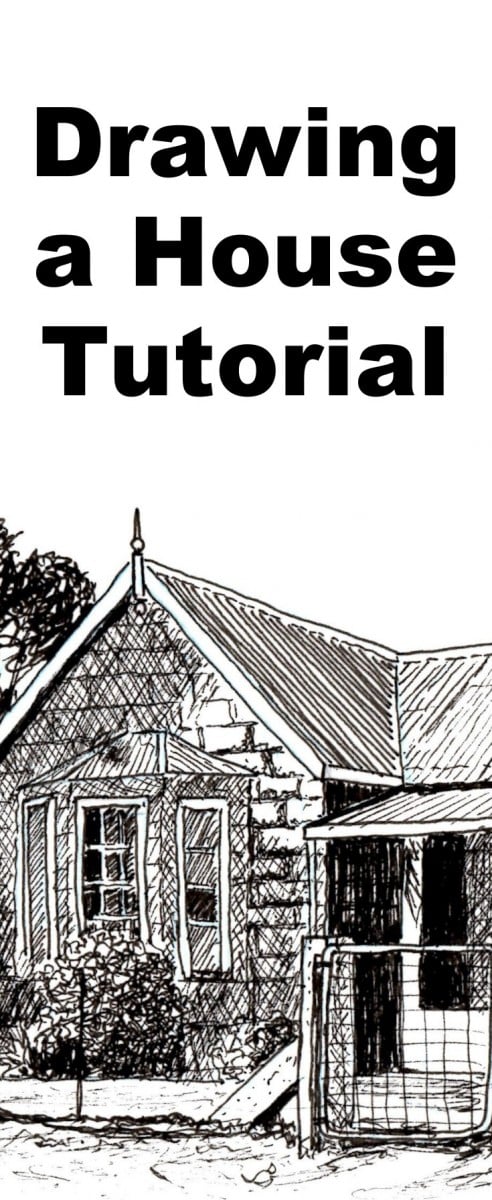
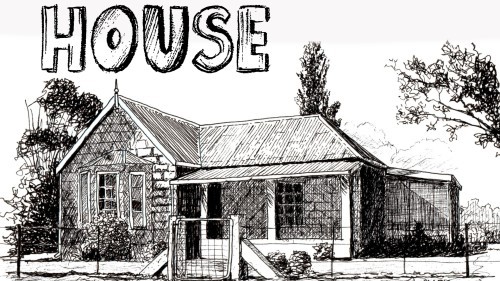
Final drawing
Click the button below to view the real time follow along version of this class:
Pin Me
