Short Class Video
Class Tutorial
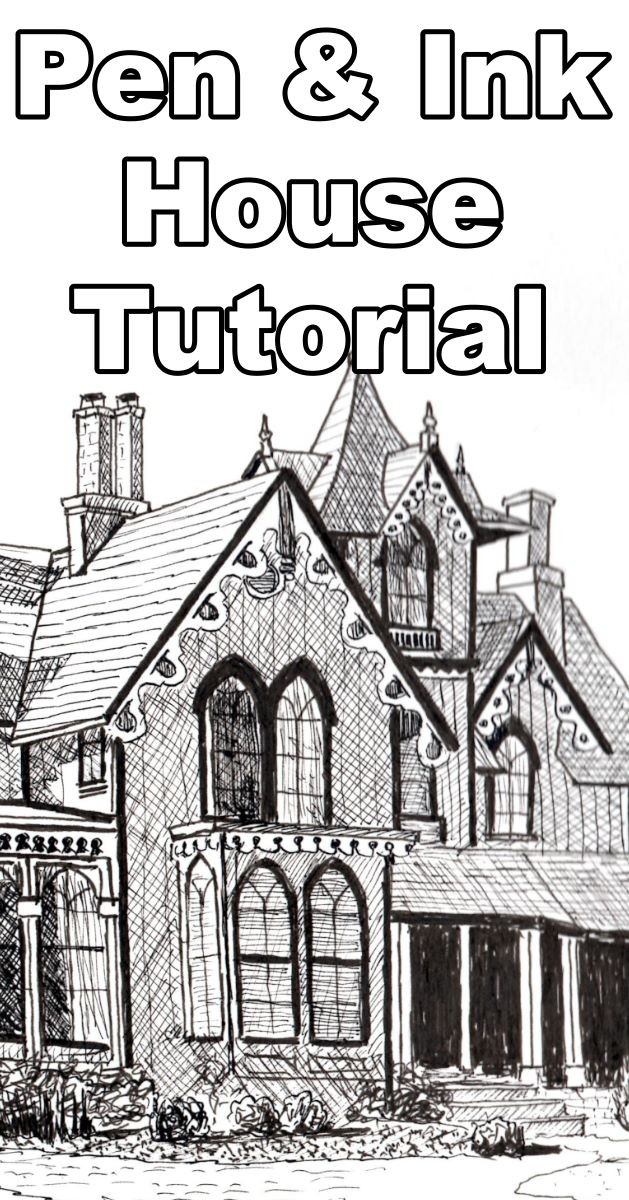
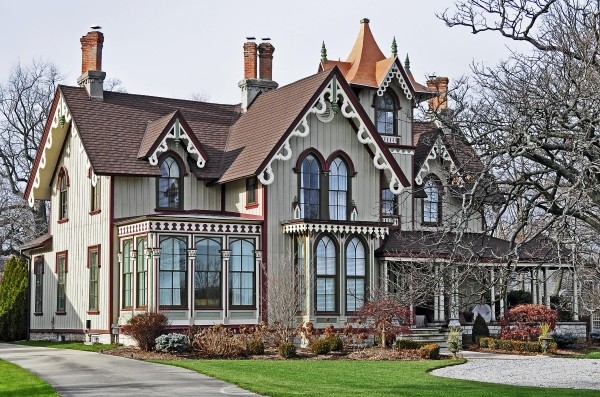
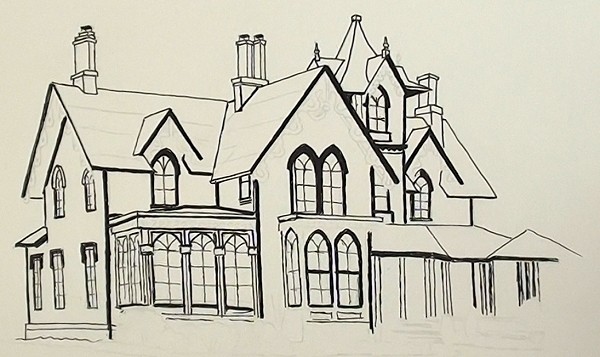
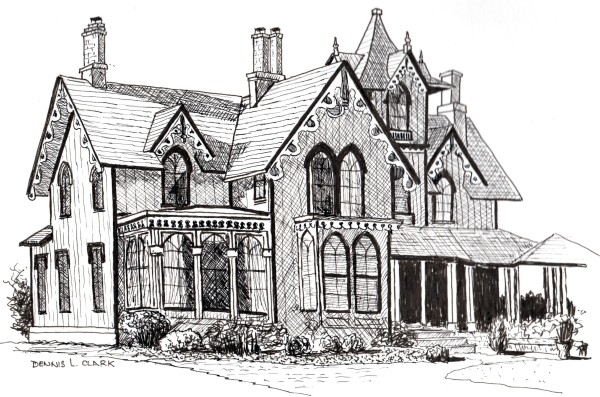
We are going to draw this beautiful house:
When drawing any structure in pen and ink take your time in drawing it as accurately as possible. The most important aspect of drawing is getting the perspective correct.
Take note of the Vanishing Points, especially with regards to two and three point perspective.
All horizontal lines on a plane will eventually meet out into the distance. If you don’t get this correct then your house will look skew.
I have started the drawing by sketching it out in pencil first. That way I can fix any skew lines before committing them to ink.
We will start this tutorial at the ink stage.
Establish the Framework
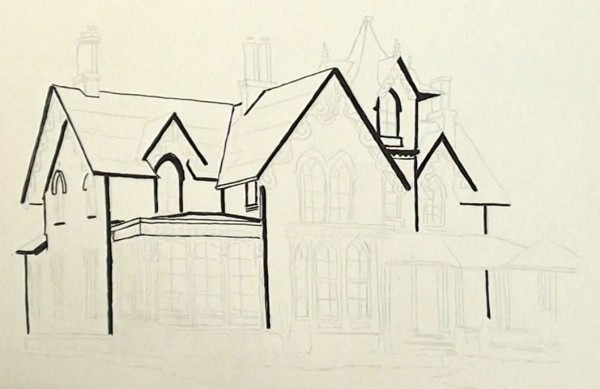
The framework is most important. Take the human body for instance. It would only be an immovable lump of Flesh were it not for the skeleton to hold it up and keep it together. The same goes for a house. The wooden house needs a framework to hold all the other planks together.
When drawing a building such as this one I normally plot in as much of the dark lines as possible, in this case where all or most of the shadows are cast. This method forms a lovely framework for the rest of the drawing. This makes it much easier when we come to draw in all the lighter lines.
Establish the Features
Once the framework has been established, go ahead and draw all the features of the house.
Use a 0.1mm pen with waterproof Indian Ink, and begin drawing in all the thinner lines of the chimneys, windows, pillars, verandas, window panes, etc.
Don’t use a ruler for all the straight lines. Drawing them by hand adds to the character of the final drawing.
The Drawing Process
Now that the basic features of the house have been established we can move from one area to the next filling in all the detail.
I like to do this in a two step process by first drawing in the detail, then establishing the tonal values in that area.
Let’s start off with the left hand room. Draw in the barge boards and the detail around the windows for the left and right hand walls of the room.
The next step in the process is to establish the tonal values of the walls.
Each wall is at a different angle so the light hits it differently. The more the wall points towards the sun, the lighter it is.
Then you also have the situation where the one object casts a shadow on the other. A good example of that is the overhang of the roof casting a shadow on the wall.
These shadows and tonal contrasts turn our flat drawing into one the looks three dimensional.
In situations, like on the side wall, where the wall is in full sunlight, then just draw an indication of the panels that have been used to form the wall.
In other words, you only draw the detail and no shadings.
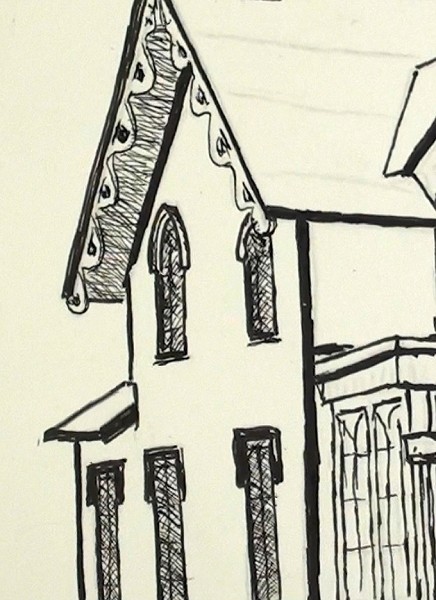
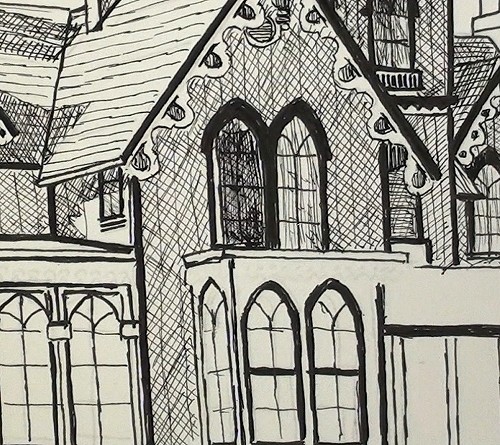
Right Hand Room
The top right hand room is further away from us so we will add less detail to this room.
Notice how I have only added the most basic suggestion of the barge boards.
The shading is quite deep in this area so use overlapping cross hatching strokes to show this dark tonal value. The darker an area must be, the closer the cross hatches are to each other and the more directions you hatch in.
Drawing the Roof
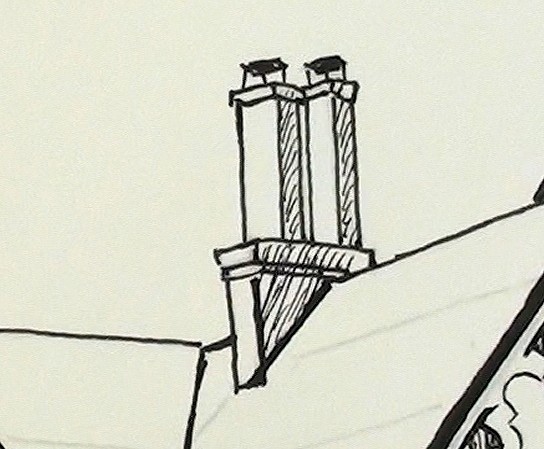
Notice how the chimneys also only get a basic amount of detail. They are not the focal point of the house, so just suggest details like these.
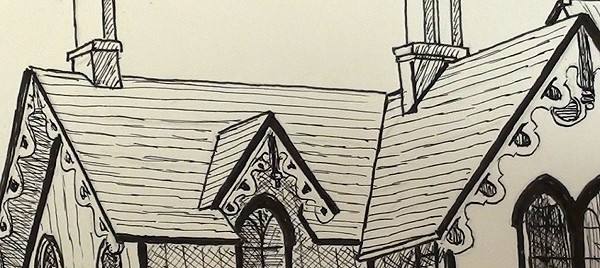
Draw the roof tiles in broken lines. Make sure the lines conform to the perspective of the roof by drawing them towards their respective vanishing points. If you would like to learn more about perspective, you can follow our tutorial about Perspective and Vanishing Points.
The lines are drawn broken to suggest individual tiles on the roof.
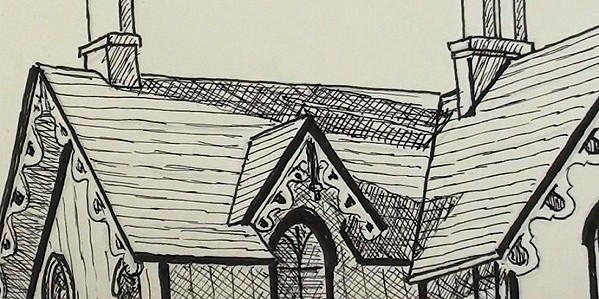
With the roof detail drawn in you can add shading to it. Here the chimney’s cast shadows on the roof. These cast shadows add an extra dimension to the drawing.
For interest use different types of cross hatching to show the various textures such as tiles, curtains, deep shadows, etc.
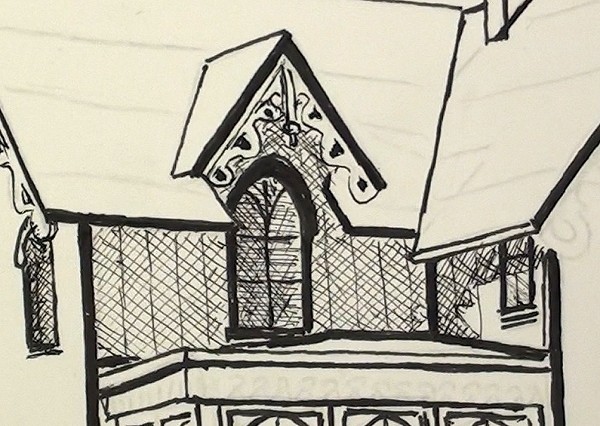
Drawing the Front Room
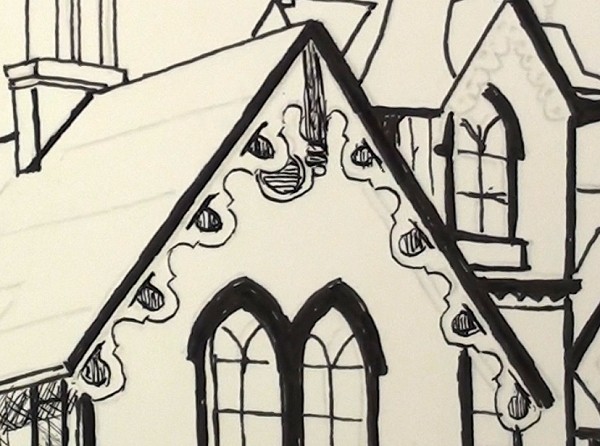
The front of the house is basically the focal point of the house so we will add lots of detail here.
Notice how much more effort I have put into drawing these barge boards as a result.
Here you can see how I have use vertical hatching to indicate the closed curtain and very close hatching to show how dark it is inside the house where the curtain has been pulled back.
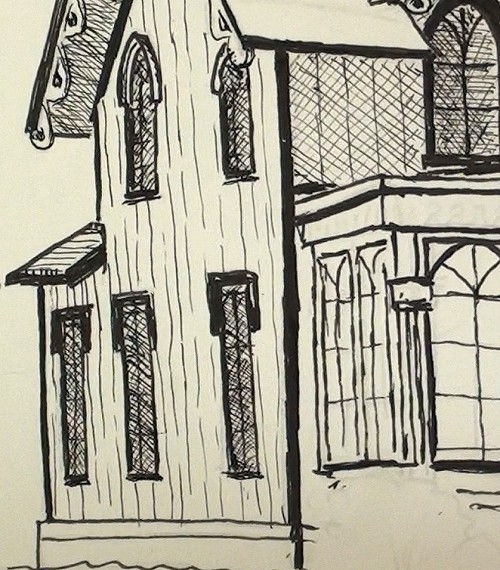
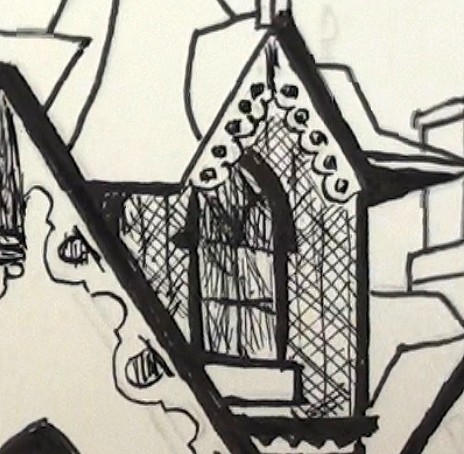
Drawing the Conservatory
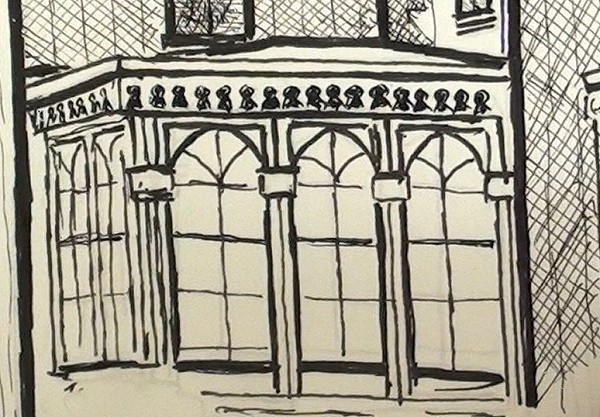
There is a lot of fancy facades at the conservatory and the alcove. You do not need to draw them all in perfect detail. Rather suggest the detail. The mind is a wonderful entity as it will fill in all the relevant details for you.
Draw all the horizontal lines of the window shuttering – again they point towards their respective vanishing points.
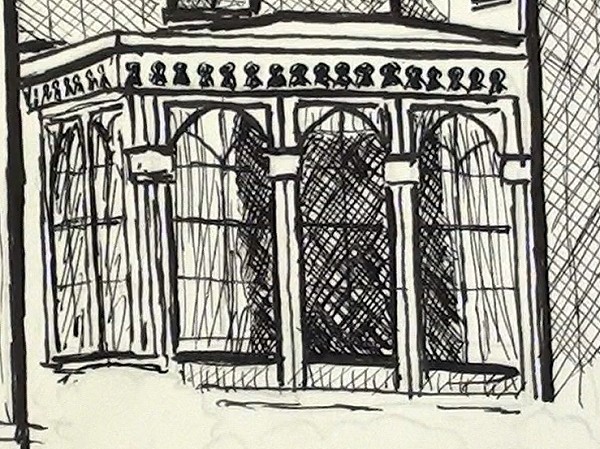
The smaller window to the left is in sunlight so I have suggested some reflections using diagonal scribbles.
To add further interest to the drawing use various thicknesses of pen nibs. They vary from 0.1mm to 0.5mm for the ones used the most. For the very thin lines use the 0.1mm nib or a mapping pen nib which I have used here.
Drawing the Garden
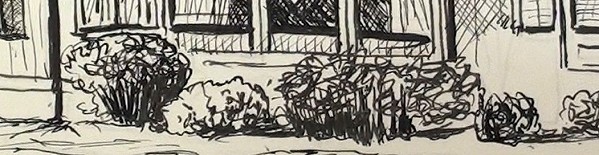
When you draw vegetation simply sketch the outlines and fill in with squiggles and straight lines depending on what the object is.
Here you can see how rough the scribbles are. All I am interested in drawing is the highlights and shadows of the plant and it’s overall form.
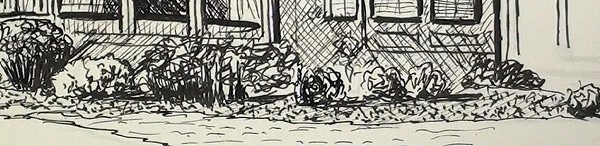
The ground is drawn using a multitude of dots and the grass is suggested with short sharp horizontal lines.
Drawing the Entrance
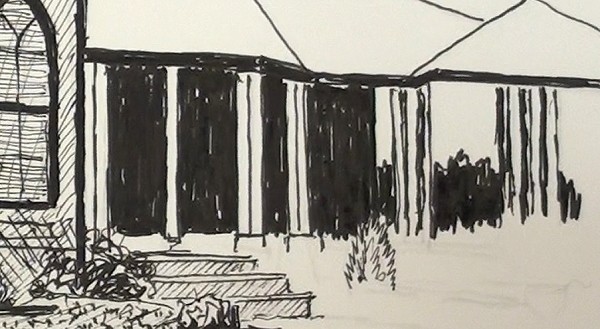
Underneath the veranda everything is very dark so use your thickest nib to quickly block this area in. Also create the silhouette of the plants visible to the right.
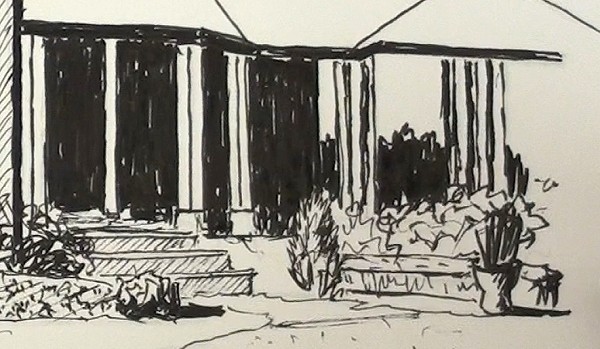
We can now add the steps and shrubs in front of the entrance. Don’t make these too dark. They need to be light in order to contrast against the dark veranda.
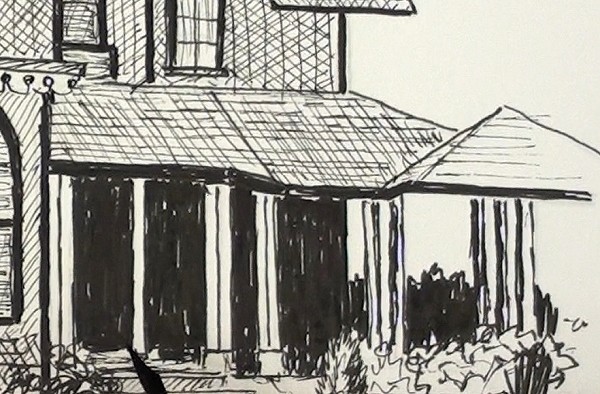
Complete the drawing by adding shading to the veranda roof.
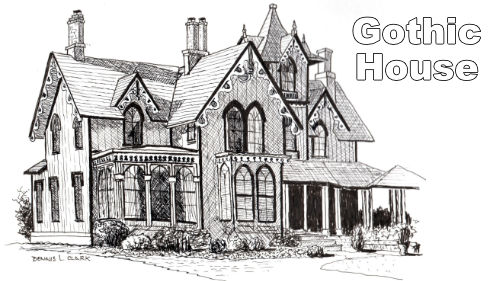
This is what the final drawing looks like:
Click the button below to view the real time follow along version of this class:
Pin Me