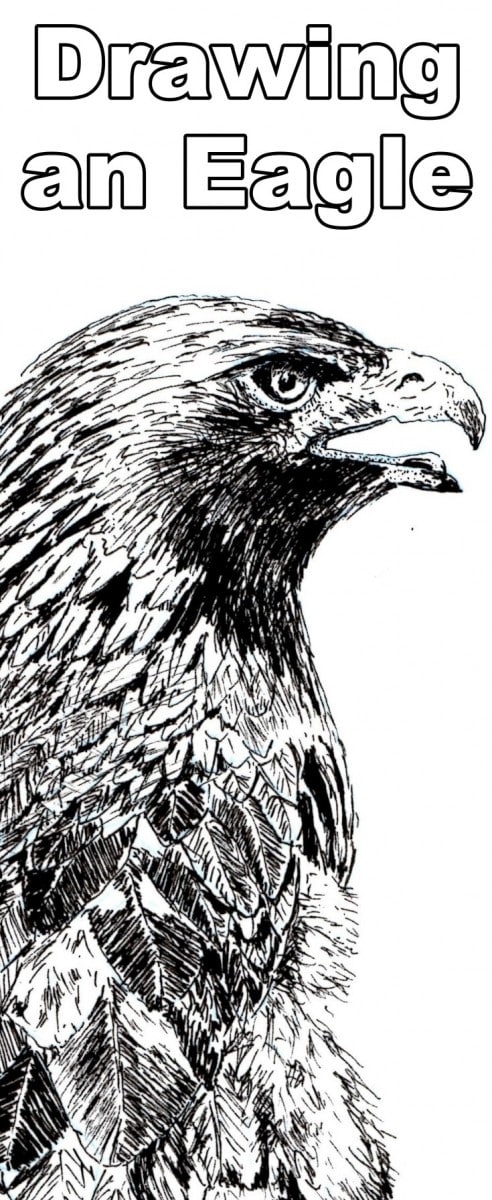
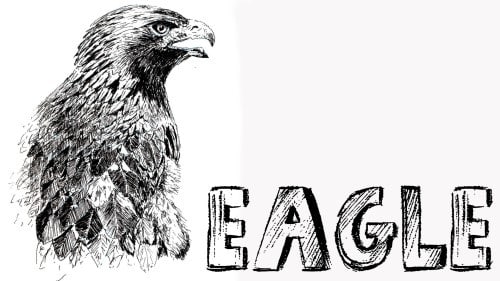
Class Tutorial
Template
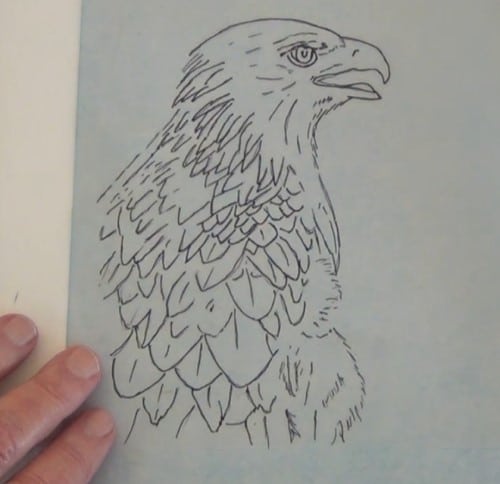
Take a suitable size sheet of tracing paper and tape it onto the printout of the Golden Eagle. Trace all the relevant lines needed for the drawing. When finished, tape one end of the tracing to a good quality Cartridge paper. In order to transfer the design to the drawing paper, either use a graphite coated sheet or a blue Dressmakers carbon paper. With a hard pencil or a ball point pen, trace the design in order to transfer the design on the tracing paper over to the drawing paper. Check that all the lines are there before removing the tracing.
Start the outline
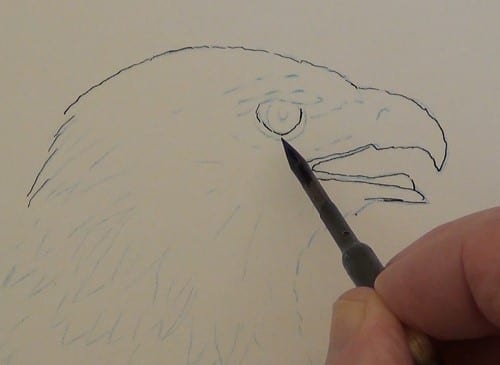
With the thinnest nib you have (mapping pen or 0.01 mm) carefully outline the whole of the bird. Only use a solid line where you see a hard profile, such as the beak.
Draw the eye
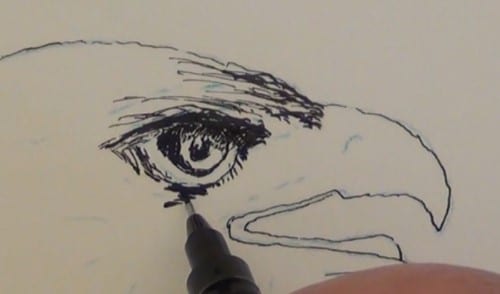
Carefully outline the eye and fill in the dark portion on the left side. Also do the pupil, being extremely careful not to loose the highlight in the eye. For the shadow in the eye do it in lots of small dots. Judge the density of the dots to get the effect you want.
Eyebrow
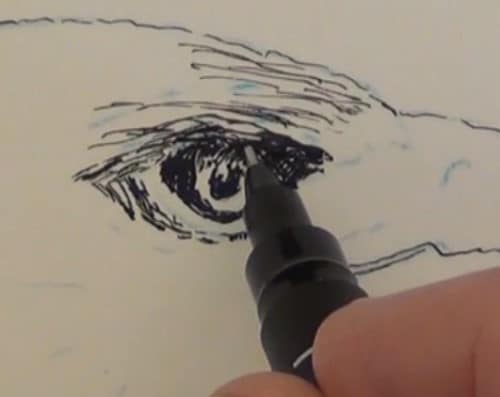
Still using the fine nib and with short strokes flick in the feather lines. Less lines for the light area and for the darker areas the lines will be close together letting less of the white of the paper being visible.
Beak and face
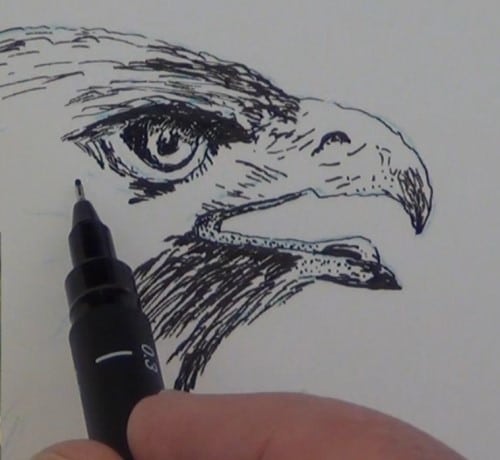
When starting to add any lines, do so with short lines and slowly build up the tonal range. Remember that there are few lines in the very light areas.
The head
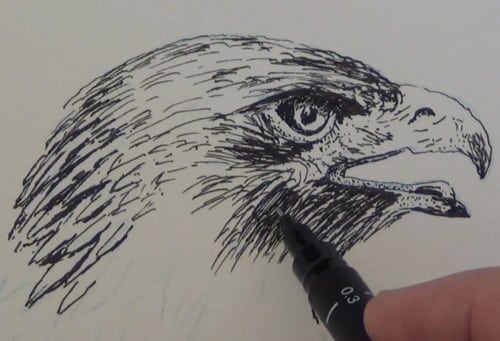
Carefully add in the “V” sections that indicate the feathers that have lifted up at the back of the head to give a 3D appearance.
Shoulder feathers
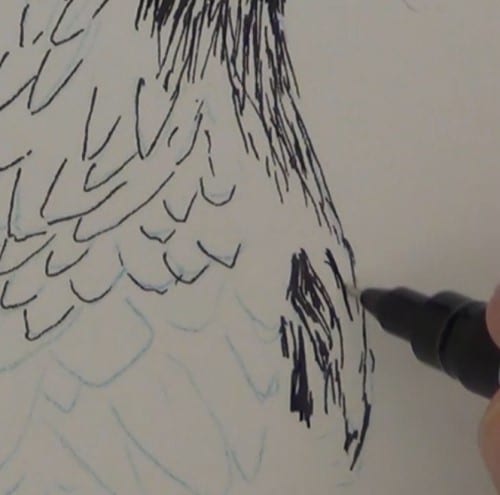
Add in all the traced lines. Once this is done, it becomes much easier when it comes to the feather detailing.
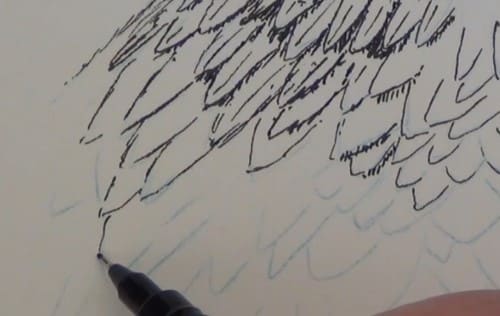
With very short lines indicate the shadows under the slightly lifted feathers.
Detailing the shoulder feathers
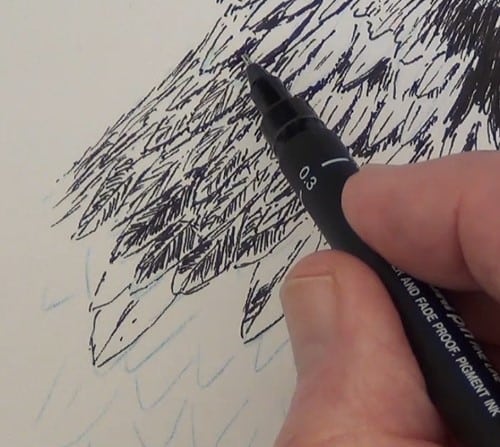
Notice how the individual feathers are drawn. Be careful with the diagonal lines.
Chest feathers
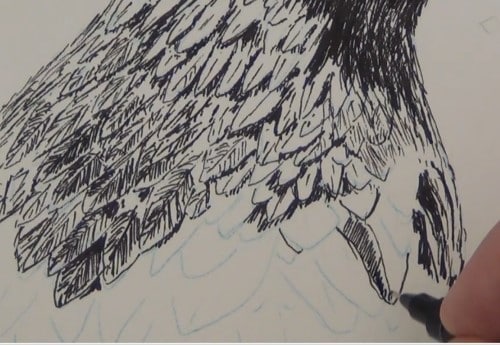
Notice the difference between the back of the head feathers and the shoulder feathers. It is very important to show the difference between the different types of feathers.
The chest feathers are larger. As the feathers disappear to the otherside of the body they will become visibly flatter.
Close-up of feather detailing
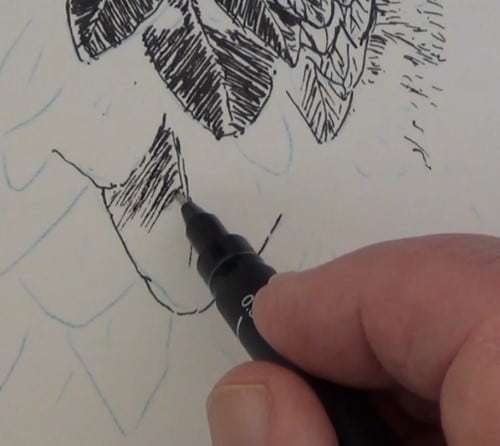
In the large feathers show the spine or shaft and the diagonals. For the darker areas you may use a larger nib, such as a 0.2 mm or 0.3 mm.
Breeding feathers
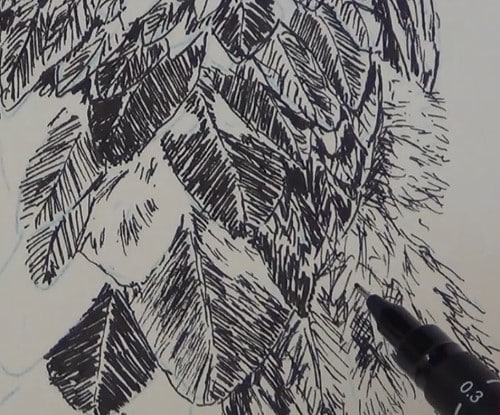
In the breeding season the female’s chest feathers become soft and downy. These cover the eggs and keep them at the right temperature. The feathers are indicated with only a few deft strokes of the pen. Don’t overdo the lines, otherwise you will lose the soft downy appearance.
The back of the eagle
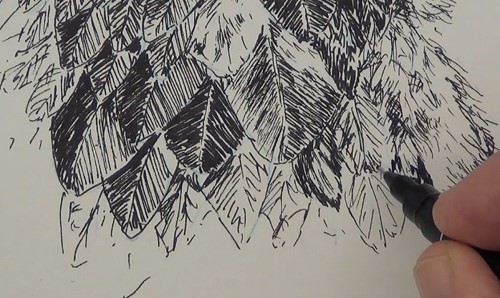
Continue working down the back of the eagle. The feathers on the left in the picture are already flattened out, with the result there is few detailing to be added, only the representation of feathers.
Final shading of the body
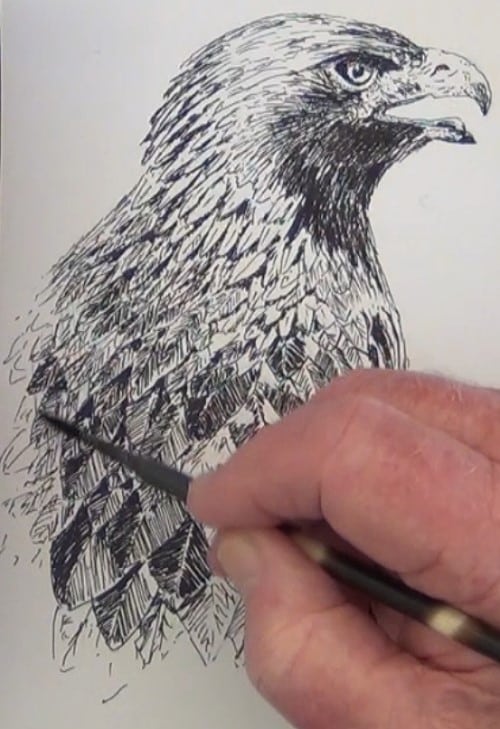
Now you need to unify all the feathers and at the same time adding some very subtle shading. Use the finest nib you have. Start stroking some long thin lines at a slight diagonal. This is the start of the cross-hatching technique.
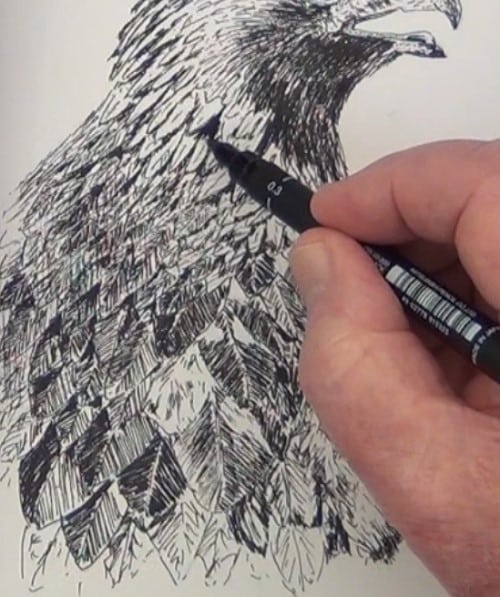
The final cross-hatching is done to build up the tonal ranges as well.
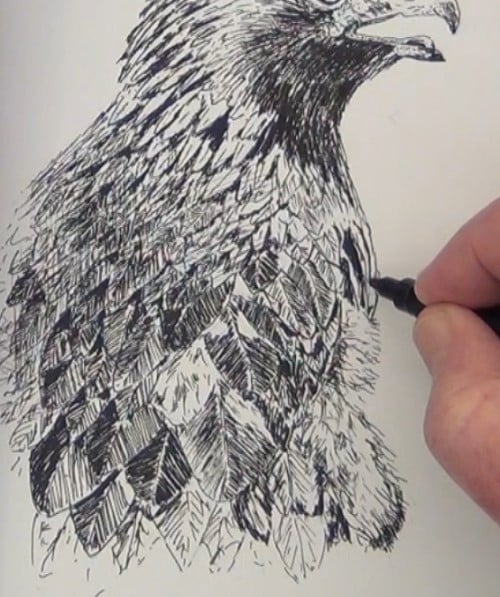
Finish off by adding the final shading to the top chest feathers.
Final drawing
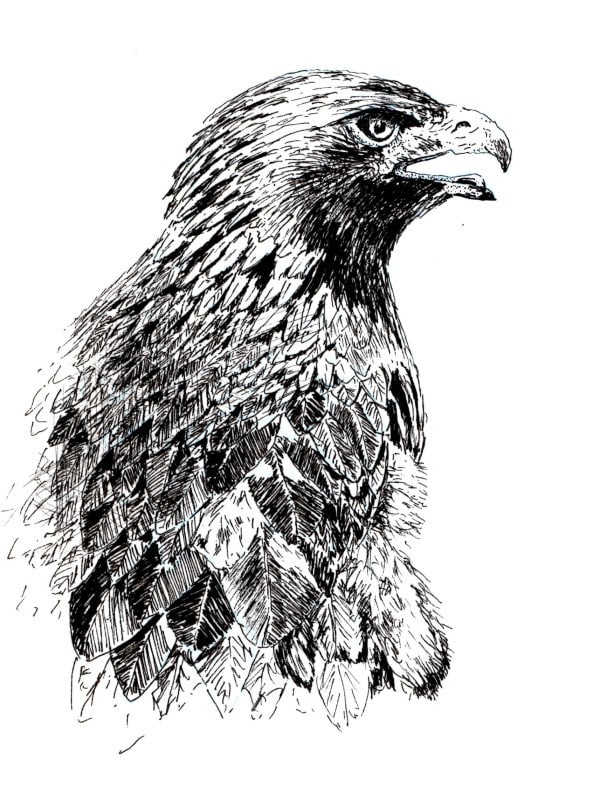
Click the button below to view the real time follow along version of this class:
Pin Me
