Short Class Video
Class Tutorial
Drawing the outlines and the head
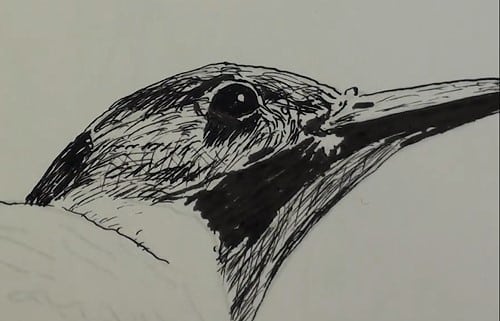
I began the wing shadows and then decided to complete the head instead. Block in the eye except the highlight. Use many very short strokes here because the hairs are short. The head is in the sunlight so be careful in adding in too many lines and make sure that they also follow the direction of the hairs. The underside of the beak is in deep shade. Use a 0.5 nib to block in these deep blacks.
Come back to the mapping pen and add in all the other lines to build up the moulding or shape of the head.
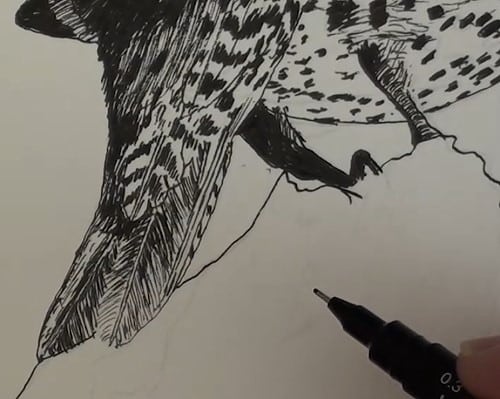
Drawing the wing
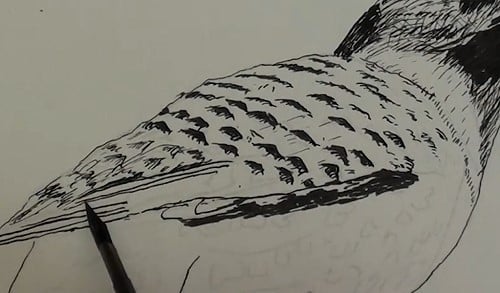
Add the impression of the markings. No real detail can be seen, even in the photgraph. Don't count every marking either. The markings become more prominent as we progress towards the left. These also indicate where the feathers lift up off the body.
Darken up the wing shadow and some of the marks. Notice how roughly I have finished off the wing near the tail. There is a convergence so-called of detail and tonal ranges. They all merge together. Don't worry is it looks a mess. It all pans out in the end.
Drawing the wing tip and adding the shadow
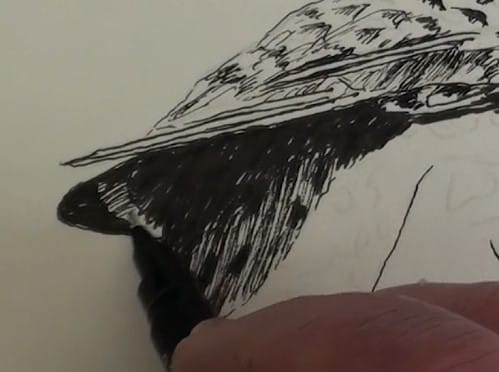
This area is a very deep shade. I've gone over to a 0.5mm nib as it is easier to fill the darks in with. Although it is in the deep shade all lines must still follow the direction of the feather markings.
Drawing the belly

All the belly marks are also added in following the direction of the feather lines. As the marks move away under the belly they tend to look flatter instead of round. Continue filling in the markings and notice that they become much smaller around the area of the legs.
Drawing the legs and tail
There is not much detail here for the legs. Most is in the shade and a small area in the semi-shade.
For the tail. Sketch in the shafts of the feathers and the outlines. As you do so begin to add the markings, keep comparing them to the reference photograph. Add the other feathers higher up and its markings. The large feathers at the end of the tail have no markings. Notice how the lines branch out from the shafts. Notice also how the lines separate the feathers from each other. Add the shadow that lifts the spotted feather above the larger one.
Drawing the body shading

The body needs to be shown as rounded, and we do this by using very light and subtle curved lines. I want you to take special notice of the technique and type of cross-hatching I'm using here to make it look more 3-dimensional.
Drawing the stump
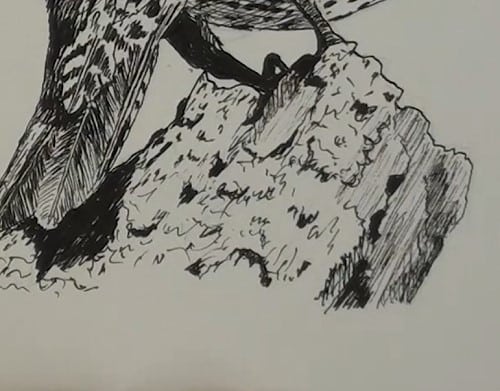
I've gone over to the 0.3mm nib for the stump because the surface is rough here. I've also added a bit more tail shadow to show the tail up better than is shown in the photograph. I'm also working basically from the top downwards.. The stump has been kept fairly light to contrast it against the darker colour of the bird. The impression of the moss or lichen is only indicated by the small shaodws, some of which will be a bit larger.. Add some cracks in the bark as well.
Some light cross-hatching is perfect for pulling it all together.
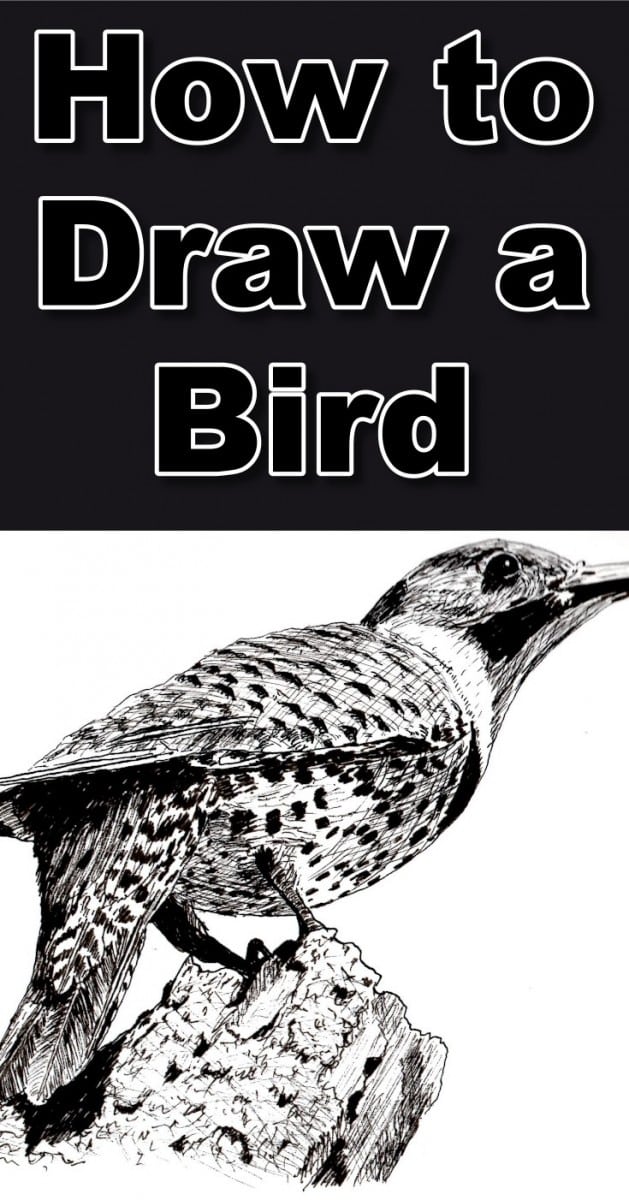
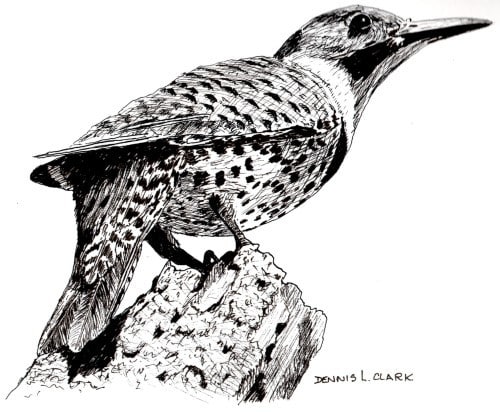
Final drawing
Click the button below to view the real time follow along version of this class:
Pin Me