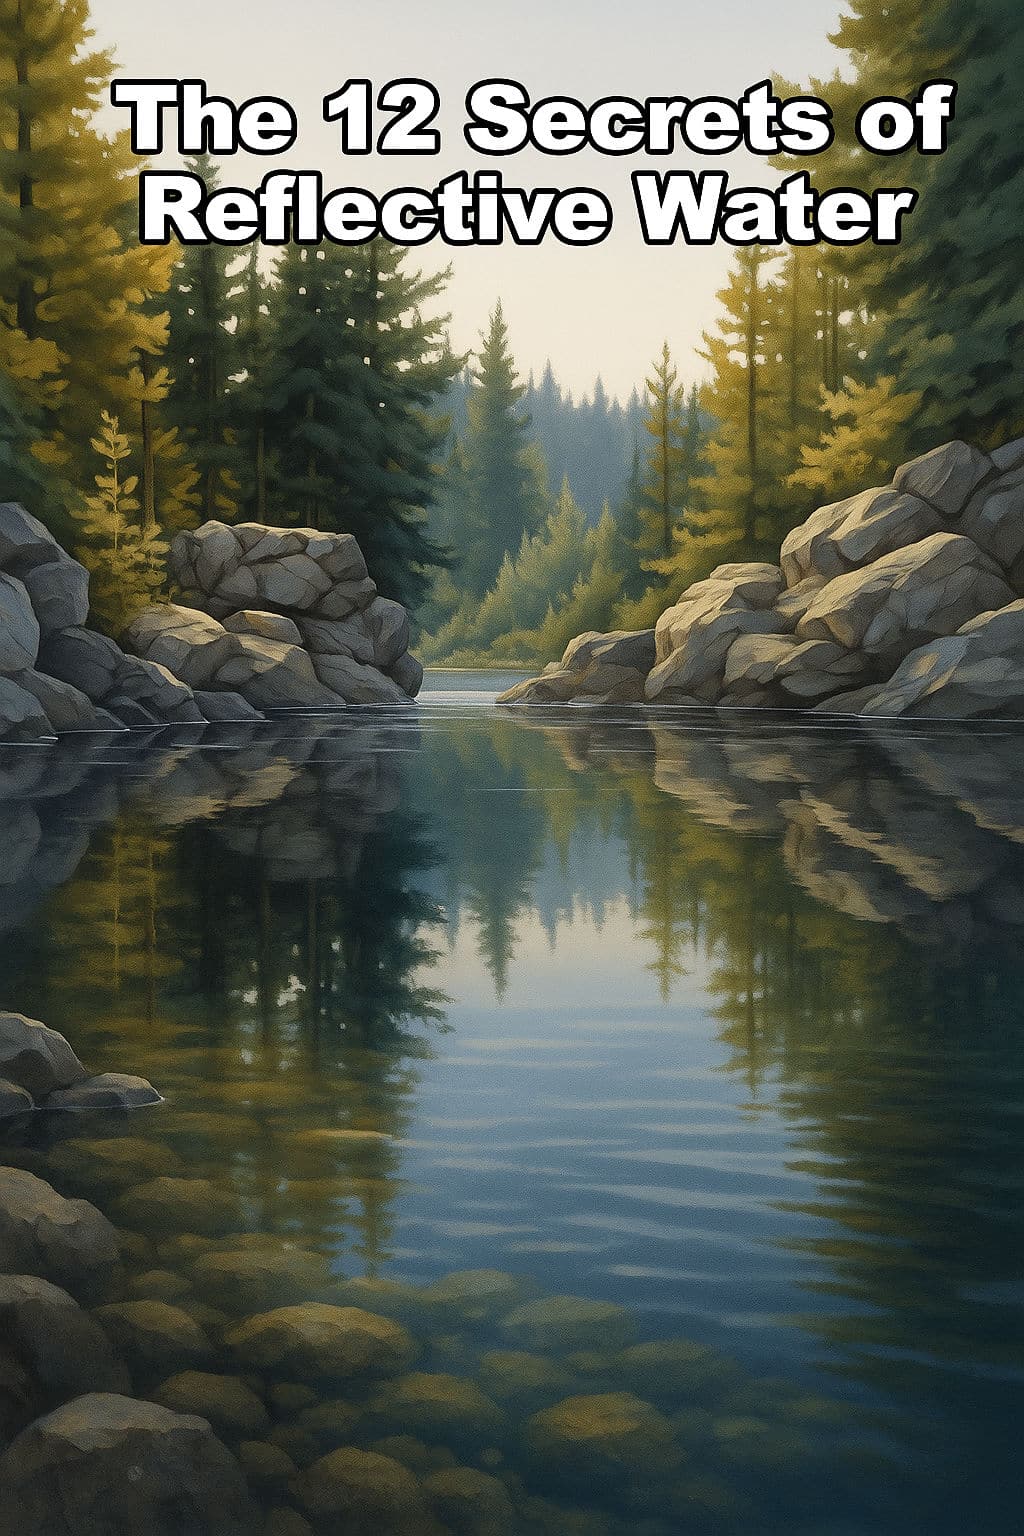
Introduction
Painting water can be a real challenge, right? It’s one of those things that looks so simple when done well—but there’s a lot more going on than meets the eye. In this theory lesson, I’m going to walk you through the 12 key things you need to look out for when painting water. Think of these as the hidden ingredients that make water look realistic in a painting. Now, just to be clear—we’re not covering painting techniques here. This lesson is all about observation. What do you need to see and understand before you even pick up your brush? That’s what we’re tackling today. (At the bottom of the lesson I will link to the practical lessons so that you can put your new knowledge into practice.)
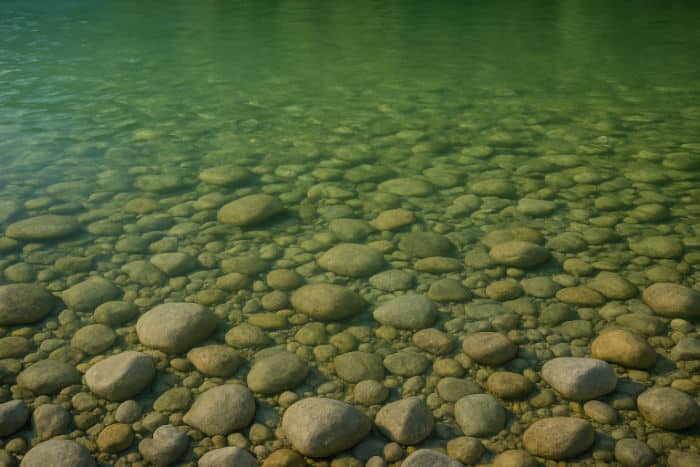
1. The Riverbed – What Lies Beneath
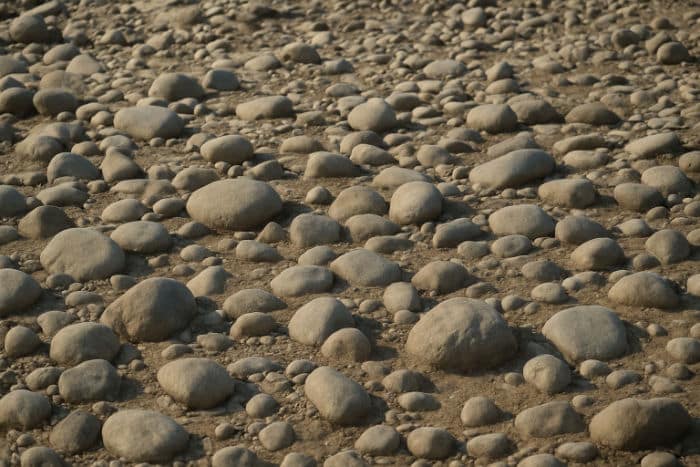
Let’s start right at the bottom. Literally. When you’re painting water, always take note of what’s underneath the surface. Is it stones? Sand? Maybe some mossy rocks? The type of surface and its texture will influence everything else—like how light behaves and how much of the bottom is visible. Even if you’re painting fairly still water, what’s underneath can dramatically change how the entire scene feels. So make sure to observe and paint that base layer thoughtfully—it sets the stage for everything else.
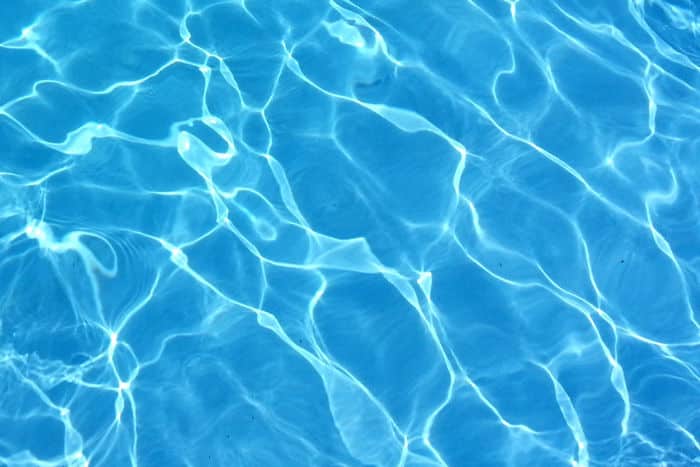
2. Refracted Light – Dancing Patterns
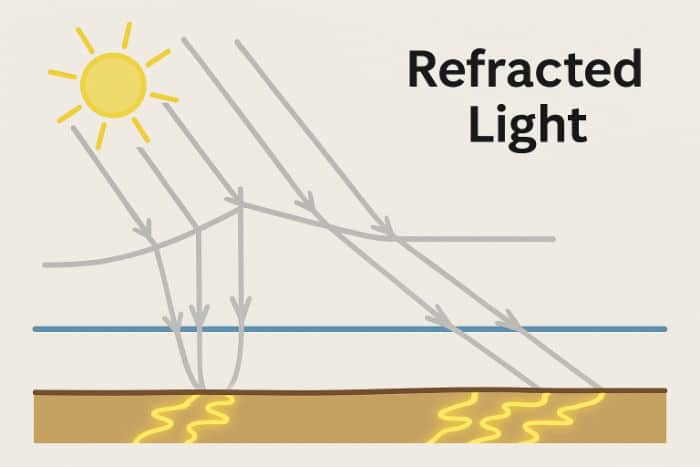
This is where things get a little magical. When light hits the surface of the water, it bends—this is called refraction—and it creates those beautiful, wavy highlights on the bottom. You’ve probably seen it in a swimming pool on a sunny day: those bright little squiggles dancing around on the floor. That’s the refraction at work. It’s not random either—those highlights follow the movement and shape of the surface ripples. So when you’re observing a scene, watch how those light patterns move and change across the bottom.
3. Shadows from Refracted Light
Where there’s light, there are shadows! Not every part of the riverbed gets lit up by those refracted rays. Some spots miss out because the light gets bent away. These areas sit in shadow, and including them in your painting gives the scene more depth and realism. It’s this contrast—between the lit and shaded areas—that makes the underwater environment feel alive. So don’t just paint the pretty squiggles—look for those darker patches too.
4. Water Colour – Tinting the View
Here’s a secret: water isn’t actually clear. Sure, it’s transparent, but it almost always has some kind of colour to it—whether it’s green, blue, or that murky brown in a muddy pond. This tint affects how much of the bottom you can see. Shallow water might only have a light hint of colour, but the deeper it gets, the stronger that colour becomes. So when you’re observing water, don’t just look through it—look at the water itself and ask, “What colour is this?”
5. Objects Underwater – Refraction Distortion
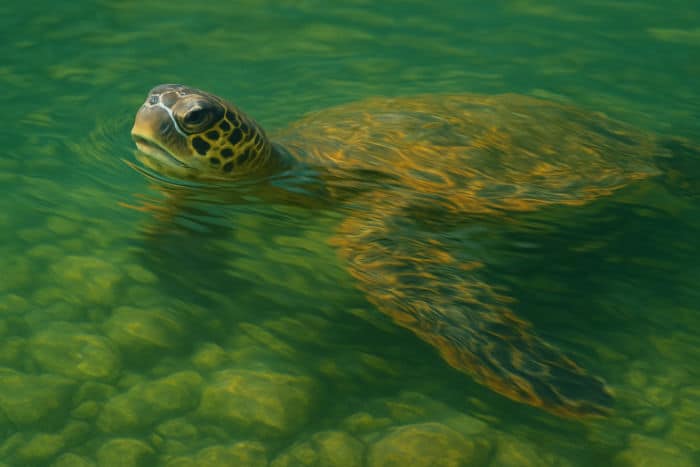
This is a fun one. Drop a straw into a glass of water and look at it from the side. It looks like it bends, right? That’s refraction again. The same thing happens with rocks, fish, plants—anything under the surface. Depending on the movement of the water and your viewing angle, these objects can look bent, wavy, or stretched. So if you want your water to feel convincing, you’ve got to let go of perfect shapes and embrace the distortions.
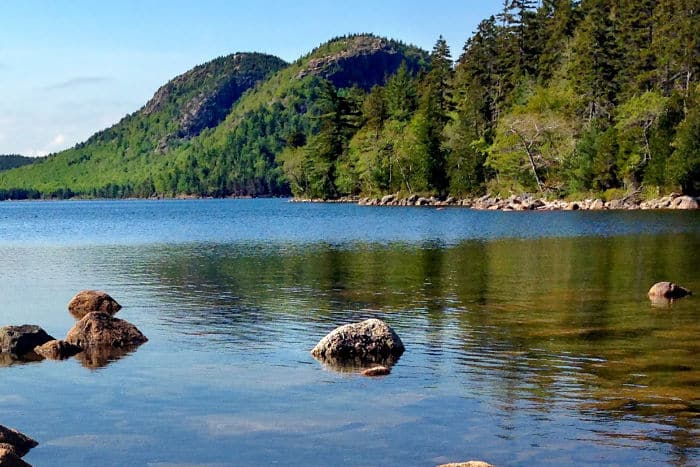
6. Sky Reflections
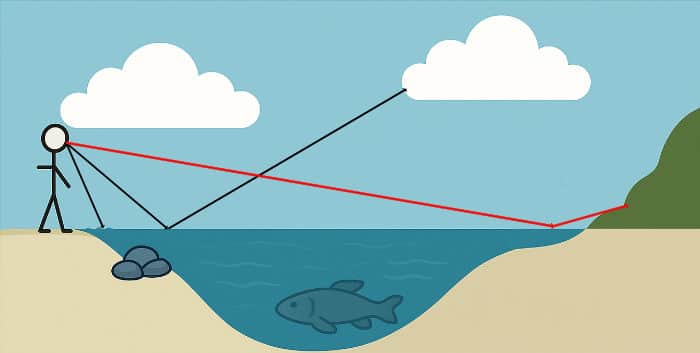
This is one of the most fascinating aspects of painting water—how it can reflect the sky above. But here’s the trick: you don’t always see a reflection. Whether or not the sky is visible in the water depends entirely on the angle you’re looking from and how smooth the water surface is.
Let’s break it down. Imagine you’re standing on the shore, looking out across a body of water. Right in front of you, where you’re looking more downward, you’re likely to see into the water. You’ll notice things like rocks, sand, or whatever lies beneath the surface.
But as your gaze moves further out, your viewing angle flattens. Now you’re looking more across the surface rather than down into it. This is where reflections come into play. At these shallower angles, the water starts to act like a mirror—reflecting the sky and any clouds above. The smoother the surface of the water, the cleaner and clearer the reflection will be.
This reflection isn’t just a faint suggestion. On a calm day, it can be almost perfect—so much so that it looks like a second sky. But the moment the water ripples or a breeze picks up, those reflections start to warp and break apart. That’s why sometimes you’ll see patches of sky mixed in with distorted glimpses of what’s under the surface—it all depends on how the water is moving and the angle from which you’re viewing it.
So next time you’re planning to paint a water scene, pause and ask: “Am I looking into the water here—or across it?” That one question will tell you whether to show the riverbed or the sky.
7. Reflections of Surrounding Objects
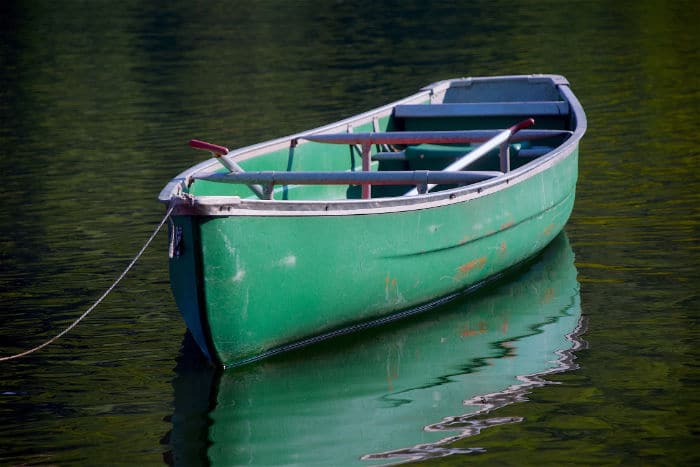
It’s not just the sky that shows up in water—anything nearby can be reflected: trees, buildings, boats, even you if you’re standing close enough! But reflections aren’t perfect. Depending on the water’s movement, they’ll often appear stretched, blurry, or broken. So pay attention to what’s around the water scene and watch how it shows up in the surface.
8. Surface Objects
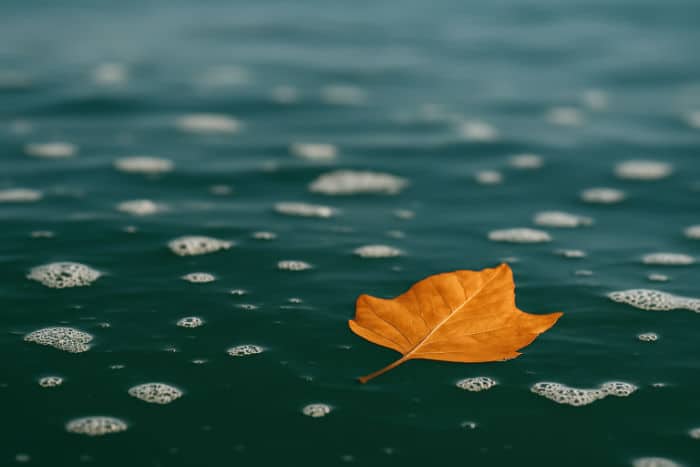
This one’s easy to overlook, but super important. Think bubbles, foam, leaves, sticks—anything floating on the surface. These objects help define where the water ends and give your viewer something to latch onto. They also help show the shape and movement of the water, especially when they follow the flow or collect in corners. Little details like this go a long way in making your painting feel believable.
9. Movement of Water
Is the water still? Flowing? Choppy? Gentle ripples or crashing waves? The way the water moves changes everything you see: the reflections, the clarity, the distortion, the light patterns—it all gets affected. Fast-moving water will jumble everything up; calm water will give you that beautiful mirror effect. So observe the mood of the water before you try to capture it.
10. Perspective
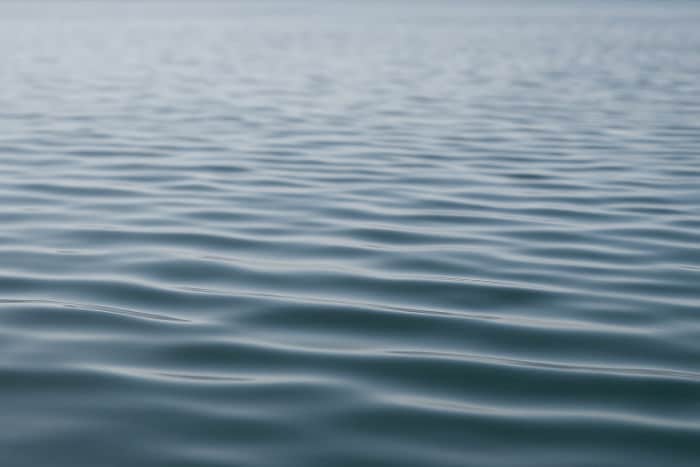
Here’s where distance comes into play. When you’re looking at ripples close to you, you can see all the little valleys and peaks clearly. But the further away they are, the more those ripples compress. They flatten out and start looking like horizontal lines instead of individual waves. This change in perspective helps you create a sense of space and distance in your painting.
11. Depth of Water
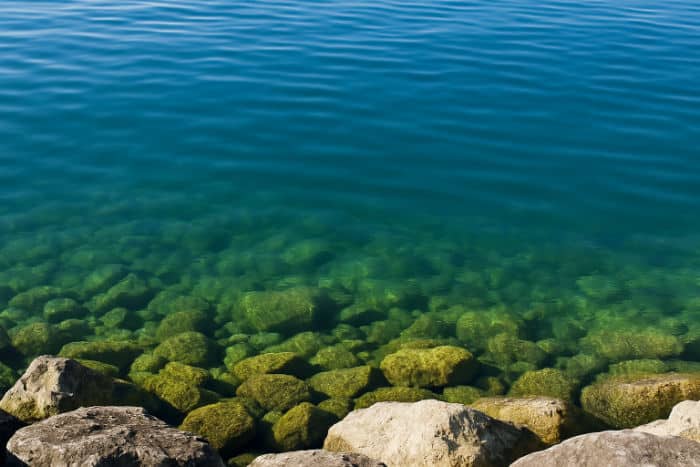
This ties back to the water’s colour, but it’s more about visibility. Shallow water lets you see the bottom clearly. But as it gets deeper, the light can’t reach as far, and what’s below the surface starts to disappear. Sometimes you won’t see the bottom at all. You’ll just see the colour of the water or its reflections. So use that as a cue when figuring out how deep an area of water is—and whether you should be seeing anything under it.
12. Sunlight Sparkles
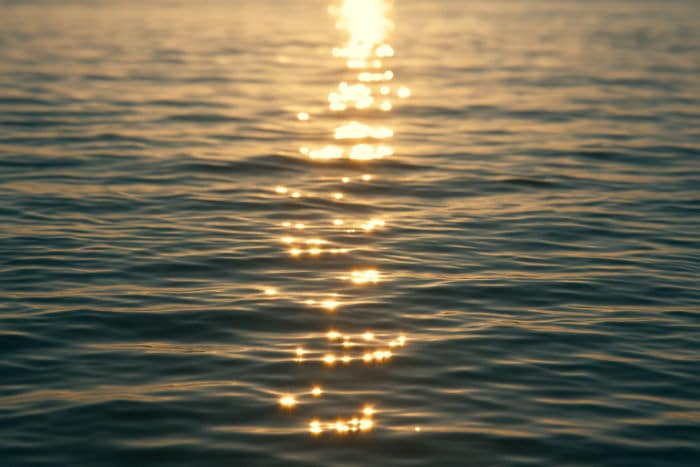
We’ve all seen them—those brilliant little flashes of light on the surface of the water when the sun hits just right. These sparkles can add so much life and realism to a painting, but they only happen when the light bounces directly back to your eye. Think of them as the icing on the cake. If your scene has sunlight, keep an eye out for those little twinkles. They’re worth adding.
Conclusion
And there you have it—12 things to look out for when painting water. Not every water scene will have all of these, and that’s okay. The key is to train your eye to look carefully. Ask yourself: what am I really seeing here? Start at the bottom, work your way up, and observe each layer: what’s underneath, what’s on the surface, what’s above being reflected, and how it all interacts. Once you’ve learned to see these elements, your water paintings will start to come to life. When you’re ready, click the links below to follow the lessons where we dive into the actual techniques for putting all this into practice:
Pin Me