Short Class Video
Class Tutorial
Drawing the outline and trees
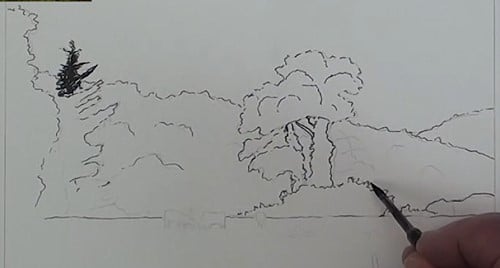
Use a mapping pen or a 0.1 mm felt-tipped pen with black Indian Ink. In a hit and miss method draw in the outlline of the distant hills.
For the trees I’m using a 0.3 mm UNIPIN Fine Line pen to start the tip of the one tree and the outlines, also in a hit and miss method. Work in all the visible branches and boughs, the small mound and the horizon line.
Drawing the distant hills
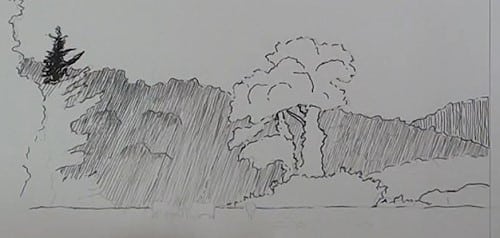
These hills are hazy with no details visible. Draw in a few angled guide lines and begin filling in the area. Note the light and dark areas. The closer the lines are together the darker the effect. Keep the effect light to begin with. We will darken up some areas later on. Again I’m using the fine-tipped mapping pen to draw these lines. A thicker nib will spoil the softness of the hills.
The top of the hills are darker and we can begin to indicate them. Notice that I’m keeping the area lighter close to the horizon. The whole area is full of the morning mist. You may even want to draw this in lighter than I’m doing here.
Keep the lines very light behind this tree. Draw these lines very thin and slightly more apart than before to keep the light misty effect here. We want the hills to gradually get lighter towards the right-hand side. I was a bit too enthusiastic and added in more lines than I should have and lost the effect I wanted to show here.
Drawing the tree
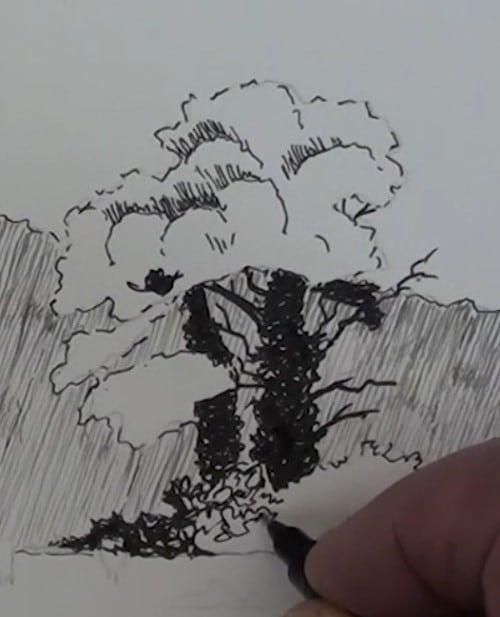
The tree is in silhouette so we can go to a thicker nib. I’ve opted for a 0.3mm felt-tipped pen. Any make of pen will do. Fill in all the shadow areas first. Vines have wrapped themselves around the trunks. Scribble them in to show the visible texture. Add in all the bare branches.
Scribble in all the vegetation of the mound leaving some of the white of the paper to show up as sunlit leaves. Notice where the deep shadows are.
Drawing the closer hill
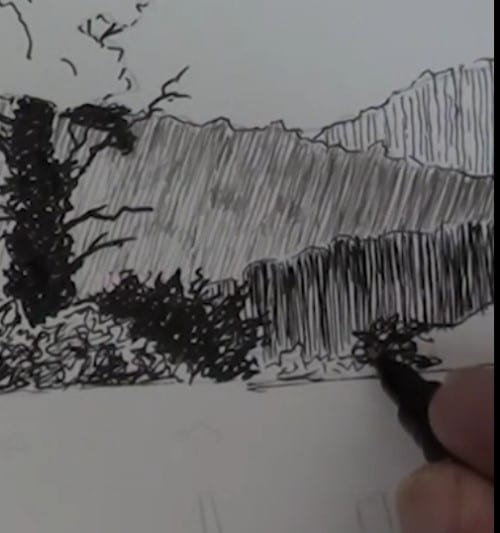
Use vertical lines here for contrast against the one behind it. I’ve decided to darken it further to bring it more forward for distance perspective.
Drawing the trees on the left
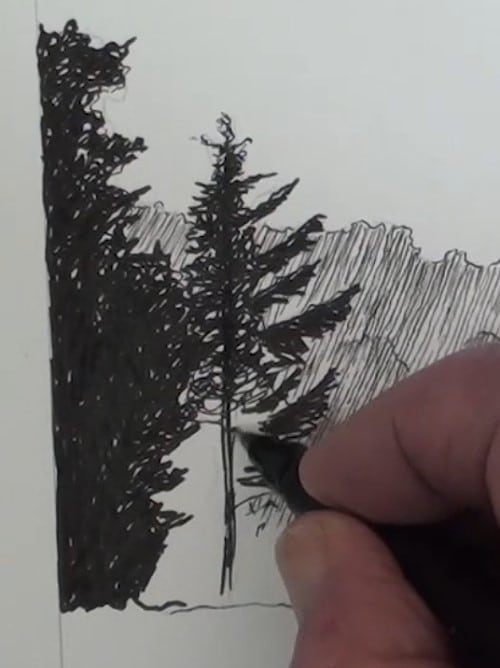
There are a lot of dark areas here so I’ve gone over to a 0.5mm pen. A fine tipped pen is not suitable here. Scribble all this in, not forgetting to leave sky holes, as well as loose leaves at the edges.
These branches all point upwards yet the leaves point downwards. Don’t fill in this tree as dark as the left-hand one. We need to show the separation. Add in the bushes at ground level. The tree trunk must just be visible.
Drawing the tree on the right
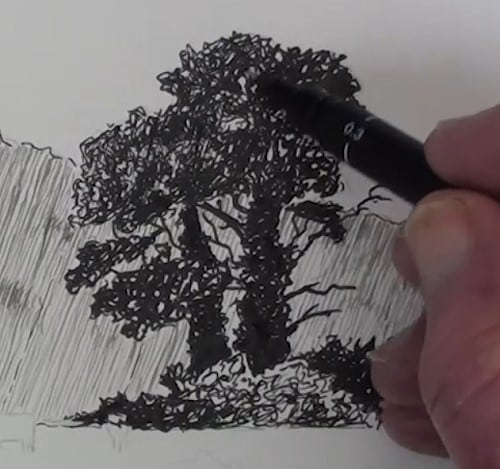
Lightly scribble in the leaves with the 0.3mm pen. Leave the tops of the boughs slightly lighter than the rest of the leaves. Also leave some sky holes. These will show up in nature as the scene is backlit. Continue to work downwards until the lower boughs are also filled in.
Lightly add some cross hatching to pull the tree together.
Drawing the cows
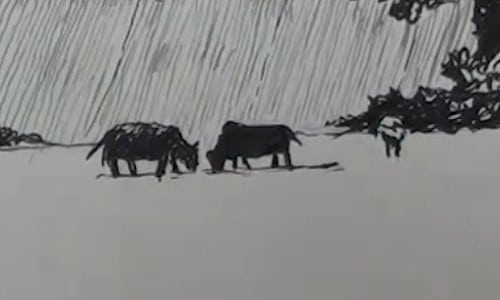
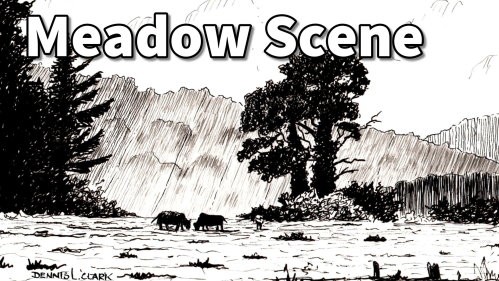
To make this a pastoral scene, use other reference photos to sketch some cows in silhouette. Notice how I have placed them. I have added three for compositional balance. Don’t forget to add their cast shadows.
Drawing the foreground
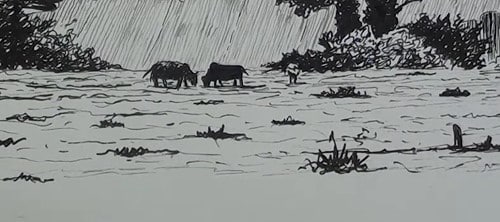
These two dark stumps balance out against the other cows. Add some small shrubs and these horizontal lines to show the flatness of the foreground. These lines are much closer together towards the distance. Continue to add more lines and shrubs which are drawn larger in the foreground. Notice the one pen for the darks and the other pen for the thinner lines. Add some grasses for effect.
Final drawing
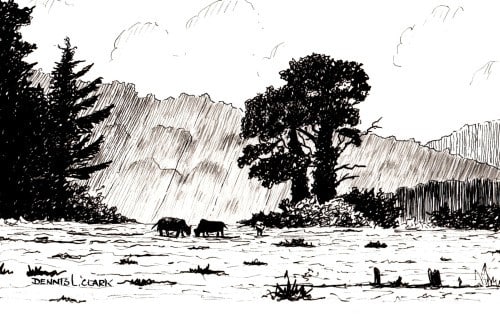
Click the button below to view the real time follow along version of this class:
Pin Me
