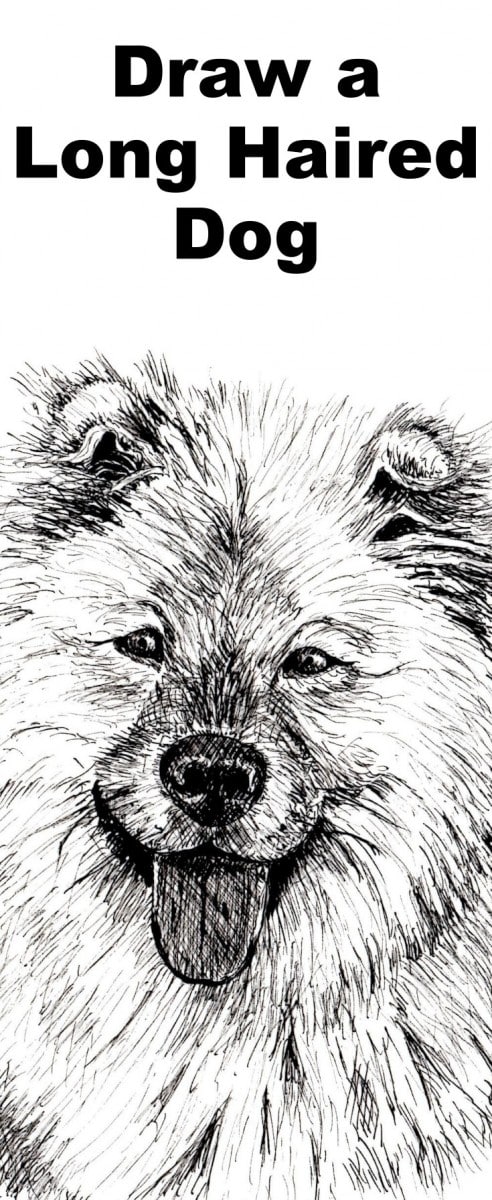
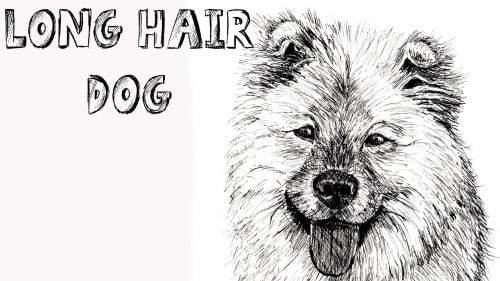
Class Tutorial
Template
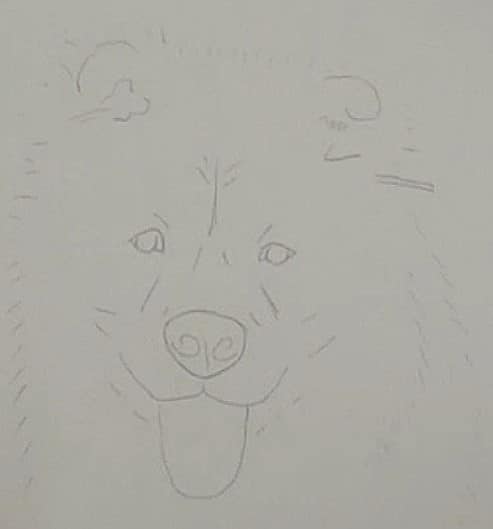
Transfer the outlines to the paper using a sheet of graphite paper.
Begin the outlines
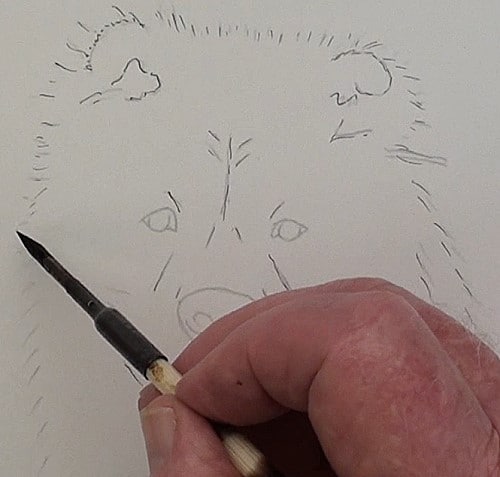
With a mapping pen or a 0.1 mm pigment pen, very roughly mark out the outlines as shown.
Draw the eyes
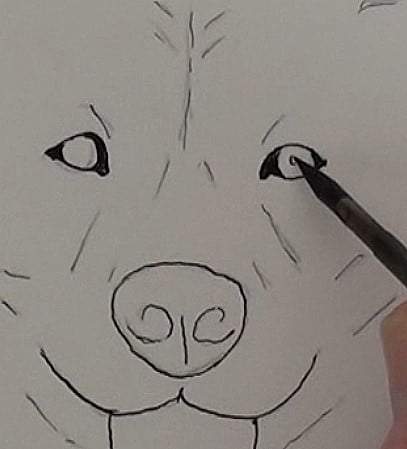
The eyes are the most important part of any portrait. First establish the shape of the eyes.
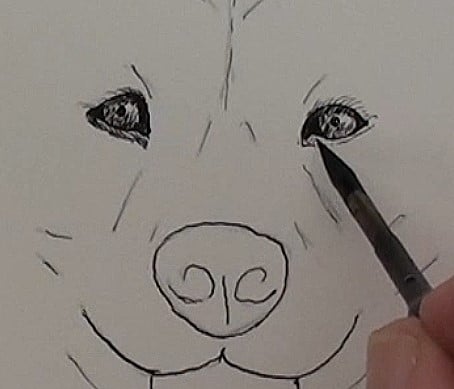
The only way to show the shading properly is by carefully stippling small dots of ink next to each other.
Draw the tongue
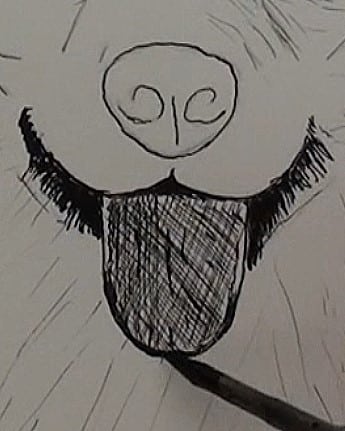
Draw the shading in the mouth with a series of short lines very close to each other. Because the tongue is darker than the fur, shade the tongue with cross-hatching. The closer the lines are together the darker the tongue will appear to be.
Draw the nose
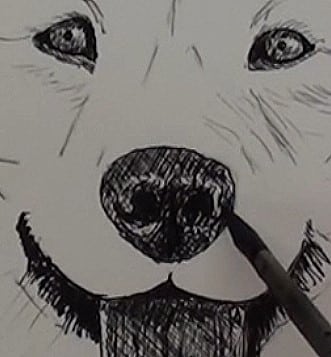
Again, cross-hatching is used for the nose. Notice the extreme dark for the “hollow” and the highlight over the top edge of the nose.
Draw the ears
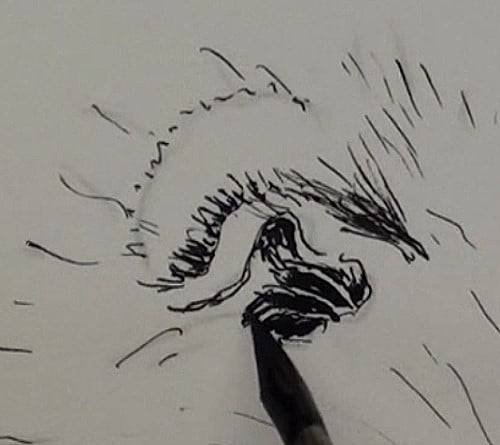
These ears are partially hidden by the long fur so all we can do here is to stroke in the dark area and the few short strokes to indicate the top ridge of the ears.
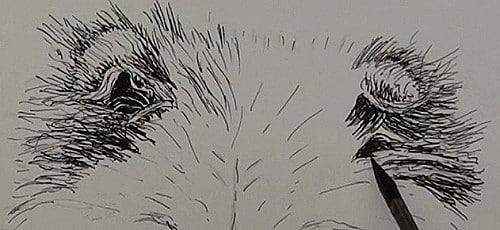
Both ears are now completed.
Draw the fur on the face
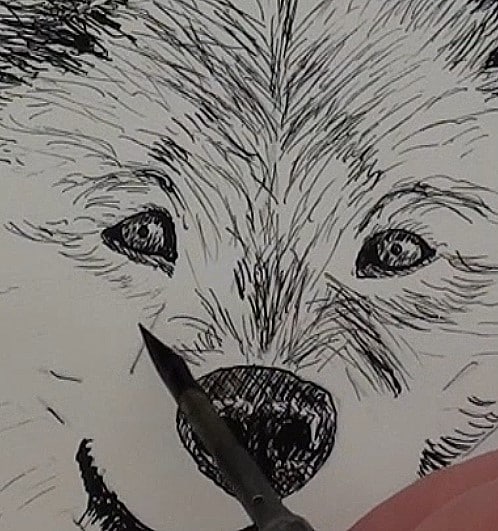
Using a series of short strokes, still with the 0.1 mm pen, draw them in the lay of the fur. Always stroke the pen in the direction of the ends of the individual hairs.
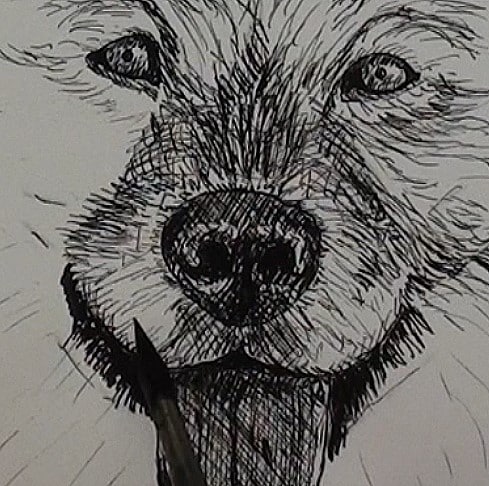
With some more lines darken up the fur as per the reference photograph. A few areas may even be cross-hatched to even out the tonal ranges.
Draw the body fur
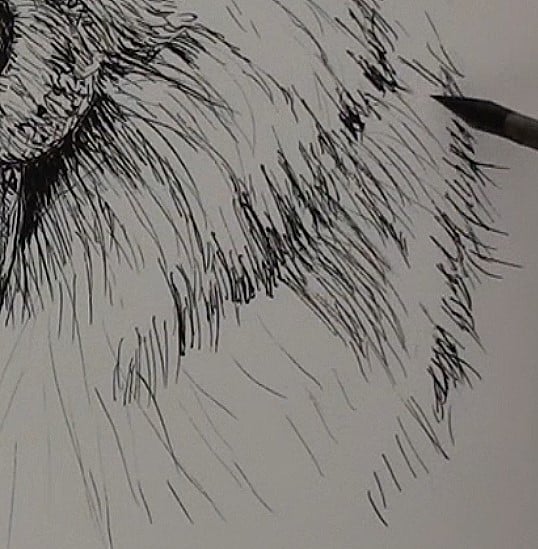
Where the fur is very light only add a few lines to indicate the lay of the fur. At times curved strokes are used where the fur is rounded. Add in the dark shaded areas.
Final drawing
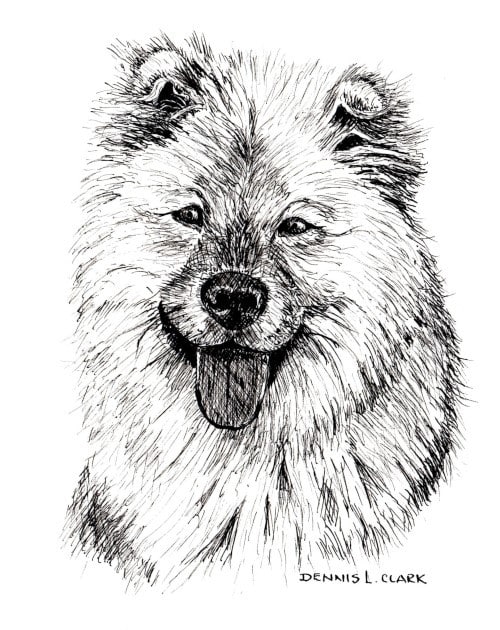
Click the button below to view the real time follow along version of this class:
Pin Me
