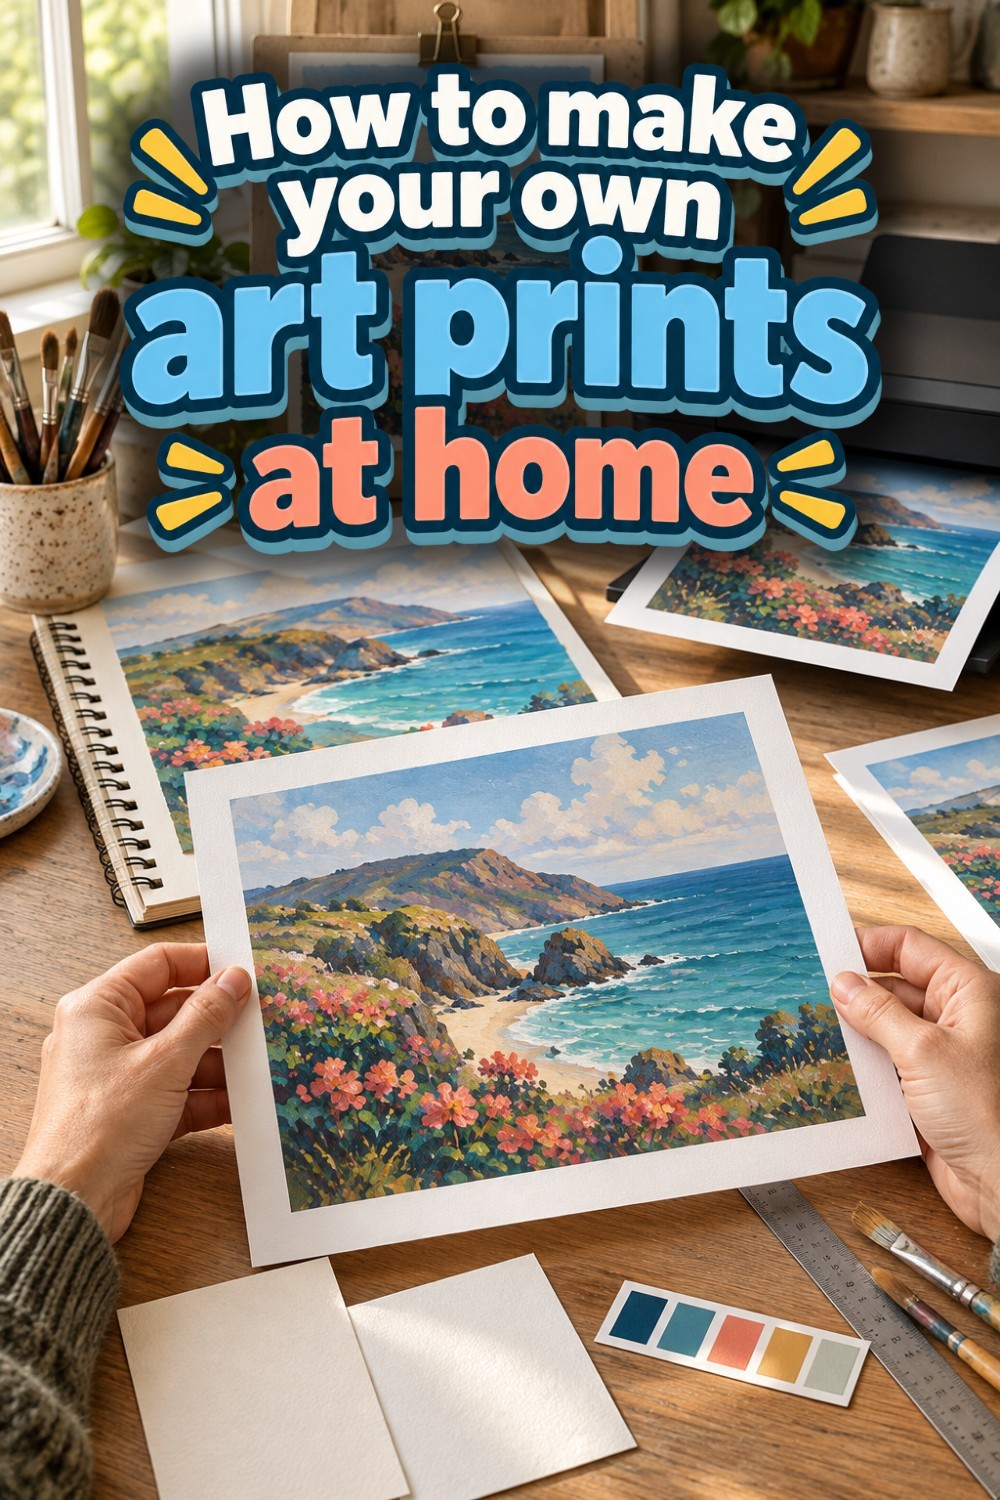
Making your own art prints at home can be far more cost-effective than getting your work professionally printed and it gives you total control over the printing process from start to finish. At the same time, it can require a significant initial investment and take a lot of time.
You can make basic art prints simply by taking a photograph of your artwork and printing it out on an ordinary printer. However, this type of print is not very long-lasting. A print made with ordinary supplies may fade when displayed in direct sunlight.
To produce high-quality art prints, you will need to spend a bit of time and money investing in the right kit. In this article, we’ll take a look at some of the tools you will need to make your own art prints at home and the different steps involved.
The quality of your art prints
If you’re going to make your own art prints at home, it’s a good idea to consider how you will achieve high quality prints with the equipment you have.
Your prints will be affected by a number of different factors, including:
- Paper quality
- Printer quality
- Ink tones
- The print resolution
These variables will all affect how your final art prints appear on the page. It can be tough to reproduce your artwork exactly, so you will need to edit your images and adjust them according to the materials you’re using to print.
Basic printing equipment
For printing at home, you will need the following items:
- Your artwork
- Camera or scanner
- A computer
- Photo editing software, such as Affinity
- A pigment-based inkjet printer
- Spare ink cartridges
- Acid-free paper for archival quality prints. I use photo paper for non archival prints.
Optional extras
- A guillotine paper cutter
- Backing board
- Frame(s)
- Plastic sleeves
- Business cards
Camera or scanner
For prints of flat, simple works, you will get the best results using a scanner rather than a camera. Scanners generally give you a higher resolution than most cameras and the resulting images are more evenly lit than photographs. Scanners are also predictable, which in this context is a very good thing!
On the other hand, if you have works in acrylic or oils or any pieces that have embellishments and textures, a scanner will not be suitable. For these, you will need a camera to capture the layers of texture, the shadows on your work and minimise the shine from the varnish.
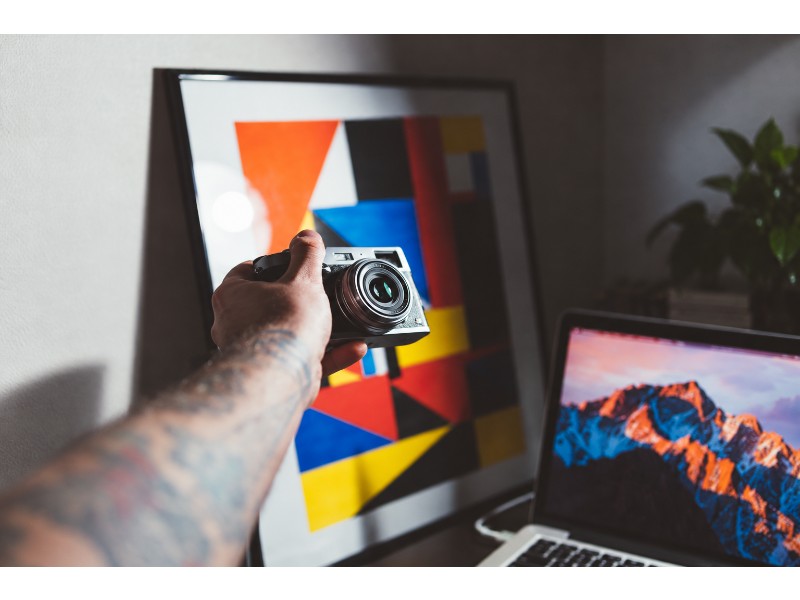
For textured artwork, consider whether your camera can capture the detail you need. A DSLR may give you more control than a phone camera but high end phone cameras will give you more than enough quality for prints.
Either way I strongly suggest mounting the camera on a tripod when photographing your artwork. This helps you get the camera square with the artwork and eliminates camera shake.
Take the photo using the highest quality setting on your camera.
Lighting
When you’re photographing your works at home, it’s also really important that you get the lighting right. This applies to art prints but also any other contexts, be it your website, online store or press photos.
Switch off the camera flash when photographing your artwork. Instead, daylight bulbs are a great way to get consistent lighting in your photographs, mimicking the effects of natural light. Position your lights at about 45 degrees so they don’t shine directly on your work and reflect off any gloss or varnish. If you do notice any glare, adjust the angle of the lights before taking your photos.
If you don’t want to invest in daylight bulbs, you could also try taking your photos outside. The best time to do this is on a sunny day, in a shaded spot. The light levels will be less consistent than studio lighting, but this is a good option if you’re working on a tight budget.
Editing your images
If you have taken the photo using your phone, download the original size image and not the resized versions the phone often offers. The higher quality the original image is the more you can tweak and edit it without loss of quality.
Once your scanned or photographed images are on your computer, you can edit them.
Check that your image has enough pixels for the size you want to print. A print resolution of around 300 pixels per inch is a common target, but changing the DPI (dots per inch) setting alone will not add detail.
Editing allows you to adjust colour, brightness and contrast. You can also straighten and crop your images to your desired size.
What you are trying a achieve is an accurate rendition of the original artwork on the printed paper.
The printed image may look different from the image on your monitor. So do a test print after every few adjustments to ensure you are on the right track.
Different computer monitors display the same colour differently as well so what you see on the monitor is not always what you get on the print. If you know the monitor on your computer is not great, it might be worth investing in a better one while you’re out shopping for a camera! Alternatively, you could also try to calibrate your existing monitor so that it shows colours more accurately.
Printer
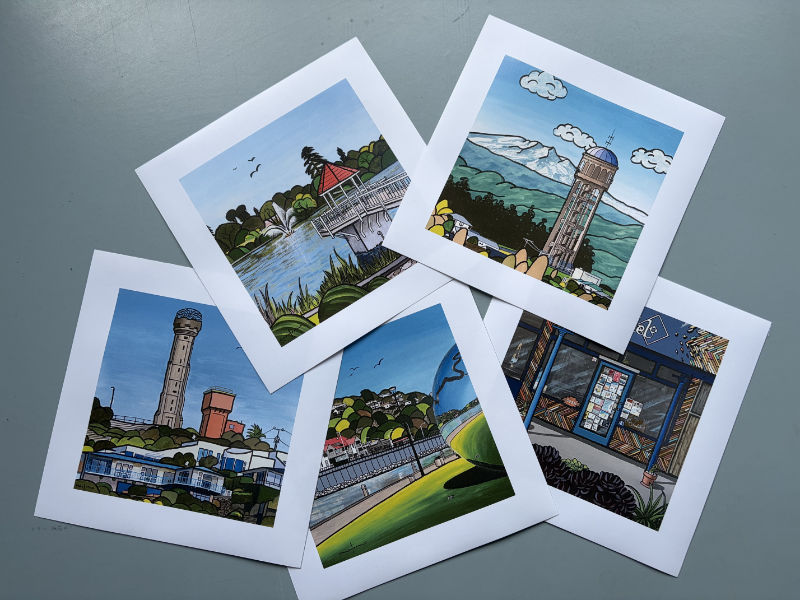
Fine art prints are usually made with pigment-based inks on acid-free paper. This is because sunlight and atmospheric gases can cause inks to fade over time, as well as discolouring paper. Dye based inks are especially susceptible to fading whereas pigment-based inks are much more durable. Pigment-based inks can help prints retain their appearance for longer. Similarly, acid-free paper degrades slower than acid paper and reduces the risk of yellowing.
Investing in an inkjet printer that uses pigment-based inks can be an expensive process but if you are looking to achieve high quality art prints, it is worth it. Bear in mind that different printers are designed to handle larger or smaller paper sizes so factor this into your search.
Some printers are also designed to handle photographic and fine art paper, as well as canvas and even thin board. Others are especially suited to printing skin tones, thanks to the range of pigment inks offered by the manufacturer.
Don’t be tempted to simply opt for the printer that is cheapest as there can be hidden costs involved. As well as buying the printer, you will need to pay for ink cartridges and possibly specialist paper for that printer type. These extras can quickly make the purchase much more expensive than it seems at first.
Another thing to bear in mind is that every printer is different so it might take a bit of time to get used to its settings. You might find that you need to edit your images more to allow for the colour changes made by the printer. It’s quite likely that you will use more ink than you think in the printing process so make sure you have extra cartridges to avoid any delays.
What I use is an HP inkjet printer as I have found they give me good colour prints. If you are going to make many prints per month – which you will if you put in the effort to market them – HP have a monthly ink subscription which saves you a ton of money as you are not paying per ink cartridge but per page which is perfect as our art uses up a ton of ink, lol. I have the 100 page / month plan which currently costs me $10 / month. So my cost per print as far as the ink is concerned is $0.10c!!!!
Paper
As well as the effects of your photo editing and printer specs, the paper you use will also affect how your art prints look! For instance, matte paper may reproduce dark colours and fine detail differently from gloss paper. The ink tends to diffuse through matte paper, altering the definition in your work.
Order sample packs of paper before you invest in whole boxes of one paper type. This allows you to try out different paper types to see how your artworks look on each one.
Some paper is specially designed to work with images that have soft tints or fine grey details while others are designed to handle a high ink load for very saturated images. If you know your style involves a particular theme or detail, then it’s worth looking out for paper that is well suited to your art. With many paper types, you will also need to lay out your new prints to dry before stacking them to avoid smudging the ink.
The paper I use for unframed prints is gloss photo paper and if they are framed I prefer the satin photo paper to reduce reflections.
Proofing your images
Proofing means printing your image and checking how it looks on the paper you have chosen. In most cases, you will need to tweak the image a little bit and then print again. Repeat this process until you are happy with the print.
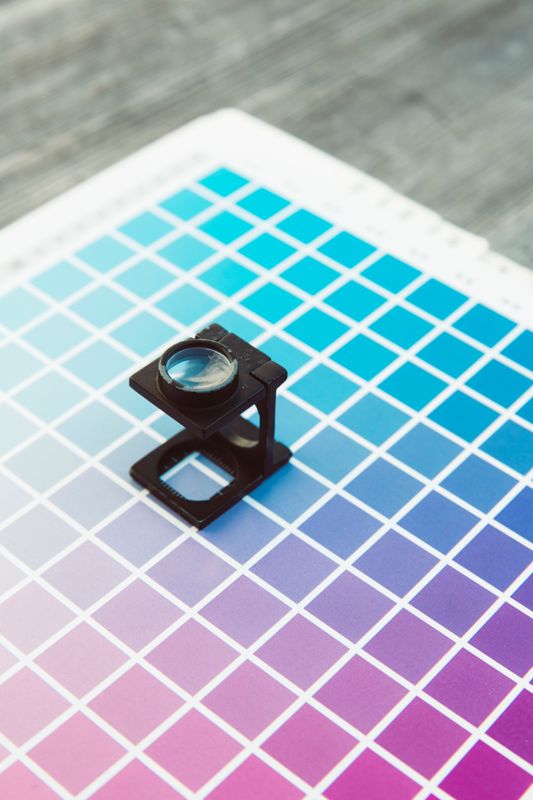
As you get more used to your photo editing software and your printer, you will find that the amount of proofing you need to do is greatly reduced. It’s also worth bearing in mind that it’s very difficult to get a perfect match. You might need to settle for as close as possible to your original artwork instead.
A trick that I found is to write down the adjustment settings and the values you have used as they are are usually similar for different images so having initial settings to try usually gets you 80% to where you need to be on the colour matching.
If you are really struggling to colour match close enough to your liking then you can get your local copy shop to make the prints for you. They do obviously cost more but if it gets you selling your prints now, then it gives you more time to play around with your home print settings while still making money.
Optional extras
If your image is a non-standard size, you may need to trim or cut the paper to fit the image. A guillotine paper cutter is best for this step as it allows you to get a good straight edge easily and efficiently.
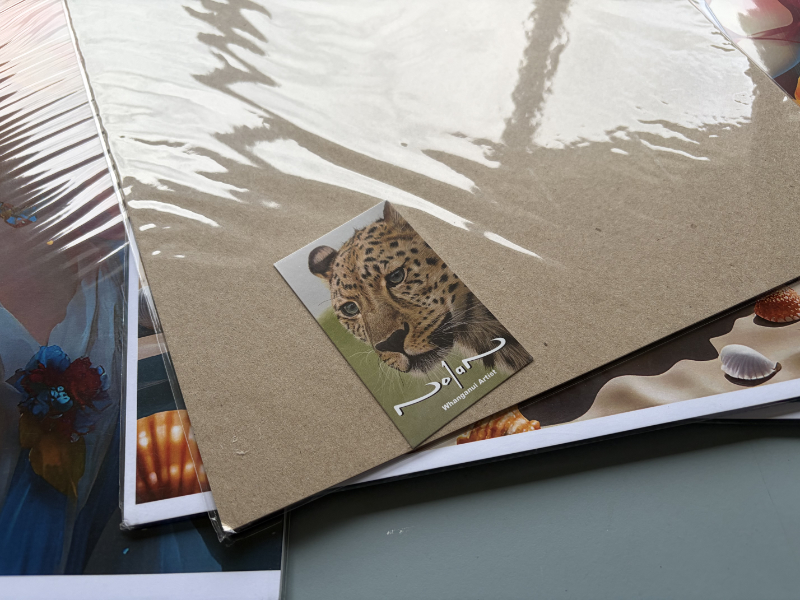
If you’re planning to sell your art prints, consider how you will package them. Perhaps you will opt for simple frames or another option is to package your prints in a plastic sleeve with backing board, so they don’t get bent or damaged. It can also be a sensible idea to have extra business cards printed to include in your packaging, so customers know how to contact you.
Weighing up the cost of printing at home
This article details the best way to make your own art prints at home, but it’s not necessarily right for everyone. You can significantly reduce the cost of making art prints simply by using whatever camera or scanner you have at home and printing it using a standard dye-based printer. However, if you go down this route then you will need to accept that your prints will not be as long lasting.
If you’re planning to use your prints for greeting cards or posters, then the lifespan of your prints is less important. In that case, you will probably get on fine with a dye-based printer. If you’re planning to use your art prints for display, however, then it’s really best to use a pigment-based printer.
The other option is to do away with home printing altogether! You might find that it’s cheaper to have your prints made by a professional company, who will be able to produce high quality prints with minimal input needed from you. The downside of this option is that you have less control over the finished prints. You might find that you disagree with the colour editing or paper choice but there is not much you can do once they are all printed and paid for.
Similarly, some printing services require payment for every step of the process. There may be charges for the scanning and colour matching, you might have to purchase a minimum number of prints per order, and there might be substantial shipping costs involved. If you opt for professional printing, make sure you have an estimate for the whole process.
Your cost analysis will depend a lot on what you hope to do with your prints. If you’re planning to hang them in your own home then you might be better off going with a professional printing service. On the other hand, if you’re planning to produce large numbers of prints to sell commercially, then it may be worth investing in the kit to make your prints at home.
Making art prints at home
To make your own art prints at home, you will need to have a great deal of patience in the beginning! Your camera, printer and paper choice will all impact what your finished art prints look like. You may not achieve the print you want on your first attempt. You will probably need to go back and edit a few times before you’re happy with the results. But those initial test prints will more than pay themself back when your customer are buying beautiful replicas of your artworks.
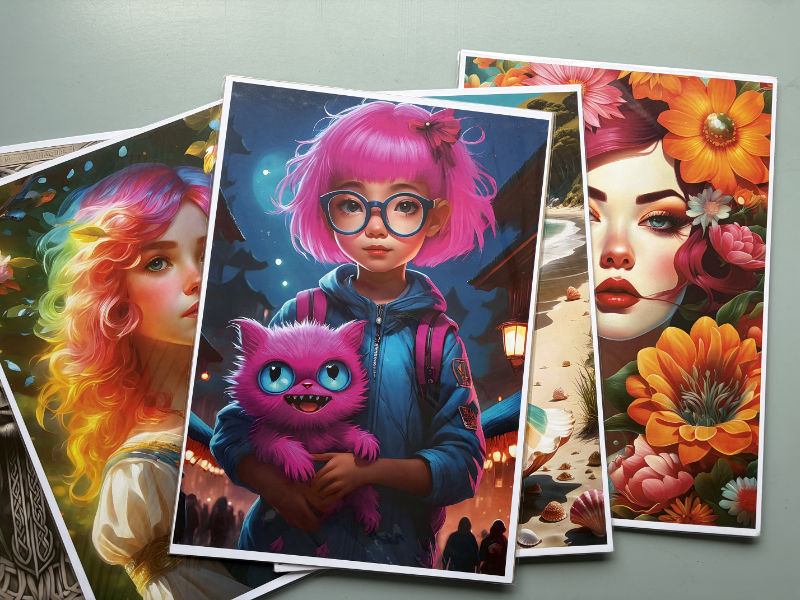
One benefit of printing at home is that you can print your artworks as you sell them. This allows you to respond directly to demand, helping you to maximise your profits.
Getting the art prints you want takes effort, but it can be rewarding. The results can be satisfying once you find a process that works for your art.
Let me know how you create your art prints or any tips you have picked up along the way.