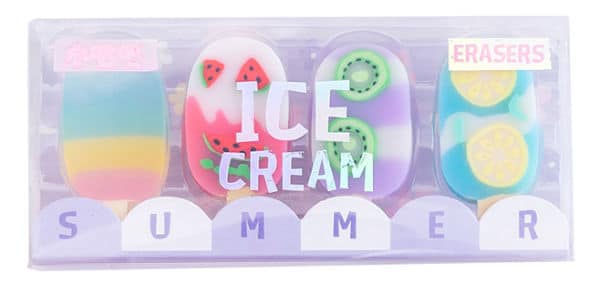
TO ERR IS HUMAN, TO ERASE DIVINE
If you make art, you’re going to make mistakes. Erasers, are like a permanent second chance for artists. Because they’re so important to a successful outcome, it’s helpful to know what kinds there are and how to use them to get the best results.
What did artists do before there were a variety of erasers available at the local art store?
Wax tablets were used to remove pencil lead or charcoal marks on paper. Ink was erased from parchment or papyrus using rough stones like sandstone or pumice. Damp bread was a popular form of early eraser which worked so well that some pastel artists still use it to erase today.
These days, artists have a huge variety of erasers to choose from that can be divided into three categories; rubber, vinyl and gum erasers.
Types of Erasers
Rubber Erasers
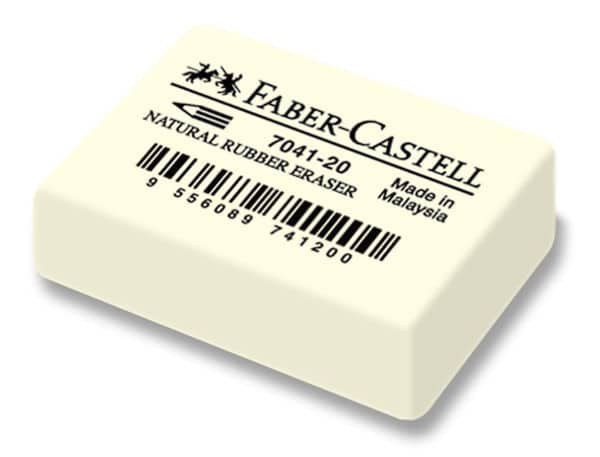
Rubber erasers the forerunner of modern erasers.
The first rubber eraser was put on sale in 1770. It was discovered by Edward Nairne who accidently picked up some rubber shavings instead of breadcrumbs when he wanted to erase pencil marks, and discovered it worked much better than bread. (The original happy accident?).
The name rubber came from the material used to make the eraser. (The rubber plant got its name from the eraser and not the other way around).
The next leap forward in the evolution of erasers, happened in 1839 when Charles Goodyear, (yes that Goodyear), discovered a process called vulcanisation that cured rubber, making it durable.
Quick to see that gap, Hymen Lipman from Philadelphia patented the eraser attached to the end of pencil, (called a Cap eraser). Unfortunately, his patent was revoked when it was ruled to be a composite of two devices and not a new invention.
Pink pearl is a well-known rubber eraser brand name. Some rubber erasers, have powdered pumice, (from volcanoes), mixed in, which is abrasive, and used to erase ink or coloured pencil. Great care should be used however to prevent damaging the paper.
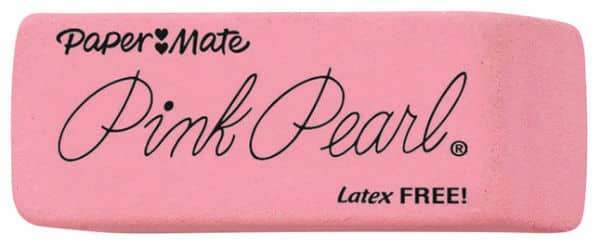
Rubber erasers feel dusty to the touch and the crumbs they produce are very fine and difficult to remove.
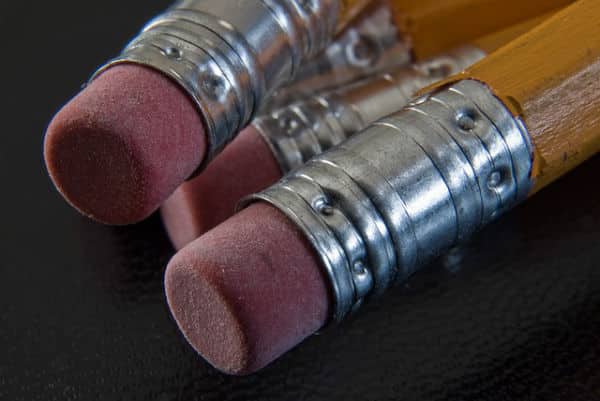
Cap erasers were originally made from rubber, but when they were produced in large quantities, a cheaper synthetic rubber-like material called SBR (Styrene-butadiene Rubber) was substituted for the more expensive pure rubber.
These synthetic rubbers are effective, but harder than their more expensive natural rubber counterparts. They are long lasting and durable but inclined to smear graphite instead of lifting it.
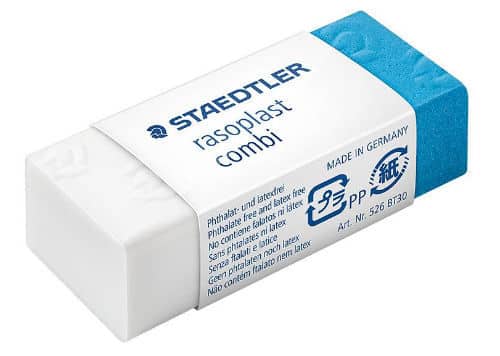
Vinyl / Plastic Erasers
Vinyl or plastic erasers erase more effectively than rubber erasers because the graphite is readily absorbed by the vinyl and flaked off as crumbs. Rubber erasers tend to hold onto the graphite more, which can lead to smearing. Because vinyl erasers are soft, they’re kinder to paper and less likely to smear. They’re usually white and come in all shapes and size.
Beware the decoratively shaped varieties, which, although fun, are made from a lower quality vinyl.
Like rubber erasers, vinyl erasers produce crumbs, but they are not as fine and therefore easier to brush off.
Gum Erasers
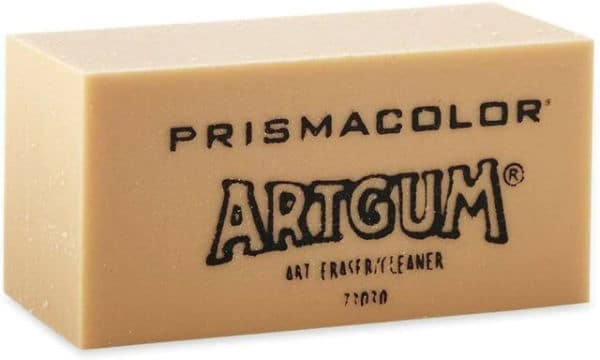
Gum erasers or Art gum erasers as they are also known, date back to 1903. Originally, they were made from corn oil vulcanized, (made harder), by mixing with the cherry-red liquid sulphur dichloride. Nowadays they are made from natural or synthetic rubber or vinyl.
Gum erasers are soft but solid enough to keep their shape. It’s easy to push your fingernail into the eraser and gouge pieces out, (especially when you should have been listening to the teacher instead). Their texture is similar to hard cheese.
They crumble easily and are great for erasing large areas without damaging the paper. They produce masses of eraser crumbs to which the erased graphite sticks. These crumbs should be brushed away and not left on the paper to create new smudges. The drawback of gum erasers is that they’re not very precise. Because they crumble so easily, it’s difficult to maintain a thin edge for erasing narrow lines.
Most gum erasers are brown or tan, a few are blue.
Kneaded Erasers
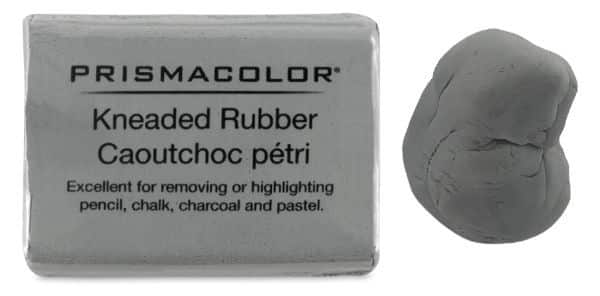
Kneaded erasers are also known as putty rubbers outside the USA, and as the name suggests, they’re made of malleable rubber. They can be squeezed into any shape needed, e.g., a very sharp point thin enough to pick off very small pieces of graphite or a sausage for rolling graphite off large areas.
The advantage of kneaded erasers is that they can’t damage the paper as they lift and don’t rub the graphite off.
Kneaded erasers don’t give off crumbs containing graphite, instead they absorb the graphite. If you’ve an area with heavy graphite to remove, be sure to knead and reshape the eraser periodically to create a clean surface for the graphite to stick to.
Eventually the kneaded eraser will become so saturated with graphite that its ability to absorb more will be compromised and it’s time to replace it. Some are harder than others. Koh-i-noor is hard, whereas Faber Castell is soft.
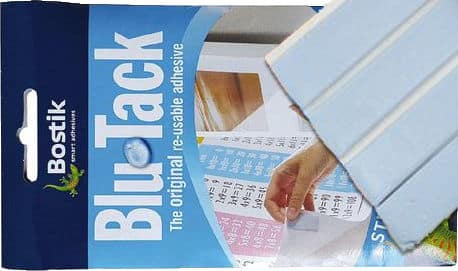
Poster putty, available in any stationery store or supermarket is a cheap and effective form of kneaded eraser. It’s even stickier so can lift more graphite (or coloured pencil, or pastel).
The brand I use is called Blu Tack by Bostik. With this poster putty you could erase a completed drawing back to almost white paper if you really wanted to.
Eraser Pencils

Made from vinyl inserted into a wooden casing, (just like a regular pencil), they can be sharpened to a fine point in a pencil sharpener. Often, they come with a brush attached to the opposite end for brushing away crumbs.
When purchasing an eraser pencil feel the eraser tip as some are harder than others.
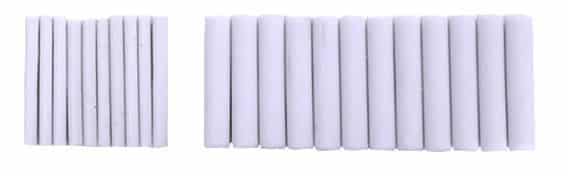
Stick / Click Erasers

Stick or click erasers consist of a shaft of cylindrical vinyl eraser encased in a plastic pen-like outer. The eraser can be pushed out as required. Refills can be bought separate from the outer cover.

Possibly the most useful and well known of these are the Tombow Mono erasers which have a diameter of only 2.3mm and are extremely useful for using in confined spaces or lifting out very fine lines. They come in both round and square tip versions. The round variety can be further trimmed into a wedge shape to erase even finer lines if needed.
Thicker eraser sticks can also be used to erase a very fine line by cutting the tip to a sharp angle or by using an eraser shield.
Shaped Erasers
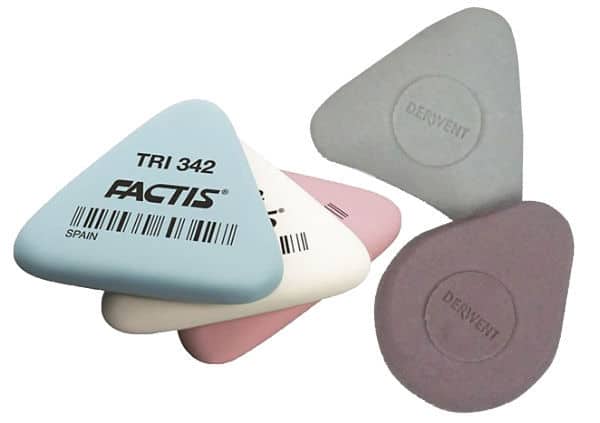
Shaped erasers are available in a variety of shapes and sizes. You can get them in rubber or vinyl and for use in pencil or ink drawing.
They are great for multiple reasons. Firstly they are easy to hold making them a pleasure to work with.
Secondly they are thin making them perfect for erasing long lines like hair or the edging on a petal.
Thirdly they can be used in a flat orientation to erase circular or unusual shaped areas.
Electric Erasers

Electric erasers are similar to stick erasers, but the rubbing is done by machine and not by hand. A battery-driven motor rotates the thin, soft eraser which protrudes from the end.
It’s possible to erase back to the white of the paper using an electric eraser, but care and gentle handling is needed as they remove part of the paper surface as they erase. Press too hard and you could go through the paper. Because they can damage the paper, they are best used at the end of the drawing process to create highlights in areas you don’t intend adding more graphite.
The electric eraser comes with a set of eraser tips which are pushed into the casing. Extra tips can be bought separately, which is useful because the tips wear down quickly with use.
Black Erasers
Useful when drawing on a black paper. Because they’re black, they leave less of a “white shadow” on the black paper than do the regular erasers.
Coloured Pencil and Ink Erasers
A mixture of rubber and pumice, these erasers will remove coloured pencil and ink, but they are hard on the paper and should be used with extreme care or they can damage the paper.
Staedtler produces one eraser with two sides – one for graphite and one for coloured pencil and ink.
Coloured Pencil
Kneaded or putty erasers can be used to lift most of the pigment especially if it was applied in several layers of light colour rather than one heavy layer that has been pushed into the tooth of the paper.
Another good way of removing coloured pencil is to use low tack tape. It can be pressed against the area to be lifted and gently lifted off. Use a new piece of tape to lift more.
To lift lines and small highlights from coloured pencil, lay the tape down and use an indenting tool or empty ball point pen to press down on the tape in the shape you want to erase.
Just be sure that the tape is low tack. You don't want it adhering to your drawing or ripping it when you remove it.
If in doubt, test on a spare piece of paper first.
Drafting / Dry Cleaning Erasers
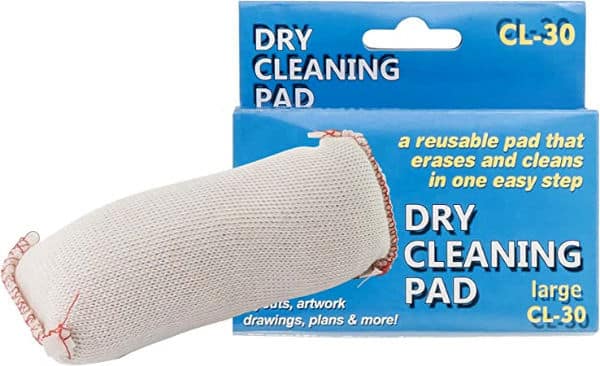
Before computers, dry cleaning pads were used by draughtsmen and architects to remove graphite smudges from final drawings.
Also known as cleaning cushions, they are idea for the final cleaning of the white parts of your paper that inevitably get unwanted graphite marks during the drawing process. Consisting of fine granules of eraser dust enclosed in material, they are floppy to the touch and easy to move over large areas to collect any graphite marks and bring the paper back to a sparkling white.
Which Eraser Should You Choose?
When erasing the “do no harm (or at least as little as possible)” principle applies.
You don’t want to damage the tooth of the paper, or any pigment laid over the top will not look the same as the surrounds. To lessen the chance of damage to the tooth, always start with the correct drawing process.
It is easier to erase graphite that has been gently applied to the surface of the paper because the graphite is lying on top of the paper tooth. When you bare down on the pencil it not only flatten the tooth of the paper damaging it, but also force graphite into the micro texture of the paper. No amount of erasing can get into these micro pores so you will always have a ghost image remaining after erasing.
The darker you want to draw the softer the pencil you must use. This allows you to draw without pressing hard.
Start drawing from light to dark. That way you can correct / erase the drawing while there are no dark marks on the paper yet. This will ensure you end up with an accurate drawing with minimal erasing.
If you however need to erase, use a kneaded or putty eraser first. They lift off pigment without hurting the paper. (Knead often to be sure the eraser remains clean, or you may lay down pigment instead of lifting it off).
Decide what you need your eraser for most.
- For subtractive drawing, (lifting out the highlights), putty or kneaded erasers work best for lifting general areas of highlight as they lift the graphite off cleanly. The edges of the lifted areas will be soft unless the eraser is pushed through the hole of an erasing shield.
- Rubber, gum or vinyl erasers can cause smudges as graphite is a lubricant and the act of rubbing, (especially if there is lots of graphite to be removed), can smear the graphite across the paper and drive it deeper into the tooth. Use these erasers only after you’ve removed excess graphite with the kneaded or putty eraser.
- A clean sharp-edged vinyl or rubber eraser which can be re-cut periodically to form a fresh clean edge, is handy when sharp thin lines need to be lifted out.
- For removing excess lines created during the sketching process, vinyl, rubber, gum, kneaded or putty erasers work well. Remember that marks made with a soft graphite pencil used lightly, are easier to remove than marks made with hard graphite pencils used with more pressure that are inclined to scratch the paper and trap the pigment inside the scratch.
- To remove a pencil sketch from under your finished watercolour or ink drawing, nothing works every time as a pencil line covered by watercolour paint is often set into the paper and can’t be removed. Best to lighten your drawing lines with a putty or kneaded eraser before you start painting or include the pencil lines as part of your final design.
- For tidying up small areas and edges where a sharp clean edge is needed, an eraser shield is useful. Any eraser will work with a shield, just be sure to hold the eraser shield firmly down onto the paper. An electric eraser with a fine tip also removes very sharp edged small areas.
- If you want to remove layers of pigment to lighten an area or to apply more layers of a different colour on top – a kneaded or putty eraser will do the job just remember to constantly clean it by kneading as you use it.
- When you have a large sheet of white paper that has very light graphite smudges here and there, a cleaning pad or kneaded eraser are the best choices although the former will work much faster.
- Another element in deciding what eraser to use is the kind of paper and type of medium you want to erase. If it’s coloured pencil or ink, then a rubber eraser containing abrasive silica particles is most likely to succeed. Once again, remove any excess pigment first with a putty or kneaded eraser.
The thicker and softer a paper the more graphite will be absorbed into the tooth of the paper and the more important it becomes to remove excess graphite first with a kneaded eraser before using rubber, vinyl or gum erasers.
The thicker the paper, the more abuse it will handle without breaking down.
- When erasing on black paper, it’s best to use a black vinyl eraser to prevent white ghost marks caused by regular erasers.
Health Alert
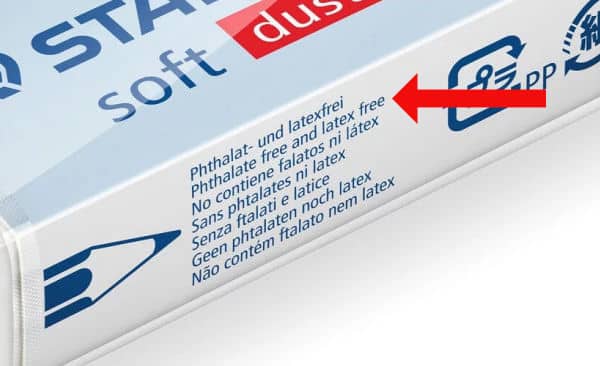
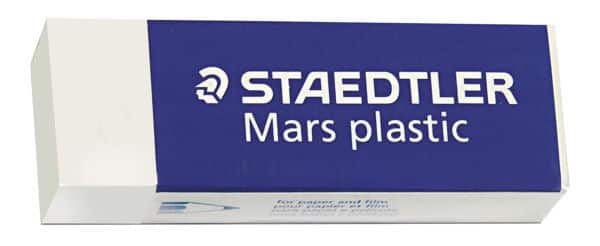
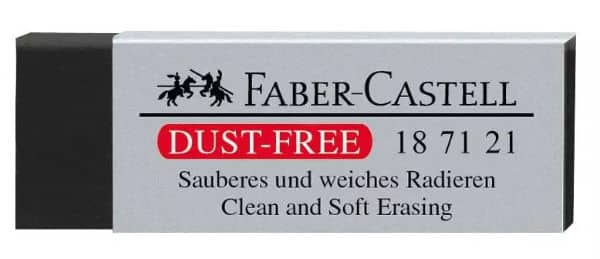
Many erasers contain Phthalates; a chemical additive that makes plastic pliable. There is increasing evidence that this chemical is harmful to humans and can interfere with the hormonal system. Although phthalates are used in many household products, erasers are of particular concern, as they crumble, and the crumbs are more likely to come into close contact with the body or even be ingested. Many brands no longer use phthalates in their erasers. They will usually be labelled Phthalate-free as you can see from the image above so look out for that.
How to Get the Most out of Your Eraser
Erasers work best when warm. Hold your eraser in your hand to warm it before using. This applies to kneaded and putty erasers but also to rubber and vinyl types as well.
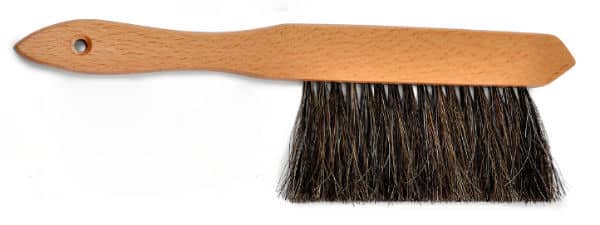
Keep a large soft brush close to brush off eraser crumbs. Don’t blow them off; you’ll get spittle on your drawing surface with disastrous consequences. Also, don’t brush them off with your hand which can leave oil from you skin on the paper and the pressure of your hand can transfer the graphite in the crumbs onto the paper again. The best way to get rid of crumbs is to use a soft wide brush specially made for the purpose.
You could of course also use an air blower like a hair dryer to remove the crumbs from the paper.
I have also seen gadgets that vacuum up the crumbs as well which you could use.
Less is more. Use the lightest pressure possible when erasing and always lift off excess pigment with a kneaded eraser first before using other kinds of eraser.
Erasers are relatively cheap, so don’t be afraid of cutting them into pieces with sharp edges that you can use to erase very accurately. A newly cut sharp-edged vinyl eraser will lift pigment better than a rounded-edged eraser.
Other "Erasing" Options
Not strictly erasers but useful to know of nevertheless as they give a similar effect to erasing in a drawing.
Erasing Knives

For tiny areas of graphite or coloured pencil where an eraser doesn’t work well or where there’s a stain on the paper, use an erasing knife to shave off a very thin layer of paper back to the original white paper as a last resort. Obviously great care must be taken to avoid cutting too deeply into the paper and this works best on heavier papers. Because the tooth is affected its best not to layer over these areas.
As the name suggests, they can also be used for sharpening pencils, coloured and pastel pencils and charcoal.
Scoring

If you need very fine lines like whiskers in the drawing you can score the paper before drawing over the area. The pencil tip will glide over the scored mark leaving the white of the paper exposed in that area.
Erasing Shields

Most often made from thin stainless steel, they have different sized shapes cut in them. Place them over the area to be erased, hold down firmly and push the eraser through the hole to remove only the pigment exposed by the opening.
Correction Pens

For final highlights and thin lines like whiskers you can also use a correction pen. The one I use is the Paper Mate Correction Pen.
You can't really draw over the correction fluid again so always make sure this is the very last thing you do do the drawing before calling it complete.
Gelly Roll Pens

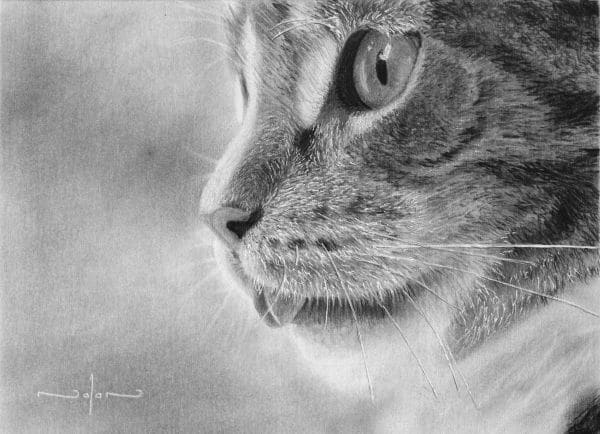
White Gelly Roll Pens use a white gel ink which will layer over graphite. They are great for final details which are finer than what a correction pen will draw as the Gelly Roll pens come in various thickness tips.
I have drawn whole drawing where the Gelly Roll Pen added all the lighter / finer details to the drawing as you can see from the cat drawing below. (Follow the Cat Drawing lesson)
Crepe Eraser
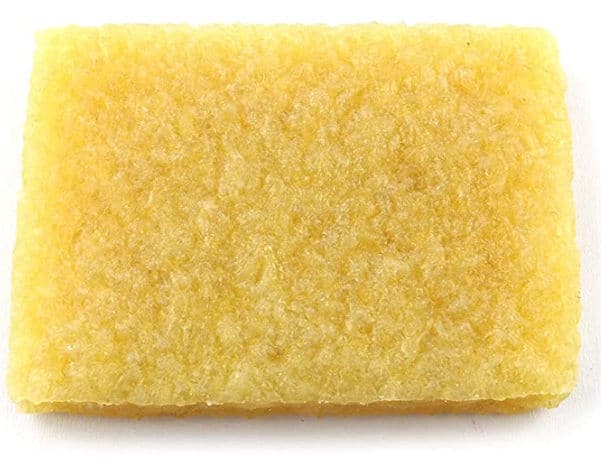
This eraser looks very similar to a gum eraser and even has a similar bendable consistency, except that it's texture is very rough.
This is NOT a pencil eraser, though it certainly looks and feels like one and is called an eraser.
A crepe eraser is a block of rubber which watercolour artists use to remove their masking fluid / frisket from the paper.
Don't buy one of these they are useless for erasing pencil as I learnt the hard way, lol.
Conclusion
Hopefully with this arsenal of erasers available you will be less afraid of experimenting in your art and less afraid of making a mistake!
If you are just starting out in pencil drawing then you can follow the Introduction to Pencil Drawing class to learn the basics.
Pin Me
