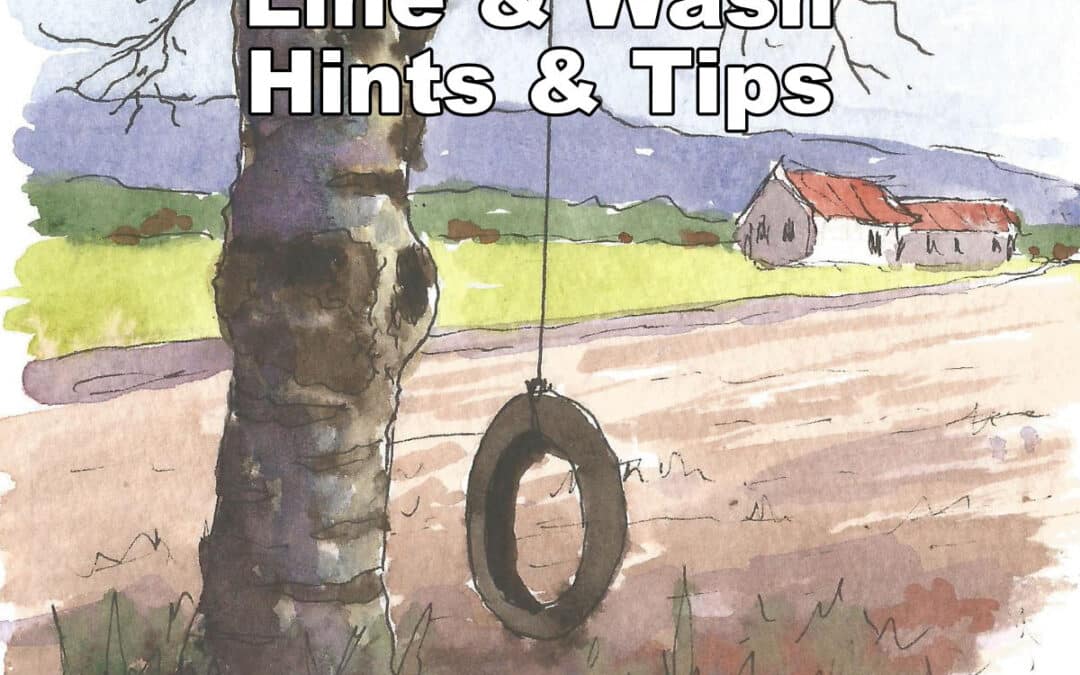
Line and wash is a wonderful medium for portraying scenes in a loose sketching way.
It is also great for drawing highly technical scenes as well as architectural projects. In this article, however, we will only be concentrating on the artist’s side and not on the architect.
Pen and ink sketches can infuse an enormous variety and subtlety into any line and wash drawing. It can vary from a simple cartoon-like sketch right up a highly complex drawing.
It is a wonderful method of capturing a scene complete with all the relevant colours. Many artists use this method to make a preliminary planning prior to a fully completed painting. Rembrandt did many rough sketches for the planning stage of his famous paintings. Leonardo da Vinci was also famous for his multitude of sketches.
Pen and ink is an excellent means for the beginner artist to get to grips with drawing and painting. It does not require complete accuracy to start off with. Accuracy come with lots of practice.
Tip #1 – Start with Simple Subjects
I advise beginners to start with simple subjects first. Imagine these as bricks in a building. Once each brick is completed, they can then be bonded together to form a completed painting. Take for example the sketch below:
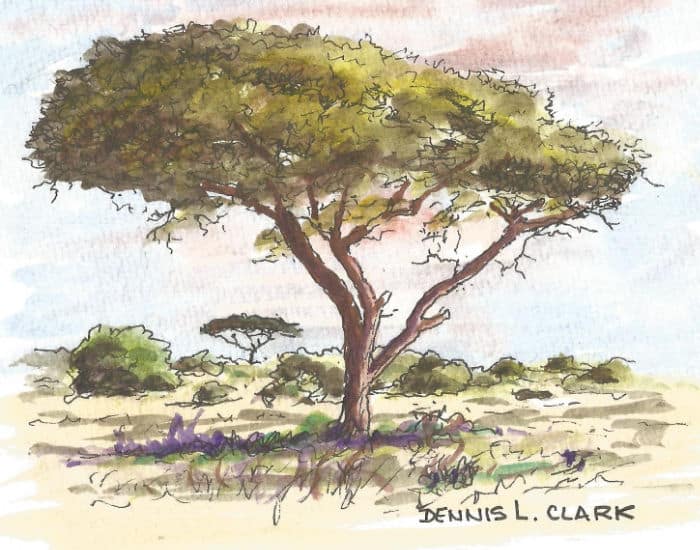
You’re strolling somewhere and you see a tree you like. You haul out your small sketch pad and pencil and sketch the trunk and the branches, and lightly rough in the profile and the leaf masses to indicate the highlight areas. You use your 0.3mm black waterproof pen and sketch in all the outlines and squiggles for the leaves and the bushes. Maybe some minor lines and hatching to bring out some texture in the trunk and branches. Smaller branches and twigs are directly sketched in with the pen.
If you had taken a small satchel with paints, a small screw-top bottle with water and a brush with you, then you could immediately add the washes to complete the sketch.
Each of these small sketches (bricks / building blocks) can be mix and matched later to make up larger paintings.
If you don’t happen to have your paints with you, no matter, add the wash later at home.
Tip #2 – Simplify
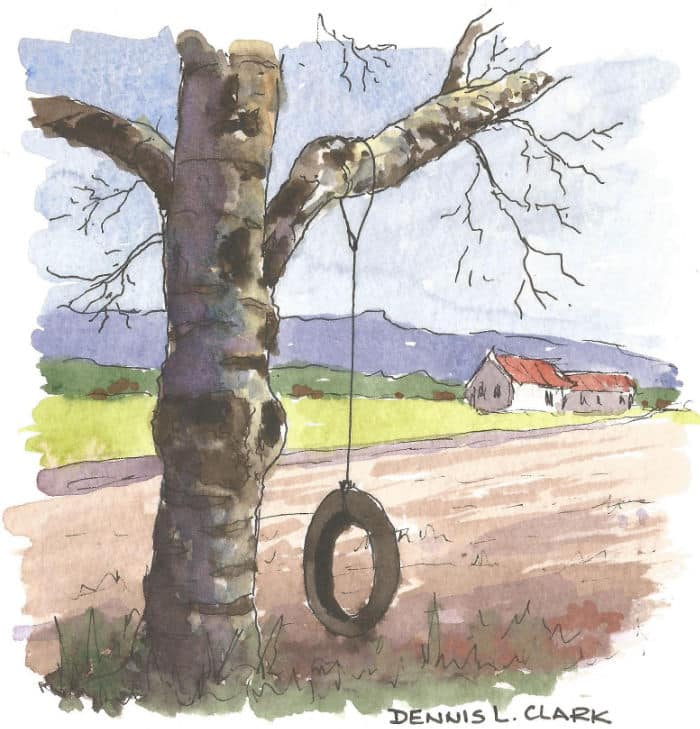
When sketching outdoors you can often get overwhelmed by the amount of detail. One way to overcome this problem is to “zoom in” on a portion of a subject.
A typical example would be the trunk and branch depicted in the sketch above. The trunk texture and coloring can be used as an example for other trees in a later painting.
Notice the simplified background in the sketch as well. The tree trunk is the focus point. Add less detail and lighter washes to the distant objects to create the illusion of distance.
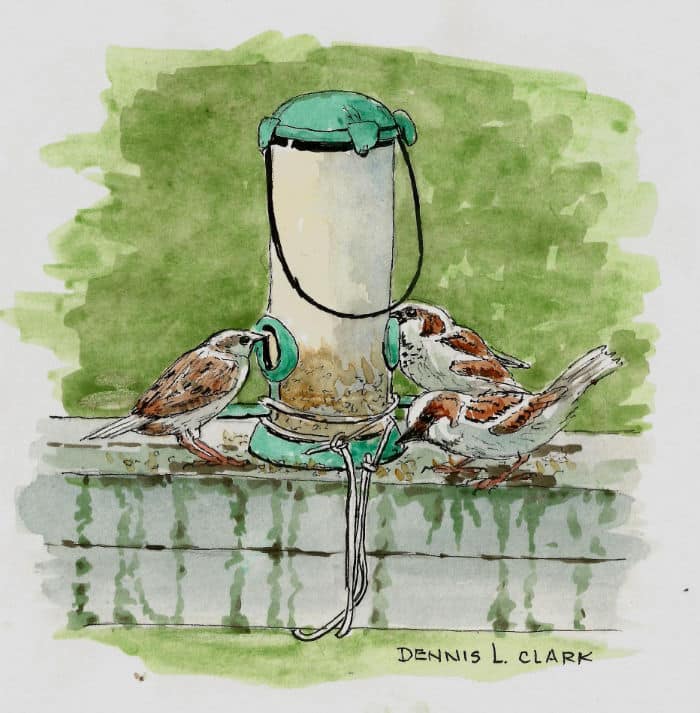
This sketch of the sparrows at the feeder was completed in ¾ of an hour.
The background was simplified into a unified colour to contrast against the light colour of the birds and the feeder. Adding in the background trees, etc, would only deter from the focus point of the sketch.
Tip #3 – Know Your Equipment
It sounds like such an obvious thing to say, but not using the correct tool for the job can make the difference between a good and an average artwork.
For example, in pen and ink, line weight (the thickness of each line) plays an important role in focusing attention on items in your drawing. The thicker the line, the more attention it will attract.
Another example would be to inadvertently use a pen with water soluble ink which would dissolve, run or bleed when you apply your watercolor wash, ruining the painting in the process.
Getting to know your equipment is beyond the scope of this tutorial, but I do have a very comprehensive lesson covering the equipment used for Pen and Ink drawing which you can follow.
Tip #4 – Experiment with Wash Mediums
Although I have used watercolour for the illustrations in this article, it is by no means the only medium that can be used.
In the past I have successfully used waterproof inks as well as thinned down acrylic paints.
Acrylic inks are also an option.
All washes are typically applied as translucent layers. There is however no right or wrong way in applying the washes.
Tip #5 – Correct Mistakes Sparingly
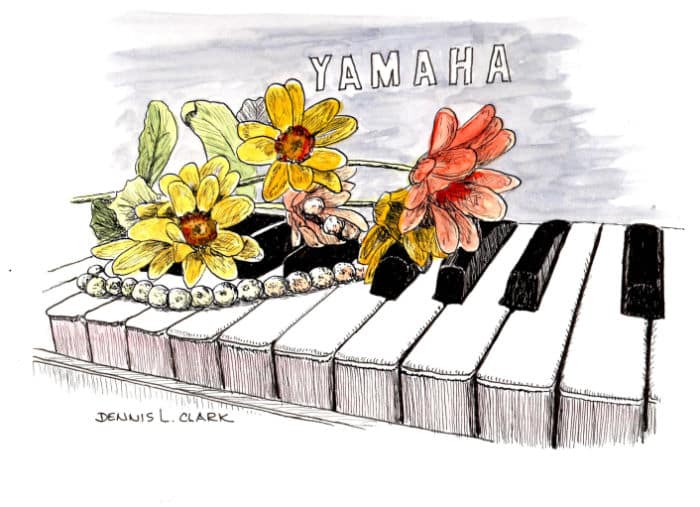
Line and Wash is a very loose and forgiving style so don’t be shy to leave mistakes in place as they often add to the spontaneity of the painting.
Ink mistakes are best left alone as they usually just blend into the scenery after the color has been added. Other times a little bit of creative thinking can save the day. An example of this could be an accidental dot of ink in the sky becoming a bird.
When adding the washes you would also generally leave them as is. You certainly don’t need to stay inside the lines,
Sometimes though you do make a glaring mistake so when you do try to correct it instantly before the paint gets a chance to dry. I usually use a tissue or piece of paper towel to lift out the mistake.
Tip #6 – Don’t Fiddle

Building on from the previous tip, this one will also help to keep your painting spontaneous.
Start with the light colours and build up to the darker colours. Try not to go over a wash too often. Once it starts to dry, any further work in it will result in streaking.
Fiddling has never done a painting any good. Know when to stop. Trying to “finish” or fine tune a painting could easily lead to its ruin.
Often only a single one colour wash is all that is needed to add sparkle to your pen and ink sketch and you can see in the photo above.
Tip #7 – Use Line & Wash to Plan Larger Paintings
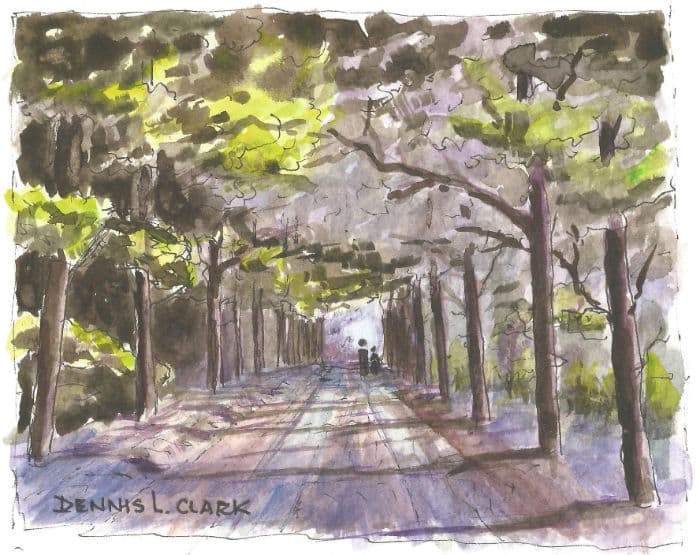
Line and wash paintings make fabulous thumbnail sketches for larger paintings. They allow you to quickly test various compositions and layouts before committing to the final artwork
The sketch above looks complicated, but it is not really. The main ink lines are the trunks, a few lines indicate the road then a few rough squiggles for the leaf masses. Only a limited amount of colours are needed to complete this sketch. Even then, you can see how roughly they are washed in.
This is one example of planning for a larger painting which will have much more detailing and colours. In the final painting I will have the road coming in slightly from the side and make it curve back to the focus point 2/3 to the right as the sketch is currently too symmetrical. The straight path also leads your eye through the painting too quickly so the curve will allow the eye to meander through the scene.
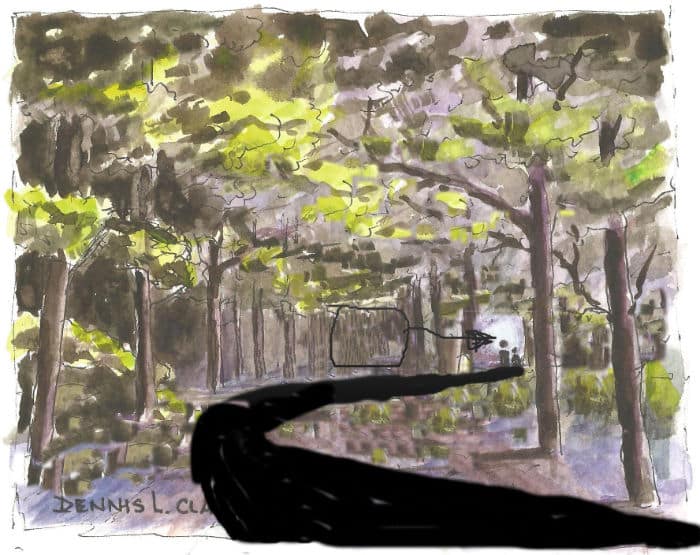
These are the basic changes I would make. You can see how I have quickly corrected the composition with additions of paint and few scribbles here and there to remind me when I go ahead with the final artwork.
Tip #8 – Go Large
Many artists think that line and wash is only good for little sketches, but they are not.
In fact it is a fantastic way to quickly product large vibrant paintings for sale.
These painting can then be sold framed or unframed or turned into prints.
Whether you are sketching large or small paintings, remember to have a good balance between the lines and the colour washes, as well as a wide range of contrasts.
Tip #9 – Remember the 3 Rules
Rule #1 – There are no rules
Rule #2 – There are no rules
Rule #3 – There are no rules. The floor is all yours!
In art there are no rules, play around and try different things and most of all, have fun with it.
Tip #10 – Ink is Used for Details
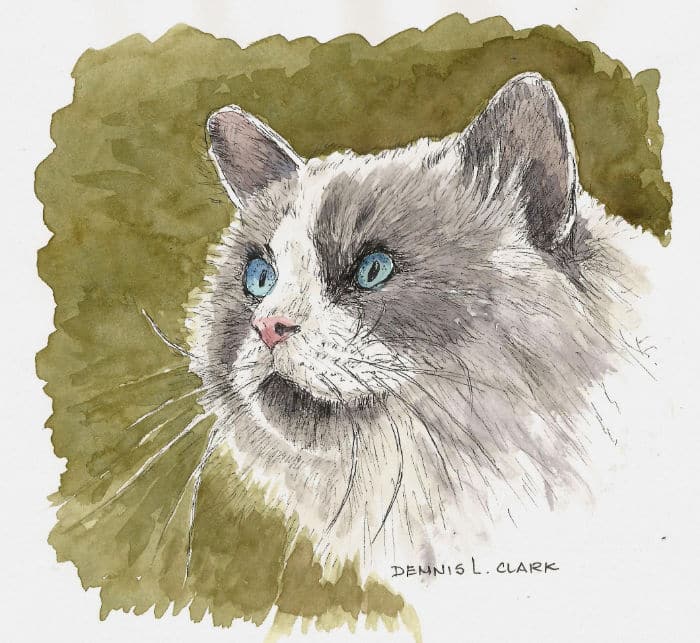
Animals are perfect subjects for pen and ink sketching. Here I have simplified the background then added a light wash for the colouring on the cat.
The watercolour paint was not used at all for detailing. Add just enough lines to indicate the direction of the fur. More in the darker areas and less in the lighter parts. I drew in all the very thin lines by holding the 0.3 mm pen at a 45° angle and pulling it sideways.
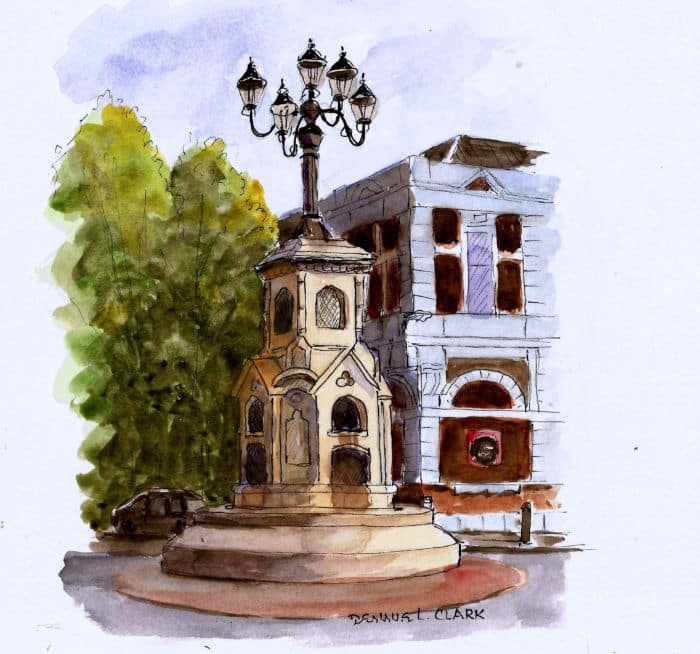
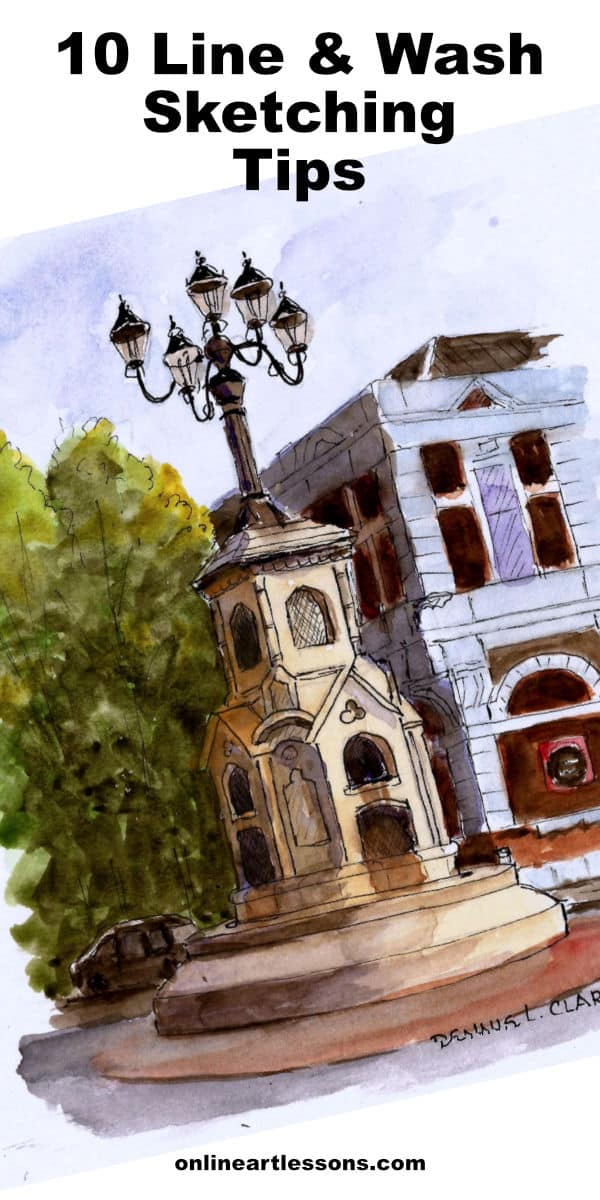
Monuments, statues, and buildings are a natural subject for pen and ink work. I have done many of them in the past. Whether you live in a city, small town, village or a farm there are ample opportunities for sketching. Even small sections of large objects are candidates for sketching.
As before take a look at how I have used the ink to add the detail. The watercolor wash adds color and depth.
Conclusion
Whether for serious work or as a hobby pen and ink can be very relaxing. Why not grab hold of your sketchbook, a pencil and a pen and get out into the open and capture the details of life.
If you want to learn more about sketching then you can follow Nolan’s Sketchbook Basics course.
Pin Me
