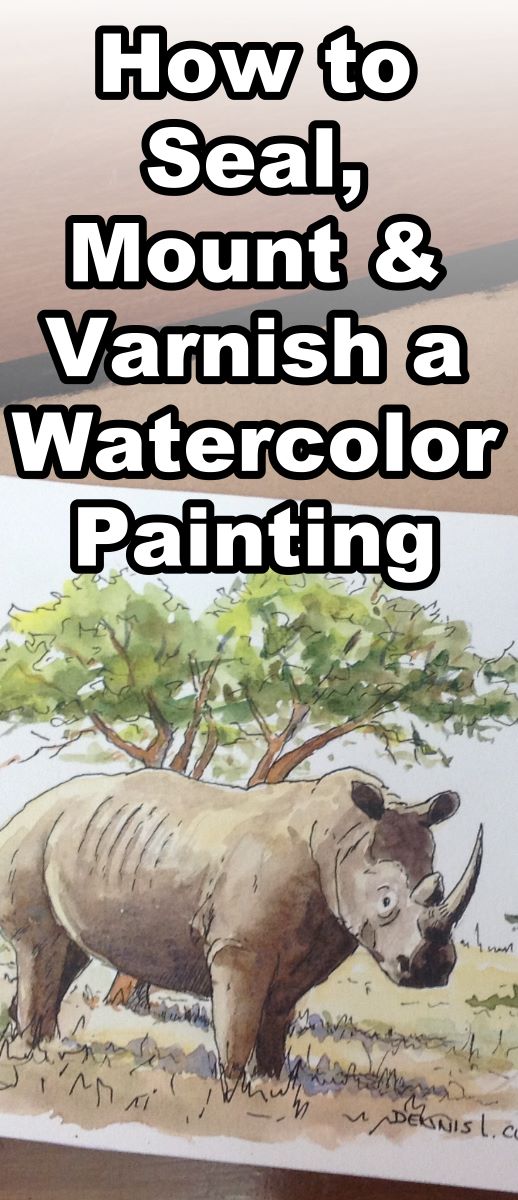
In this tutorial I will show you how to mount, seal and varnish your watercolour paintings.
This is an entirely new way to protect and display your watercolour paintings which is very exciting for such a classic and traditional medium.
Are you ready to take the plunge? Let's do it!

Why do we need to protect a watercolour painting?
1. As the painting is water based it is easily damaged by water or a liquid spill.
2. Damp air will be absorbed into the watercolour paper attracting mould.
3. Oxygen in the air and will deteriorate the paper and cause it to become brittle.
Until recently, watercolour paintings have been framed behind glass for protection.
Disadvantages of framing behind glass
1. It must be framed with a mat board between it and the glass surface to prevent condensation and moisture build up inside the frame. This add an extra cost to the framing process.
2. Framing behind glass is expensive.
3. Glass is smooth which causes reflections when trying to view the artwork.
4. A glass frame is heavy so often needs extra caution when hanging to ensure the artwork doesn't fall off the wall.
4. The potential of breakage during transport between galleries and exhibitions is much higher with glass framed paintings
5. The cost of packaging and posting to clients and galleries is much higher.
Then there is the potential damage by framers who are ignorant and/or careless about watercolours and the handling thereof. Even the most careful framer can spill coffee over your painting by accident while working.
Would it not be better to be able to frame and/or suitably protect your watercolours yourself, knowing that no one else will damage your precious paintings?
I have good news for you. There is a way to protect and seal your watercolour paintings.
This method makes your watercolour paintings waterproof which allows you to even frame them glassless if you want.
Recently I spoke to an art supplier in my city and told her about it. She was very sceptical and said she would be afraid to damage the surface of her watercolour paintings. (She is also an art teacher.)
A few days later I took her the finished article of the project while she had a class on the go. I poured water on my painting and rubbed my finger over it with no damage to the painting, she also tried it and was speechless.
Mounting a Watercolour Painting
The paper must be supported by a solid inflexible surface. I prefer to use MDF (medium density fibre) board which is then framed as one would normally frame an oil painting. If you seal the painting as well then this method allows you to frame your watercolour paintings glassless.
The painting could also be framed on a box frame, similar to the traditional stretched canvas that is used for oil and acrylic painting, As long as the front surface is solid (like an MDF panel) and not flexible (like canvas).
In this tutorial we’ll be first preparing the box frame and making it ready before mounting the watercolour painting onto it. As the paper must be mounted on an inflexible surface I have made myself a wooden box frame:
It is assumed that the box frame has been sanded perfectly smooth all over the outside surfaces before following the rest of the tutorial.
Unlike an artwork on canvas, like with oil or acrylics where the picture can be continued on the sides, it is not possible to do so with watercolours. The sides need to be painted separately and before any mounting is done. I will be using some acrylic Mat Black paint to do this:
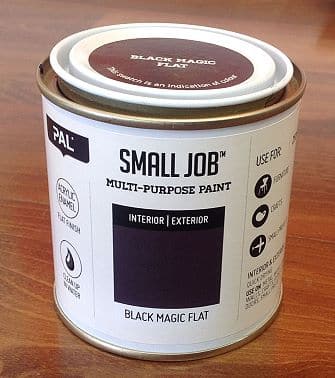
You can use whatever colour you want. You can try using white, or a colour that compliments those in the painting. There is of course nothing stoping you from even painting a pattern onto the sides of the frame.
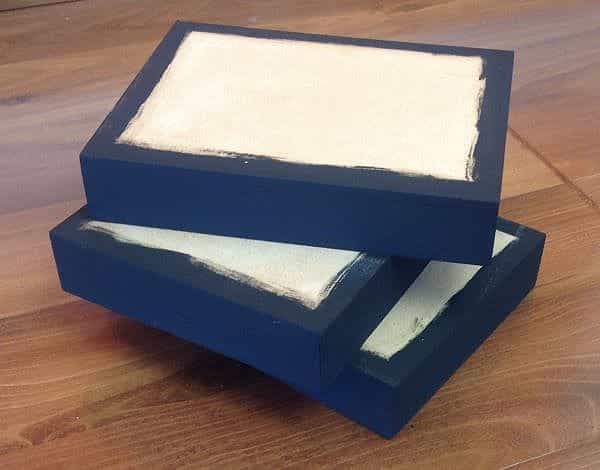
Here three boxes have been prepared and painted with the Black Mat Acrylic paint. Notice how I have painted around the top corners onto the front face of the box. This will ensure that you don't end up with slivers of exposed wood showing once the artwork has been mounted.
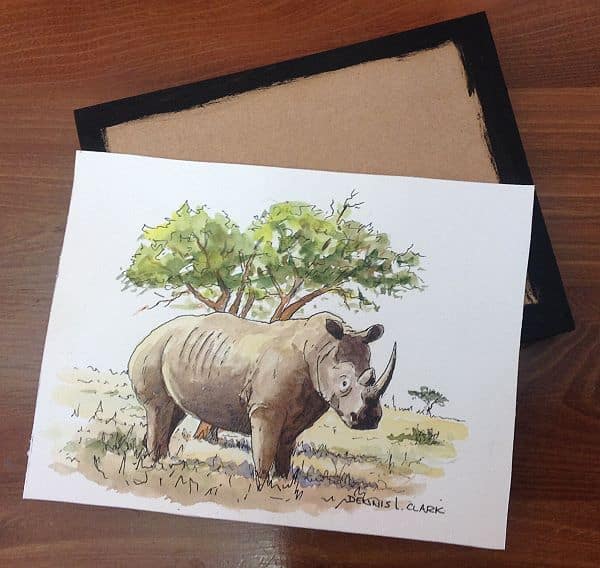
Cut the artwork to be mounted slightly larger than the size of the box with a minimum of 3 mm (1/8th Inch) overlap. This will ensure the glue will extend past the edges of the box. This is extremely important to ensure the entire artwork is stuck to the surface.
Note: this page contains affiliate links to products on Amazon. If you purchase through the links I will earn a small commission for the sale at no extra cost to you.
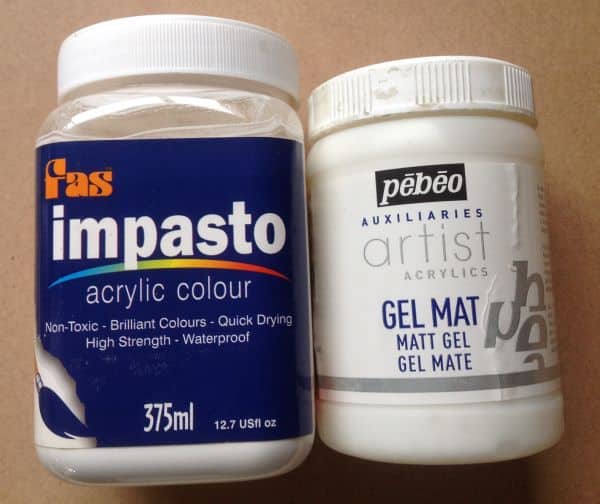
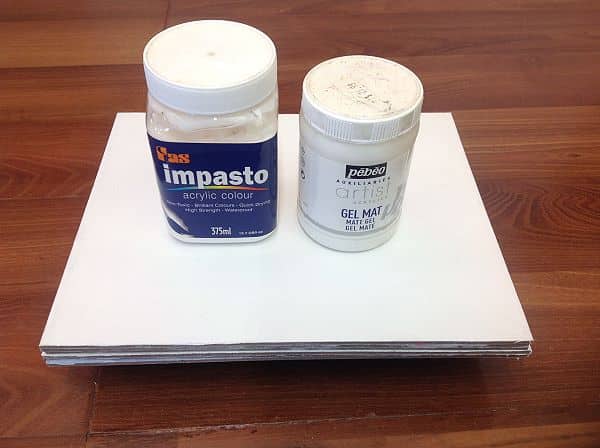
Use an acrylic gel as glue for the painting. Illustrated are two types of gel - one white and one semi-transparent. They both work equally well. For this tutorial I have used Pebeo Matt Gel.
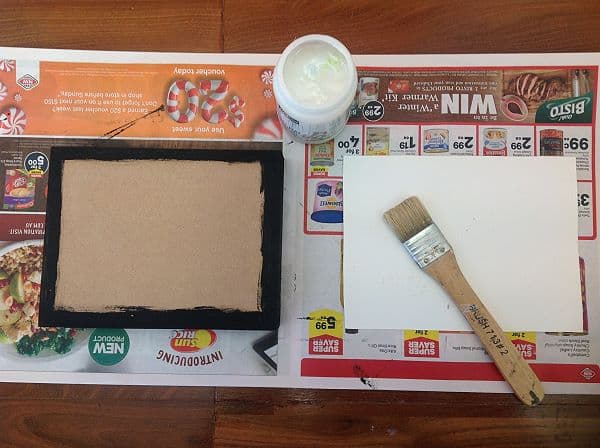
Place the box frame and the painting on a clean sheet of newspaper.
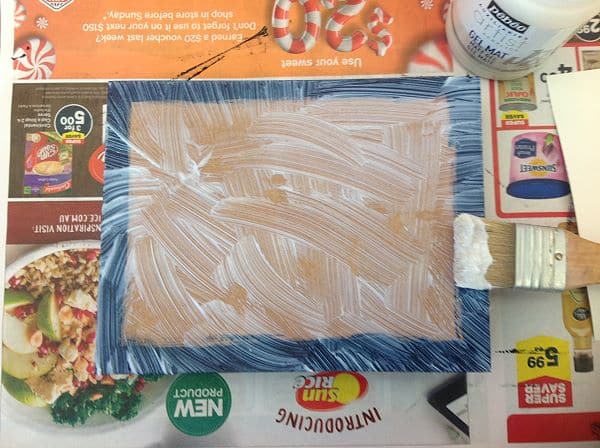
Use a wide bristle brush to apply the gel thinly to the box. Make sure the gel is evenly spread and covering the surface completely, right to the edges. The gel is fast drying so you need to work reasonably fast, especially when mounting a large artwork.
Do the same to the underside of the painting. Be very careful not to accidentally get any gel onto the front of the artwork. This can easily happen if you do not press down hard enough onto the painting as you apply the gel. It then rotates onto a section of newspaper which has gel on it.
Make sure you do not have any glue on your hands before placing the painting on top of the box. Make sure the painting overlaps each side of the box. (Gently slide the painting around until you are happy with the overlap.)
Check that your hands are clean again before applying gentle pressure to the top of the artwork. Apply this pressure for around 30 seconds. We are forming a light bond between the paper and box so that the artwork doesn't move during the next step.
Add a heavy weight onto the painting and leave for several hour to dry.
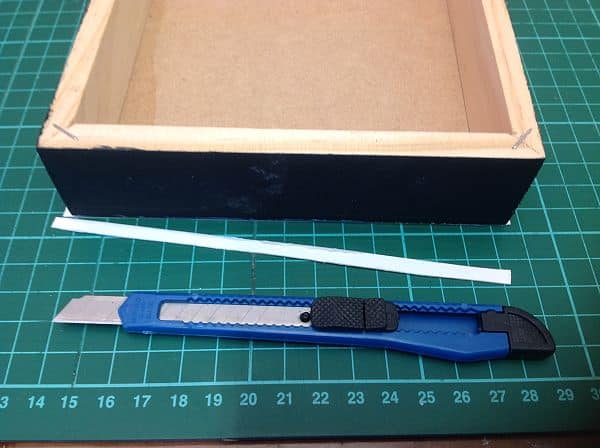
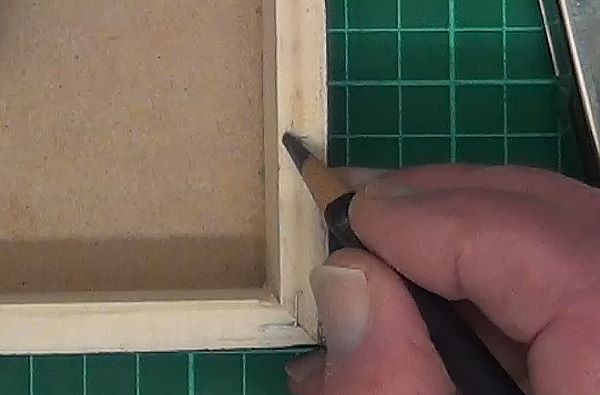
When dry, carefully trim the excess paper right up against the box edges. Hold the craft knife at a slight angle away from the box when doing so. This will prevent any of the paper overlapping the edge.
Now comes the fun part.
Sealing the Watercolour Painting
Normally, any liquid on a watercolour painting will cause the paint to smear and run, ruining the artwork in the process. Acrylic artists like to varnish their paintings in order to protect them from liquid damage. You can do the same to your watercolour paintings. If you use a liquid varnish on your watercolour paintings they will however run.
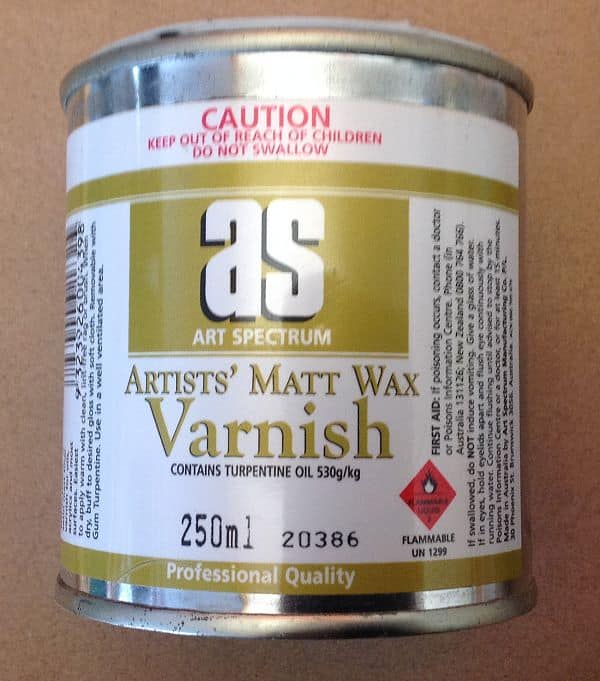
The secret then is to use a wax varnish. There are different makes of wax varnish. I personally the Art Spectrum Artist’s Matt Wax Varnish. Another popular brand is Dorland's Wax Medium.
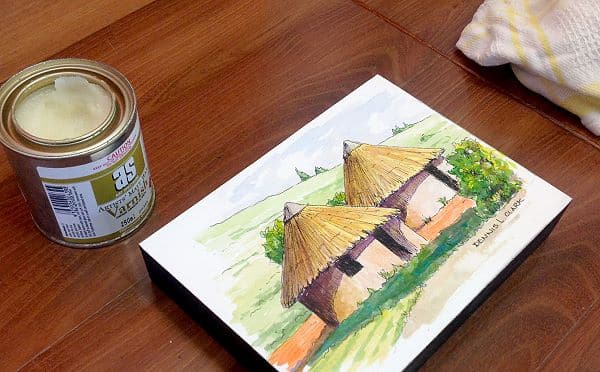
To seal your painting you will need your painting, a tub of varnish and a lint free cloth.
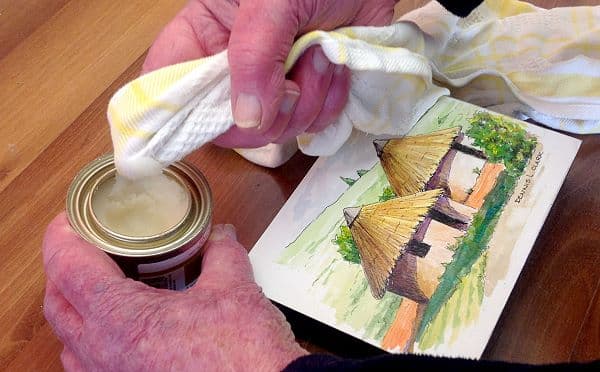
Use the lint free cloth to pick up some of the wax. Be liberal, otherwise you may miss areas of the painting.
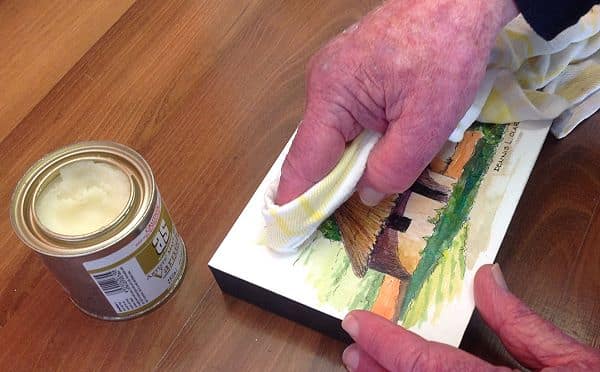
Begin at one corner of the painting and work toward the right if you are right handed and opposite if you are left handed. You must be able to see where you are working. Don’t be afraid, the wax will not smear your painting. Spread the wax, working in a circular motion. Scoop up more wax as needed. Don't let the cloth run dry.
Work right up the edges to ensure the entire surface of the painting if perfectly and evenly covered. What I like to do is lift the painting up at an angle every now and again in such a way that the wax reflects the light. That way I can see where any dry / uncovered patches are.
Let the wax dry and the apply one or two more coatings to make sure you have adequately covered the whole surface. You may leave this as your final coating.
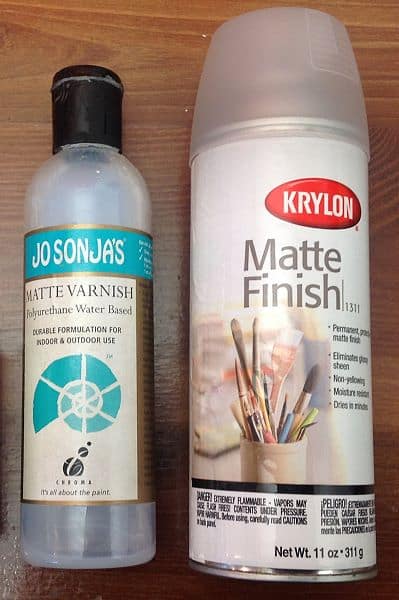
I personally like to finish off with two extra coats of polyurethane varnish over the wax.
The polyurethane varnish I often use is Jo Sonja's Mat Varnish.
I pour some onto the painting, then use a lint free cloth to spread it over the entire surface. I then use a soft hair brush to even out the coat so that it is equally thick over the entire surface.
Another method which I have successfully used in the past is to spray several coatings of KRYLON Matte Finish over the painting.
When leaving these varnishes to dry it is very important that you lay them onto a level surface so that the varnish thickness remains even across the entire painting.
Prepare Mounted Watercolour for Hanging
When the painting is dry it is ready for the final touch – that of getting it ready to hang.
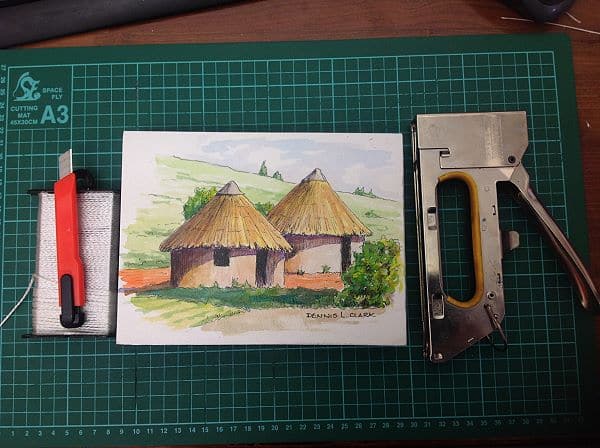
You will need a stapler, craft knife, ruler, pencil and a roll of nylon cord.
For small paintings, like the one I have here, a strong cord will be more than sufficient to carry the weight. If you are working with a larger painting, then it is better to use wire.
Using a pencil mark the same distance down either side of the frame on the back. I usually mark roughly ¼ to 1/3 of the way down the side. Both marking must be the same distance from the top of the box to ensure the string will be parallel to the top. (Use a ruler to ensure equal measurements.)
Note : In the photo above I am have the painting rotated so that the top of the painting is at the bottom of the photo. (It is just easier to measure like this)
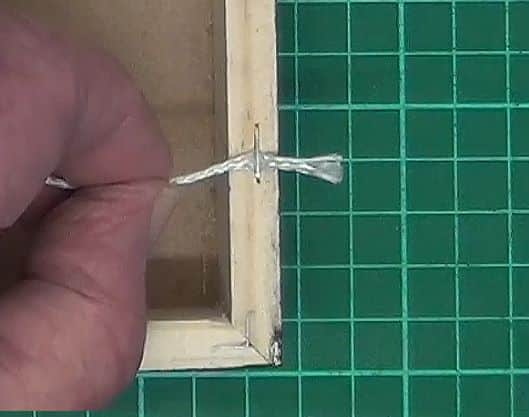
To secure the string, staple it into the frame edge.
Pull the string back over the staple towards the inside of the frame. Hold both sections of string together with one hand.
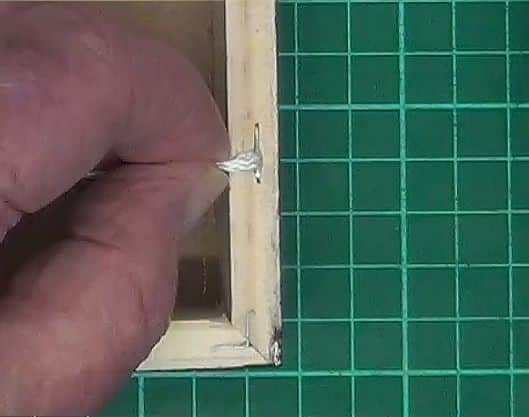
Staple both sections of string to the frame with the other hand. (In this case I have stapled to the left of the original staple.)
This forms a strong attachment that can handle a lot of weight and will not pull loose over time.
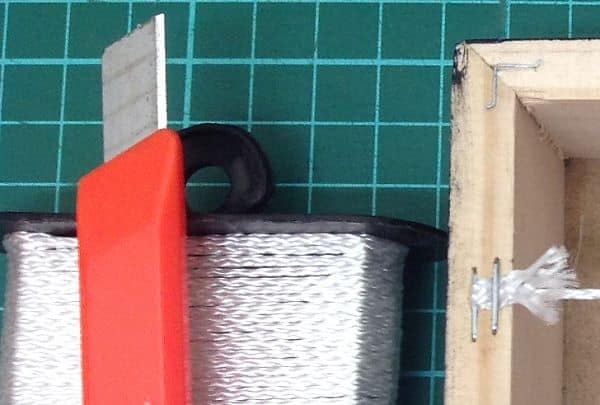
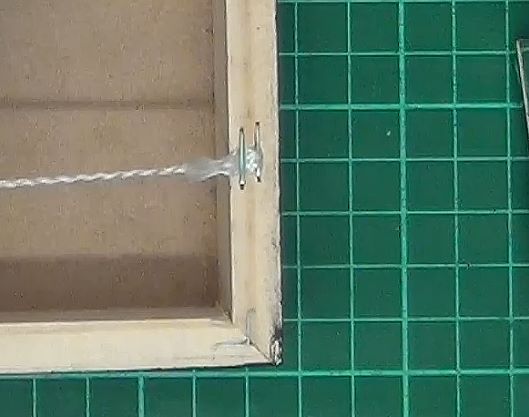
Do the same to the other side. Then use the craft knife to cut the cord. I usually leave around 1cm (1/2 inch) excess beyond the staples.
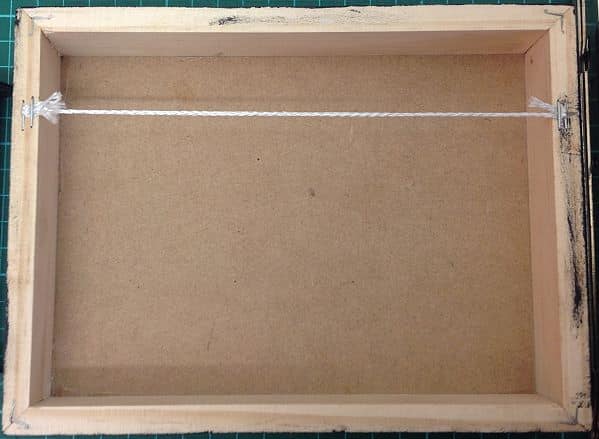
This what the frame now looks like from the back:
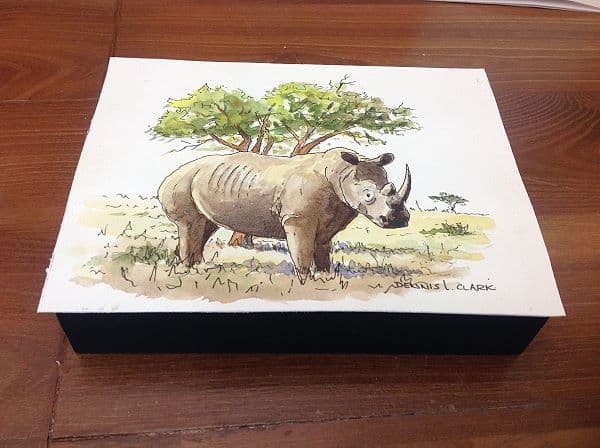
This what the final painting looks like hanging on the wall:
Alternative Framing Method
An alternative method is to mount the watercolour painting onto a flat MDF board (without the boxed sides).
Cut the MDF to the required size and paste the painting to it. When dry it can be protected with the wax / polyurethane method described above.
Then frame it as if it were an oil or acrylic painting with just the frame and the painting – no matt or glass. You will have no reflection or weight problems.
An additional bonus to using this framing method is no glass breakages during transport or posting to exhibitions which is great for your peace of mind!
Explore the Possibilities
Now that you have the ability to mount and seal your watercolour paintings, you can start to explore heaps of new ways to present and display your paintings.
One student suggested that this method could be used for making painted place mats. What about mounting your paintings on old records (LP's) then turning them into wall clocks.
It you think about it, I have no doubt that you will come up with a heap more exciting possibilities.
Pin Me