Over the years the paintings on your wall will collect dust and dirt making them look dull and old. If done carefully and correctly, you can clean your oil paintings yourself. In this tutorial I will show you how.
What You Will Need:

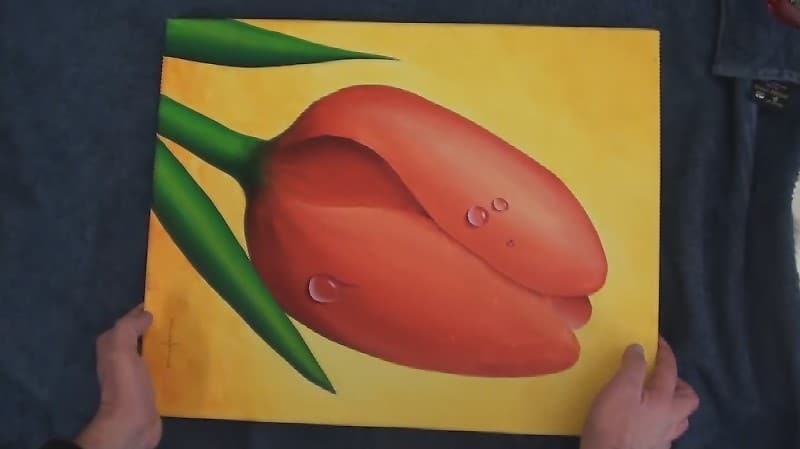
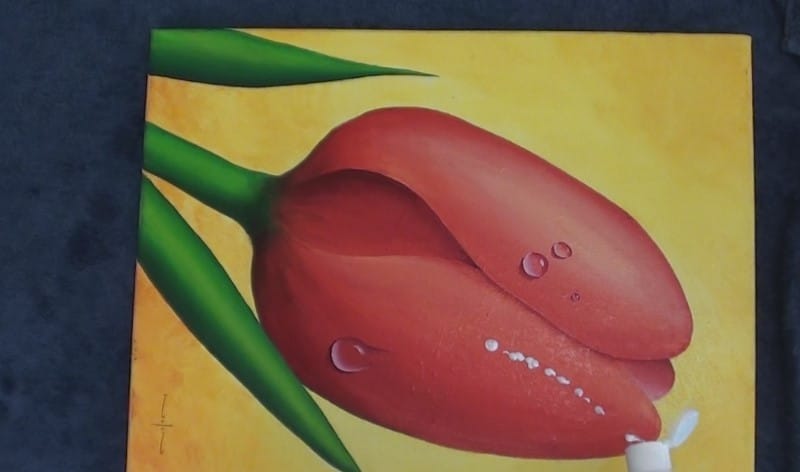
1) A Dirty Oil Painting
You don't want to wash your painting any more than you really need to. Every time you clean them, you run the risk of accidentally damaging them. I only wash a painting if it is really dusty - maybe every 3 to 4 years.
You also don't want to clean an oil painting that is less than a year old as the painting may not be properly dry yet. You need to be extra careful with an oil painting that has thick impasto paint on it - oil paint forms as skin as it dries. This skin slows down the drying process so very thick paint dries slower and slower as this skin thickens. As a result very thick oil paint can take hundreds of years to dry.
Warning - Do not use this method to clean painting of another medium, especially not water based paintings like unvarnished acrylic or watercolor paintings. This technique is only for oil paintings.
Disclaimer - Clean your paintings at your own risk. If you are afraid you might damage your painting in the process, rather get a professional to do the job.
2) Paint Brushes
You will need a few soft, clean and dry paint brushes.
For this demonstration I will use a #10 bristle brush, a 1 inch synthetic bristle hardware brush as well as a 2 inch synthetic bristle hardware brush.
Use new or perfectly clean brushes, not ones you have used to paint with before as the residue paint on the brushes may discolour the painting you are cleaning.
Also ensure you use soft haired brushes so that you do not scratch or damage your painting.
3) Water
You can use regular tap water. I put the water into a spray bottle as it is easier to apply the water evenly over the surface of the painting.
4) Cleaner
There are various cleaning agents you can use. I prefer using a cream cleaner - the one you use around the house. You can also use regular dish washing liquid. Do not use anything stronger than these two as it may damage the paint itself. All we need the cleaner to do is lift the dirt and grime of the surface of the oil paint.
If you are afraid your household detergent will be too strong, then there are detergents made specifically for cleaning oil paintings, here are two of them:
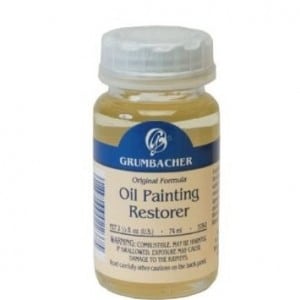
Grumbacher Paint Restorer & Cleaner
(Affiliate Link)
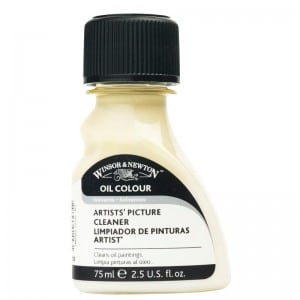
Winsor & Newton Artists Picture Cleaner
(Affiliate Link)
5) Towels
You will also need at least two towels. The towels need to be soft clean and lint free.
The towels do not need to be new, just clean and soft so that they do not damage the painting.
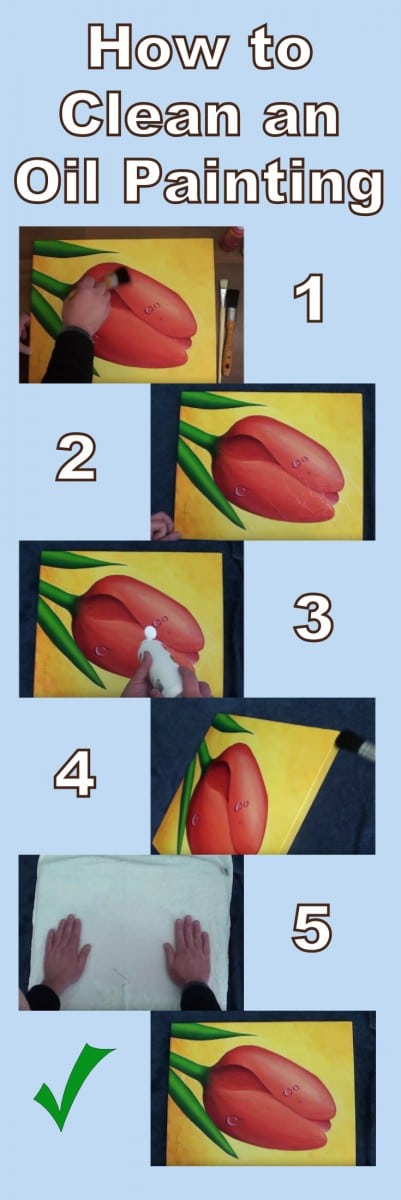
The Cleaning Process
Step 1 - Dust The Painting
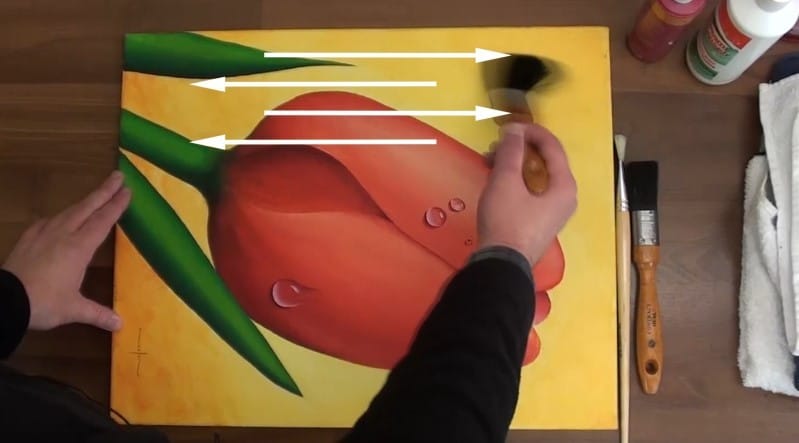
Use one of your soft, dry hardware brushes to carefully dust off the surface of the painting. What you are trying to do is get rid of the cobwebs and brush away any loose dirt that has gathered on the surface of the artwork.
Don't press hard, dust the painting as lighting as you can using long overlapping strokes.
First in one direction, then the other as shown below:

Step 2 - Clean the Back
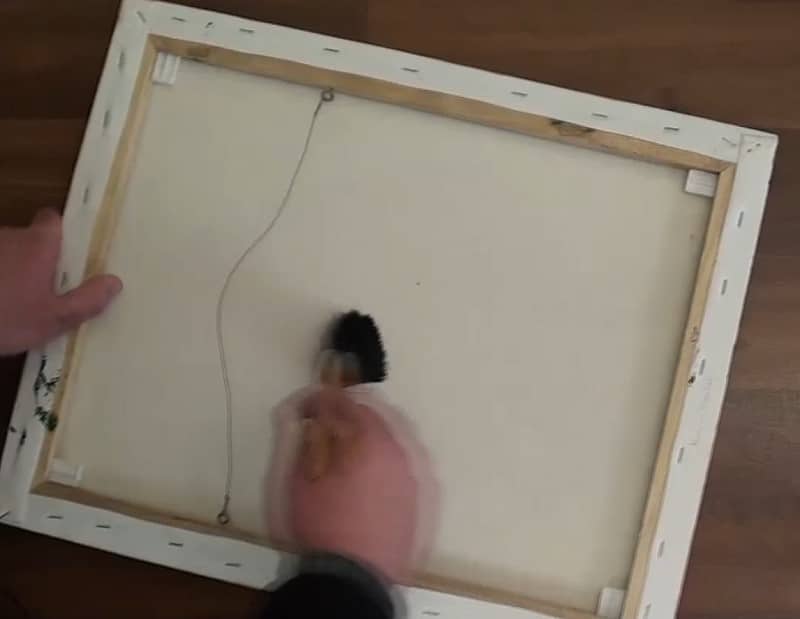
Continue to the back of the painting with your dry, clean brush and dust away any cobwebs and dirt.
You can scrub a little harder at the back as there is no paint that you can damage. Obviously still be careful though. You don't want to damage or dent anything in the process.
This will be the only cleaning you will do at the back of the painting. You never clean the back of the painting with any liquid or detergent. There are two reasons why :
a) nobody sees the back of the painting so no need to get everything spotless.
b) the back of an artwork is not sealed so any moisture can cause permanent damage.
On a box / gallery canvas the canvas itself is exposed. If this gets wet the canvas can rot.
On a panel canvas the panel itself is often made from compressed cardboard. If this cardboard is contaminated by moisture it can curl and warp.
Step 3 - Lay a Towel Underneath the Painting
The towel underneath will soak up and excess liquids that run off the edge of the painting. This will in turn protect the back of the artwork from getting wet.
Step 4 - Test
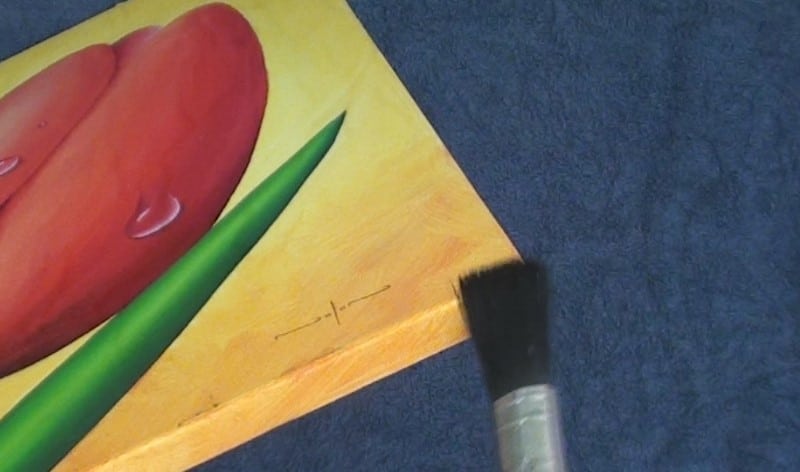
Before adding an liquid to the painting always test to ensure you are not going to cause any damage. Do this by adding a tiny amount of the liquid to an inconspicuous spot on the canvas.
The best place is on the bottom corner of a box canvas, or a small area normally hidden by the frame on a panel canvas.
For example in this case we are about to add water to the painting, so pick up a little water onto the brush and gently scrub the canvas at the chosen inconspicuous spot.
Carefully inspect for any sign of damage or deterioration. If you do spot any damage, stop. Do not clean the painting yourself, send it to a professional.
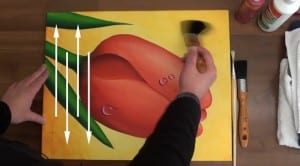
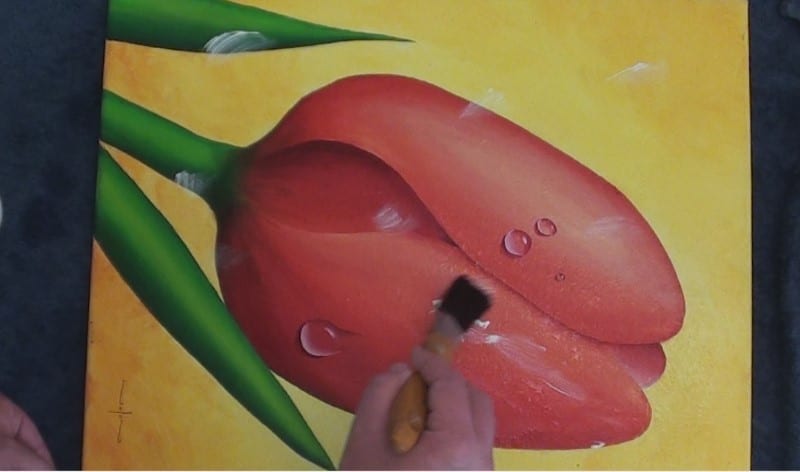
Step 5 - Rinse the Painting
Using either the clean bristle brush or one or the hardware brushes we are going to rinse the painting. The size of brush you use will depend on the size of the painting.
Use long, flowing, overlapping strokes like we did when dusting the painting. First in one direction, then in a perpendicular direction.
Don't press hard - brushing with just the tip of the brush is sufficient. What you are trying to do is gently loosen any dust that has settled onto the painting, so don't scrub.
Step 6 - Dry the Painting
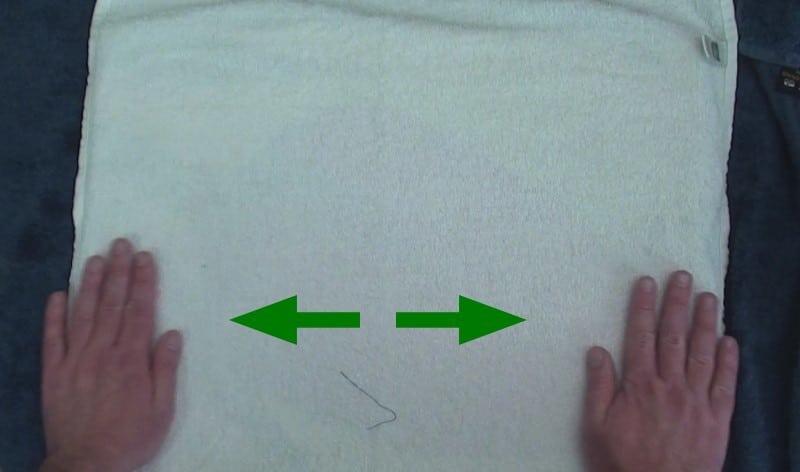
We now need to mop up all the dirty water from the painting. To do this gently lay a clean dry towel over the painting.
Do not scrub the painting dry.
Start at the center of the painting with your hands flat on the painting smooth the towel against the painting to soak up the water.
Step 7 - Check
More often than not a light rinse like this is more than enough to clean all the marks off your painting.
If the painting still has some stubborn grime or dirt marks then you can continue to the next steps.
Step 8 - Wet the Painting
We are now going to wash the painting so give it another coating of water as we did in step 5.
Step 9 - Add Detergent
Add a few drops of your chosen detergent.
I am using cream cleaner for this demonstration.
Step 10 - Distribute the Detergent
Pick up a little of the water that is lying on the painting onto the brush. Then distribute the detergent across the painting so that you have a little bit all over the painting.
This will help to ensure you have fresh detergent available everywhere.
Step 11 - Wash the Painting
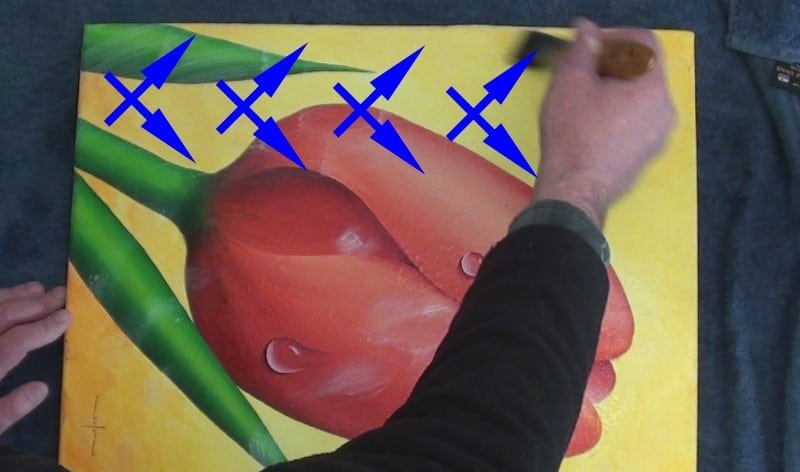
Using a criss-cross motion with the brush wash the painting.
As before don't press hard, only use the tip of the brush.
Work systematically and methodically to ensure you are cleaning the entire canvas and not missing anywhere.
If you see that the detergent is not mixing into the water easily because there is too little water on the canvas, then you can add a few more sprays of water, but try to use only as much water as required.
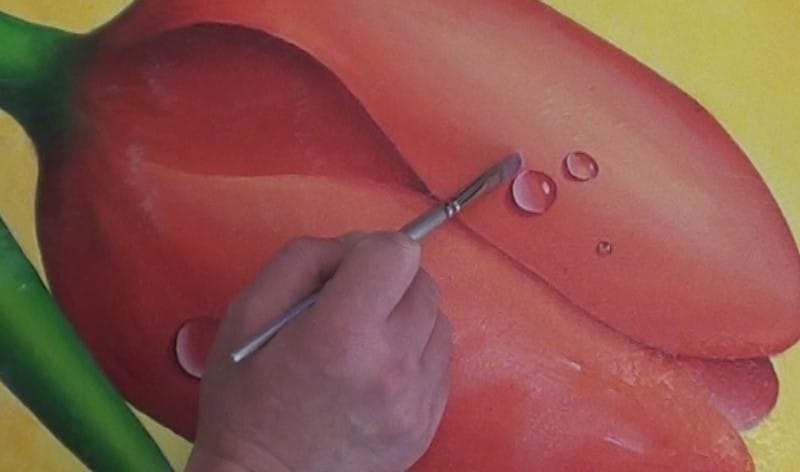
When washing areas that have thick impasto paint, use the softest brush available to ensure you get into the crevices and do not damage or dent the body / thickness of the paint. Remember the paint could still be wet underneath the surface skin.
Step 12 - Dry the Painting
As we did in step 6, place a towel over the painting and gentle dry the surface.
Step 13 - Rinse the Painting
Repeat steps 5 and 6 to carefully rinse the detergent from the painting.
Step 14 - Leave the Painting to Dry
Leave the painting to dry completely. You can use a hairdryer to speed the process if you want, but use a low heat setting and don't hold the hair dryer too close to the paint.
Step 15 - Dust the Painting
Complete the cleaning process by using a clean dry brush to brush off the painting one last time. During the wet stage of the cleaning, dust and dirt is loosened off the painting, but as the surface is wet this dirt is not removed from the surface.
By dusting the painting a final time when it is dry removes these last dirt particles preventing them from reattaching themselves to the painting.
You can now hang the painting up again and enjoy your beautiful and bright clean painting.
Pin Me