You Wish You Knew

In this tutorial I am going to share the 14 top tips and hacks I use to draw better and quicker.
If I had known these hacks when I first started drawing, I would have improved a lot quicker.
Hack #1 - Scotch Tape for Neat Drawing Borders
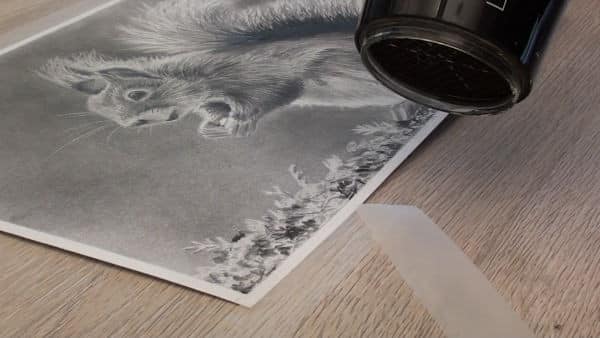
Let's start off with hack number one which is to use Scotch Tape around the edges of your drawing.
Measure equal distances all the way around the paper then carefully mask off the edges using Scotch Tape.
When your drawing is complete remove the Scotch Tape using a hairdryer.
You will have a perfectly sharp and clean border all the way around the drawing giving it a professional look.
Hack #2 - Use Two Sets of Pencils
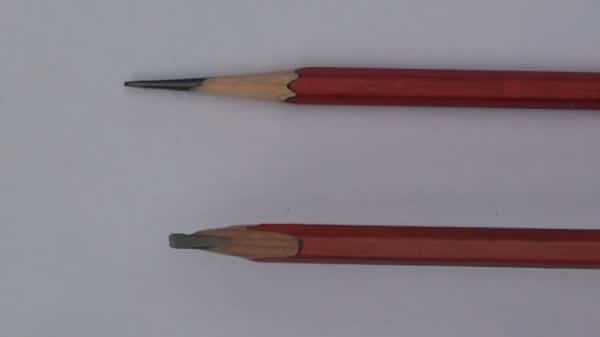
Hack number two is to use two sets of pencils. The one set I sharpen to a standard round tip as normal. This sharp point is perfect for detailed work.
The second set of pencils are sharpened to a chisel point. To see how I do this safely you can watch my Intro to Pencil Drawing class.
You can use the chisel point pencils in many ways. If you hold it flat you can quickly shade large areas. If you hold it upright you can use it to draw long thin lines without the tip becoming blunt. It is also perfect for drawing hair.
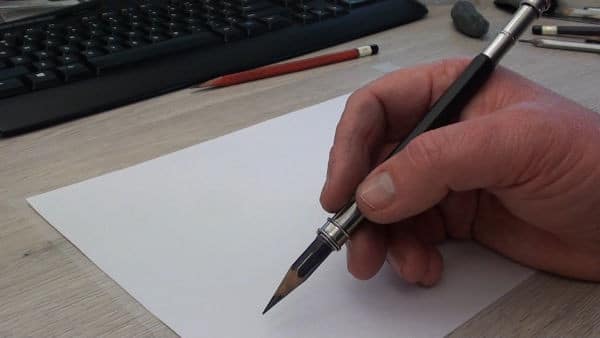
Hack #3 - Rotate Your Pencil As You Draw
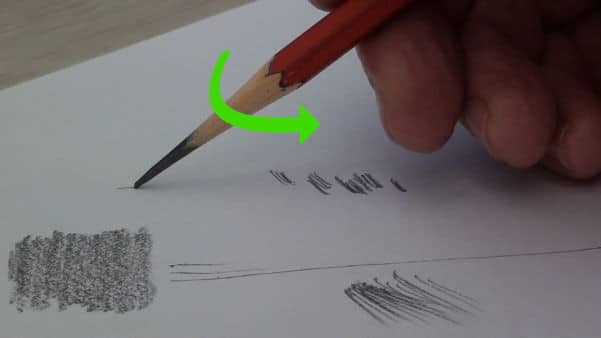
When using the round point pencil rotate it in your hand as you draw. After a few strokes, rotate the pencil an 8th of a turn then continue drawing for a few more strokes before repeating the process.
This way you you are basically sharpening the pencil as you draw. It keeps the tip of the pencil reasonably sharp and can draw for ages without having to stop and sharpen the pencil.
Hack #4 - Use a Pencil Extender
As you draw your pencils gradually become shorter and shorter up to a point where they are difficult to hold.
At this stage you usually throw the pencil away and buy a new one. By doing this you are often throwing away up to a third of the usable pencil.
What you want to do is get yourself a few pencil extenders.
You push the lock back, insert your pencil, then lock it in place.
You can now comfortably draw with the short pencil until there is virtually nothing left of it.
Hack #5 - Draw Using a Cloth
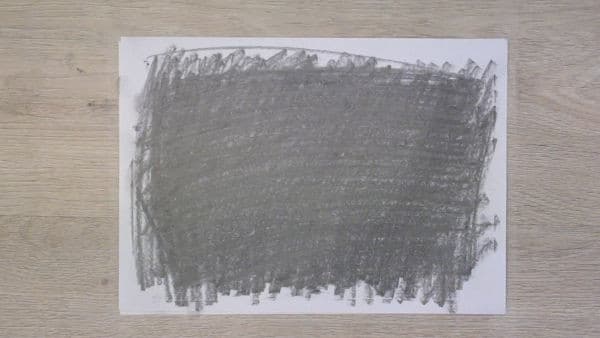
Don't you just hate covering large areas of paper with graphite? It takes forever and is incredibly difficult to get a nice even tonal value across the area. Hack number 5 will solve this problem for you.
Take a spare sheet of paper then cover it in graphite using a 6B or 9B pencil.
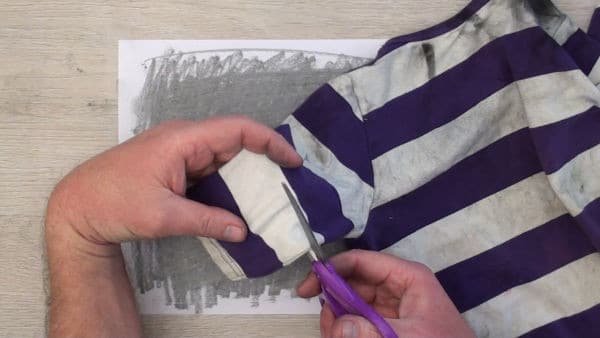
Take an old t-shirt and cut off a piece of the material. This is going to become your drawing cloth.
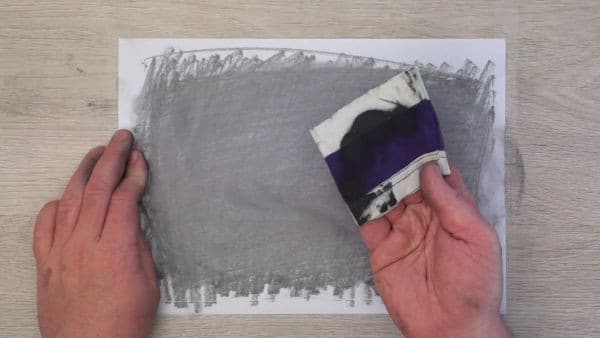
Rub the cloth over the graphite laden paper so that the cloth is covered in graphite.
You can now use the cloth to quickly cover large areas of your drawing with graphite. Keep the cloth loaded with graphite by alternating between rubbing over the graphite paper and you're drawing paper.
The next few hacks are all about keeping your drawing, and you, nice and neat and clean as you draw.
Hack #6 - Do Your Sketch Work On a Separate Paper
It always looks so amateur when sketch lines inadvertently show through on the final drawing. You can avoid this by first doing your sketch work on a thin sheet of paper which is the same size as your drawing paper.
Now you can grid, sketch, scratch, erase, scribble and correct as much as you want without worrying about dirtying the paper.
Once you're happy that you have good outlines, you can take your sheet of paper that has been covered in graphite and use it like carbon paper. Carefully place it upside down on your drawing paper then line up your sketch work with the drawing paper. You can then use a pen or pencil to transfer the final outlines to the drawing paper.
Now you can start your drawing with a perfectly clean paper and only the correct outlines visible.
Hack #7 - Soften the Sketch Lines Before You Start Drawing
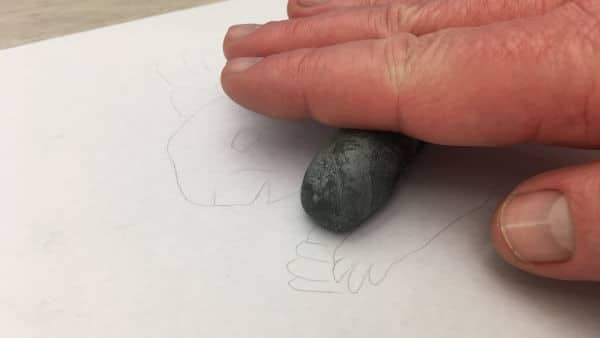
For hack number 7 you will ensure that even your transferred sketch lines won't show through in the final drawing.
Take your kneaded eraser and roll it out into a sausage shape.
You can now gently roll the eraser over your drawing until the sketch outlines are barely visible.
Hack #8 - Place a Sheet of Paper Under Your Hand

As you draw use hack number 8 which is to put a clean sheet of paper under your hand.
Your hand will not only stay clean, it will protect your drawing as well.
Your skin has a natural oil coating on it to keep the moisture in. When drawing, this oil soaks into the paper. The graphite will then adhere to this oil residue in those areas.
When drawing you also have a problem of your hand sweating as you draw. That causes your drawing paper to buckle and wrinkle as it soaks up the moisture.
By having a sheet of paper under your hand you avoid this problem.
When moving the sheet of paper don't drag it over your drawing otherwise it will smudge the drawing underneath. Carefully lift it up and place it down again in the new spot.
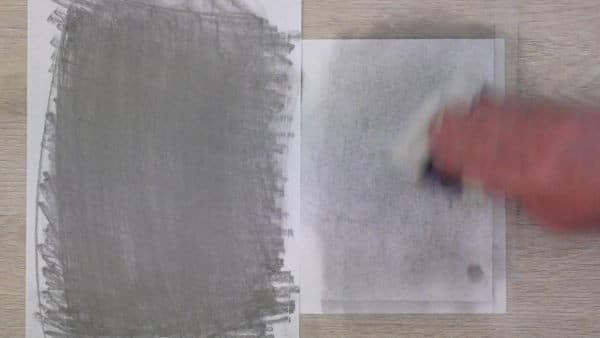
Hack #9 - Use a Transparent Sheet of Paper Under Your Hand
Hack number 9 builds on from hack number 8 and that is to use a transparent sheet of paper under your hand.
When using a transparent sheet of paper you can then obviously see what's underneath so you never lose the bigger picture while drawing.
You can use any non-oily transparent paper like a sheet of transparency, wax paper or even parchment paper.
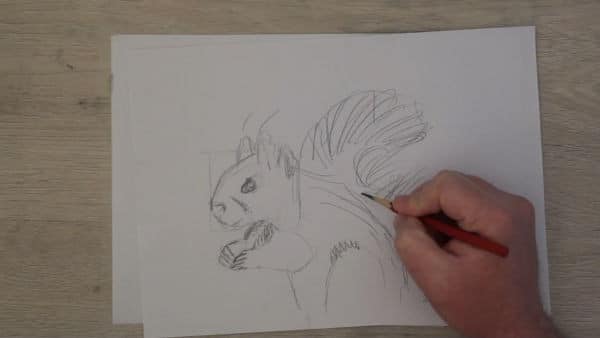
Hack #10 - Shade in Multiple Directions
When shading an area with pencil, shade in multiple directions.
If you look at your drawing paper under a microscope you will notice that it isn't smooth.
There are little ridges on the surface that look like this:
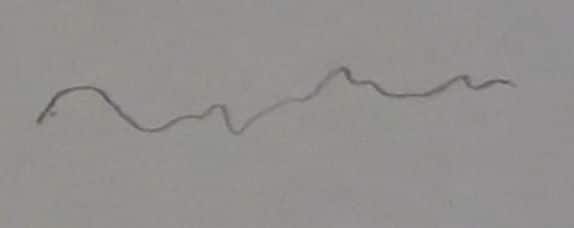
When shading in one direction, only parts of those ridges are filled with graphite.

By shading in multiple directions you cover more of these ridges giving you a smoother looking shading.
For more ways to get beautiful smooth shadings you can watch my 10 Pencil Shading Hacks tutorial.
Hack #11 - Use a Brush for Graphite Dust
As you draw you get graphite dust on the paper, especially when you have shaded a dark area.
You want to get rid of those loose graphite particles otherwise they will smudge your drawing.
The most common method is to blow the loose graphite away.
You don't want to do this because it moistens the paper and that causes the graphite to not adhere as well to the paper.
You may also accidentally spit on your paper. That is not only hilarious but a disaster for your drawing as well.
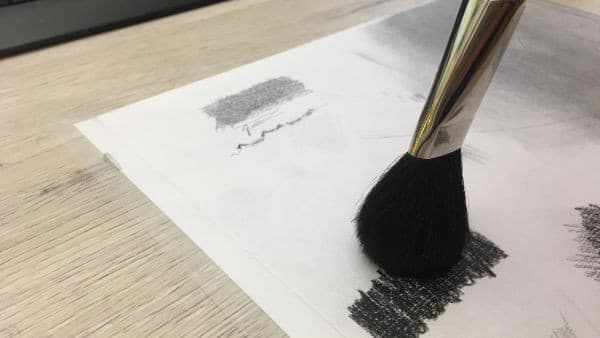
Hack number 11 then is to use a soft hair brush to flick the loose graphite away.
Don't rub, just gently flick the dust away.
I use a watercolour mop brush and flick towards the top of my drawing paper.
That way the dust ends up on the table above the drawing, in an area where neither the drawing nor my hands will reach while I am working, keeping everything clean.
Hack #12 - Erase Your Highlights
Hack number 12 is to use your eraser to negatively drawer in the highlights.
You will often find that it is easier to use an eraser to lift out a highlight afterwards than it is to try and avoid the highlight area as you draw.
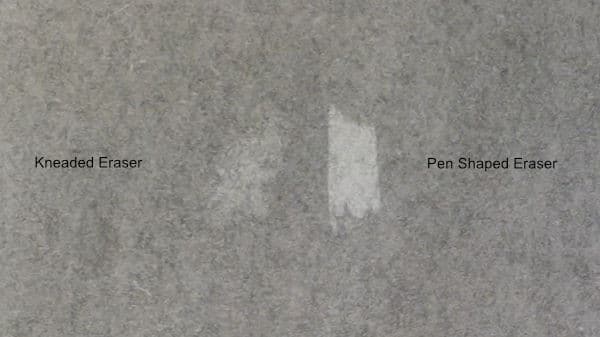
You can use a kneaded eraser to lift out gentle highlights and a pen shaped eraser to lift out more prominent highlights and reflections.
Hack #13 - Use a Pen Shaped Eraser for Fine Highlight Details
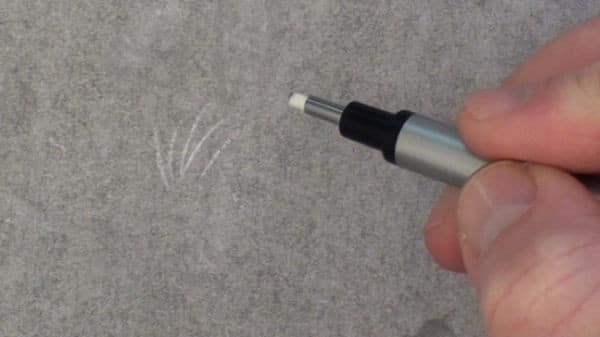
Tip number 13 is to use a pen shaped eraser to lift out fine details.
By cutting off the tip of the eraser every now and again you get a fantastic sharp edge which you can use to lift out the finest light details.
I also rotate the eraser in my hand as I work to ensure the edge I am using to erase with is nice and clean.
Hack #14 - Indent Fine Details
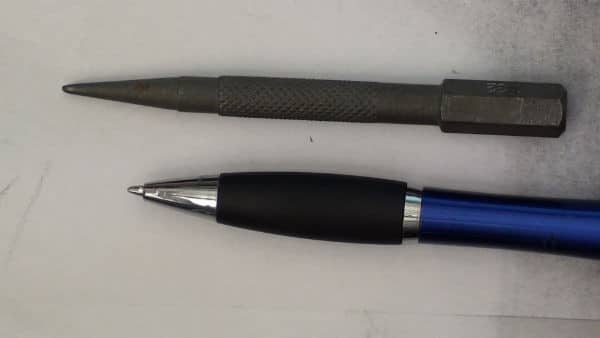
Our final hack is to use a scribe or empty pen to indent the paper where you want fine lines like whiskers to appear in your drawing.
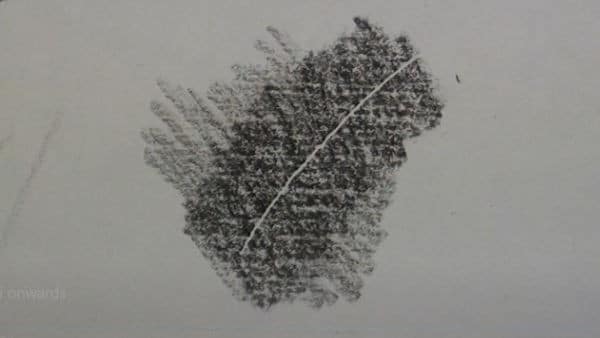
As you shade the graphite can't reach into the indentation leaving a perfectly light whisker.
If you would like to see how I use these techniques to draw amazing drawings like lion, reflective glass, portraits, figures and more then you should consider becoming a patron of the site.
My patrons get access to hundreds of real time step by step art lessons in pencil drawing, pastel drawing, pen and ink drawing as well as oil, acrylic and watercolour painting.
Take a look at the advantages of Becoming a Patron to see how the classes can help you with your art.
I hope you enjoyed these hacks and tricks. I am sure they are going to make a difference to your drawings.
See you in class!
Pin Me