Short Class Video
Class Tutorial
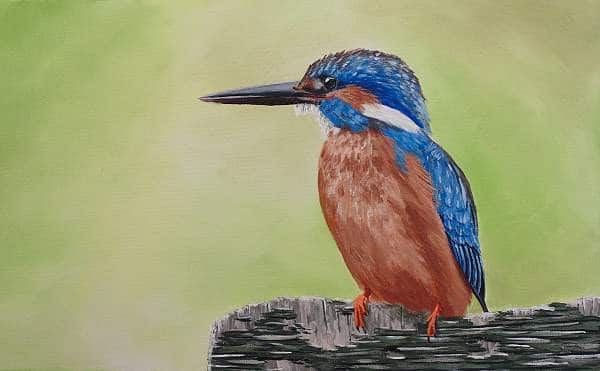
We will work on a nice long canvas to give the bird lots of looking room.
We will start with the background and work our way forward.
Paint the background
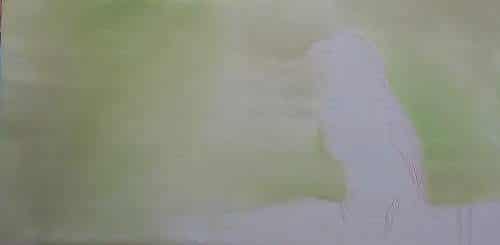
Give the background a light spray to help the paint flow then cover it with a layer of white. The background is pretty light so this layer of white will save us a lot of colour mixing, as we will be blending and mixing at the same time on the canvas. To ensure the paint doesn't dry mist it with water.
Now lets start adding colour to the background I am going to use sap green and cadium yellow to get the green shadings. Pick up tiny amounts of paint on the brush at a time and work it into the white. Then add more to darken.
On the far left I add some raw umber. Keep all the shadings smooth to ensure the background looks out of focus. Dry the background so we can move to the kingfisher.
Paint the body

For the body we use burnt sienna and plot in the dark areas.
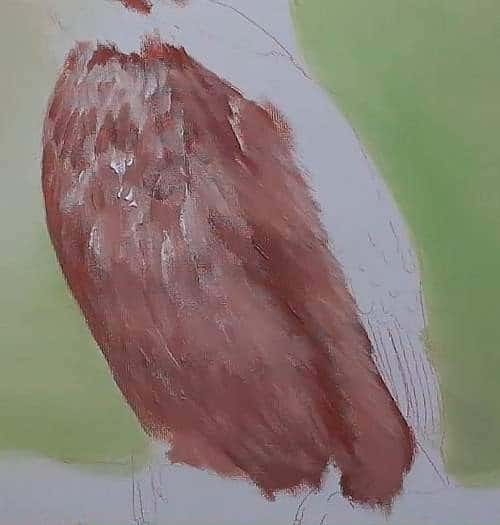
Now go two to three shades lighter again and add this tonal value in and so on. When you do this use a chopping motion. By the time you have added all the tonal values in the body will be completed and all the canvas will be covered in paint.
What we are doing is simulating the feathers over lapping each other..
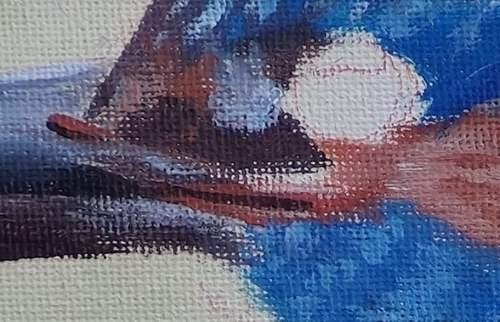
Paint the beak
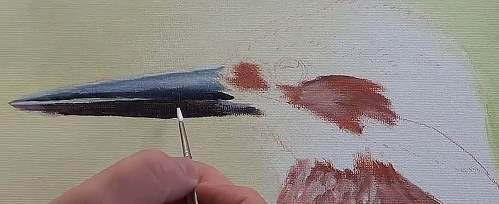
For the beak use paynes grey then add white and french ultramarine for the top of the beak. The tip has a touch of purple added.
The bright reflection in the centre indicated the separation between the top and bottom beaks. I add this line with white.
Paint the head

Now start blocking in the blue areas of the head using cerulean. Use the same purple from the beak to block in the dark areas on the head. Add white to the cerulean and start adding detail to the feathers on the head.

Notice how I am gradually covering the entire canvas with the various colours. I am also gradually using a smaller and smaller brush as each step needs finer detail. As a result the final white highlights are added using a fine liner.
To get the beak and head to meet just carefully look to see, what colour goes where and simply copy what you see. This area is too complicated to think about it, or analyse what each thing is.
Paint the eye
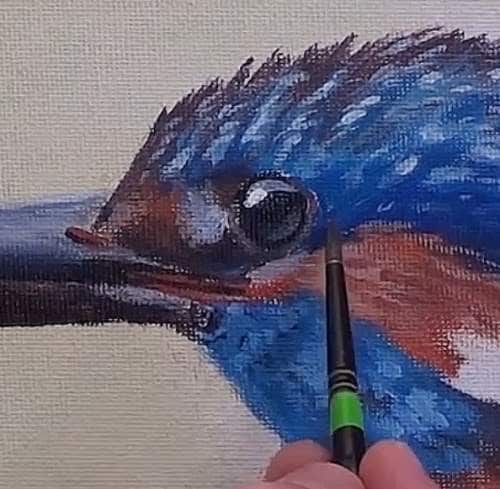
Block the eye in with black. Paint the surrounding skin and add the primary reflection. To complete the eye add the secondary reflection and the sun spot. There you go our bird can see!
Paint the wing
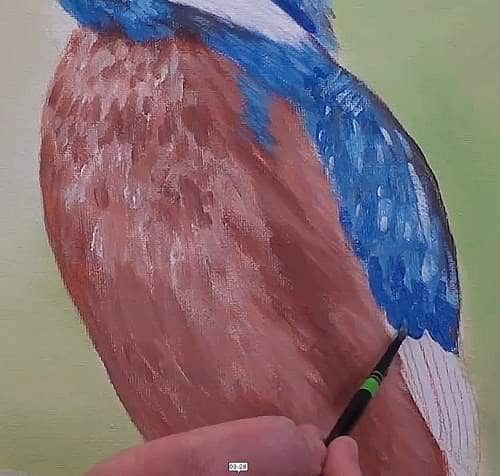
He must be wondering where his wings are so lets continue. As with the body block in the basic colours and tonal values using a jabbing and stabbing motion.
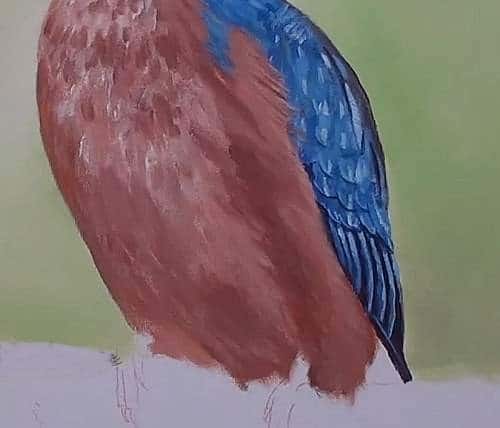
The tip of the wing is blocked in with a very dark purple, dried, then the feathers painted with blue, making sure to not lose the dark line between each feather.
Then highlight with a light blue. Add a few squiggles to suggest individual wing tips. Where the body and wing meet, paint a few feather hairs over the top. Paint them in with a fine liner.
Next paint the shadows cast by the wing and individual feathers to show they have height.
Paint the fence
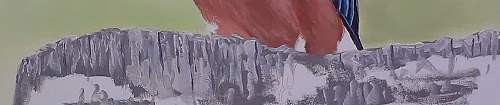
Before we can paint the bird's feet, we will need to paint the fence. The fence is quite old and weathered so parts of the wood are chipping away already. We can see that this plank of wood has two layers. We will paint the back layer first.
Block it in with the mid-tone then jab in highlights and a few darks to suggest the cracks in the wood. Each of these lines must be vertical.
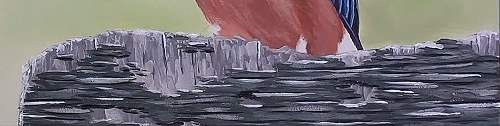
The next layer was added horizontally so block in it's mid-tone using horizontal strokes. Continue adding lighter and lighter horizontal strokes to create the wood effect. To add extra realism make the pieces of the top layer cast shadows on the bottom layer, then use white to add a few sun spots.
Dry off the wood so we can paint the feet.
Paint the feet
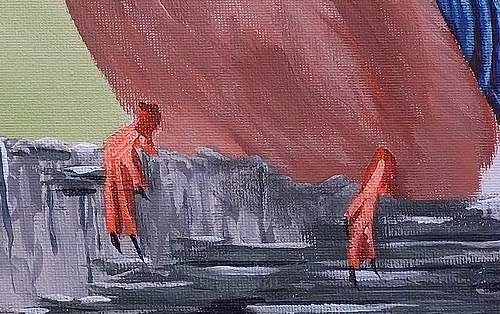
Block the feet in with orange and add shadows with crimson. Highlight by adding white to the orange. The nails and cast shadow are added using black.
Finishing touches
We have one more patch to paint before the kingfisher can fly away. Block in his billy goat with white and add a few grey stripes to suggest detail.
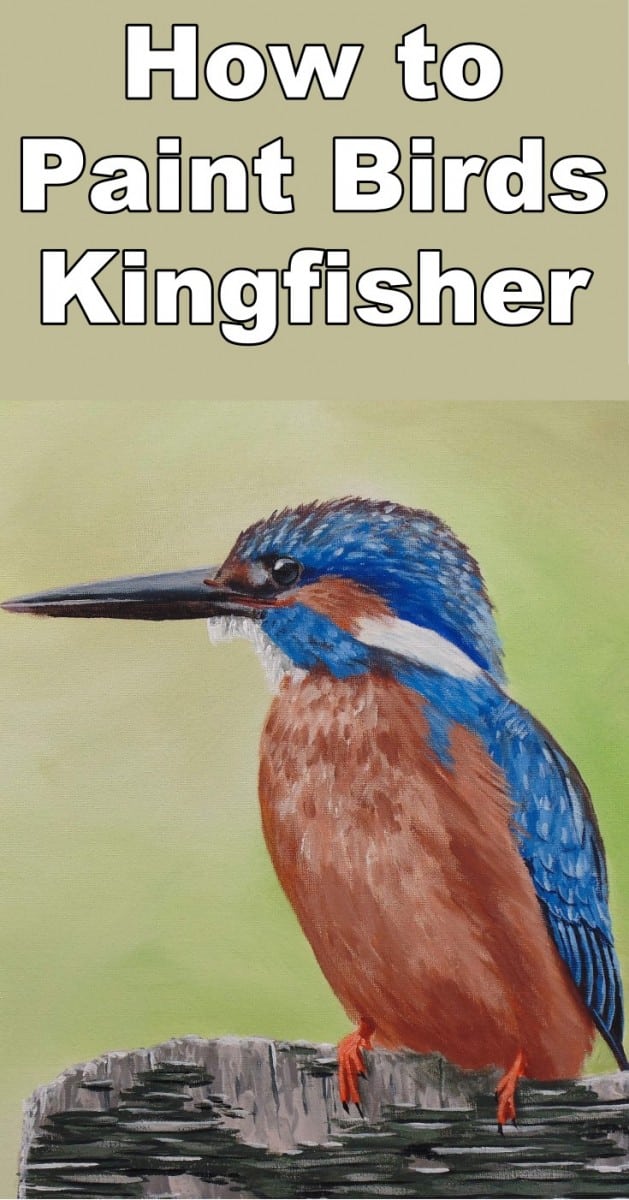
There we go we have a beautiful kingfisher.
Click the button below to view the real time follow along version of this class:
Pin Me