Short Class Video
Class Tutorial
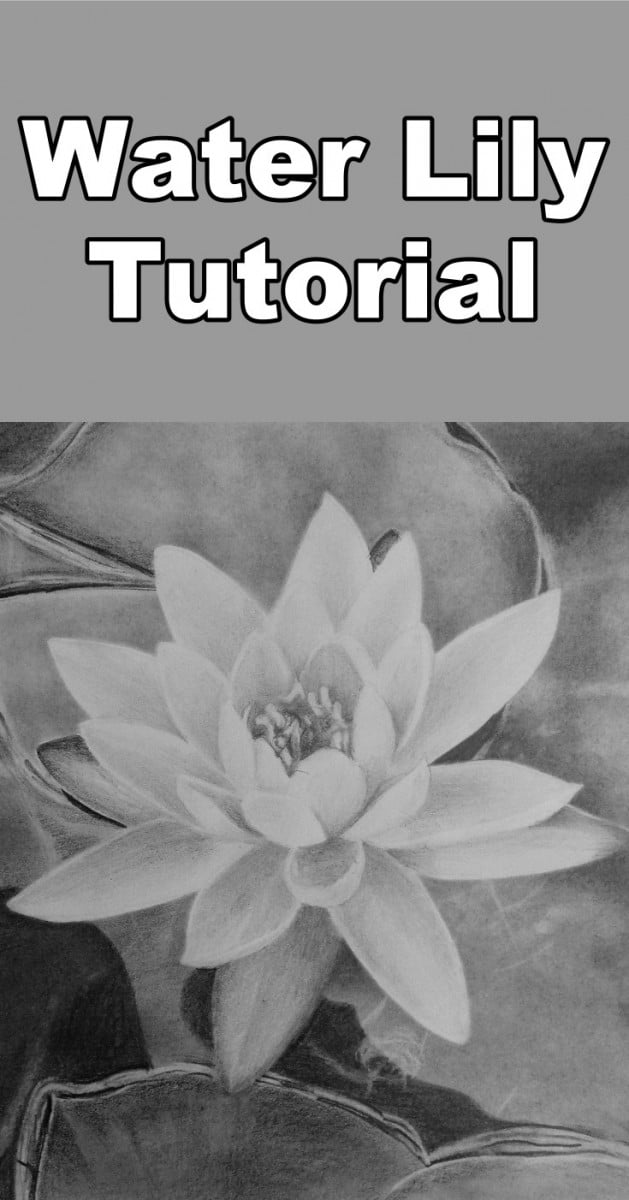
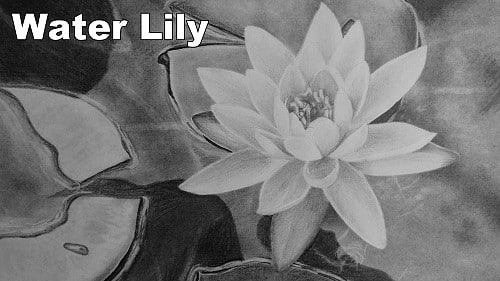
Drawing a waterlily
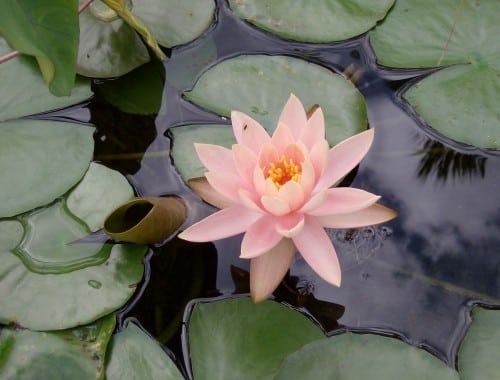
In the process you will learn how to draw lily pads as well as the reflections on the water.
I like to draw whatever is at the back first which in this case is the water.
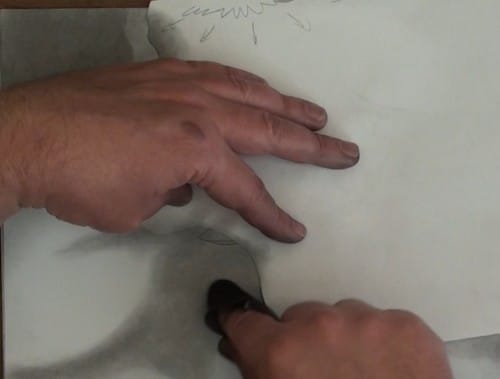
Normally, I will just draw around the front objects, but to save time today I am going to use a mask cut out of the photocopy paper to protect the waterlily. I will now use a 6B pencil and scrub it over a scrap piece of paper to coat it.
Block in the water area
I can now use a soft cloth to pick up this graphite by rubbing it over the scrap paper, then my drawing. This allows me to lay down a lot of graphite quickly. Do this over the entire water area. Avoid the lily pads, but go over your mask to ensure you got into the corners where adjacent petals meet. In this area some clouds are reflecting in the water giving us a smokey effect. So be careful not to get any sharp edges.
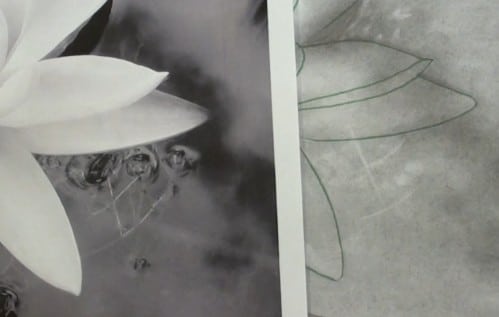
Reflections on the water
On the left we have some sharp edged reflections so I will cut random shapes to use as masks for these edges. Then continue to rub and draw more graphite until the tonal value is correct. Getting these sharp edges is really easy, but looks amazing when you remove the mask doesn’t it.
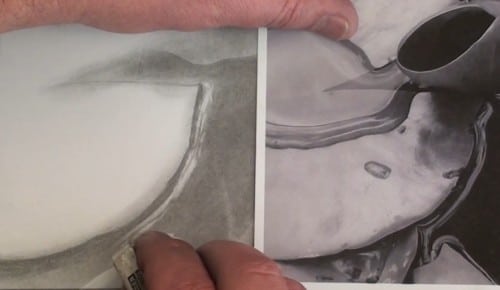
Drawing the sticks and leaves under the water
Now we want to show the sticks and leaves that are under the water. So use your kneaded eraser to negatively draw them in. The more graphite you lift out, the closer to the surface the object is so you can get a going deeper effect by lifting out less and less graphite. How cool is that? The lily pads are touching the water so the water curls up all along the edge of the pad. What then happens is that you get highlights and shadows running all along the edge of the lily pad.
Use a 6B and an eraser to create these edges. To show the water lying on the lily pad just shade the edge of the water dark to show it curls downward. As easy as that.
Drawing the lily pad
To draw the lily pad itself start off by laying down some graphite with the cloth. Lay it down uneven to show the flat part is not perfectly flat. Then look at the edges of the pad. As they curl up they will either get lighter or darker so add those shadings in as well.
So I will continue to do this for all the lily pads. You will see that once you get into a rhythm, it actually goes quite quick.
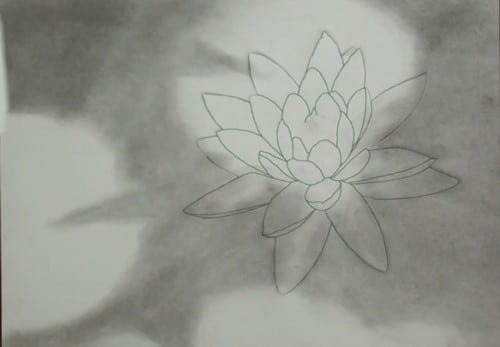
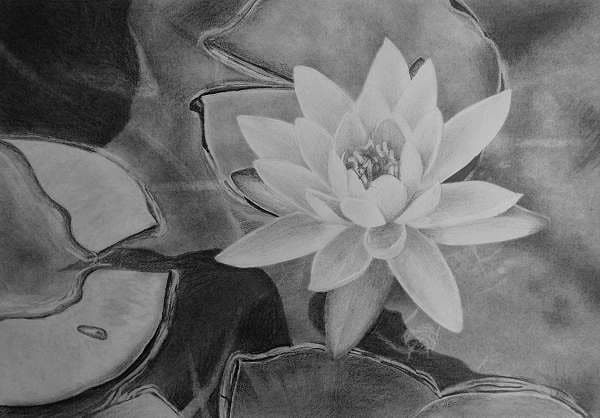
Drawing the flower
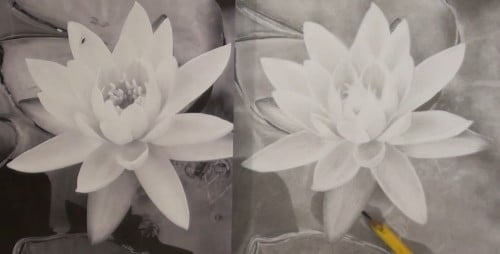
With the background finished we can remove the mask and start drawing the flower.
Drawing the water lily is not difficult but you do have to look carefully because each petal is either lighter or darker that the previous. So the trick here is to look at what you are drawing now and compare it with the surrounding petals to see if it needs to be lighter or darker.
Then look at the individual petals to see the shading inside it as well. Generally the shading will be dark on the inside and lighter to the tip of the petal.
Final drawing
Click the button below to view the real time follow along version of this class:
Pin Me