Class Tutorial
Transferring the template
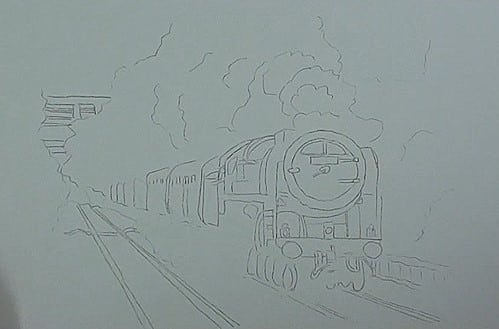
Refer to the reference material included with the lesson for directions in transferring the template to the pastel paper.
Painting the sky

Start with the darkest sky colour and block it in. Put a light layer of a brown/gray tone over it. Blend. Adjust with more blue, if needed. Lighten with white and blend again to achieve a blue/gray mist.
Painting the trees - right side
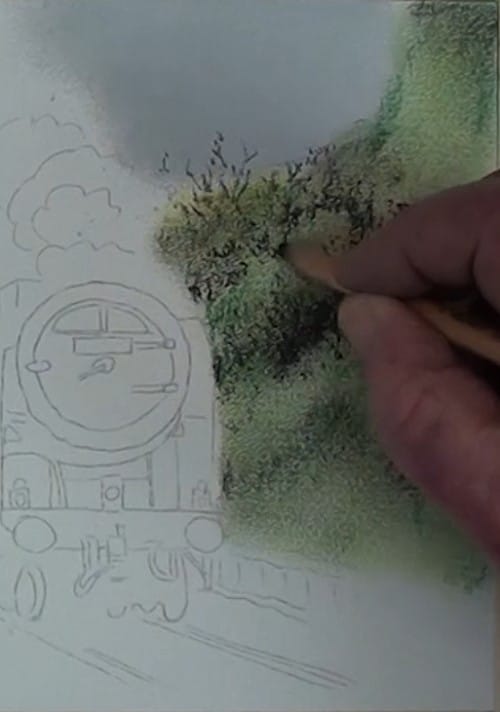
Use pastel pencils to layer the tree tones, yellow first. Follow with light green, then a darker green. Smudge the shades together. Add in more darks as needed, using a negative painting technique to accentuate different tree and bush shapes. Blend. Draw in a few skeletal trees to give definition to the wooded area. Add some sunshine highlights. Add a shadowed area at the bottom of the bushes.
Painting the bridge
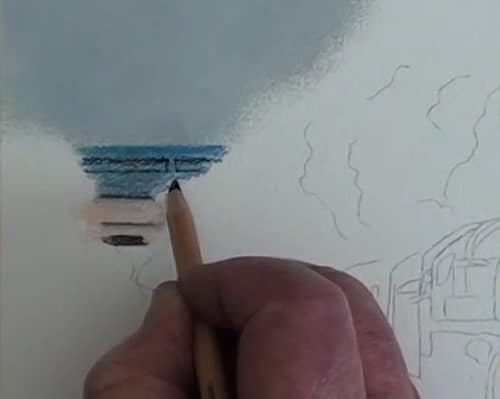
Using pastel pencils, fill in the pinkish cement tone first. Add the shadows. Use the same technique for adding the blue bridge colour. Use a stump to blend it in. Add a light coat of the blue over the pink to give it a bit of a cement texture. Adjust shadows and blend. Fade the bridge into the smoke and trees.
Painting the mist
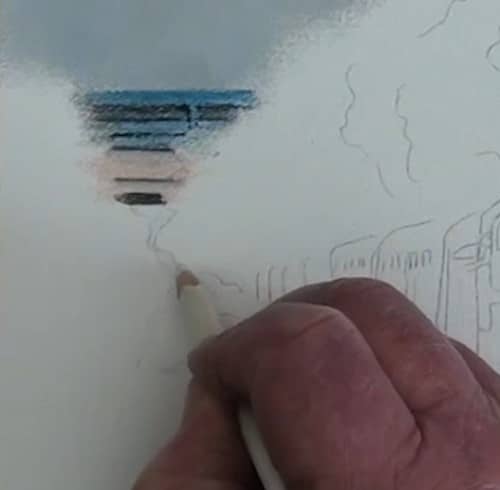
Use a white pencil to add the mist disappearing into the background between the train and the trees.
Painting the foreground between the tracks
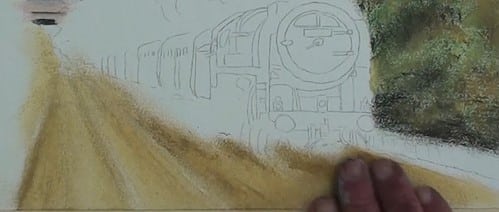
Pencil in the yellow tree line along the side of the tracks. Block in the darker yellow area between the tracks. Block on some raw sienna for texture. Use a light brown to create a shadow along the tracks. Blend. Scratch on some rock-like textures.
Painting the trees and tracks - left side
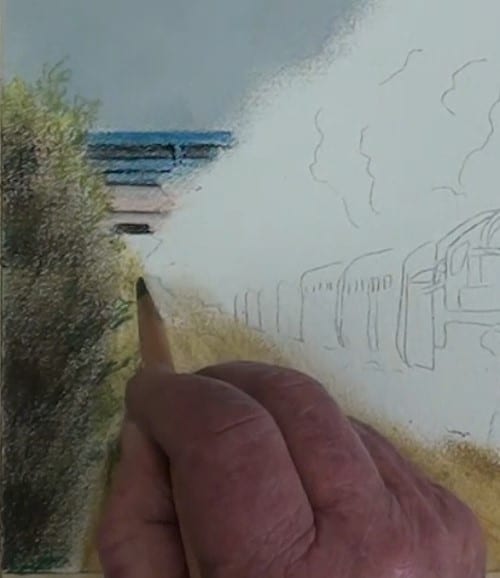
Use a similar technique as you used for the trees on the right, but the colours will be darker as this area is more shaded. Blend. Extend out some small branches/leaf impressions to create depth.
Painting the coaches
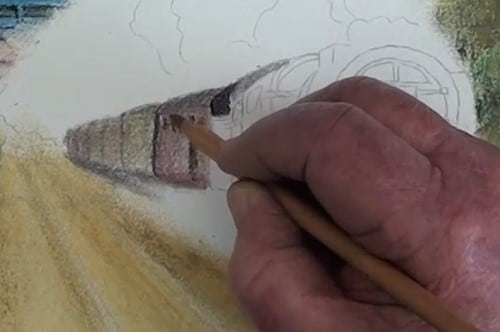
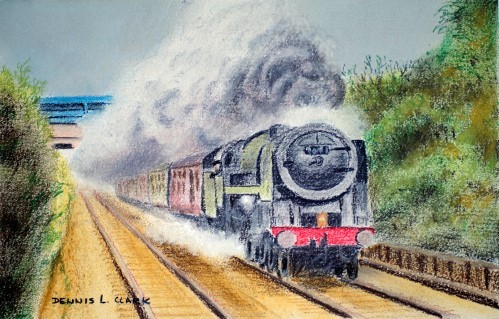
Pencil in the gray shade of the first coach. Then add the black shadows between the coaches. The shadow will be lighter as the coaches recede. Pencil in the colours of the remaining coaches, fading as you go back. Darken the roofs. Blend with a stump. Darken under the train. Pencil in impressions of doors and windows on the cars, giving less detail to each coach.
Painting the smoke
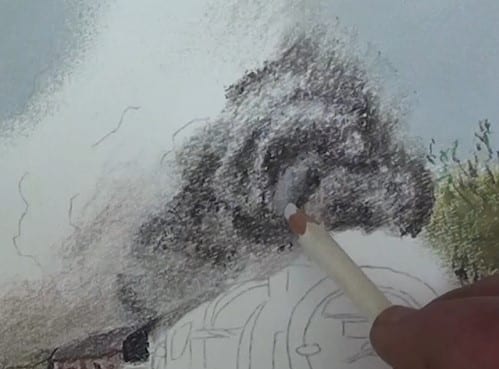
Start by penciling in the darkest areas of smoke. Soften the dark colour with a stump, working it outwards to create a puffy effect. Use the stump to add some smoke to the gray areas. Then add a light layer of a warm brownish tone over that. Blend it in with a stump. Add some gray pencil, then black, to give the soot effect. Blend the smoke over the top of the coaches. Use darker pencil to shadow the individual puffs. Accent with a bit of mauve colour. Soften the smoke as it fades out. Use a white pencil to fade out the edges of the smoke.
Also use the white pencil to colour the white smoke over the top of the locomotive. Add light accents with the white soft pastel, then tap with your fingertip to blend.
Using a stump in a circular motion, add gray to the smoke at the rear of the train. Pencil on some black to accentuate the billows. Blend lightly with your finger. Add some white to areas that catch the sun. Dab to blend.
Painting the locomotive
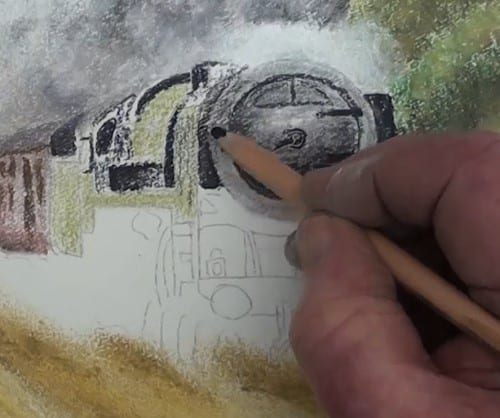
Use a green pencil to colour the boiler section. Burnish with a clean stump. Colour the very dark areas with a black pencil, then do the gray shades. Note that the door to the boiler is dome shaped, so go lighter at the top and darker at the bottom. Blend all the darks.
Pencil in the red on the engine. Work the colour into the paper with a stump.
Pencil in the gray of the wheels and the darks at the bottom of the engine. Blend.
Add the dark line over the red plate. Pencil in the orange glow and the yellow for the center light. Give an indication of the two lamps on the front of the engine. Add the other details around them.
Gray the lens of the two big lights and put shadows around them,
Add the remaining colour to the side of the engine. Be sure to show the steam coming out the side.
Painting the tracks
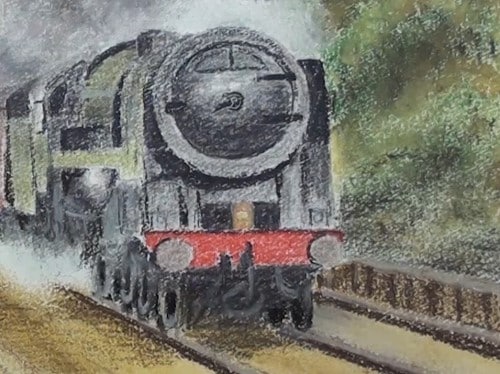
Use brown pencil to draw in the tracks, making them wider as they approach the foreground. Darken the train wheels where they meet the tracks. Use white pencil to outline the wheels and show reflections.
Final painting
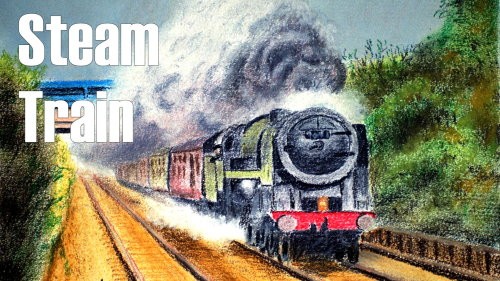
Click the button below to view the real time follow along version of this class:
Pin Me
