Short Class Video
Class Tutorial
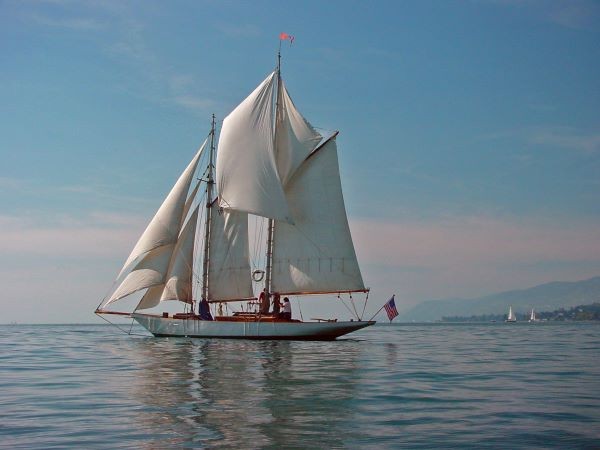
In this tutorial we will draw a sailboat. This is the reference photo I will be working from.
Drawing the Sky

Our sailboat reference photo doesn’t have nice clouds in it so I have found this photo which does have nice clouds.
We will use our artistic license to add clouds similar to these into our drawing. That should add extra drama and interest to the scene.
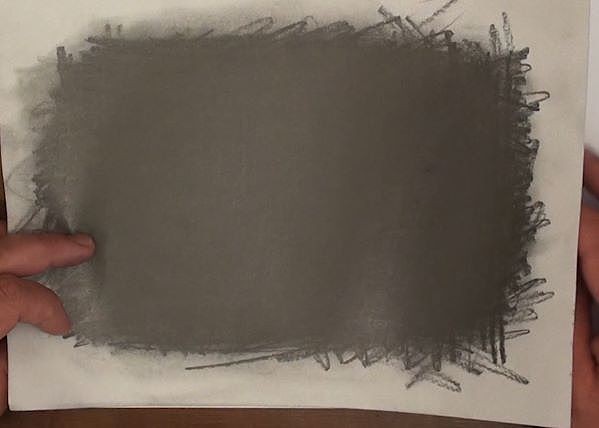
Start off by covering a spare piece of paper with graphite.
We will use this and a cloth to draw with.
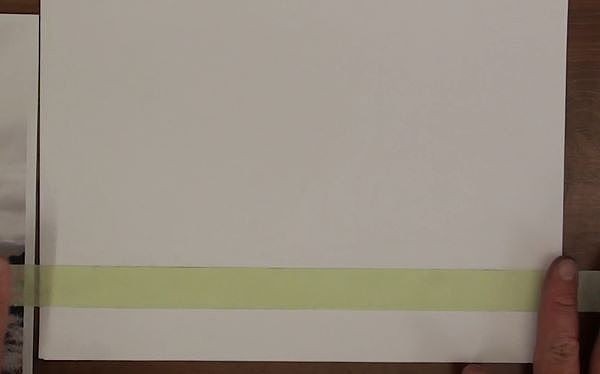
We don’t want to lose the horizon so we mask it off.
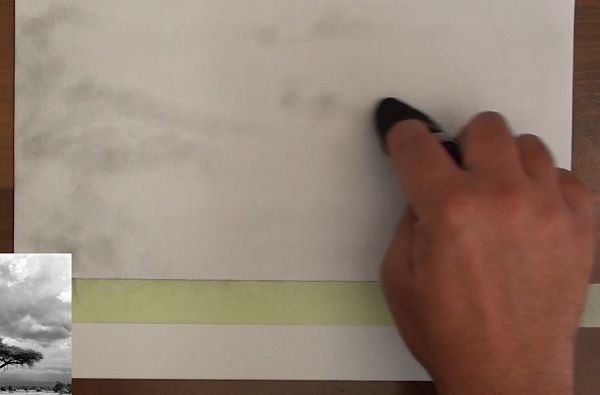
Now rub the cloth over the graphite paper, then onto your drawing to draw the clouds.
In a circular motion rub the shadows of the clouds onto the paper.
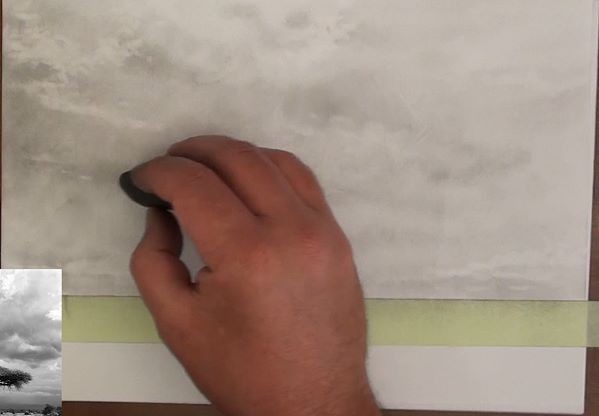
What I am trying to do is create the gradual shadings formed by the clouds.
To ensure I don’t loose the shape of the boat I use an eraser to keep the edges of the sails defined.
The clouds give us the contrast we need for the white sails to be visible so don’t be shy with the contrast you add to the clouds.
Drawing the Sails
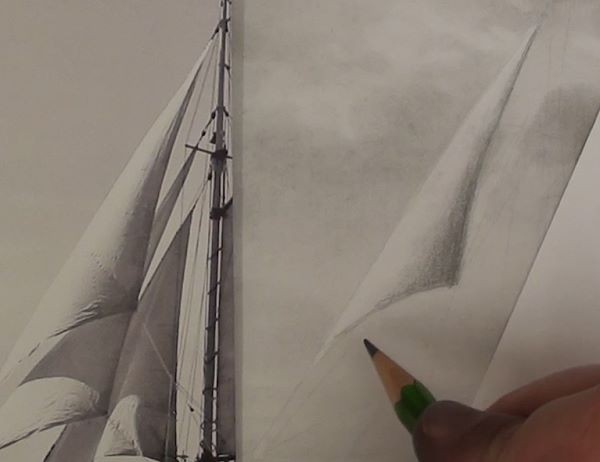
Now we can move over to the sails.
Each sail has a different shading because of its shape so you need to carefully look at how the light reflects off of each sail.
This one here is round so it has a gradual shading.
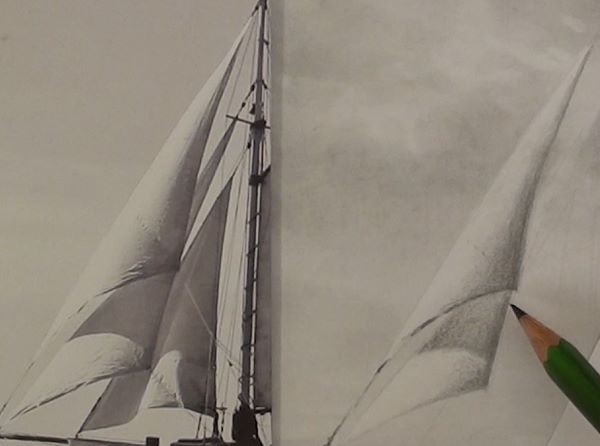
The one behind it is also round so will also get that gradual shading.
This time however the first sail is casting a shadow on it so the tonal values of these shadings are different.
To draw these tonal values and shadings correctly vary the pressure you apply to the pencil as well as use harder and softer pencils.
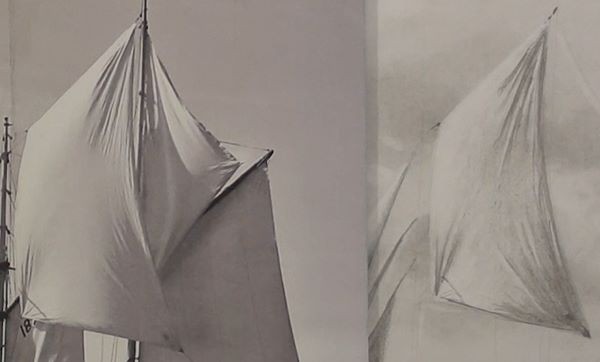
This sail is full of creases, just suggest these creases by creating a series of contrasting lines.
Look very carefully at the direction of these lines through as they follow the shape of the sail.
Do the same with the other sails as well.
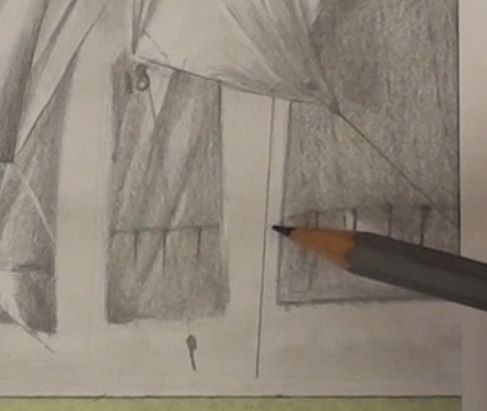
Now we can start to add the detail to the sails.
For this use a very sharp pencil or a mechanical pencil to add in all the rigging and to suggest the stitching work on each sail.
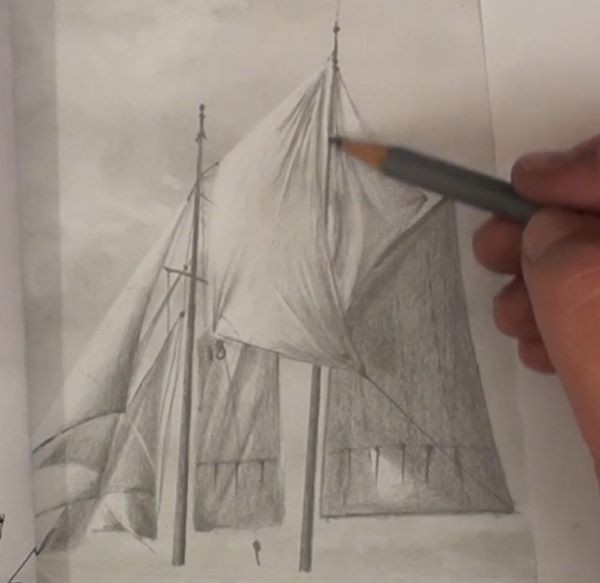
To ensure you draw the masts accurately use a ruler to draw the outside edges. Then color in the insides.
To show the mast is round darken the right hand edge on each mast.
Now we can gently remove the masking tape in order to draw the water.
Drawing the Water
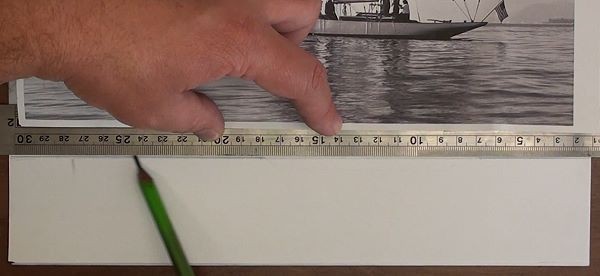
There is a dark edge to the horizon so I use the ruler to establish the edge of the boat so I don’t lose it’s shape.
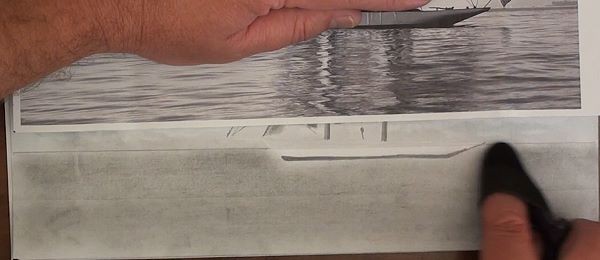
Now use your cloth and the graphite paper to lay down a basic tonal value on the water.

Erase the ripples on the water using a kneaded eraser.
To show perspective, make the ripples in the distance short and close to each other and the nearby ripples large and further apart.
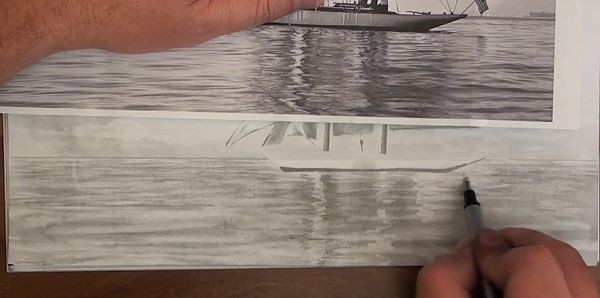
The reflections are broken vertical lines so put in the dark vertical lines using the cloth first.
Then squiggle out the lighter reflections.
I have also used the pencil to squiggle a few extra contrasts here and there which completes the water.
Drawing the Boat
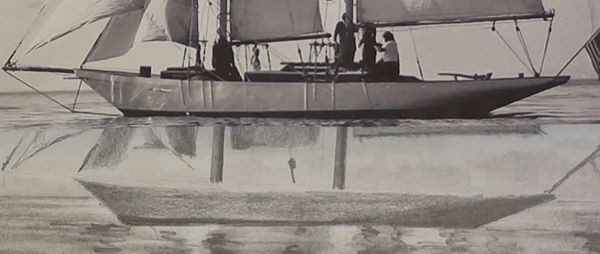
Now shade in the shape of the boat.

And use a dark pencil to suggest the people and detail on the boat.
Don’t draw fine detail here. Suggestions and basic shapes are good enough. Your brain will imagine the rest of the detail when looking at the completed artwork.
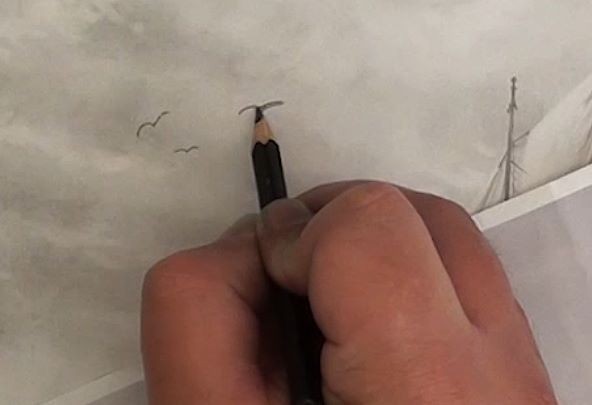
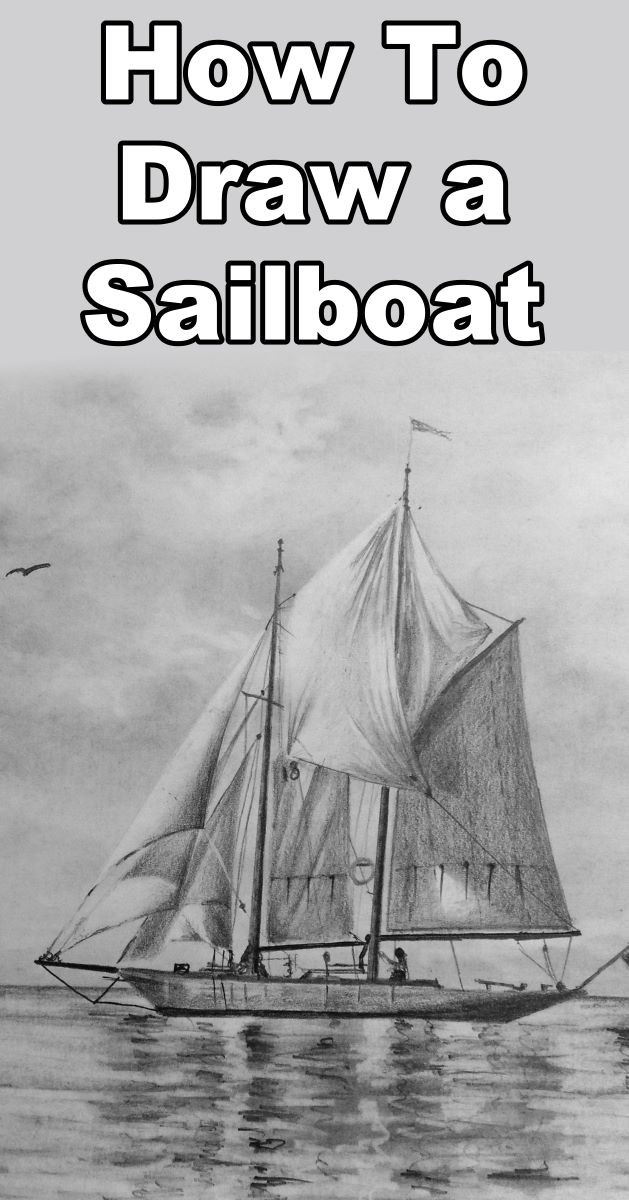
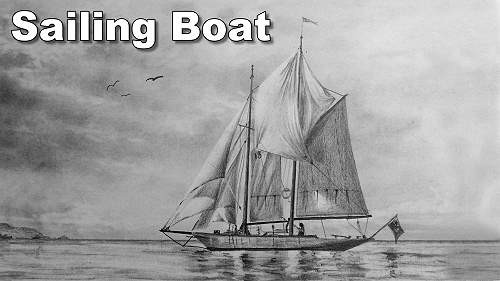
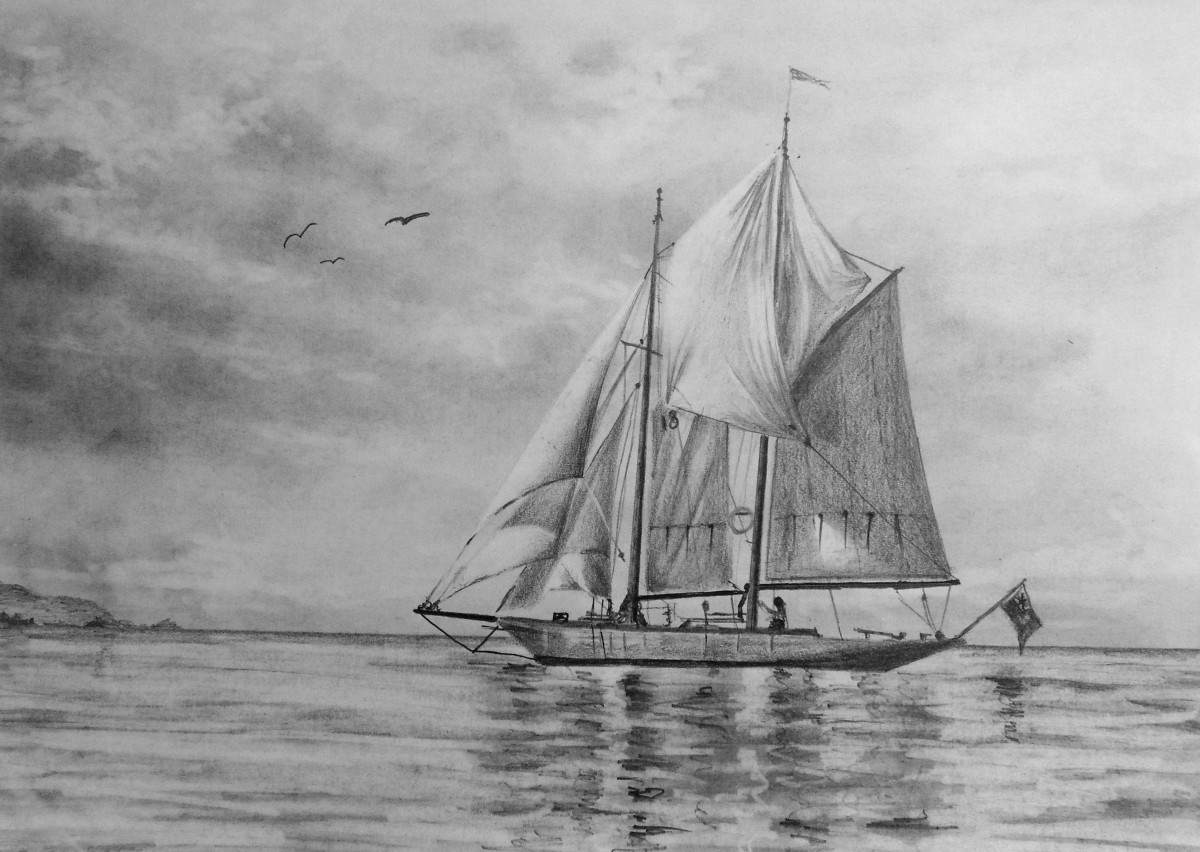
This is what the final sailboat drawing looks like:
Click the button below to view the real time follow along version of this class:
Pin Me
