Short Class Video
Class Tutorial
Drawing the background
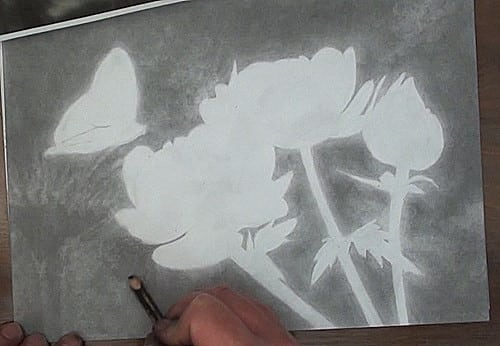
We will do the background first, then the foreground.
The background is quite large and I want to draw that as quickly as possible so I can get to the flower and butterfly.
To speed up the drawing process I use a cloth coated in graphite powder to block in the background.
As I work, I come as close to the edge of the foreground objects as possible without losing my initials sketch lines.
Blocking in with the cloth can take quite a few layers to get the correct tonal value.
In order for this drawing to look good the background must be dark.
As I work I use my pen shaped eraser to ensure the edges of the flower and butterfly are not lost.
Once I am happy with the background tonal value I work on the edges of the foreground objects.
We don’t want a halo around the foreground objects. The background must look like it’s going behind the flowers.
I use pencils to even out the background tonal values around edges.
That also ensurers I have nice crisp edges on the foreground objects. As a result we can already picture them from their silhouettes.
Let’s start adding some detail to the background.
We don’t want a lot of detail, just enough to show our flowers are in the garden.
I then use a kneaded eraser to lift out a few random shapes in the background.
I also use an 8B pencil to add a few abstract shadow shapes to the background.
Although I am using the photo for inspiration, I am not trying to copy it.
We want our background to be a lot more simplified than on the photo otherwise the background will get too busy and start competing with the foreground for attention.
With the background complete we can start on the butterfly.
Drawing the butterfly
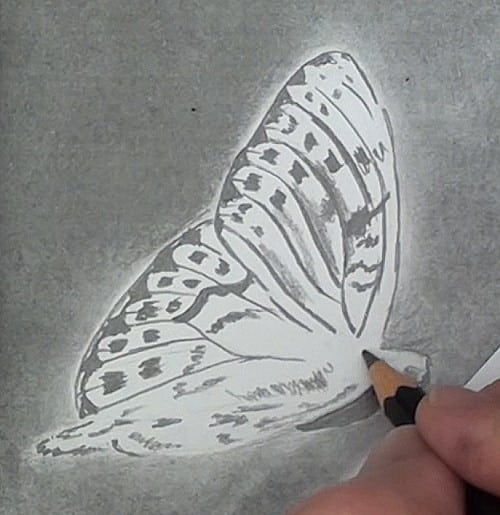
The butterfly looks quite complex to draw, but it is actually not that hard.
I start by establishing the sharp, dark lines and shapes, then move on to the more subtle markings.
When drawing these markings I ignore the fact that I am drawing a butterfly and just concentrate on replicating the position, shape and total value of the marking.
What we have now is a flat butterfly so to add dimension to it my attention shifts to drawing the shadings caused by the shape and angle of the wings and body.
These are usually most prominent where two features meet. For example where two wings meet or where the body meets the wing. That is because you usually have an angle change where the two features meet.
To draw the antenna I erase a thin line using my pen shaped eraser, then carefully fill in the unwanted areas again so that only the highlights are visible. Using a dark sharp pencil I draw in the actual antenna being careful not to lose those erased highlights.
With the butterfly complete I revisit the background to ensure there is no halo around the insect.
Now let’s move on to the flowers.
Drawing the flowers
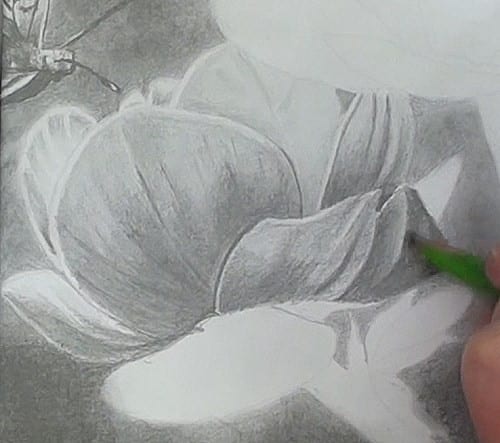
When drawing flowers I always start with the back petals and gradually make my way forward.
I draw one petal at the time. That way I only need to concentrate on a few shadings at a time and by the time the flower is complete the petals look like they overlap each other.
Inside each petal you need to look out for a few things:
The first is the overall total value of the petal. The petals lightest colour is seldom white and it’s darkest tonal values is seldom black.
So you need to find the overall lightest tonal value and lay that down first. I call this the base total value.
From there you can lift out any little highlights and shade in the shadows.
With the base total value established, I look at the overall shape and curve of the petal. This shape and curve will cause the petal to become gradually darker as it curves away from the light.
You then shade in these tonal value changes.
From there look at any ribs and veins in the petal and concentrate on drawing them.
Ribs and veins will often have a highlight and a shadow side so use your pen shaped eraser to lift out the highlight and your pencil to add the shadow.
A common mistake adding these ribs is to draw them too dark and prominent.
More often than not they are very subtle so I always draw them in using a too light pencil. It is easier to darken from there than to try and lighten.
Lastly I will look for any blemishes on the petal and draw them in.
Other things to look out for when drawing flowers are:
The area where the petal curls inward to meet the centre of the flower is usually quite dark. So much so that you may not be able to see where one petal stops and the other one starts. This is called the lost line.
The petal also has thickness so you need to look out for the thin highlight or shadow on the edge of the petal and draw it in where visible.
As the flower is round it will have one side which overall is lighter than the other. In this flower the back left hand side is lighter than the front right hand side.
You need to draw this overall change in tonal value otherwise your flower will look flat.
In some drawings you might even need to use your artist’s licence to increase this change in tonal value in order to make the flower look rounder.
Drawing the stems
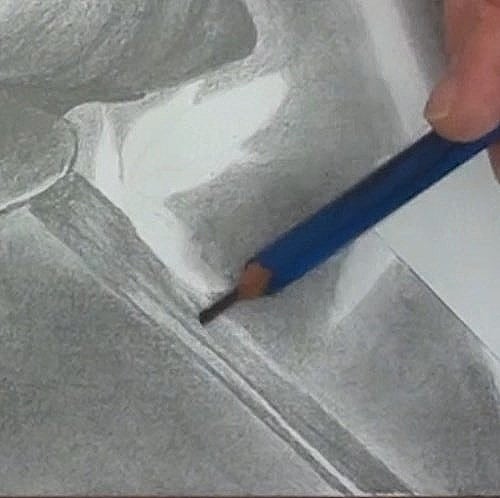
For the stems I concentrate on showing the roundness of the stem. One side will be lighter than the other so shade that in first.
Then look out for any textures, ribs and markings and draw them in.
Lastly lookout for any sun spots or cast shadows on the stem and draw them in.
Notice how I am creating all sorts of rough textures and tonal values over the surface of the wood plank.
I am also keeping he top edge of the wood light and the bottom edge dark.
This ensures that I don’t loose the separation between the planks.
Here and there I also add an extra dark line to indicate a crack in the wood.
As you draw be careful to not draw into the hat area.
Drawing the leaves
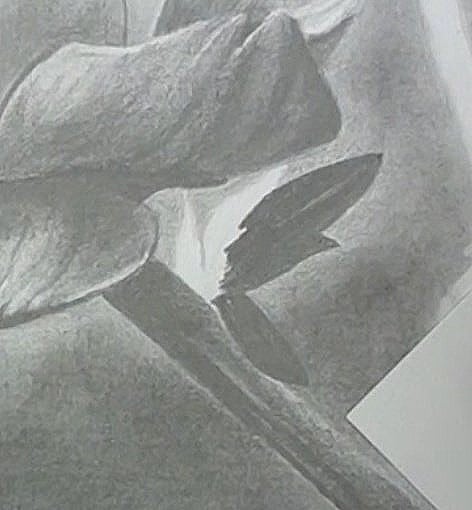
The leaves on this flower are very dark so I pretty much block them in, leaving just the lightest contrast to suggest the veins on the leaves.
With the flower complete I stand back to compare the tonal values on the drawing against those on the reference photo.
Standing back allows you to see the picture as a whole and you’ll be surprised at how many adjustments you can pick up when standing back.
To complete the flower I revisit the background to ensure that is no halo around the flower.
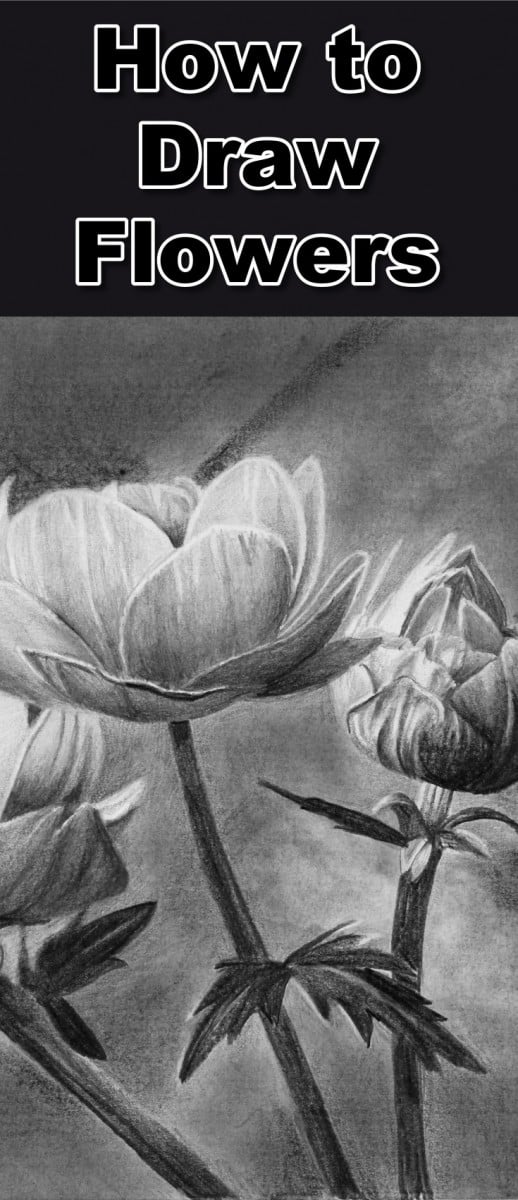
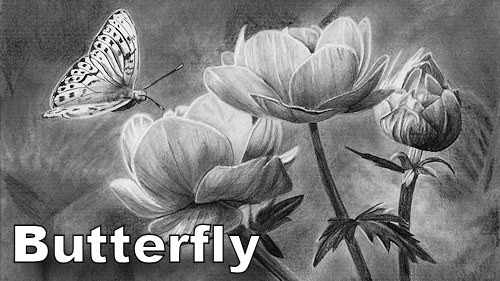
I repeat the same process is all the other flowers in the drawing and with that the drawing is complete.
Final drawing
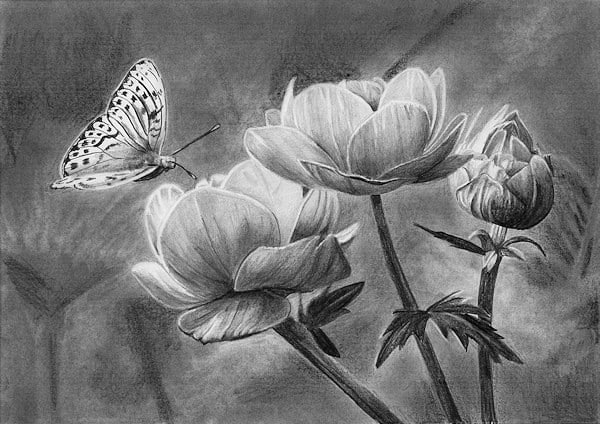
Click the button below to view the real time follow along version of this class:
Pin Me
