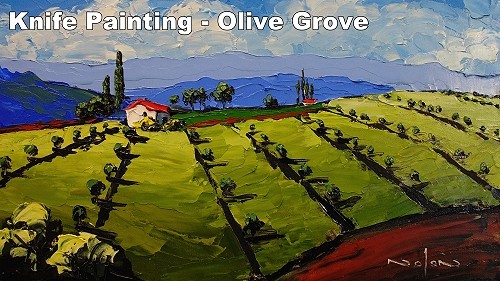
Short Class Video
Class Tutorial
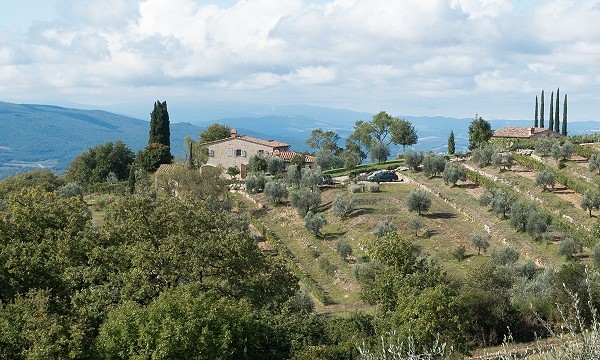
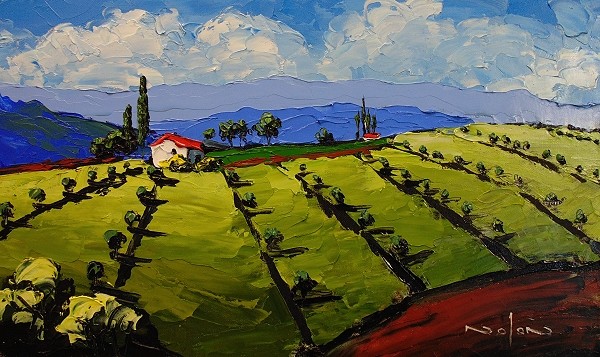
In this tutorial we will paint an olive grove.
Initial Sketch
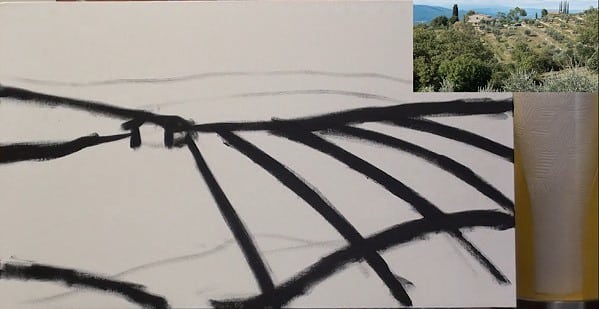
I start off with black paint and a bristle brush and lightly sketch out the scene onto my canvas.
In order to get some extra drama into the painting I exaggerate the perspective lines in the scene. You will notice that I curl them all towards the house. This will help to draw the viewers eye towards the house which is the focal point in this painting.
I then broaden some of the main lines so that they can show through in the final painting. This will add to the rough and rustic effect of the knife painting.
Paint the Sky

For the sky I mix Cerulean Blue and White in different ratios to get lighter and darker versions.
It is quite a cloudy day so I lay the paint onto the canvas in a circular motion to suggest the billowing of the clouds.
To build up the body of the clouds I use lighter and lighter versions on the left hand side of each cloud. This indicates that the sun is coming from left to right in this scene.
As you can see I am not trying to copy the clouds in the reference, but rather painting my own version of the clouds.
You can’t work particularly accurate with a knife so it is important that you are not scared to use your artist licence when painting with one.
You are not trying to recreate the scene on the canvas like you would with a brush. You are creating a representation of the scene using the knife.
Paint the Distant Mountains
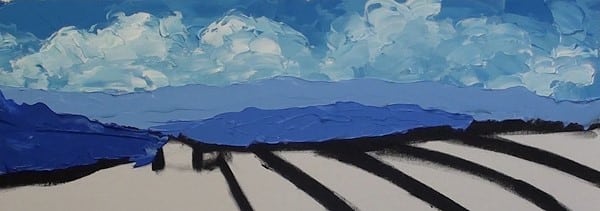
For the distant mountains I add French Ultramarine to the sky colour.
To get a nice crisp silhouette I lay the paint down on the edge of the mountain and then spread the paint towards the inside of the mountain.
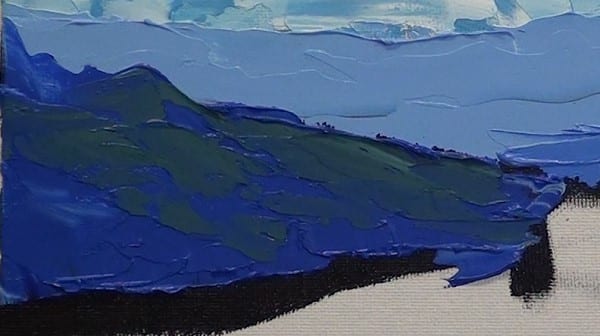
As I move closer I need to start adding more colour in order to get the colour perspective correct so I add a second layer of paint over the first using a dull green.
When adding one layer of paint over another you need to use a very light touch so that you don’t disturb the paint underneath.
Paint the Distant Trees

I then start adding some of the distant trees that are overlapping the distant mountains.
Again I am using a very light touch. In fact I am pressing so lighter that the knife itself doesn’t touch the canvas. Only the paint on the knife touches the canvas.
As you can see I lay these in using only dabs and dashes. I first concentrate on creating a silhouette of the tree, then return with a lighter green to tap in some highlights.
Paint the Foreground
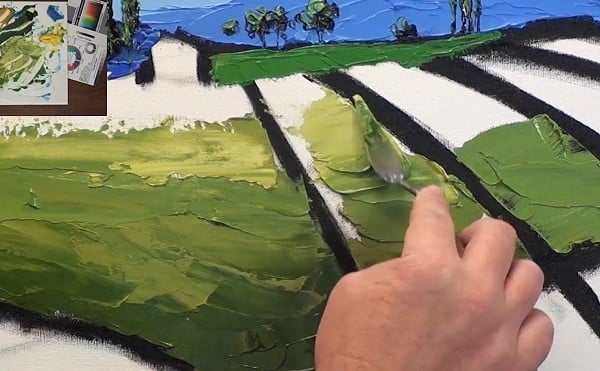
For the foreground I mix three versions of Sap Green. Each with more or less amount of Yellow Ochre and Cadmium Yellow in them.
I then start to block in the field with these colours.
As I do, I want you to notice how thick the paint is. When painting impasto with a painting knife you can’t be stingy with your paints.
On a practical level you need lots of paint in order for the colours to blend into each other. From a visual point of view, using lot’s of paint adds lot’s of texture to the artwork. Buyers just love to see this texture.
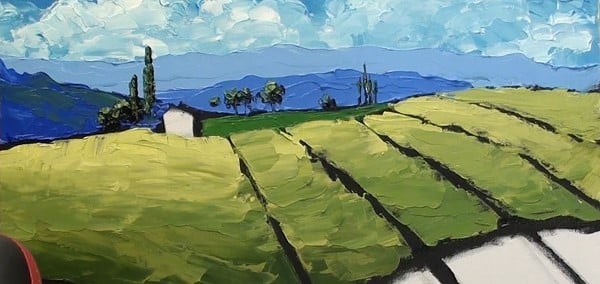
You will also see that when I blend, I am not trying to get a perfectly smooth shading from the one colour to the next. This rough blending adds texture and interest to the ground.
Now you can see how those initial black lines are adding an extra dimension to the artwork.
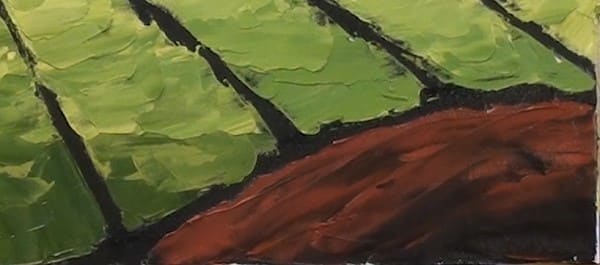
I noticed some ground showing through in the foreground so I use Black and Burnt Sienna to paint this in.
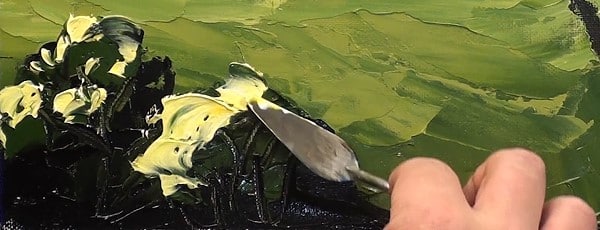
To increase the sense of depth and perspective in my landscapes I will often add a bush or long grasses in the foreground which overlap the objects in the distance.
Paint the Olive Grove
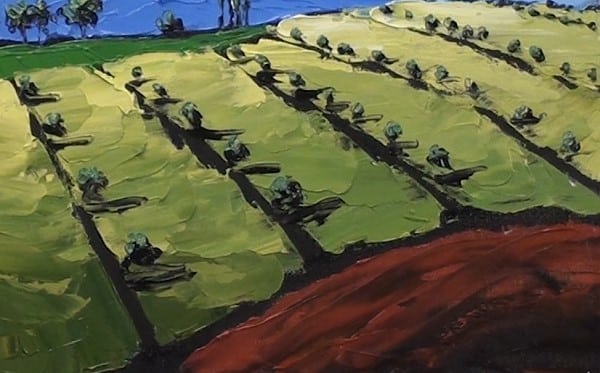
When adding the olive trees I create the shape of the tree, then drag a shadow away from the tree in order to anchor it to the ground.
Also notice that the distant trees are smaller than the front ones to indicate perspective.
I highlight these trees using an olive green mixture.
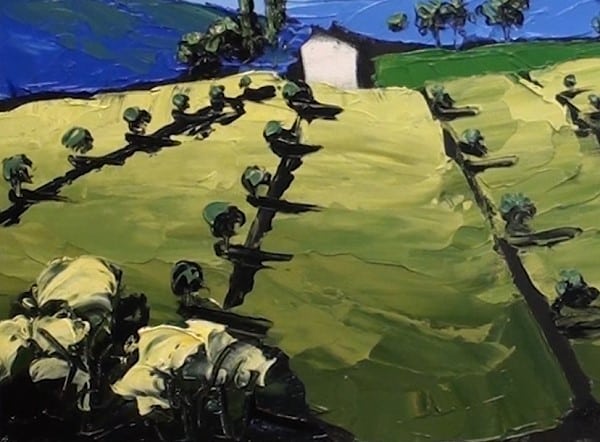
Notice how I have decided to not paint in the tree mass on the left. I felt it would overpower the painting, so used my artist licence to extend the olive grove instead.
Adding More Overlapping Objects
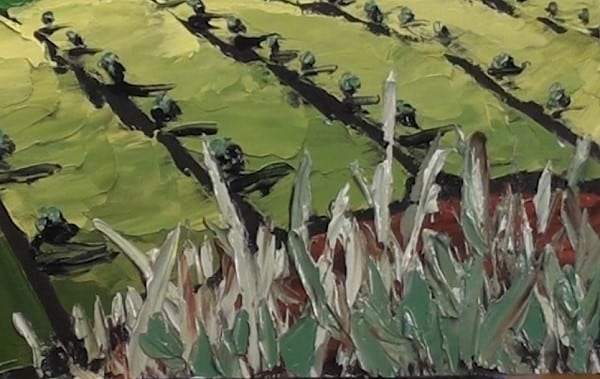
I then add a mass of long grass overlapping the ground on the bottom right. To do this I used the side of the knife using a cutting motion.
Painting the Focal Point House
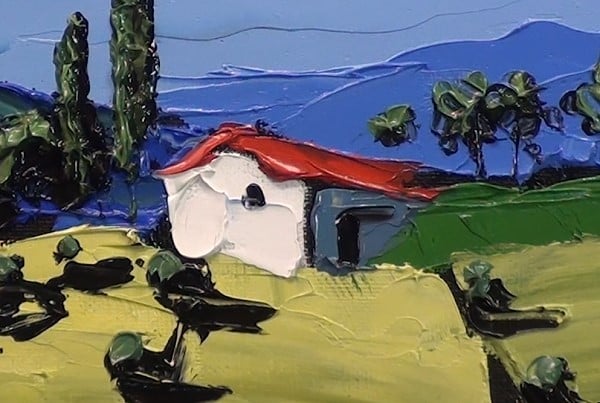
Now on to the houses. Even though they are the focal points in the painting I still don’t try to add a lot of detail to them.
I only add in enough detail so you can make out what it is.
To settle the large house I add a few bushes in front and suggest the road leading up to the house.
Click the button below to view the real time follow along version of this class:
Pin Me
