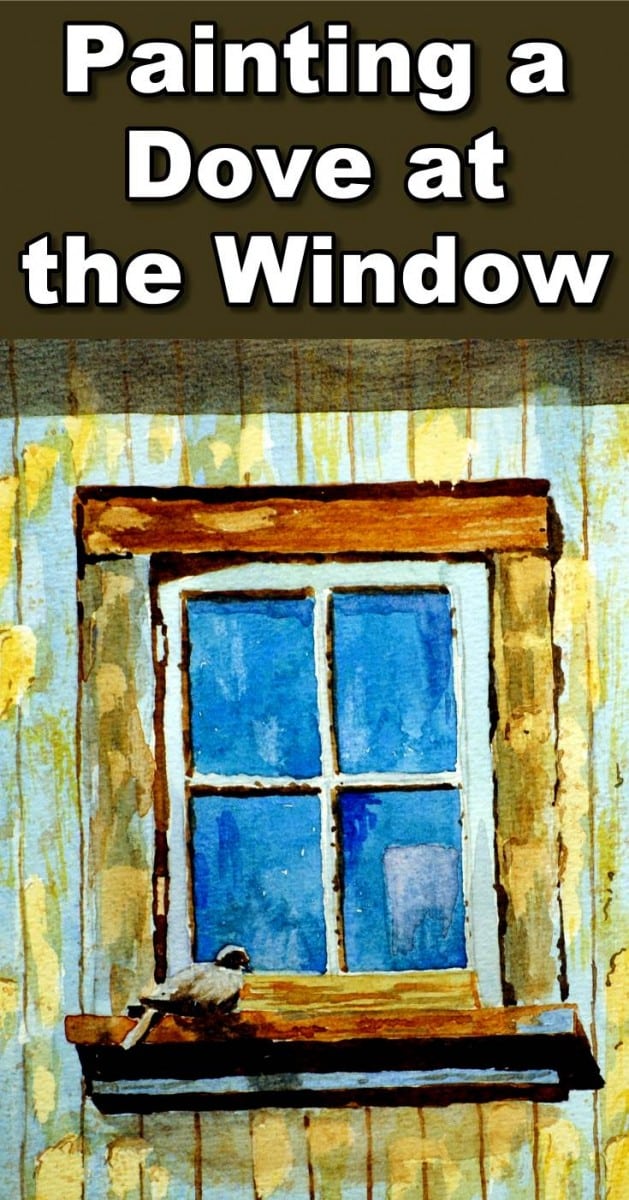
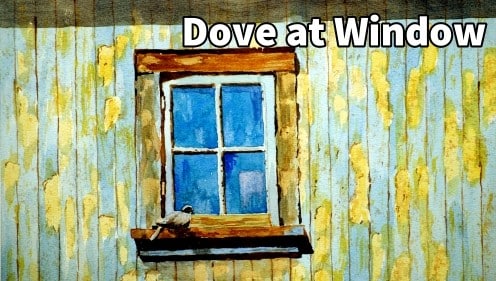
Short Class Video
Class Tutorial
Paint the wall
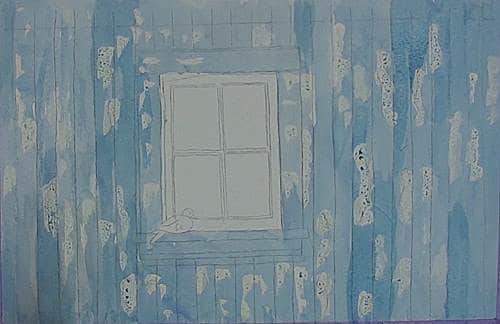
This is an interesting painting because of the wall boarding. It is very weather-beaten and the paint is beginning to peel all over. Add masking fluid in all the areas where the peeling has occurred. Don’t worry too much about all the hundreds of tiny patches – just the main ones will be sufficient at this stage to show the effect. The masking fluid must be dry before continuing.
Mix up a greenish blue and paint in all the wall area. As we paint we can see where all the masking fluid has been applied. As this is an old building, the wall will not have an even color, so darken up some areas to make it look old and dilapidated.
Paint the window
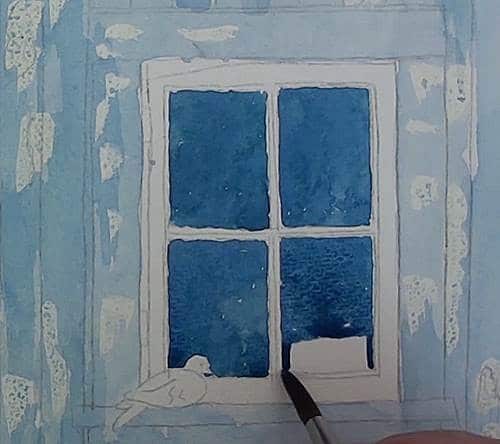
When you paint the dark blue for the window panes, just remember that it will normally dry lighter than it looks when wet. Burnt Sienna with a touch of blue is used to give the wood that weathered look.. Don’t paint the frame all the same color. The darkest areas are where most of the paint has disappeared and revealed the naked wood.
For the very dark color just make a mix that has less water and more pigment. This is the strong shadow color. The sun is from the left so the shadows in the window will indicate this.
The window itself is also painted with the same color as the wall. Glass, being reflective, will also reflect anything that is close to it. With a small round brush, and a tissue, begin to carefully lift out where the reflections occur. Darken up some areas to add to the effect.
With the same dark shadow color paint in all the details on the framework. These include smaller shadows, cracks, hinges, etc. Also add the natural wood marking around the window sill.
Paint the window frame and wall
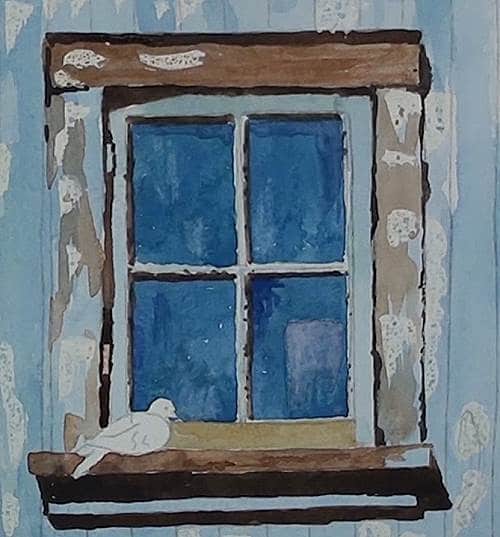
All the joints of the boarding need to be indicated. Do this with a small round brush. As you do this, don’t make them all of the same eveness and thickness. Make some lighter in places. Similarly some of the joints will be more darker and wider at places, caused by the weathering. Use a series of small strokes to add to the weathered effect.
Remove masking fluid
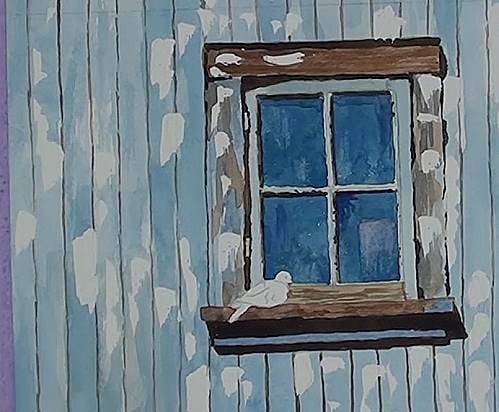
The easiest and cleanest way to remove masking fluid is to use a small piece of Masking tape. Always pull across the paper and resist the temptation to pull it upwards off the paper – it is easy to tear the paper this way. Also make sure the paper is perfectly dry before removing the masking fluid. To find out if any masking fluid has not been removed – just lightly rub your fingers across the paper. You will feel if any has been left behind.
Paint the wall markings
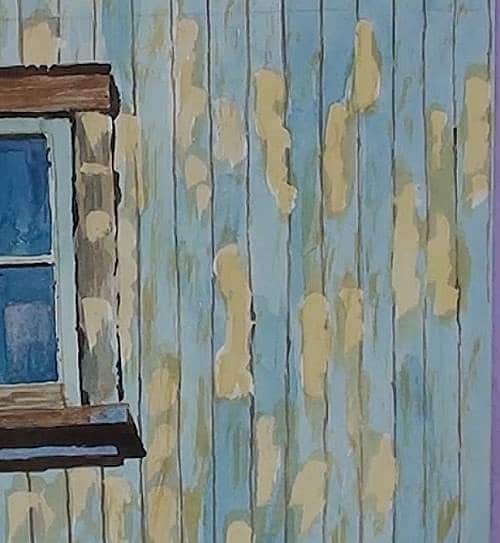
All the white areas, except the dove, can now be painted in with some light Yellow Ochre or Burnt Sienna. You can even stroke some here and there over the blue to indicate areas where the paint has not lifted off completely. Some places will also be a bit darker than others.
Paint the roof shadow
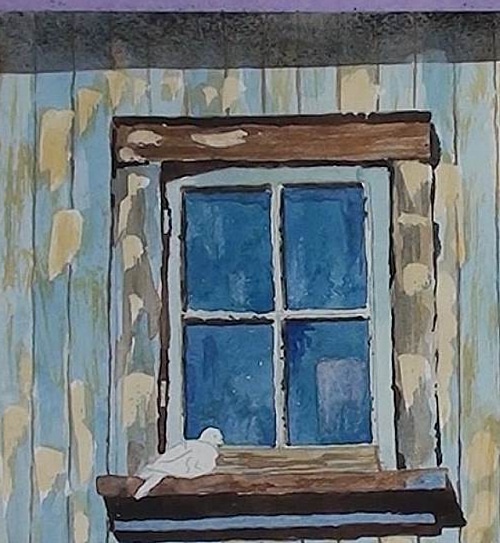
Turn the paper around and paint the roof shadow. It is much easier to paint that straight line this way. Paint it just dark enough to still be able to see the board joints underneath.
Paint the wall texture
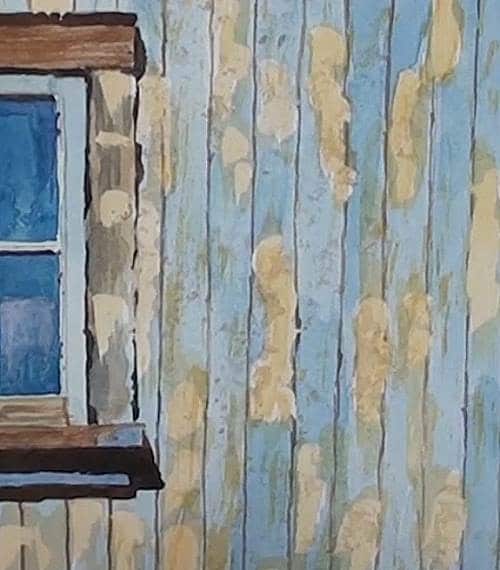
With a sponge, and loaded with some of the dark paint, very lightly dab over the whole wall. If the paint is too dark it can be regulated with a tissue. We can now start painting the shadows where the peeling paint has lifted up. Don’t do every patch.
Paint the dove
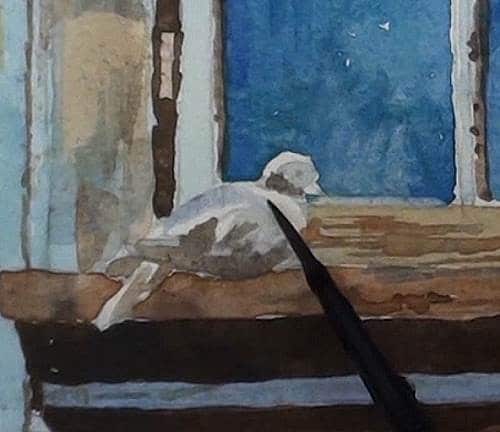
With a light blue-gray, paint the shadow areas of the dove and then add the dark sections. Again, regulate the tonal ranges with a tissue.
Final painting
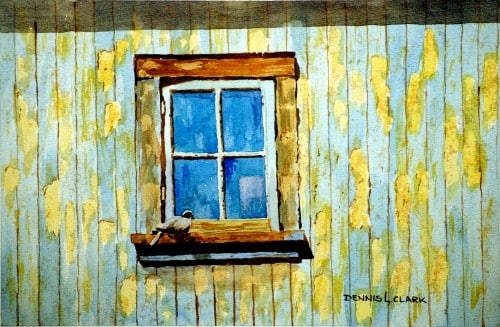
Click the button below to view the real time follow along version of this class:
Pin Me
