Class Tutorial
Paint the background
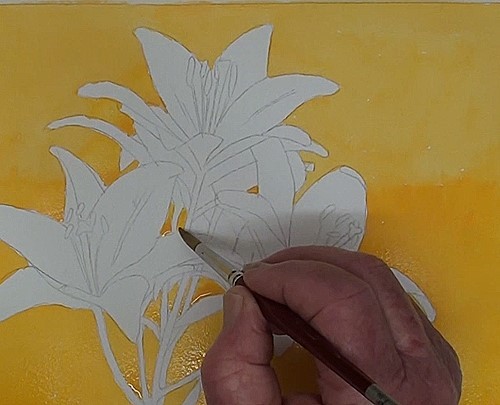
To bring out the color of the lilies I have chosen a deep Yellow color. You may use whatever color you choose. I have not used masking fluid for this lesson. If you are a beginner you may need to mask of all the edges. Paint carefully around the edges and avoid streaking. Don’t forget the “peep through” areas.
Painting the flowers
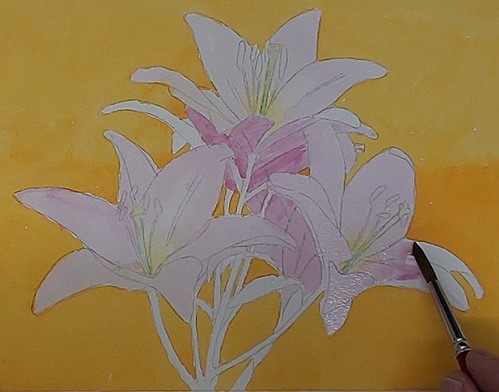
Add some very light Yellow to the centre of the flowers. Make a light mixture of either Magenta or Alizarin Crimson and a touch of blue, whatever you have. Cover all the petals. Darken up slightly as you get to the bottom two flowers. Slowly add darker values to lift out each of the flowers. This emphasizes the shadow areas. Complete the last flower.
Paint the stems
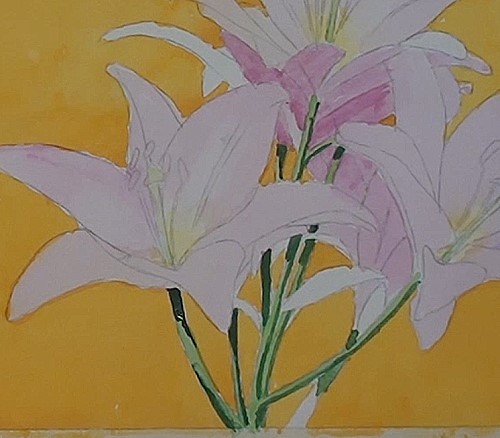
Paint the stems with a light Yellow / green color using a small round brush. With a much darker mix of green, made from Viridian and Burnt Sienna, add the shadows on the stems.
Paint the leaves
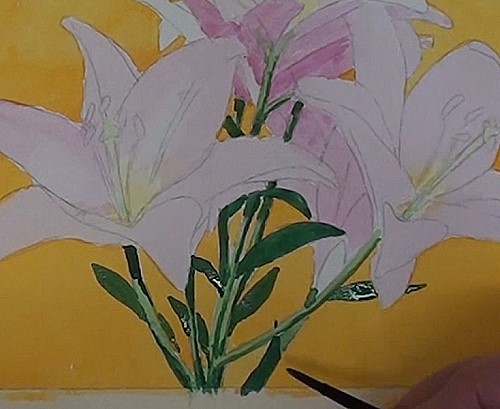
When you have done that paint the leaves. Add the shadow to the right side of the 4 stems as well because the light surcease from the top left.
Paint the petal shadows
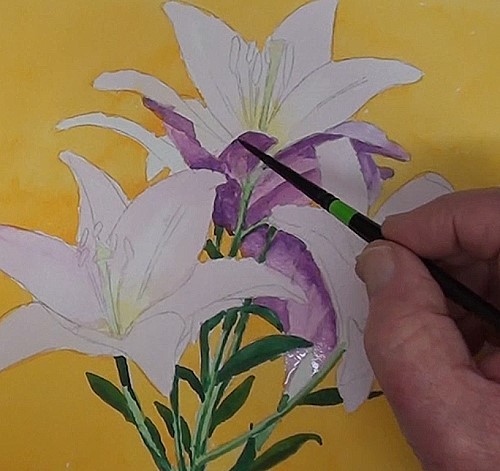
With a very dark pink mix paint the underside of the top flower petals and the one hiding behind the three main flowers. While you are doing this take note of the various tonal ranges in the shadows. This is very important for depth in the painting. Continue working downwards.
Paint the top petals
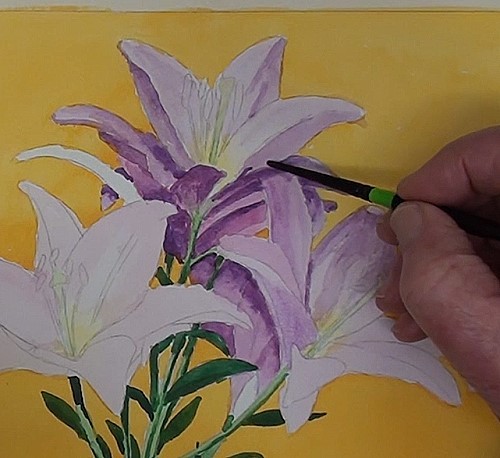
With a small round brush begin painting the various tonal ranges of the petals, darken up here and there to give some perspective. Add the shadow under the curled tip of this petal. Use a tissue to control the depth of the shadow. Continue shading this flower similar to the previous one. As you do this compare the one against the other and do any further touch-ups and markings you may have forgotten.
Paint the stamens
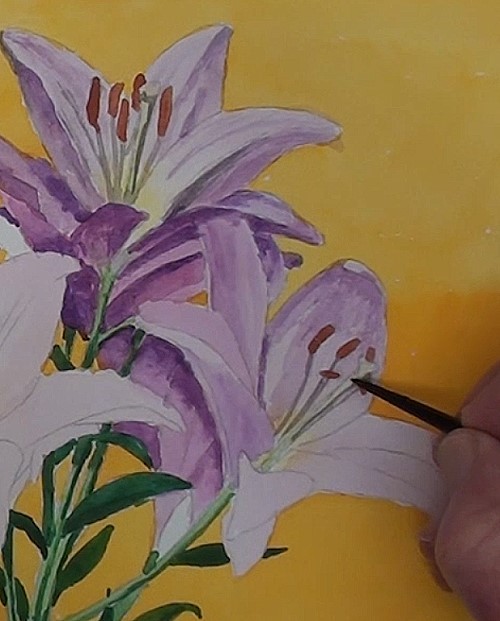
Strengthen the stalks of the stamens and with a dark orange / brown paint in the stamen tips. This immediately shows up the completed flowers. Do the same for the second flower. Complete the finishing of the second flower’s petals. Compare the petals to the reference photograph and deepen up any of the shadow areas where necessary. It is the darks against the light that create depth and drama in the painting. Don’t be afraid of the darks!
Painting the main flower
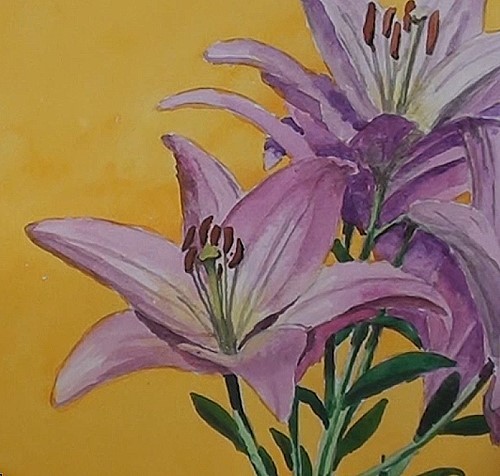
The shading is similar to the others except to take more care with this one. Being larger it is the focus point of the still life. Carefully add in the darker areas, while at the same time comparing it to the others. These dark shadows help to “lift” the one above the other. Continue touching up the others as you progress. You are unifying the group this way. Add in all the folds and stripes into the petals and when you have done this begin to paint in the stamens.
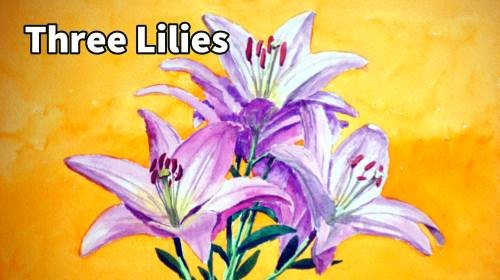
Final painting
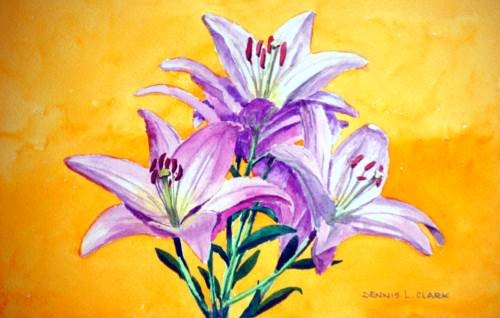
Click the button below to view the real time follow along version of this class:
Pin Me
