Template
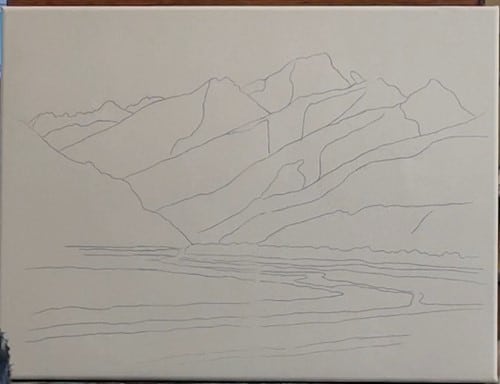
Transfer the outlines in the template to the canvas by means of a carbon paper. If you are using a stretched canvas it is best to add a book or similar hard surface under the canvas to avoid damaging it.
Paint the sky
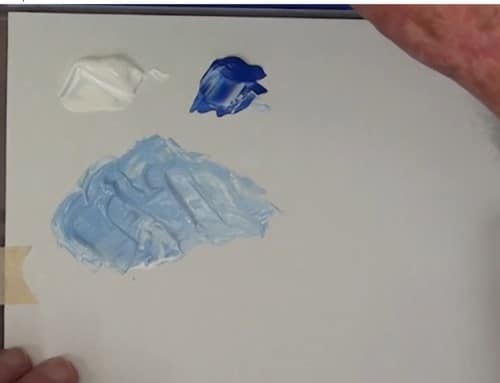
Mix up a light cobalt blue and start painting the sky. Be aware that the sky lightens as it get near the horizon. This is caused by various factors such as dust, pollution, haze, etc.
Mountain underpainting
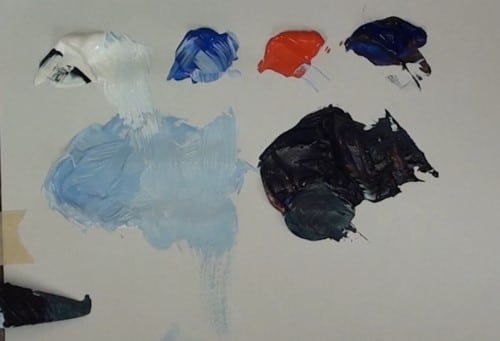
On the palette are the mixes being used. On the left is the sky mix. Cadmium red and Phthalo blue is used for the mountain. Make it a very dark purple. Don’t add any white into it. A very small touch of white to the side may be added just to test the colour.
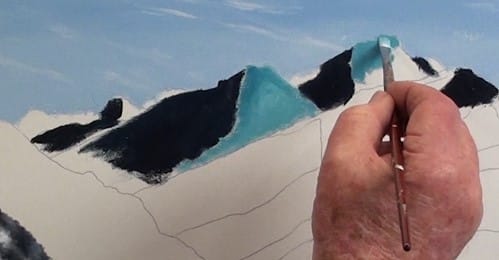
Block in the very dark areas – basically all the areas of the snow in the sun.
Snow in the shadow areas
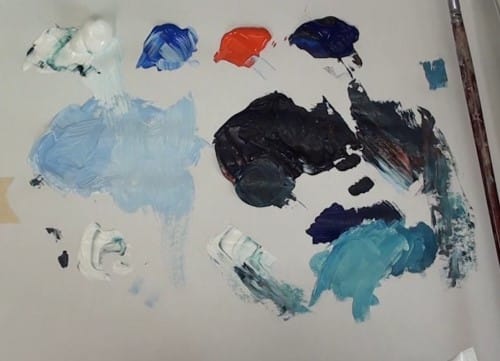
For the snow in the shadow areas make up a mix of Phthalo blue and white and fill in all the snow shadow areas.
Painting the snow

For the snow mix up some white with a touch of cadmium red. It must just have a hint of pink. The magic begins with the use of a painting knife. Spread the paint lightly on the palette and lay the knife flat in the paint to get an even spread of paint on the underside of the knife. The knife is placed very lightly on the canvas and pulled down in the direction of the slopes. The idea here is that the roughness of the canvas pulls off the paint in bits and pieces. The undercoating will show through as deep shadows of rock protrusions and deep pockets of snow. Build the texture up slowly.
Deep snow shadow mix
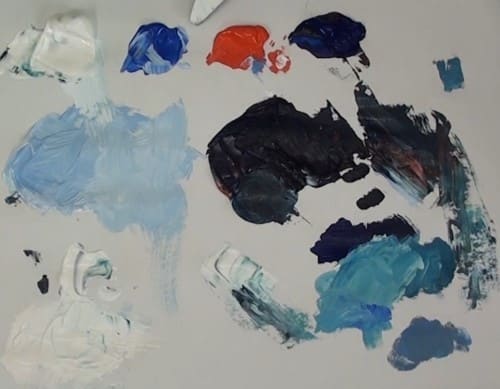
Mix a touch of Cobalt blue into the first shadow mix and then add a touch of Cadmium red into it to grey it down a bit.
Paint these deep shadows
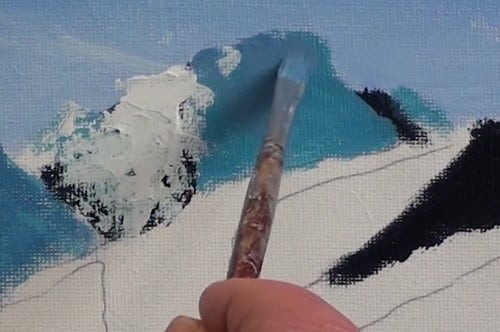
Deepen up the top ends of these slopes. It will be lighter at the lower end due to reflections from other snow areas.
Deepen the shadow at the foot of the mountain, and with the same colour, bring in some markings on the snow slope to bring out some ridges and small valleys.
Starting the nearer hills
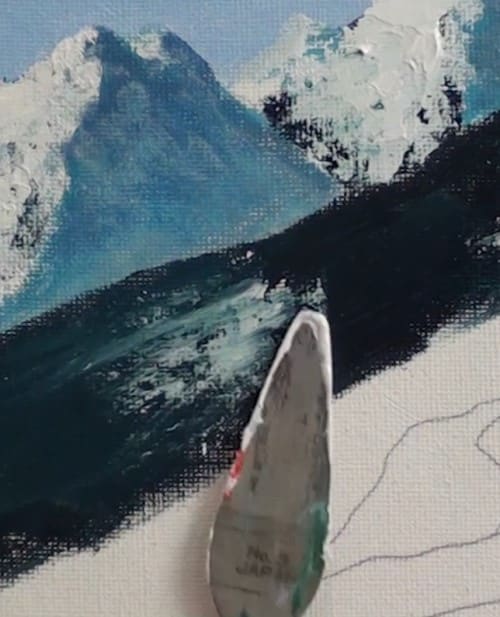
Block in the middle hill with the first mix. Dry it and then begin laying in the snow with the painting knife.
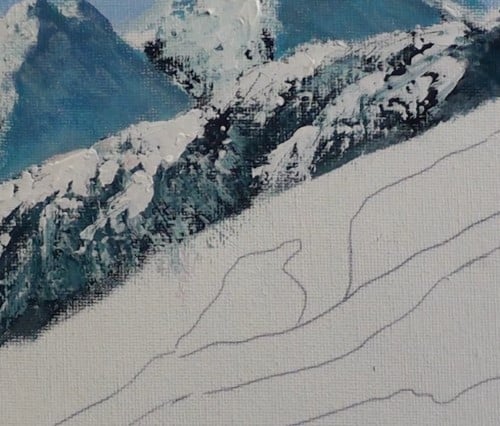
Leave some areas open for the smaller valleys and crags. Then with a small brush, paint in the shadow areas. Leave a larger darker area at the lower end.
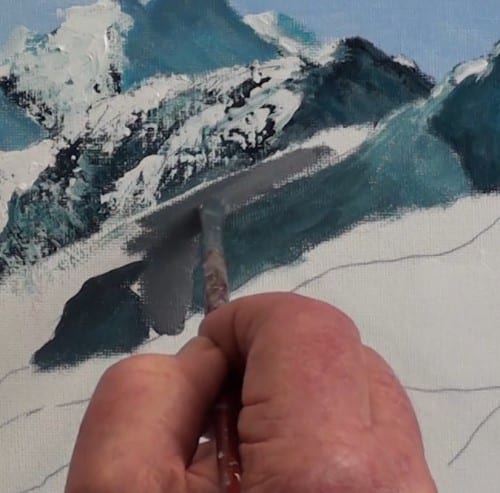
For this hill just block in the colour as shown.
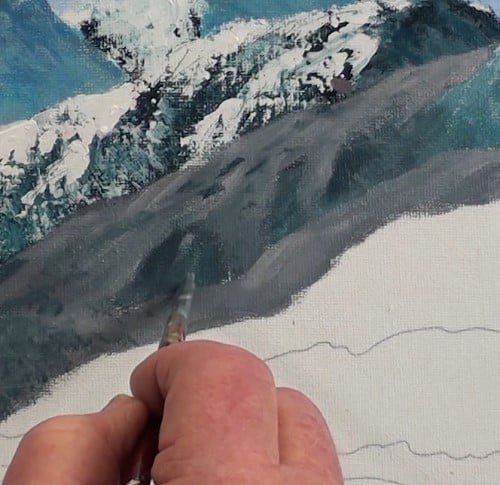
For the hill colour take some of the mountain underpainting colour and add a small amount of Cadmium red and white into it. You will get a neutral brown. Cover the remaining area and with a lighter mix to form the smaller shapes.
Foreground hill
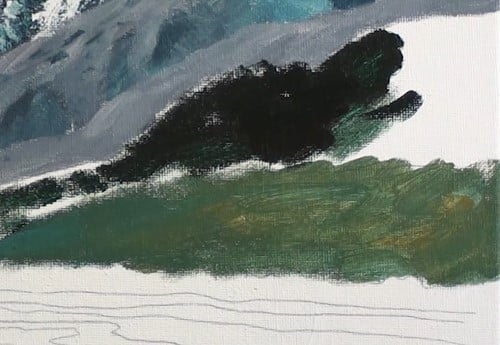
Mix up a green from yellow ochre and cobalt blue and block in the grass that is in sunlight. Mix a very dark green using the first underpainting colour with yellow ochre added to it.
Hill in deep shade
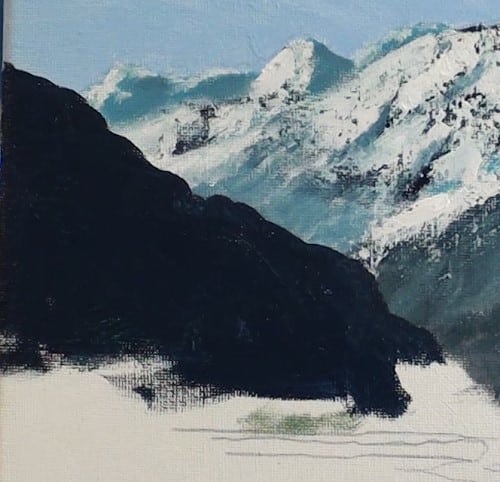
For this deep blue colour just add cobalt blue into the left over mountain underpainting. Don’t paint the profile in a straight line. Add some humps and bumps to make it look more realistic.
Paint the river

With a blue/grey, plot in the flow of the streams.

Paint in the river, leaving a few white streaks/lines to indicate where the water surges against the rocks. Fill in the ground area.
Paint the bush
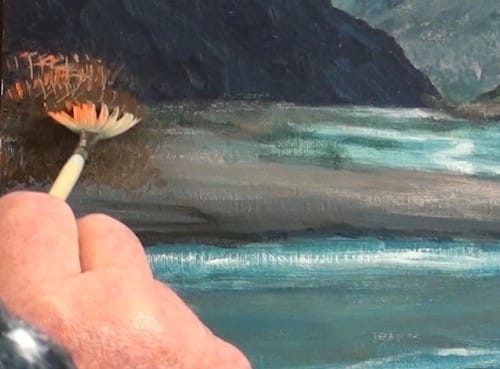
Paint a orange/brown patch for the bush and then with a fan brush, stroke in the branches.
Foreground
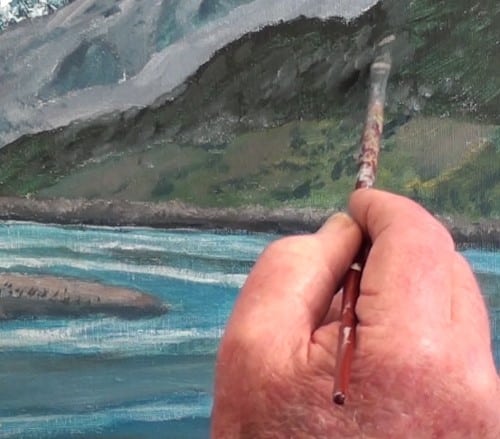
With a small brush dab in the texture on the slopes. Just give the impression of rocks.
Final touch-ups
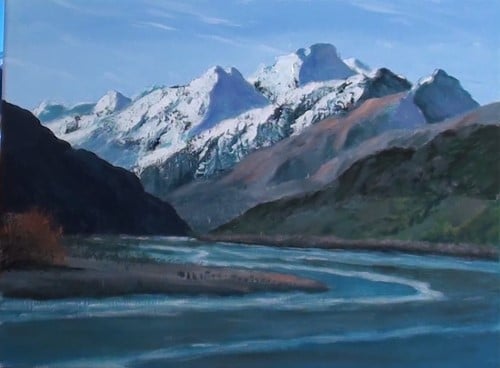
Add some highlights to the shore line. Look to see where you have left some things out.
Final painting
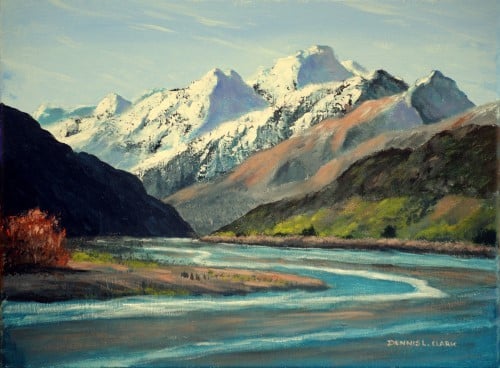
Click the button below to view the real time follow along version of this class:
Pin Me
