Short Class Video
Class Tutorial
Painting the sky
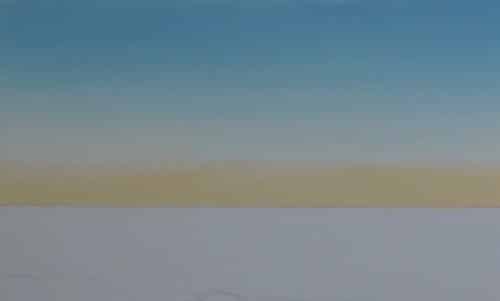
We will start painting from the back and gradually work our way forward.
I start off by masking the horizon to ensure it remains perfectly horizontal.
Starting at the horizon I paint using white with a touch of Cadmium Yellow added.
As I move upwards I gradually add more and more Cerulean Blue to the mix.
Painting the clouds
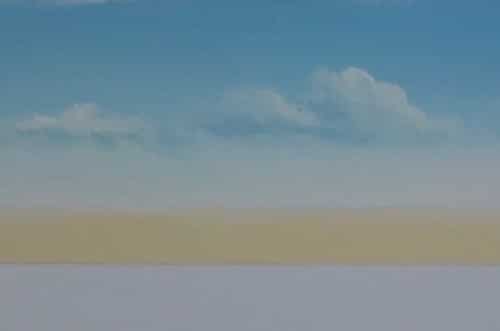
To paint the clouds I use the initial sky colour and a soft Filbert brush.
I paint the tops of the clouds and then fade them out towards the bottom.
To complete the clouds I add their bottoms using the darkest sky colour, fading it upwards into the cloud.
To keep the horizon interesting I add a few small islands in the distance, also using the darkest sky colour.
If you want them to look even further away use an even lighter sky color.
Using a fine liner I then suggest a bit of detail using the lightest sky color.
Painting the sea
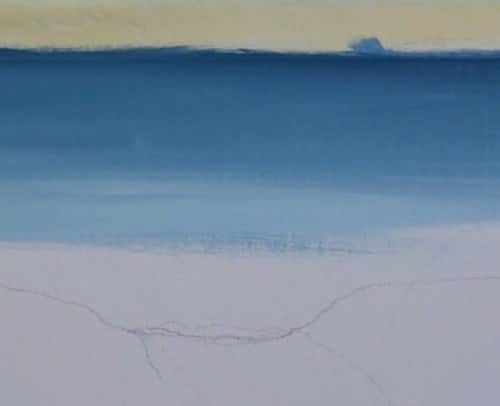
For the sea I have mixed blues in a range of tonal values by taking the sky colour and adding varying amounts of French Ultramarine, Viridian Green and Titanium White to it.
For the beach I’ve added Yellow Ochre to White.
I then dry the sky using a hair dryer and mask off the sky using masking tape to ensure the horizon it remains horizontal.
The sea is blocked in, in exactly the same way as the sky except this time don’t bother to get perfectly smooth shadings.
The uneven blendings help to create the illusion of movement on the water.
Do the same for the beach.
Painting the waves
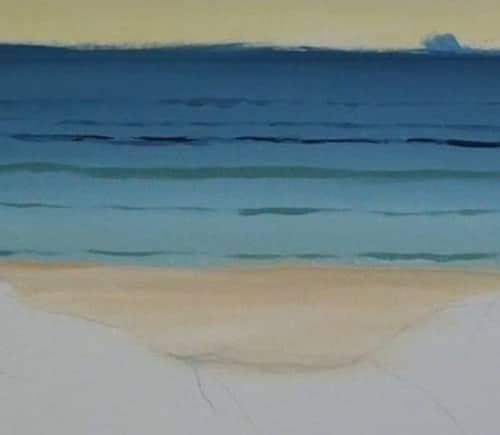
We will now add waves to the water. I want them to run all the way across the canvas so I place a length of masking tape which I can use as a guide to keep my waves straight and parallel to each other.
I paint the waves using a soft filbert brush, you can also use a rigger brush.
A wave doesn’t break all at once, it tends to run along the beach gradually breaking from left to right or right to left.
To create this uneven breaking effect I vary the pressure on the brush as I paint the wave.
At places I will even press so light that the brush lifts off the canvas.
To get the perspective correct, I paint the distant waves closer together and the nearer waves further apart.
As you move closer to the beach also add a little more Yellow Ochre and Viridian to the wave color.
Painting waves breaking
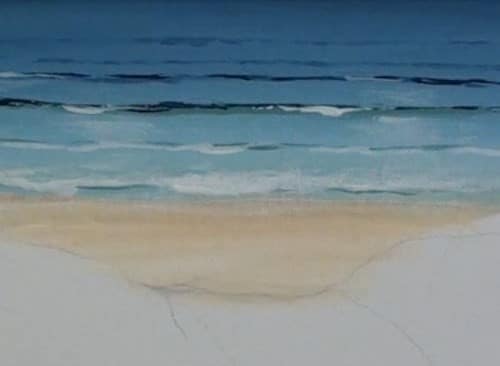
We now want to make it look like these waves are breaking.
As the wave breaks it casts a shadow on itself as well as generating a bunch of foam on it’s leading edge.
I add the shadows using the darkest sea colour and the edge of a painting knife. You could also use a fine liner if it is easier for you.
To add the leading foam edge I use a rigger brush and white to add a few breakers here and there.
To add more detail to the foreground I add some white foam on the water and reflect the breakers in the water.
These reflections give the water a 3D effect.
Painting sand dunes
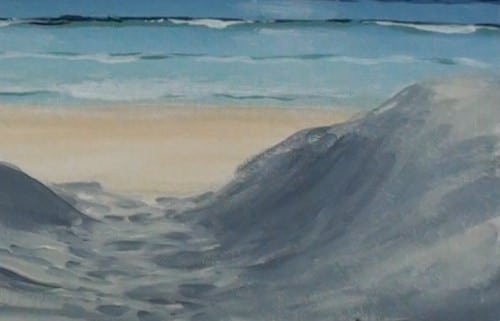
We can now move on to the sand dunes.
I use Raw Umber, French Ultramarine and White to mix up a neutral Grey.
We will use this to plot out the basic dune shapes as well as to lay in the shadow colours of the dunes.
As I paint I am interested in painting the lay of the land.
Imagine you place a ball on the sand. The direction and path it would roll is the direction and path you need to paint in order to show the lay of the land correctly.
With the lay of the land correctly established we can add Yellow Ochre and more White to the Grey to get a highlight colour.
Using this we can now establish the shadings caused by the sun on the undulating sand.
Lighten as the sand curves more towards the sun and darken as it curves away.
In this painting the sun is from right to left.
As you work that sand will tend to become smoother. This is ok but try not to blend the colours into each other too much. Rather let them lie on top of and next to each other otherwise the sand will appear too smooth.
You will see that I add the impression of footprints in the path as well. This helps to add interest to the final painting.
Painting grass on the dunes
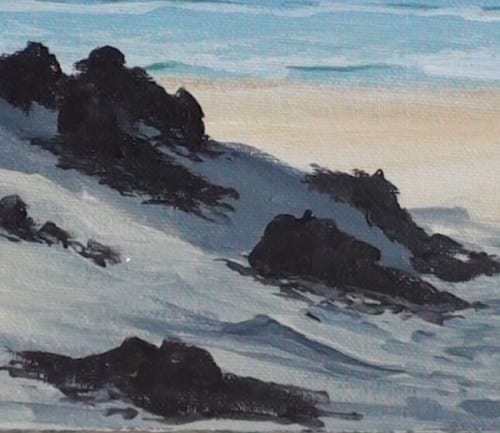
Now we can I start adding the dune grasses.
We will build these up in layers using multiple colours.
For the darkest shadow colour I add French Ultramarine and Burnt Sienna together.
I use this to create a mass at the base of each patch of grass.
To stop this mass from looking like it is sitting on top of the sand, I use a criss-cross motion to blend the base of the grass into the sand.
Now that we know where the grasses will be we can finalize the highlights on the sand using the lightest sky color.
Adding detail to the grass on the dunes
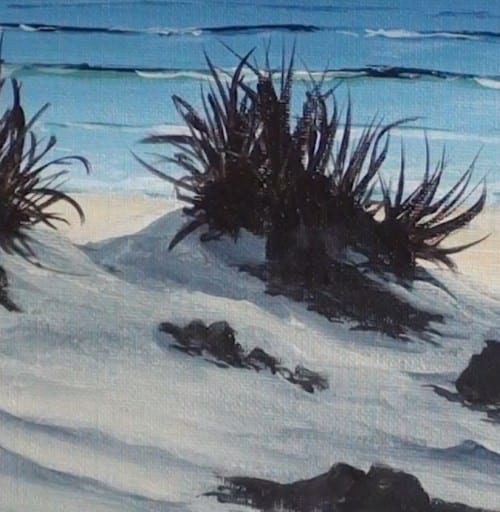
We can then switch to a rigger brush to grow our grasses.
Flick a multitude of grasses outward from the mass. Add these flicks mostly upwards, but at very random angles in order to get the grasses to look natural.
I also like to vary the lengths of each grass so the silhouette of the patch remains random.
Once you are happy with the silhouette, dry the grass using the hairdryer.
Adding color to the grasses
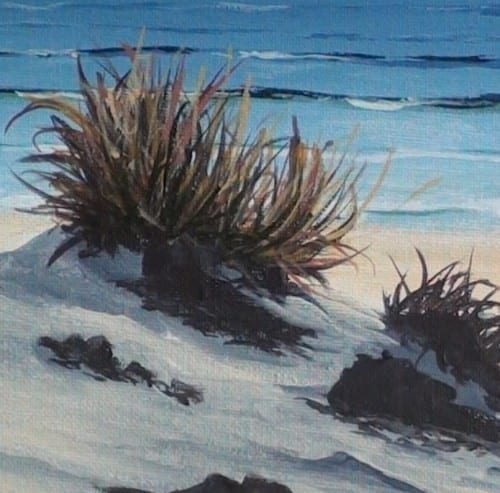
Now mix up several different grass colours. I have mixed up variations of Burnt Sienna, Yellow Ochre, Sap Green and White to give me seven different grass colours.
You will now add these to the grass patches using the same flicking motion, drying the paint between each layer.
By the time you are complete you will have lovely dense, but alive dune grasses.
Lastly use the darkest dune colour to flick in some shadows cast by the grasses on the sand.
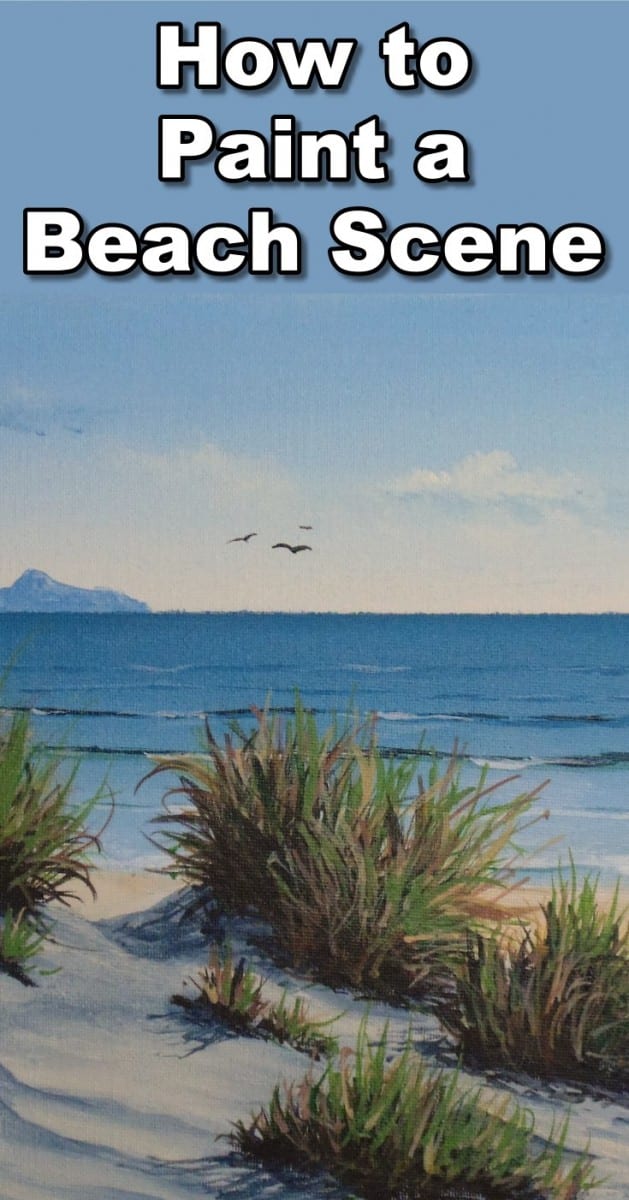
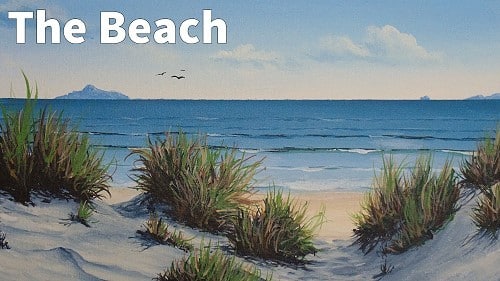
To complete the painting I add a few birds in the sky for interest.
Final painting
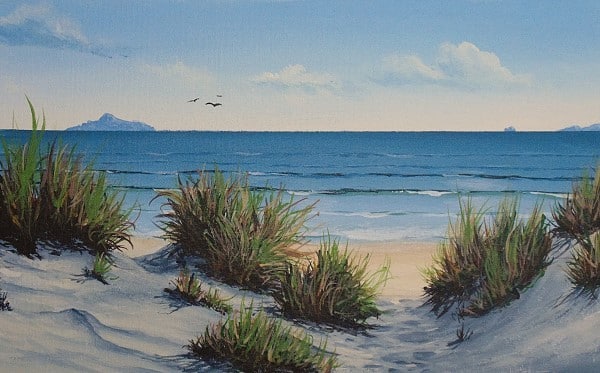
Click the button below to view the real time follow along version of this class:
Pin Me
