Short Class Video
Class Tutorial
Colour mixing
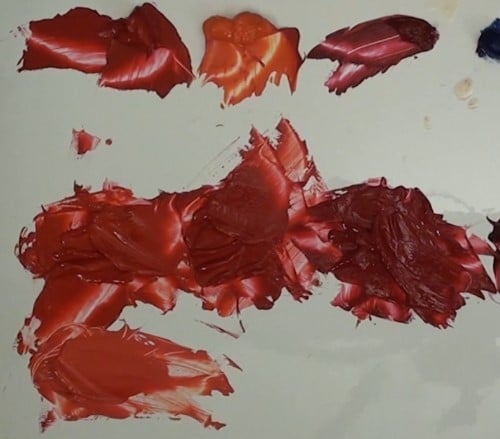
Begin by mixing your red shades Use cadmium red as your basic tone. Add orange to make a highlighted shade. Create a darker version by adding alizarin crimson to the cadmium. Then add blue to alizarin crimson to get the darkest tone. Add a bit of white to the original cadmium to give yourself an addition lighter red. Note that if adding white makes it too pink, mix in a bit of orange to bring it back to red.
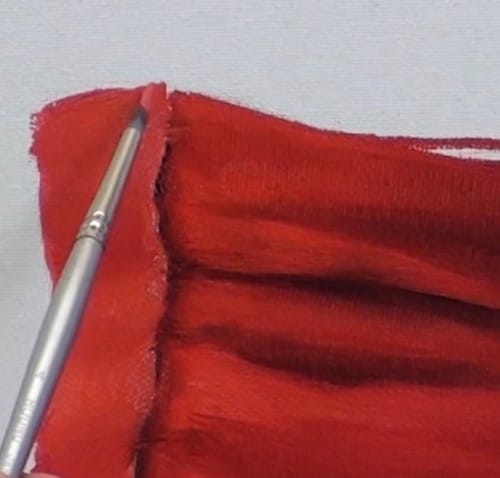
Painting the red fabric
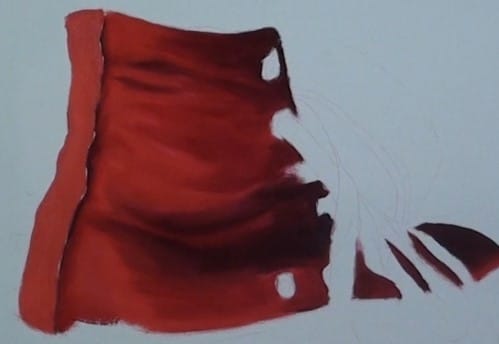
Begin adding the tones onto the canvas as you see them in the reference photo. Follow the contours as you paint. Using a clean bristle brush, work the tones into each other, doing two side-by-side tones at a time. Clean the brush before moving on to the next set of tones. Refer to the reference photo to get the proper definition for hard lines, cast shadows, and little folds. Add shading to the back strip to show its contours. Review how you painted your folds based on Nolan's explanation of how a fold should look.
Save your red paints to the side and clean your palette.
Mixing the lighter colours
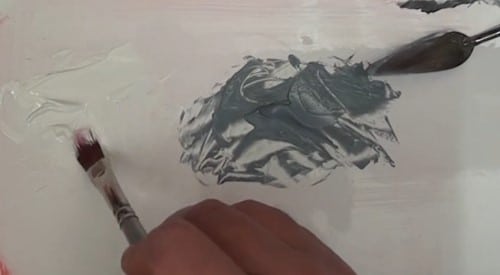
Begin with a white paint and add a black tone (lamp black or Payne's grey) to create a basic grey. Add more black to make a darker tone.
Mix a light coat of white to use as an undercoat.
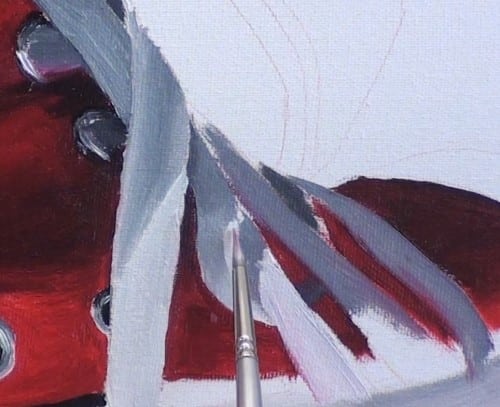
Painting the shoe bottom
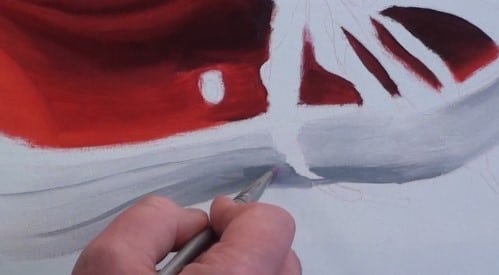
Use a bristle brush to lay down a thin coat of white along the bottom edge of the shoe. Now work in the grey tones as seen on the reference photo, allowing the grey to work into the white to create the gradation of tones.
Use neat black to add the black lines.
Painting the vent holes
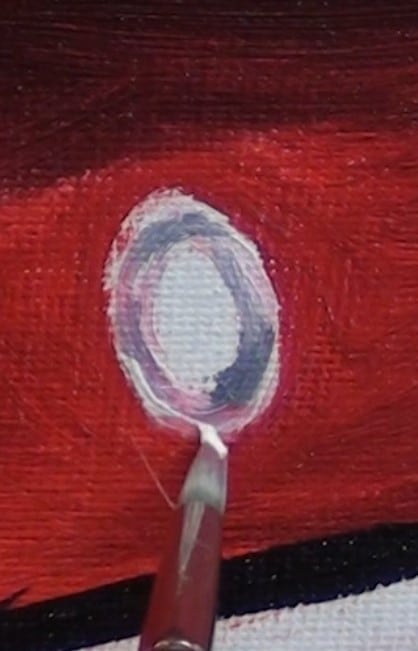
Paint a layer of white around the hole to establish the shape of the ring. Fill in the red up to the white. Paint on the grey tonal values. Use white to create the shine on the metal. Fill the inside with black. Create a soft edge (looking-in effect) on the right inside of the ring.
Use the same technique to paint the vent hole partially hidden by the shoelace.
Painting the rings for the shoelaces
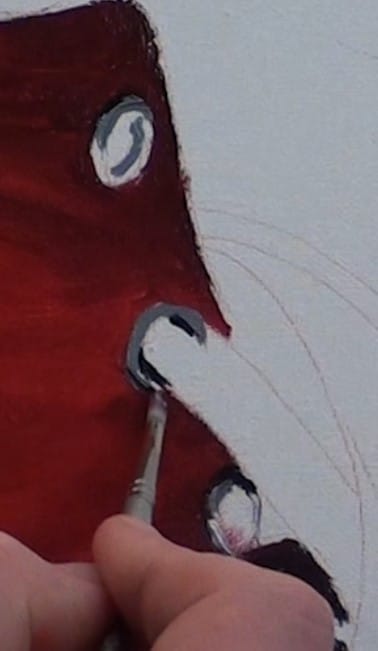
Using the various shades of grey on the rings as appropriate around each hole.
Painting the back bottom edge of the shoe
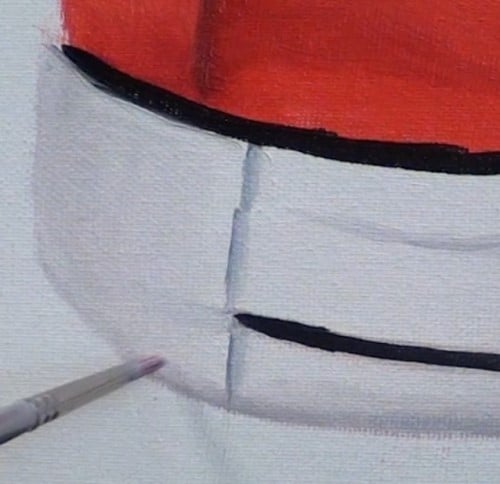
Lay down an undercoating of white along the back bottom edge of the shoe. Mix in some grey to for the correct tonal values.
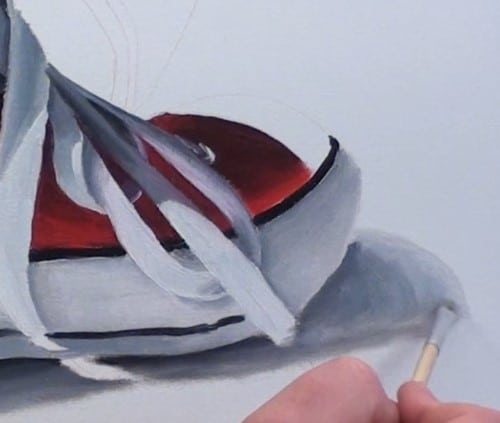
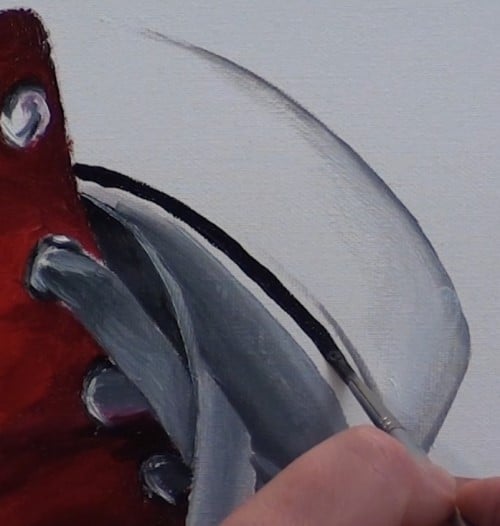
Painting the shoelaces
Note that you will have twists, plus sunlit and shadowed area on the laces. Start by painting the deepest shadows between the laces. Then add the areas of the next lighter grey. Continue to the next lighter shades. End with the lightest sunlit shades. Add cast shadows and blend where needed to show the curling and twisting of the laces and the thickness of the laces.
Painting the shadow under the shoe
Start by painting a dark edge along the bottom of the shoe, then lighten as you fade out.
Painting the lace tips
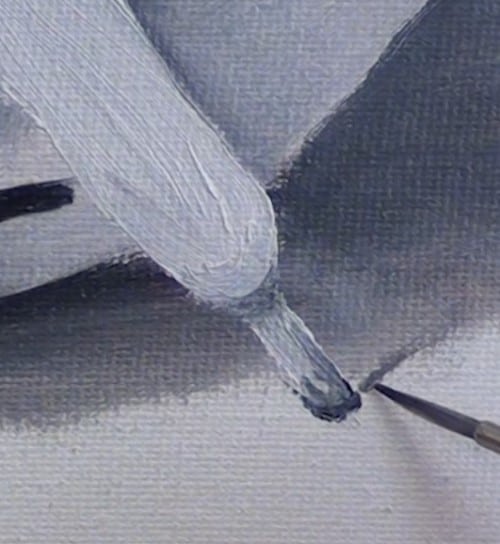
Use white paint to go over the dark of the sole and shadow. Add shadings, especially dark around the hard tip. Do the same for the other lace. Add cast shadows from the tips.
Painting the tip of the shoe
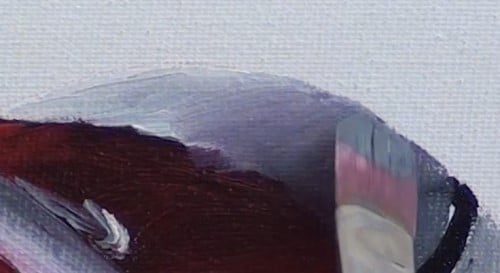
Work from right to left, darkest to lightest grey, with a concentration of near white on the left end.
Painting the other shoe
Start with a darkish grey on the outside edge. Continue to use the lighter greys as seen in the reference photo. Blend. Use neat black to make the black line.
Small details
Paint the small top section at the top of the left side of the shoe. Sharpen up any edges if necessary. Paint in the small corner of the other shoe to the left.
Painting the stitching
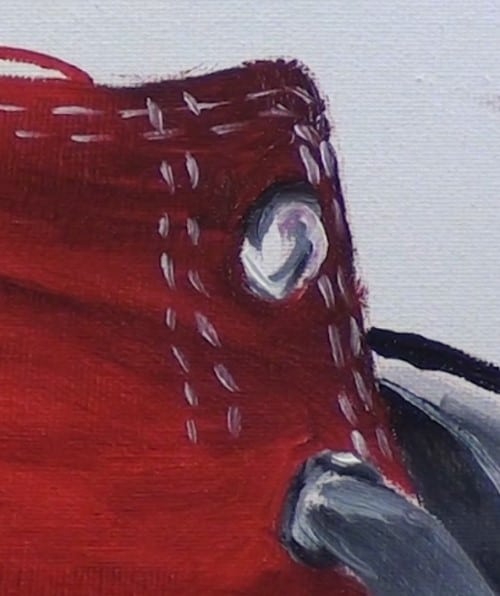
Using a small brush and lots of patience, begin painting the stitching. Start with the red lines up the back, then the white lines around the shoe. Be sure that the stitches follow the contours and that you adjust for shading as the stitches go into the shadows.
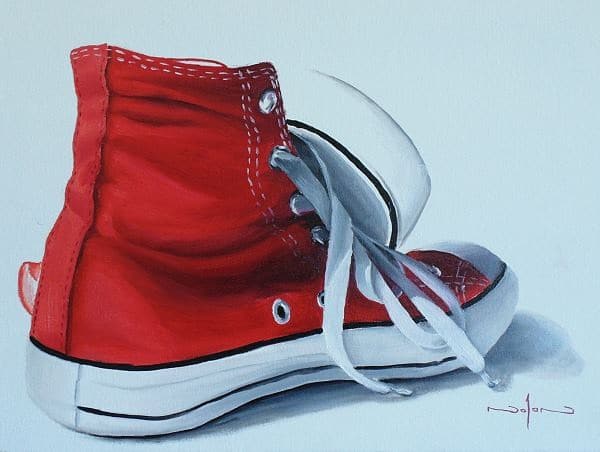
Final painting
Click the button below to view the real time follow along version of this class:
Pin Me