Class Tutorial
Colours used for the sea
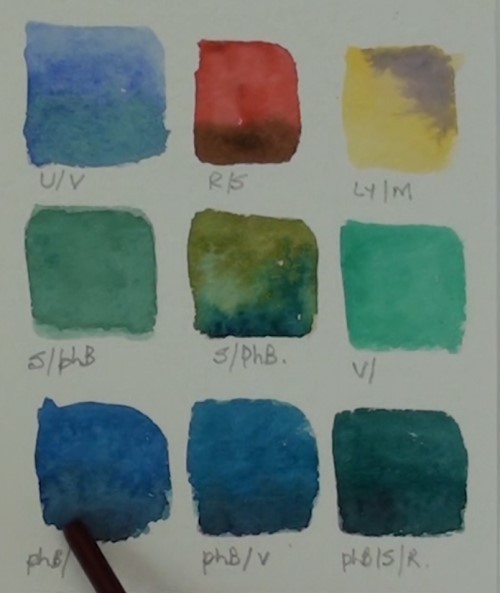
There are times when it is necessary to work out the colours needed for the painting especially when many shaded are involved.
Sea colour is mostly a green/blue mix in general. The colour varies with the Season, time of day, weather conditions etc.
Add the masking fluid
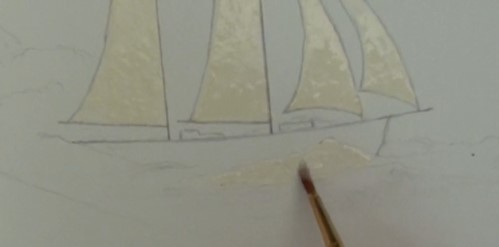
Add the masking fluid in all areas where we need to keep the white of the paper such as the bow wave and the sails.
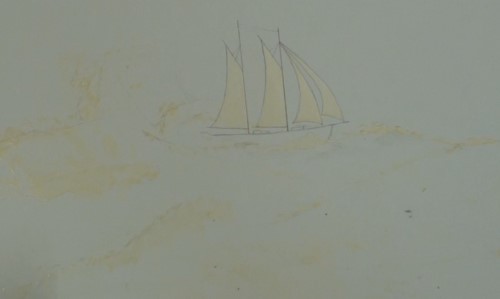
Keeping an eye on the reference photograph, mask in the very bright tones in the waves and surf. Also mask in the large spray.
Mask in the foam with an old bristle brush that has been spayed.
Painting the sky
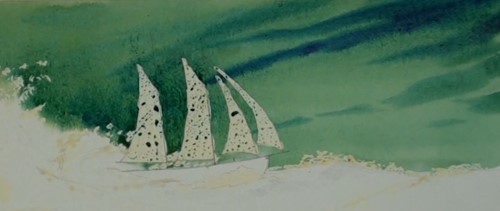
Use a large brush for the Sky and let the colours merge slightly. This is a wet in wet technique. Drop in other colours just before the shine disappears While the paper is still damp add the diagonal clouds.
.
Painting the sea
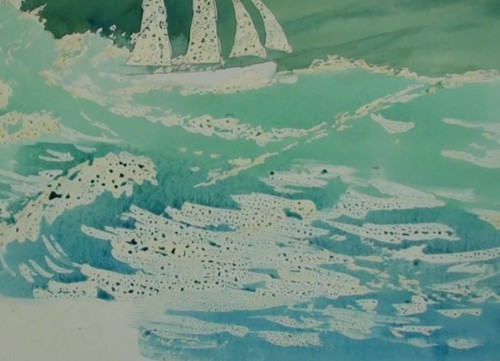
Paint in the whole of the Sea area with the highlight colour. Add some brighter blue near the bottom of the page. All the masking fluid applied is now clearly visible. Dry the paint.
We start by blocking in the darkest areas first, to get a sense of contrast in the waves.
Lift out some of the paint where the spray’s edge meets the sky and soften the edge to represent the fine spray.
Remove the masking fluid
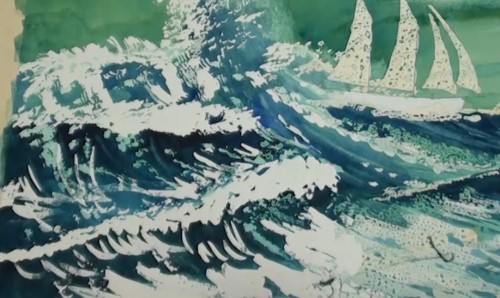
Carefully remove all the Masking fluid. Always pull sideways to avoid tearing the paper.
Continue with the wave
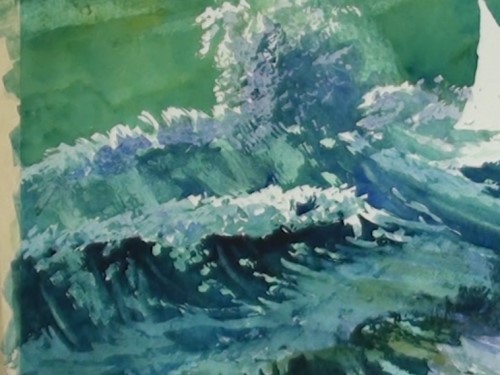
Paint the shadows under the curl of the waves. Add the mauve tints to the Surf areas. Start filling in the shadow areas where the masking fluid has been removed.
Paint the sailing ship
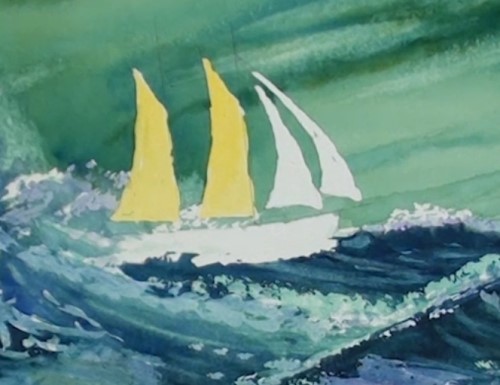
Paint the yellow sails. The shadows will be added later on. These sails are the actual focal point of the painting.
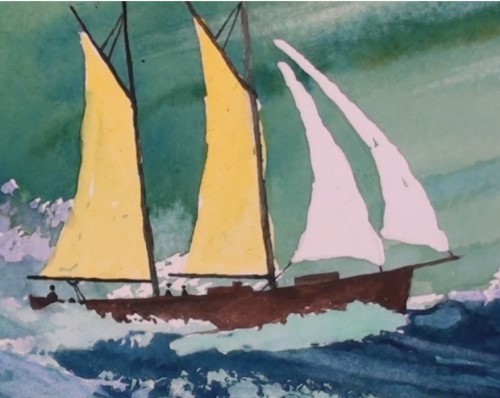
Block in the hull of the boat. Negative paint the top edges of the bow wave, as well as the wave against the stern of the ship.
With a small round brush, paint the masts and the booms. Add the small figures. Leave a small gap between the head and the body. This makes the figures look more realistic and life like.
Finishing the sails
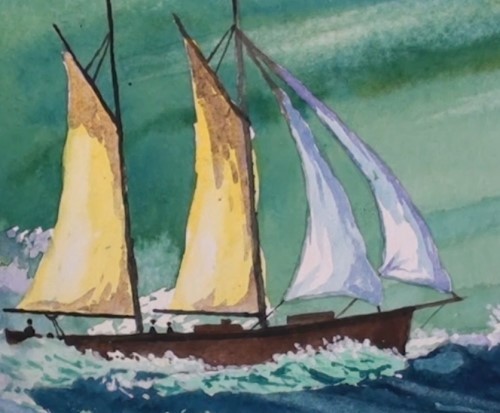
Paint the shadows and shading on the sails. Be careful to leave the highlight areas very light
The spray highlights
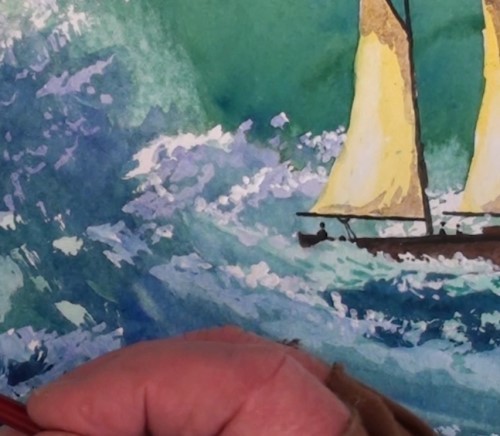
Using either Chinese white or Acrylic white carefully dab in the bright highlights on the tops of the waves where the sunlight catches them.
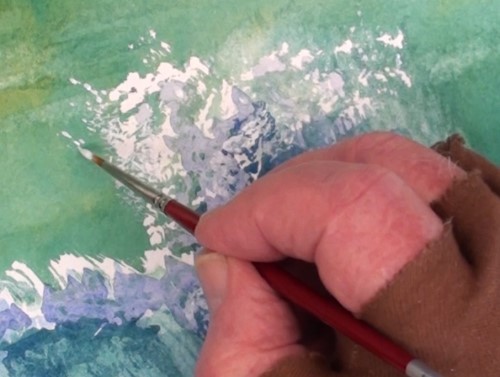
Paint in the loose spray particles (droplets) for effect.
Add the rigging to the ship
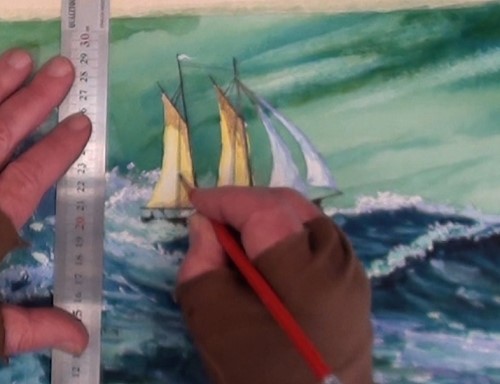
Use a sharp HB Pencil to add the rigging.
Final painting
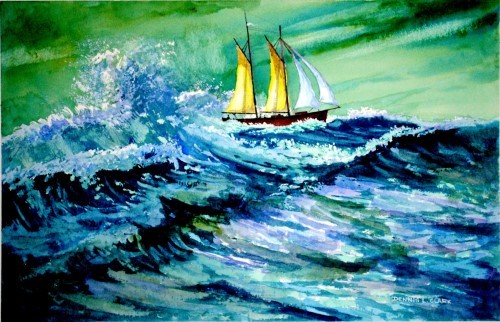
Click the button below to view the real time follow along version of this class:
Pin Me
