Short Class Video
Class Tutorial
Painting the masking fluid
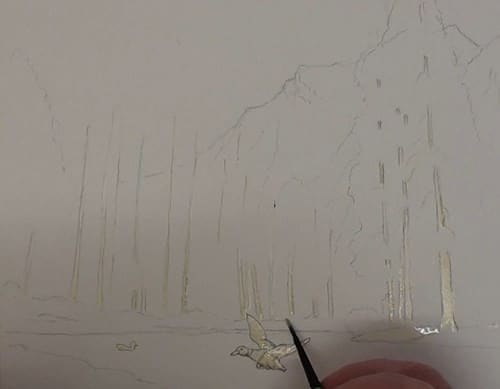
To preserve all the white of the paper for the lighter areas, we need to add masking fluid in all the relevant places.
Painting the sky
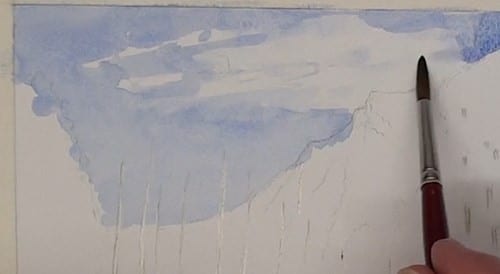
Lay a wash of Ultramarine Blue, leaving out the cloud area. Lift out some of the lower sky and smudge the cloud with a tissue. Leave it abstract looking.
Painting the mountain
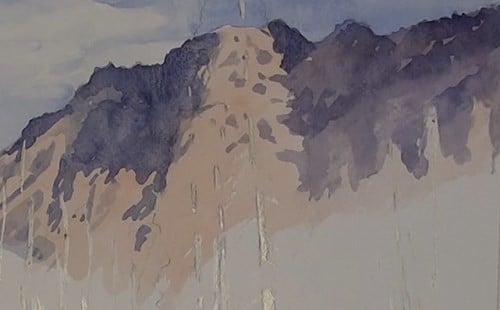
Lay a light wash of Burnt Sienna over the mountain. Mix a medium dark Blue-Purple for the cloud shadows. Don’t paint the tree area, leave it open and reveal the tree outlines. Add the sky holes as well. Don’t go too far down on the left side. Leave out the sunlit areas and control the lighter shades with a tissue. Add in some darker color for the very deep shadings to add to the contouring and moulding of the mountain.
Painting the right-hand trees
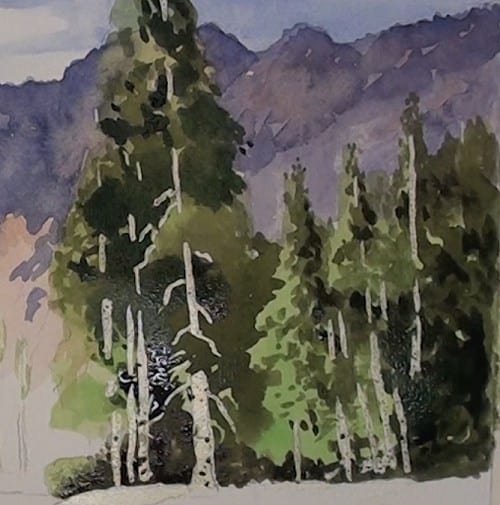
Mix a nice bright yellow/green color and paint in the under-coat of the trees on the right. With a dark mix of green and Burnt Sienna paint the deep shadows, being careful not to paint out the tree highlights. Do all this in a spotting action as this presents a more realistic appearance. Do all this while the paint is still slightly damp. We want merging to happen because there are no visible details. Continue to paint in the shading lower down and some more on the very right of the painting.
Painting the trees in shadow
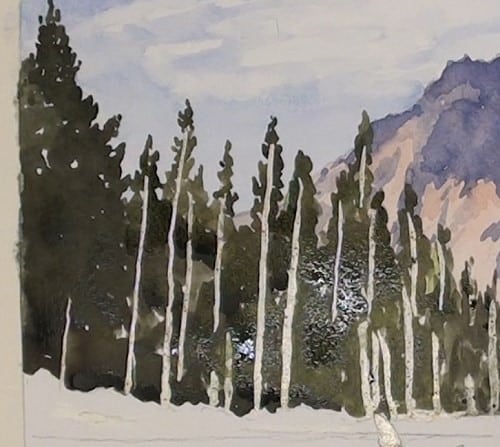
The trees to the left are mostly in deep shade because the light is from the left-hand side. The trees will get progressively lighter towards the right. Carefully spot in the tree outlines with the tip of the brush. They must all be of differing heights. Work in the shadows while still damp to encourage merging. These trees are nice and dry now, so touch up some of the very darks. Go back to the left side trees and lift out some lighter areas to add visual depth, and then paint the river banks.
Painting the tree trunks
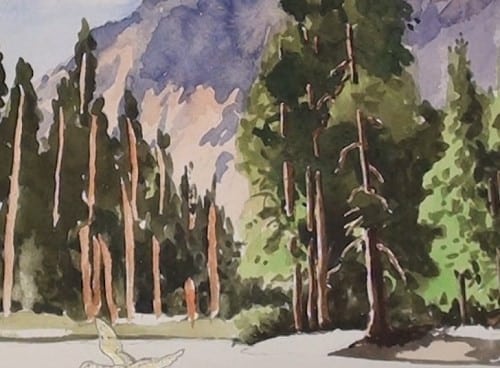
Remove all masking fluid and with a small round brush and some light Burnt Sienna, fill in all the tree trunks. Dab with a tissue if they are too dark. Add the shadows with Burnt Sienna to which a touch of Ultramarine Blue has been added. Do this for all the trees on the right as well as on the branches of the main tree.
Painting the trees on the left
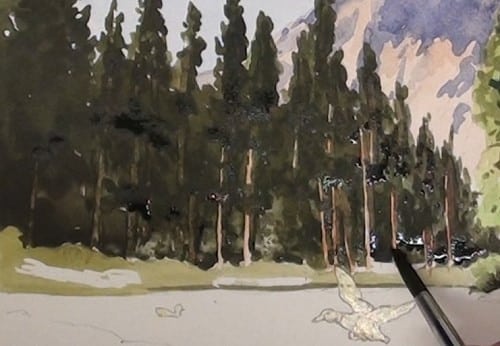
Add in all the various dark shadows. Make them a bit darker than you think they should be. Remember, all dark washes tend to dry lighter than the initial application. Add the shadows to the sides of these trees.
Painting the embankment
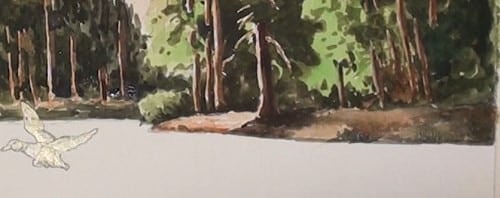
Add the various tonal ranges and the color of the rocks. Continue on the embankment on the right and paint in all the various shadows and sunlit areas. Keep the brightest spot directly under the large tree.
Painting the water

Paint the light blue water reflections behind the duck and add the reflections of the trees. Add some thin horizontal lines with masking fluid and, when dry, wash in the dull green water. When still a bit damp, drop in some of the dark shadow color and some dark green to the left. Paint the underpainting of the lower left embankment.
Painting the duck
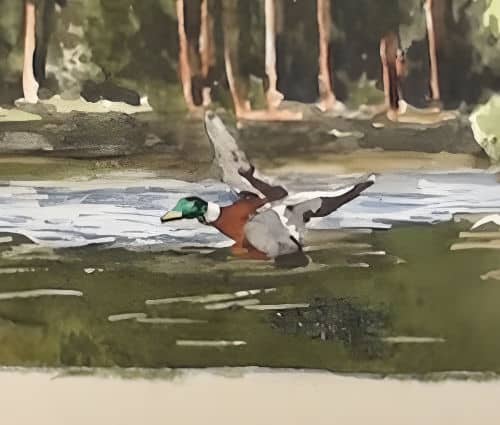
The mallard duck is small in the painting so we have only a hint of details. Just the various blocks of color will show him up nicely. Remove the masking fluid in the water and on the duck’s wing. Glaze in the lighter color.
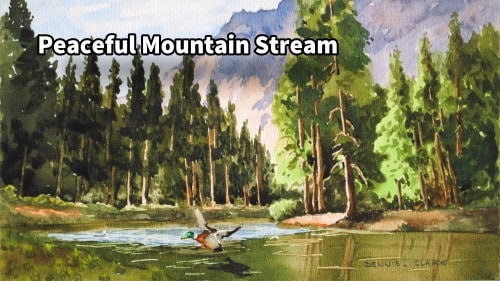
Final painting
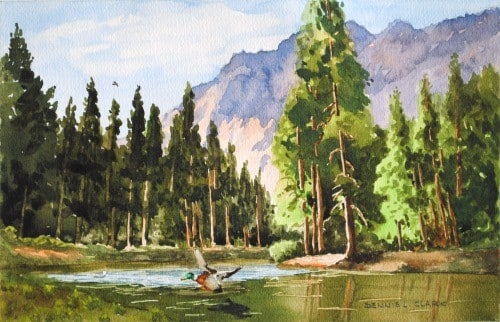
Click the button below to view the real time follow along version of this class:
Pin Me
