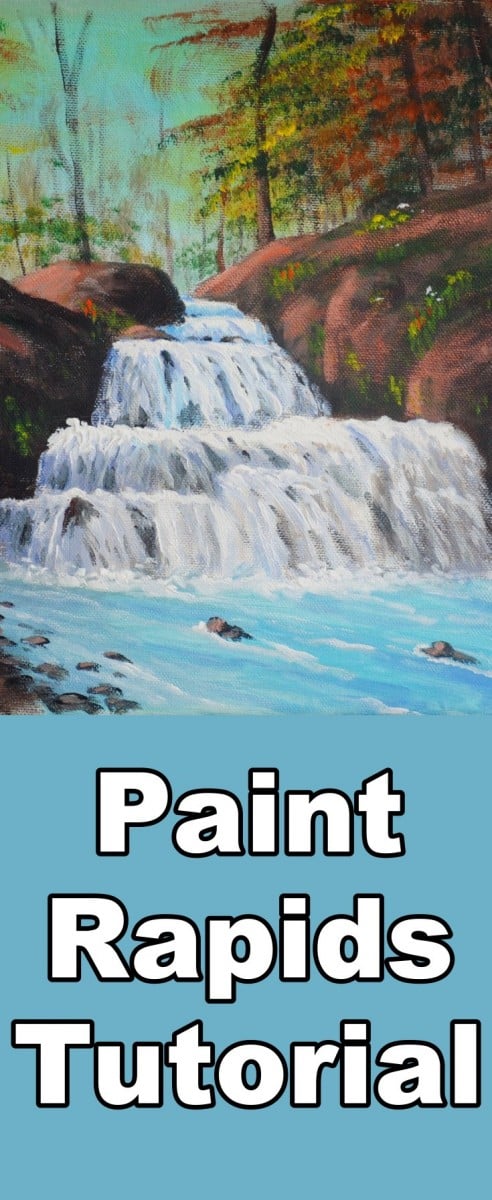
Class Tutorial
Template
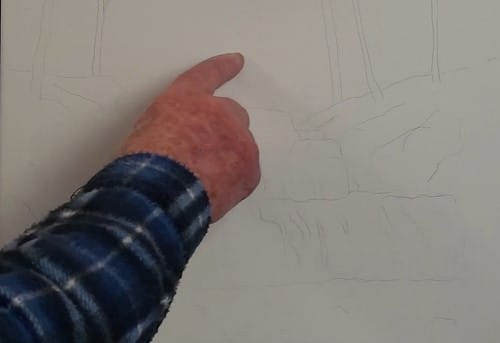
Transfer the outlines to the canvas by placing a sheet of carbon paper underneath the template and use a ballpoint pen or similar to trace the outlines to the canvas.
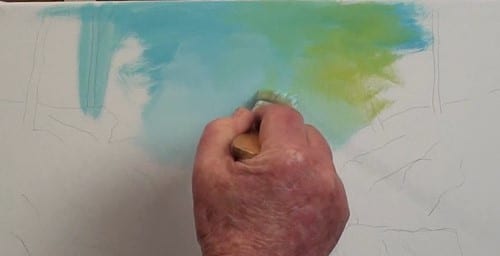
To achieve that soft filtered light, mix a touch of yellow into some Phthalo blue and white. Don't make a dark mix. It must be reasonably light to contrast with the darker interior of the woods.
Distant trees
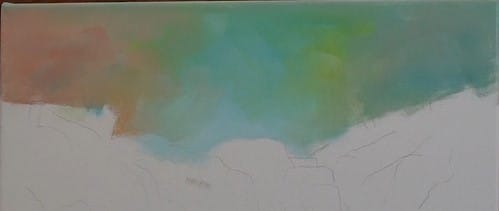
Paint a bit more yellow to the sides of the sky area and blend in some orange and red to produce a rich glow behind the distant trees.
Begin blocking the left side rocks
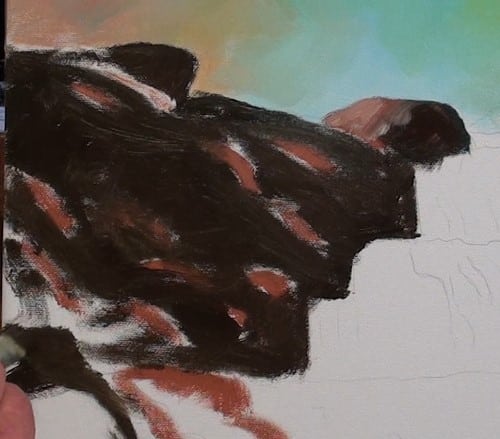
We are not going to copy the rocks exactly as per the photograph. We will simplify them. With a light Burnt Sienna plot in the main highlights and then improvise further down.
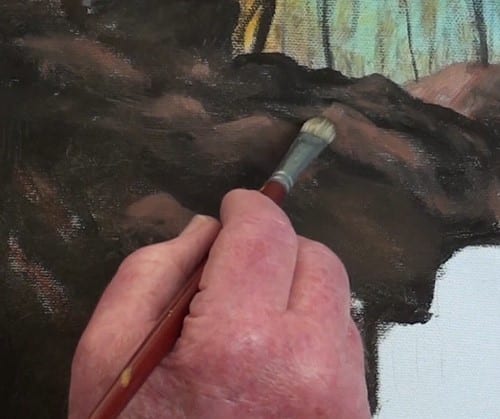
Make a mix of Burnt Sienna and blue to produce a rich dark brown and block in all the main rock shadows. While you have this dark brown, paint the underpainting for the rocks on the right side of the stream.
Start blending the edges of the dark and light browns to form a fuzzy texture. This is the shadow side of the stream so very little here will be in sharp detail.
Background trees
With a flat varni1.12sh brush (approx.40 mm wide [11/2”] ) lightly dab in the foliage. Notice the branches slope in towards the center of the painting.
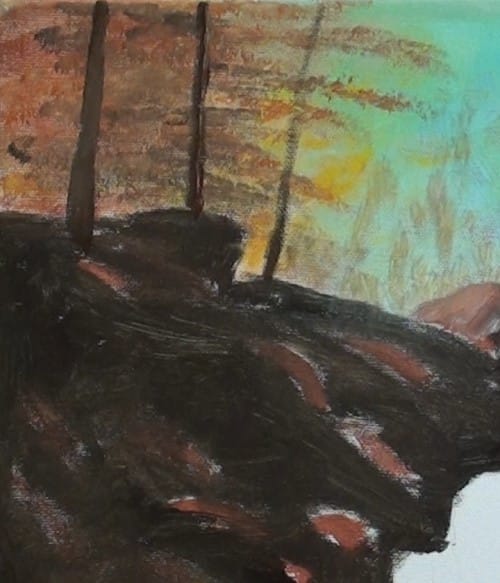
Tree trunks
Paint in the dark tree trunks. Paint the distant tree trunks getting thinner and thinner as they recede into the distance. The colour will also become lighter as well.
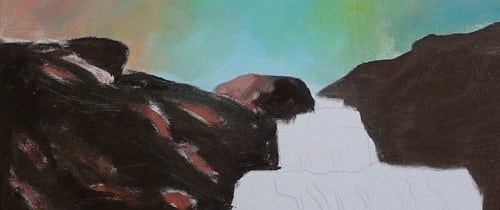
Forming the rocks in shadow
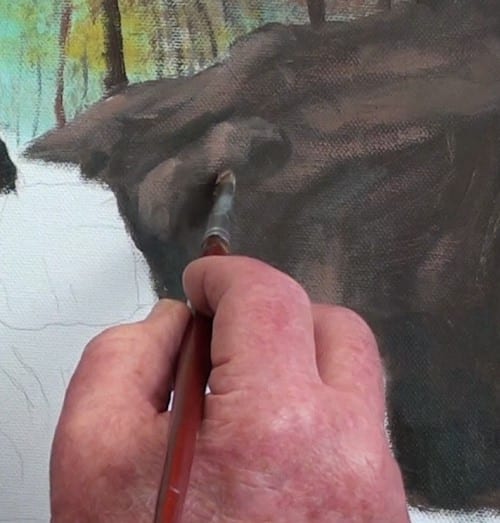
With a slightly lighter colour begin to form or plot the rocks into a slightly more definite shape. Our main lighting is from the left side.
Rocks on the right hand side
Plot these rocks on the sunlit side. Simplify all the detail as well.
The main trees
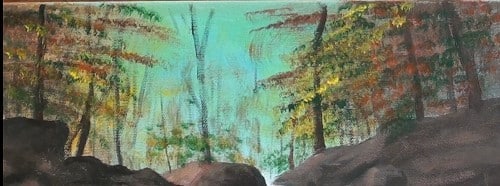
With the same varnish brush as used previously, paint in the foliage in autumn colours, such as red, orange, and yellow as the highlight colour. Keep the right hand side much lighter than the left hand side.
Block in the water

Begin painting in the flow lines of the fast moving water. Be very careful here. Any lines you paint MUST be in the direction of the flow of the water. Begin with a light blue. Detailing will follow later on.
Shaping the rapids
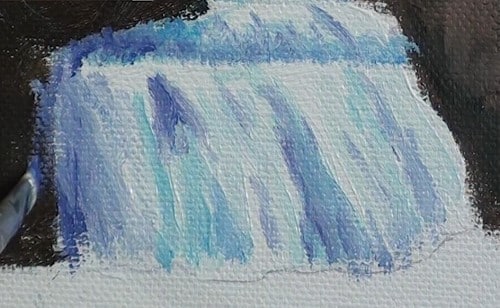
The horizontal lines indicate the flat ledges. With some violet (Ultramarine blue and Alizarin Crimson and White) begin to plot in the shadows between the streams water falling down.
Adding texture to the rapids
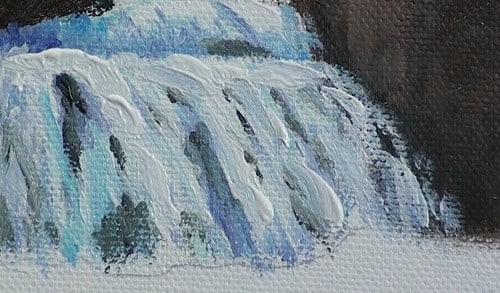
Darken up the shadows in the water using the colours in a stronger mix. Pick up a full brush of white and lightly lay it as shown in the picture. Leave those ridges in the paint. This is called impasto (paste) style. Great for indicating texture.
Lower rapids
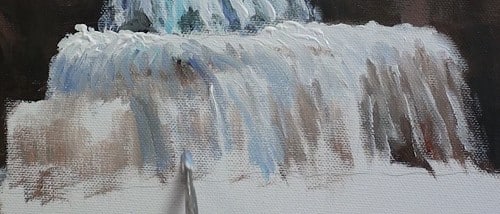
Because these are closer in the foreground, they will be a bit more detailed.. Add some very light brown to indicate the rocks under the water. Notice that where the water begins to flow over the edge it catches the sky reflection.
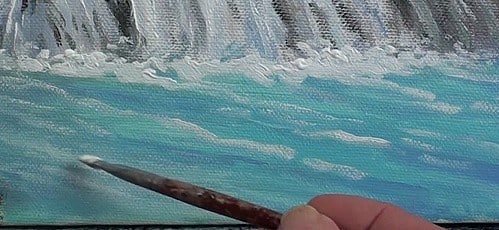
With a light blue/green mix paint in the flat water taking care to indicate the flow lines. With a small bristle brush lay in the foam line with thick dabs of white paint.
Finishing the rocks
This rock must have the brightest highlight. It is also the focal point of the painting.

Some of the rocks on the left have been brightened slightly, and a few on the right side as well.
Add the small shrub and greenery
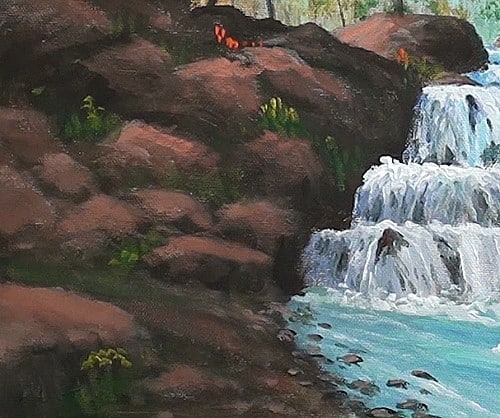
Add some of the green plants among the rocks.
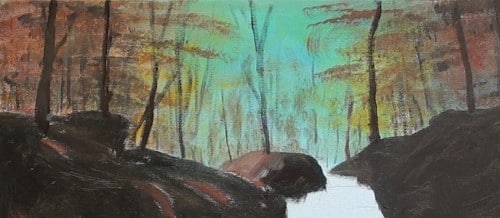
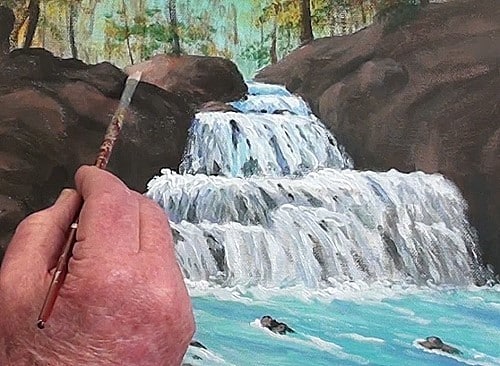
Final Painting
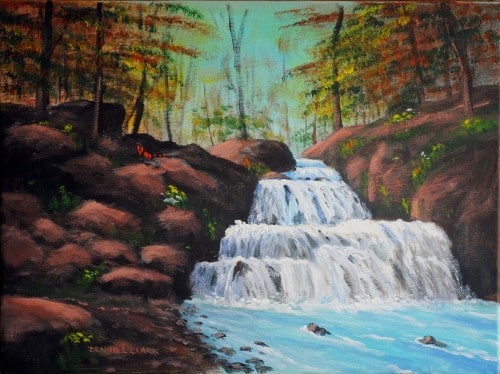
Click the button below to view the real time follow along version of this class:
Pin Me