Short Class Video
(Log in to View Full Real Time Class)
Class Tutorial
Painting the background
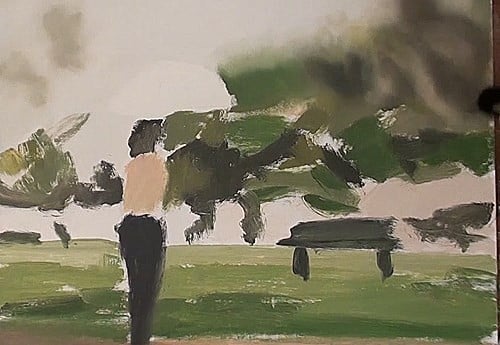
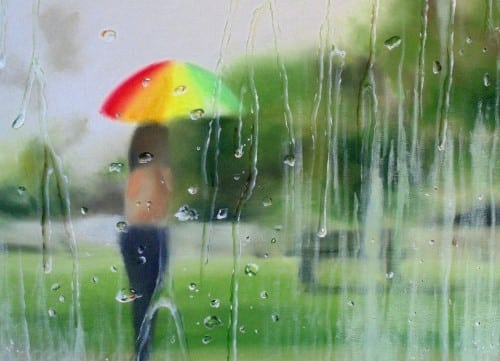
In this tutorial we will paint a window covered in rain drops.
As the window is transparent we will need to paint what is on the other side of the window as well.
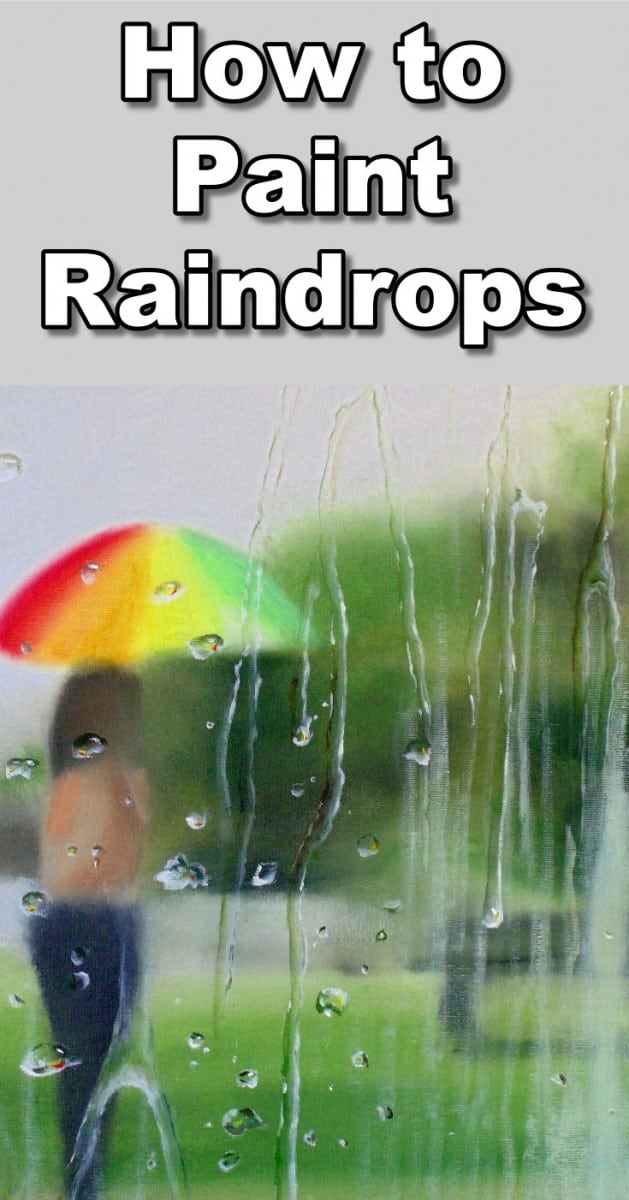
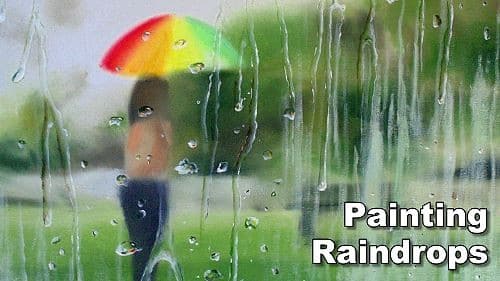
In our painting we have a lady walking past us in the rain.
What makes this painting interesting is the fact that we are looking at the water drops and not what is in the background. We then need to create the illusion that the background is out of focus.
To do that I start by blocking in the colors I see in the background on the corresponding areas of the canvas.
Although I know we are looking at trees, a figure and an umbrella I am not going to try to paint any of those. I’m simply going to paint the abstract shapes caused by these objects.
To do this I have mixed up several greens and browns using Raw Umber, Burnt Sienna, Yellow Ochre, Cadmium Yellow, Sap Green and White.
These colors are then blocked in using a standard bristle brush.
As you can see I am laying these colors down individually on the canvas without trying to do any blending.
I fill up the canvas with paint, but avoid the umbrella area.
This area needs to remain clean otherwise we will lose the vibrancy of the colors in the umbrella later.
If you are scared you will accidentally paint into this area feel free to mask it off using clear cover or masking tape.
Once you are happy that the canvas is mostly covered, you can use a soft, clean and dry brush to blend adjacent colors into each other.
The secret to making something look out of focus is to lose all the detail.
That means that adjacent colors will look like they are merging into each other and all hard edges will be lost.
As you blend, blend as gently as possible. You don’t want the paint to move so far across the canvas that you lose your initial shapes.
Painting blurred effect of the background
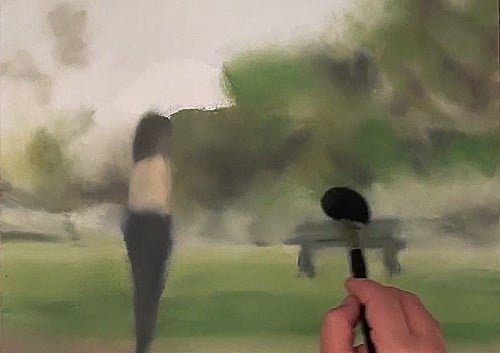
I started off using a hardware brush and a tapping motion but even that was too hard on the blending so I changed over to a watercolor mop brush.
This brush is identical to the one used to apply makeup on the face and his super soft. The brush allowed me to smudge adjacent colous perfectly without losing the initial shape.
To keep the colors as vibrant as possible I clean the brush by wiping it on a roll of paper towel when I see the brush is becoming too contaminated.
In areas where the blending has caused the color to lighten or lose it’s vibrancy, I add more paint and gently blend again.
On the figure’s shirt I also added a suggestion of shading in order to add dimension and depth.
Painting the umbrella
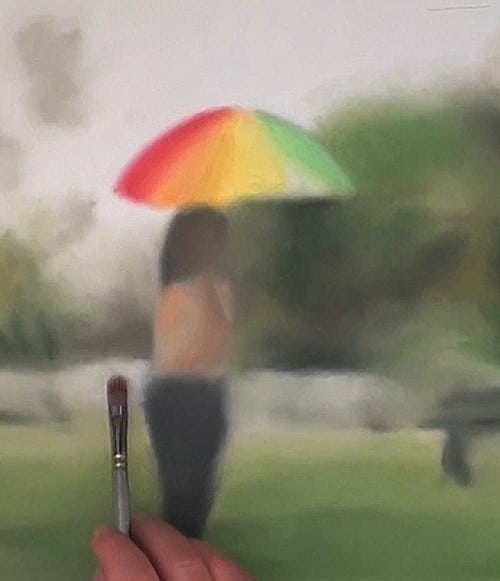
For the umbrella I use the rainbow of colors and blocked in each individual color, washing and cleaning my brush between each color to ensure nice vibrant colors.
I then used a soft filbert brush to gently blend adjacent colors into each other.
I also very carefully soften the edges around the silhouette of the umbrella in order to make it look out of focus.
Now I left the painting to dry.
Painting the mist
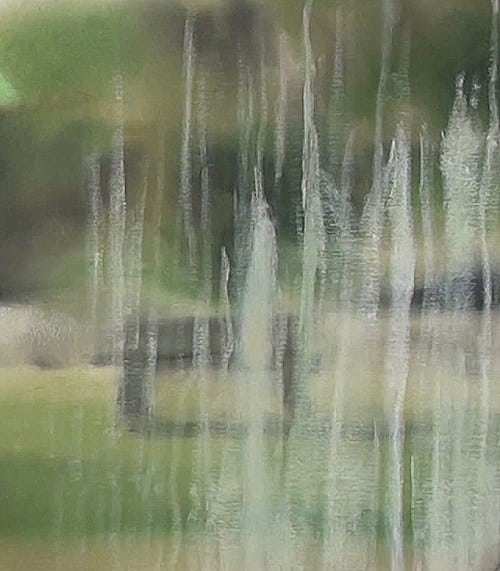
A week later the background was dry and I could start working on the window.
I wanted to create three different effects on the window.
I want to have mist, static water drops as well as water running down the window.
I started with a misty effect. There I used to small amounts of sky colour on my soft filbert brush. I then lay the painted down in thin glazes using a downward squiggling stroke.
As I do this I will add thicker and thinner applications of the glaze.
This creates the illusion of previous water droplets that have run down the window.
In some areas I even leave a strip of neat background showing through to make it look like a water drop has just passed by.
In order to leave space for the other two effects I only add the mist to the bottom corners of the canvas and then fade it out as I move upward and inward.
Painting the water streaming down the window
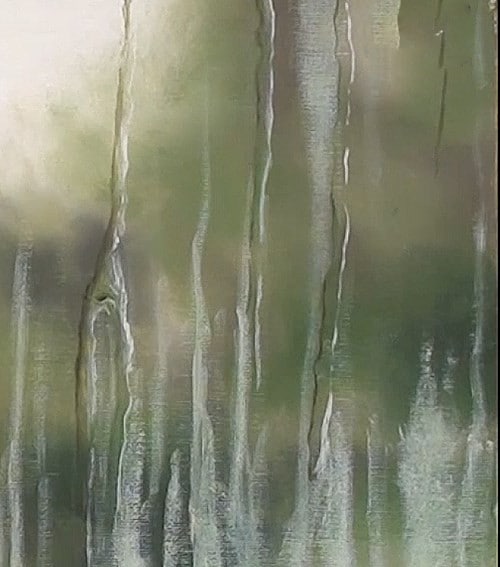
I will now add some water streaming down the window.
As this water has height it will need a shadow and highlight in order to create this illusion.
The water is transparent however so the shadow becomes a reflection of the surrounding objects and the highlights and shadows swap places.
I then use a fine liner to run a squiggling line down the canvas using a darker version of whatever colour is on the canvas in that area.
In other words as you are running the line down the canvas you may need to change the colour on your brush if the scenery behind changes dramatically.
I then use sky colour and the same fine liner to run a squiggly line parallel to the dark one.
This line doesn’t have to be perfectly parallel just to roughly the same distance apart.
How wide you make these lines apart will determine how broad the stream of water running down the window is.
With the two lines established I use a clean dry brush to fade them towards each other. This shading adds height to the water.
I then add a few extra reflections and highlights running down the inside of the stream of water. This makes the water look wet and flowing.
Painting raindrops
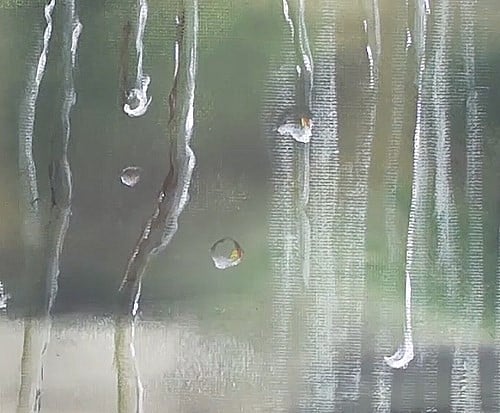
Now we can add some static water drops to complete the illusion.
For the water drops I create a silhouette using sky color and a darker version of the background.
Keep the shape of each water drop random to ensure they look natural.
I then fade these colors towards the centre of the drop.
As with the running water I also reflect some of the surrounding colors as well as add a sky color highlight to the inside of the drop.
You will notice that this highlight is on the sun side and the initial outline highlight is on the opposite side.
For example in this painting the sun is coming from right to left so the highlight on the drop is on the right and the bright outer edge is on the left.
You can now add as many runs and droplets as you want to the window. How many you add will depend on what type of weather you are trying to paint.
Final painting
Click the button below to view the real time follow along version of this class:
Pin Me
