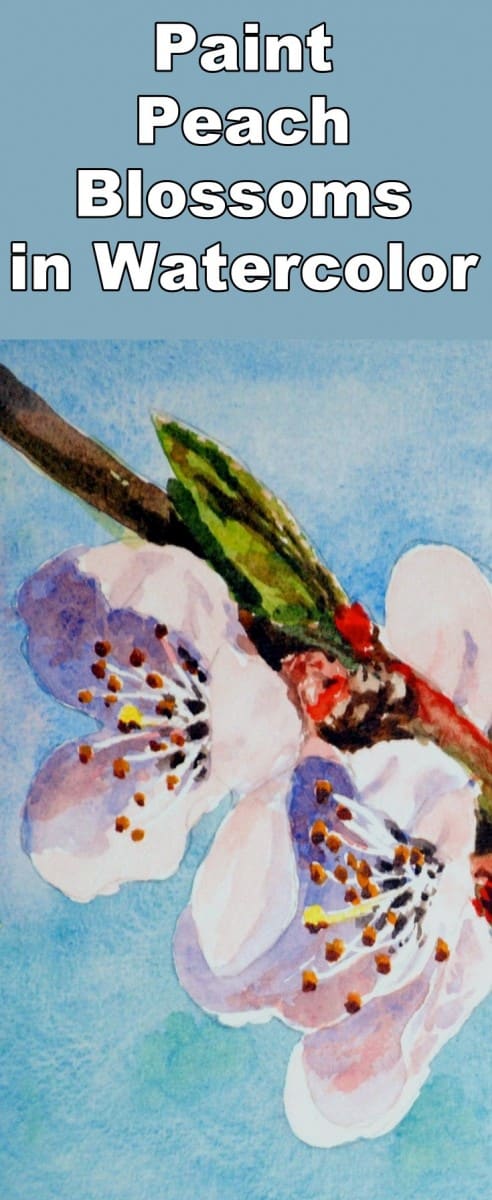
Class Tutorial
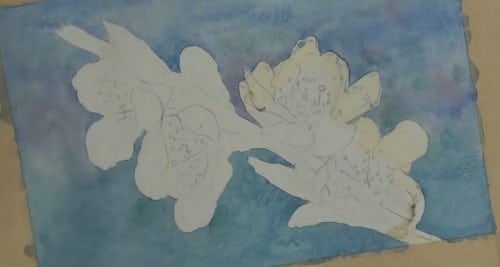
Template
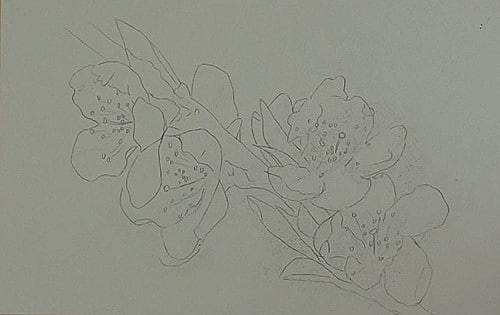
This is a lovely diagonal composition. Don't forget to show all the stamens as they are very important in this painting
Masking fluid
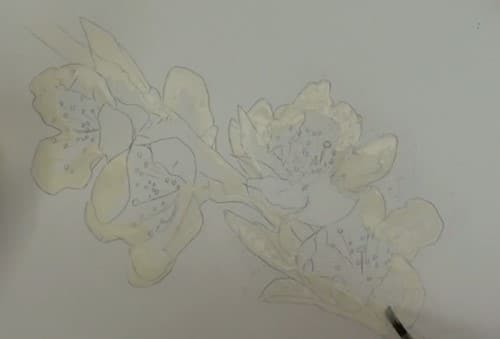
Mask out all the edges of the petals in order to keep them sharp and clean.
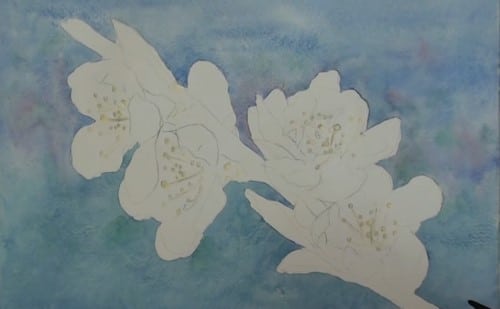
Painting the background
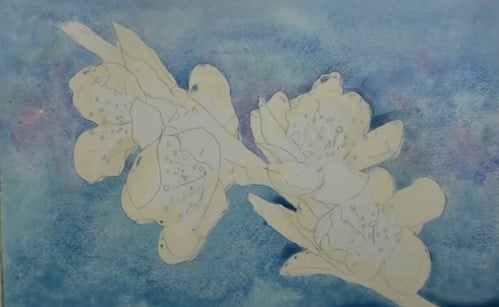
The sky mix has some crimson with the blue to tone it down. Don't go too light as we want to show up the light value of the petals. The lighter the contrast between the two the better is the visual impact. While still damp drop in some crimson to represent out of focus flowers in the distance.
Remove the masking fluid
Remove the masking fluid by using a piece of masking tape and pulling sideways and not upwards. See how nice and sharp the petal edges are.
The stamens
Mask in the complete stamens with masking fluid. Remember to keep on washing the brush in between applications.
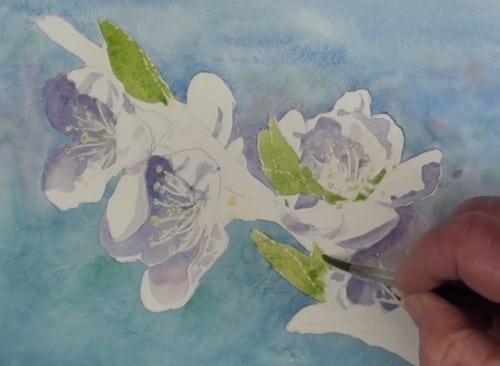
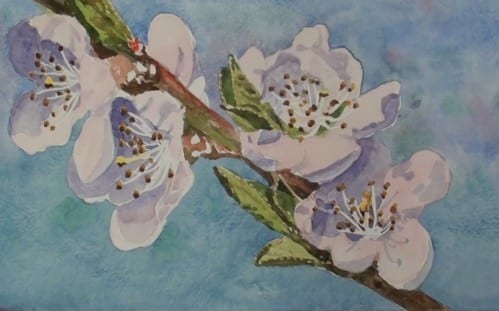
The petal shadows
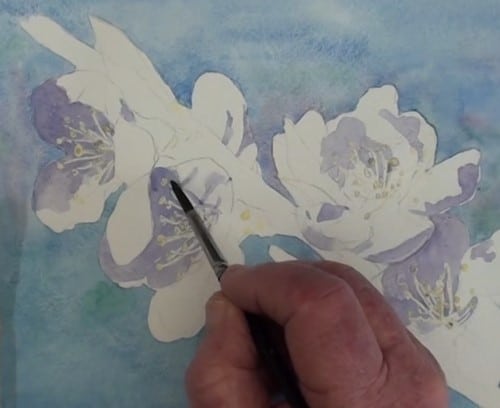
Keep the reference photograph nearby when painting in the shadows. Also, don't overdo the shadows.
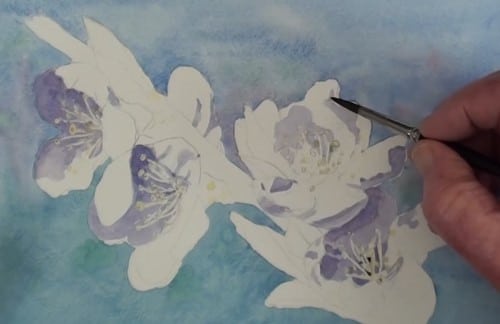
Paint in the deepest shadows to give volume and shape to the petals and flowers. With a damp brush soften the edges as shown in the picture.
Twig and leaves
Paint the twig and leaves a nice yellow green (springtime) and then drop in some brown into the top section of the twig. A much lighter mix is added to the centre section and let the colours merge slightly.
Paint the petals
Fill in the white areas of the petals with a very light pink mix of Alizarin Crimson or Magenta.
The leaf shadows
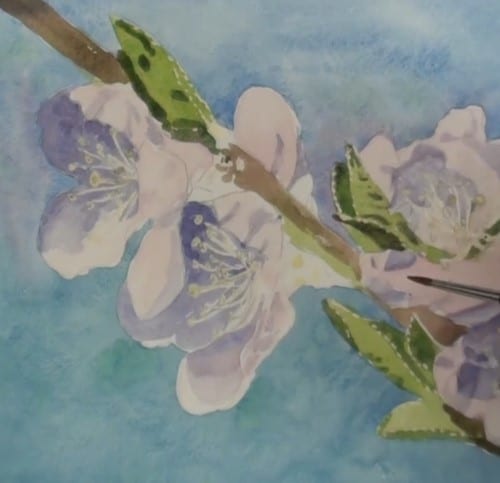
Add a tiny touch of red to the previous green mix and paint in the shadows. Just strengthen the mix for the darkest shadows. Add a light red glaze to the twig.
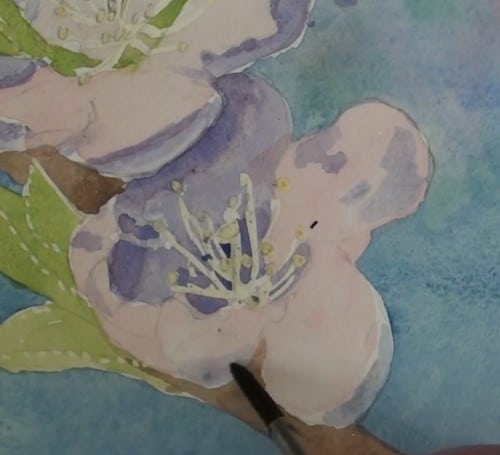
Paint the stamens
The pistols are painted bright yellow and the stamen tip with yellow Ochre.
Add shadows to the bottom of each tip in the sunlit area, and fully cover the ones in the deep shade.
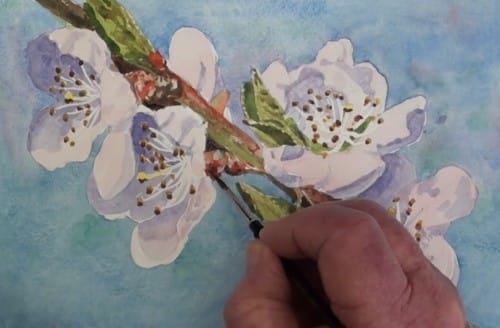
Add the dark shadows on the underside of the twig.
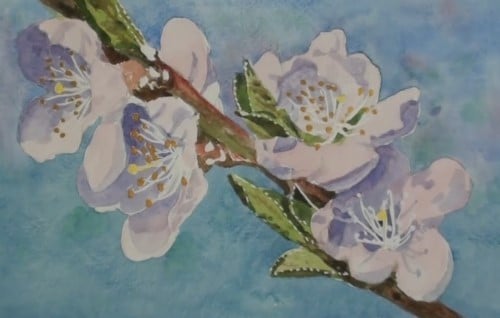
Final painting
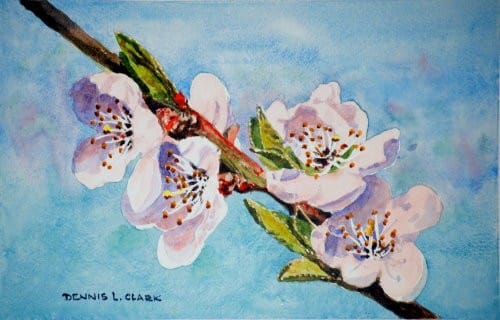
Click the button below to view the real time follow along version of this class:
Pin Me