Class Tutorial
Masking fluid
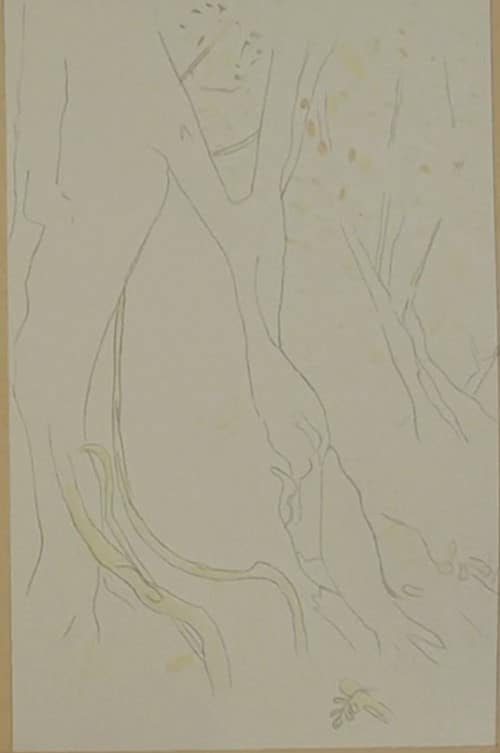
Use masking fluid to preserve all the white or very light areas
Painting the sky
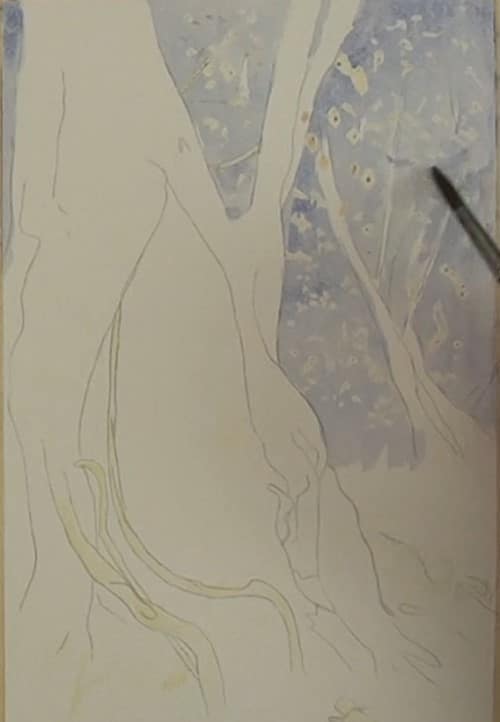
The sky in the background is a muted blue/grey colour. Don’t make it too blue as we want to keep the misty atmosphere.
Don't forget the small strip of the sky to the left of the tree.
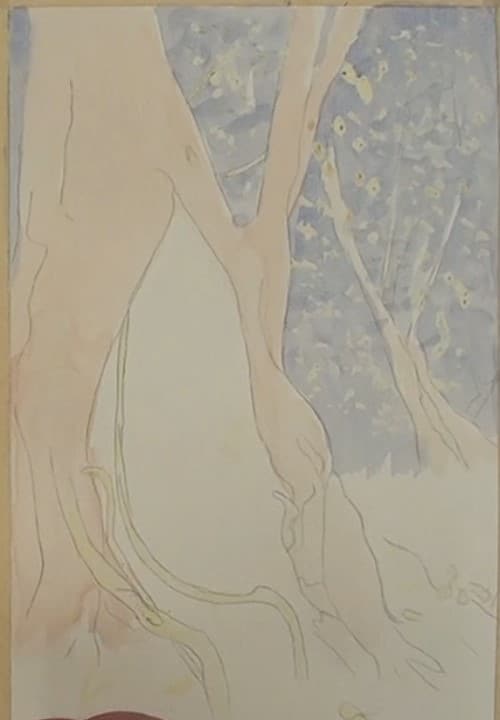
Apply a light wash of light brown over both trees. Don't go too dark with this application
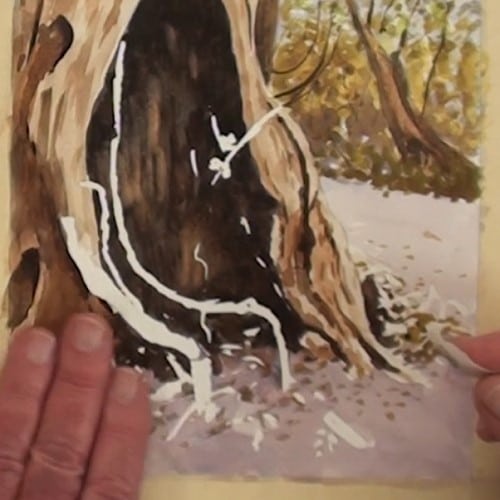
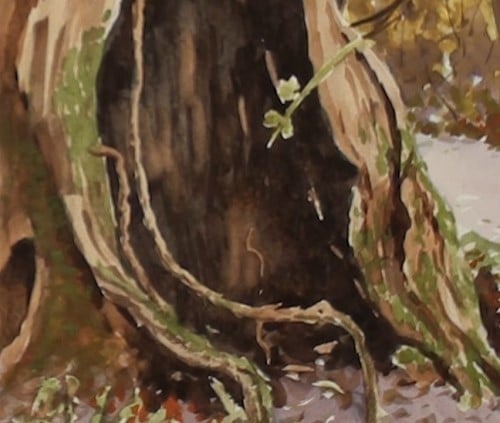
The hole in the tree trunk
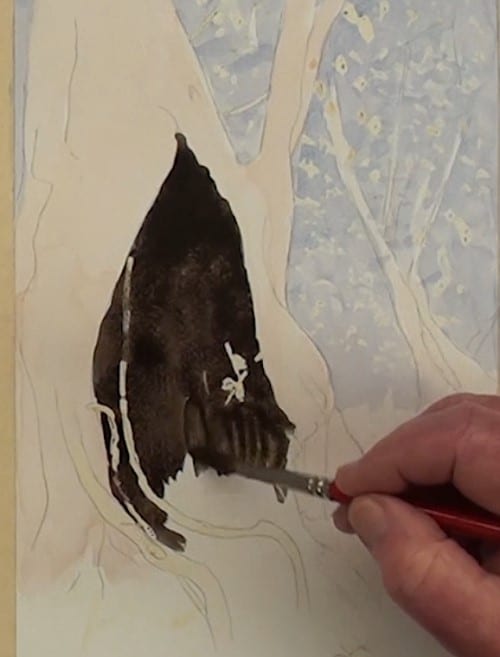
The dark interior is painted with a very dark brown.
Notice how the vines show up as a result of the masking fluid.
Start the foreground
Block in the foreground underpainting and blend slightly into the hollow. With a damp brush, start lifting out the reflections inside the hollow. Don’t forget the pathway as well.
The background trees
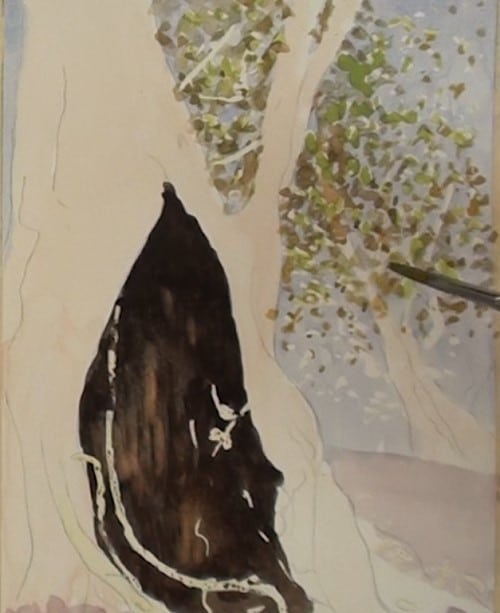
Don't paint these as one solid mass. They are painted in with a dabbing action to simulate individual and small groups only. Keep them reasonably light, as they are situated in filtered sunlight.

Paint the small tree and, with a small round brush, do all the smaller branches and twigs.
Painting the tree trunks
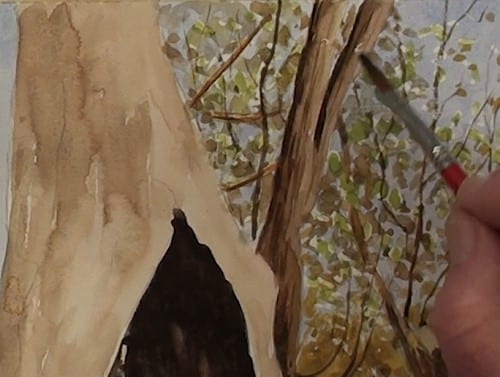
Start with the smaller tree trunks and add the shadow sides. Blend in the middle to show the rounding of the trunks. The basic shadows on the main trunk has been plotted in.
Block in the darker values around the root and the vines. This helps to give visual impact.
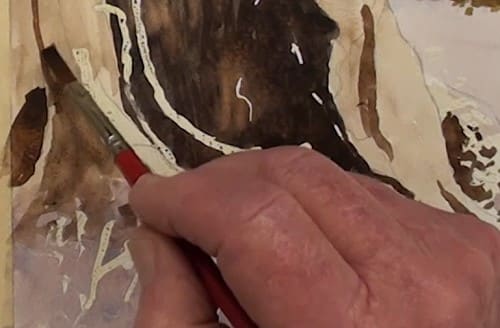
Remove the masking fluid
Remove the masking fluid with a small strip of masking tape. Pull across the paper – don't lift upwards.
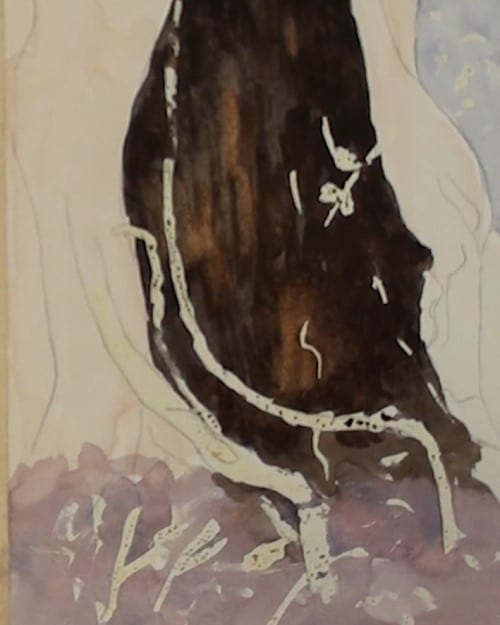
Continue at the hollow
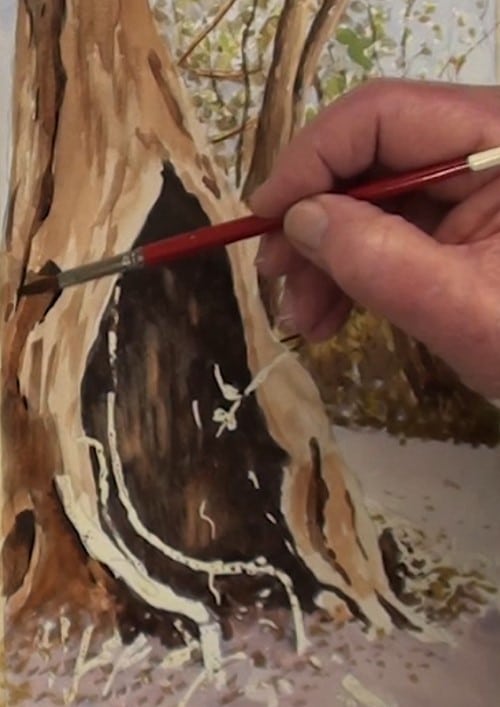
Add the extreme shadows and with a small round brush, and also paint in all the bark streaks.
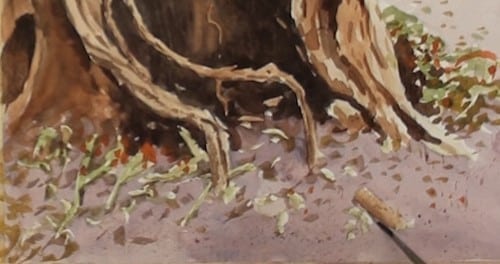
Close up of foreground
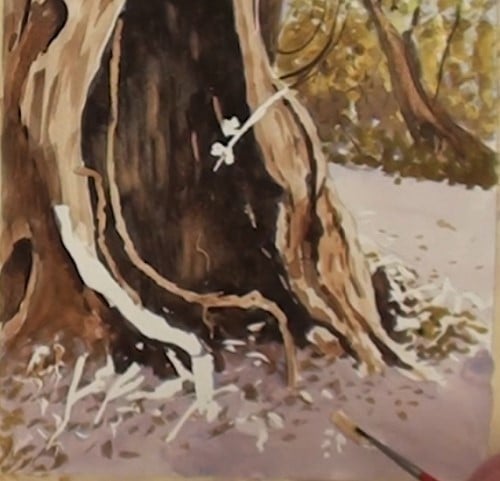
Paint in all the ridges on the vines and on the trunk. Start the fallen leaves and small weeds.
Paint the moss on the tree
Start painting the moss in a light green. Paint it in a loose fashion and with a dabbing type section for texture.
The moss almost finish at the ground level.
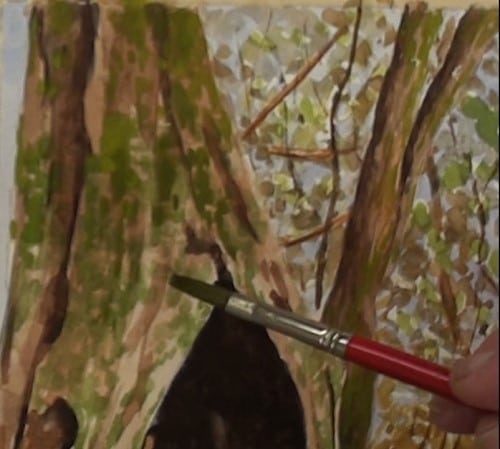
Paint in the dark areas of the moss. Notice that it is also darker in the grooves of the trunk.
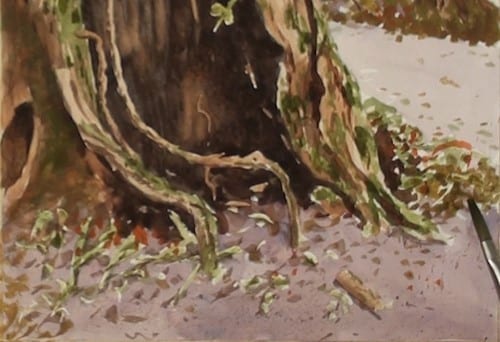
Lift out the highlight areas on the edges of the hollow and also on the vines. Add the shadows of the other trees across the pathway.
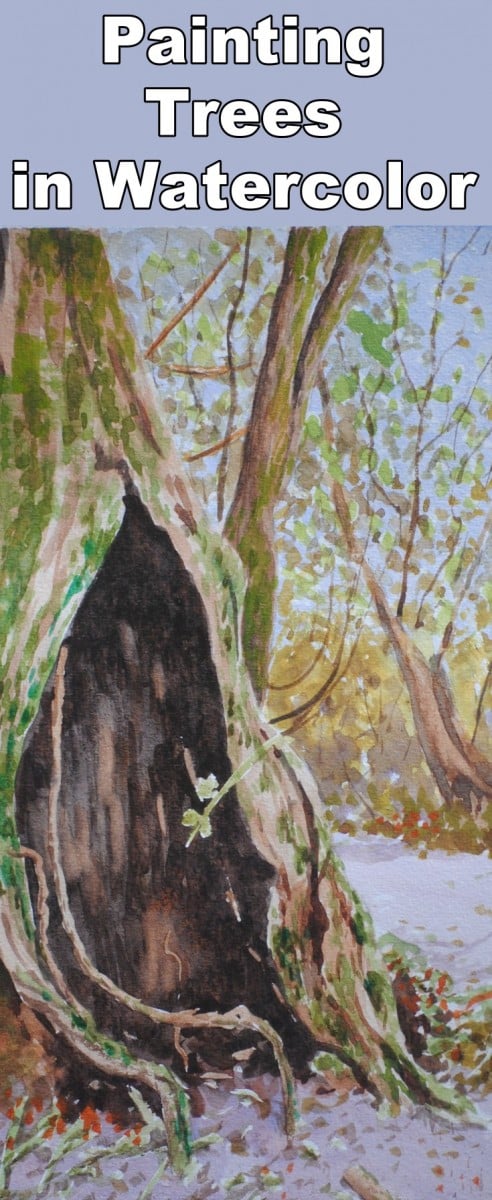
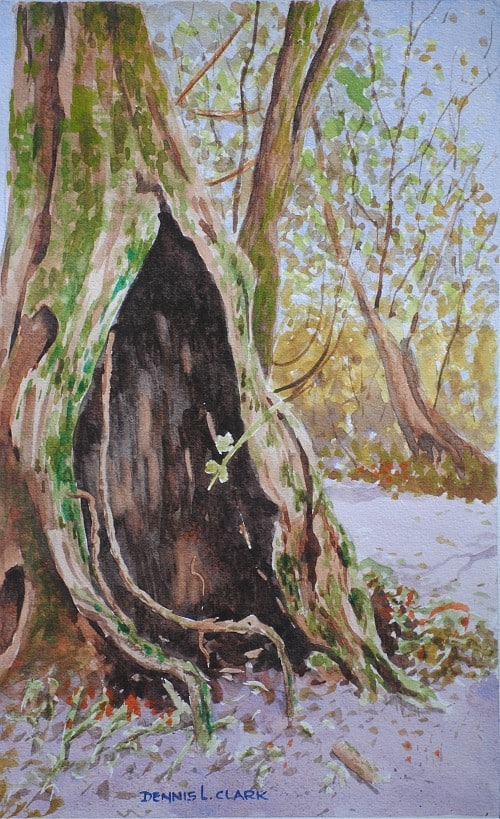
Final painting
Click the button below to view the real time follow along version of this class:
Pin Me