Short Class Video
Class Tutorial
Painting the background
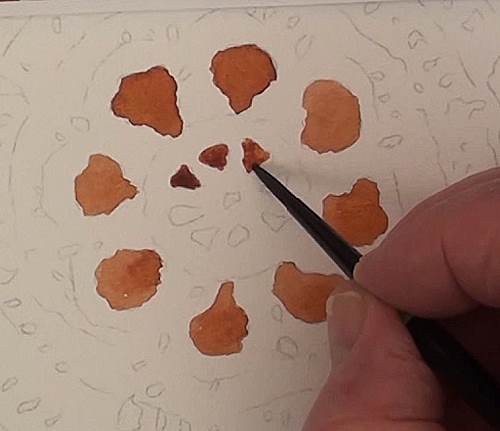
This piece of lace work is see-through, so it is necessary to mix up some of the table color, which in this case is Burnt Sienna. Some of the holes are large and some are very small, so it is important that you choose the right size brush for the hole in question.
Paint slowly and carefully. Before putting brush to paper make absolutely sure where you want to put the color down. The reason is that once the color is in the wrong place you will never come back to the pristine color of the paper, even if you try lifting it out.
Painting the open spaces
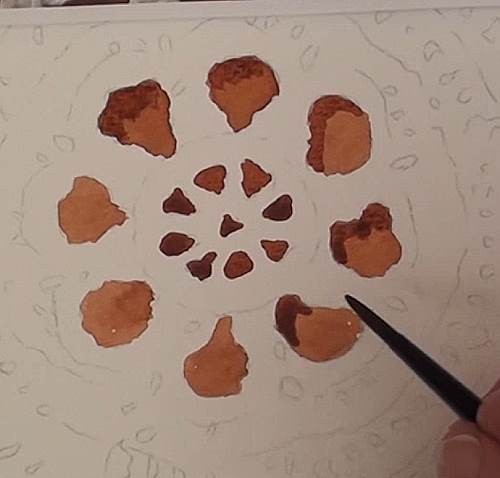
Start with a medium tone for the color of the table so that the shadow of the lacing can show up. The smaller holes are in complete shadow so will be the darker color. The light is coming from the top left.
In order not to get lost, it is best to keep a finger, on the reference photo, near the area you are painting. With so many marks on the paper it is very easy to get lost and paint the wrong areas.
Painting one section at a time
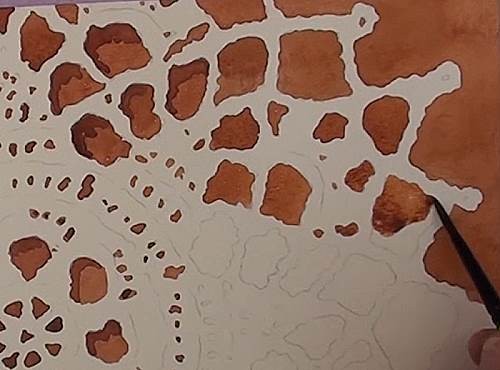
Take one section or pattern and keep there until finished, or almost finished, as I am doing here. Do that for the rest of the painting.
Here I’ve decided, being right handed, to start from the top left corner and work inwards. Work across the top and work downwards, so as not to work over already painted areas and possibly cause a disastrous smudge. Now it is much easier to see where to paint, and start seeing the lacework work as a whole.
Paint the shadows
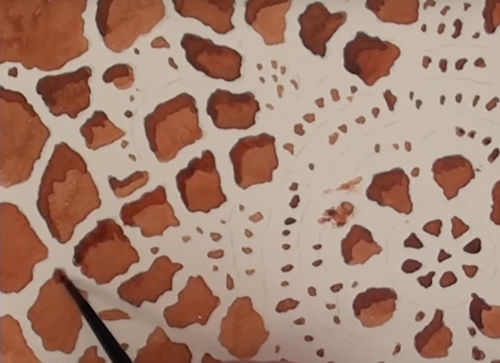
Don’t forget to add the shadows in the larger openings before continuing too far down the painting. Painting all these openings takes quite a lot of time and patience. As you progress you will find that it will become much easier to see where the painted areas should be.
Paint the small openings
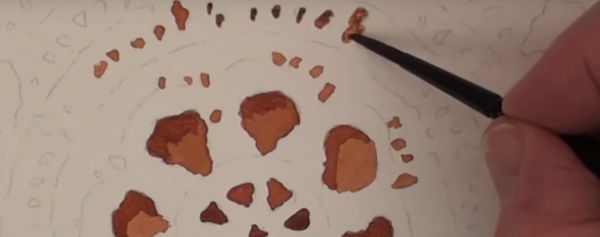
I did say earlier on that the small holes have deep shadows, and that is correct. However, some of the so-called openings have been half closed up in the process of making the lace-work. There will be no dark areas there at all. And here we need to use a lighter tone to indicate these. This will result in a lot of multi toned spots. This is great, otherwise it would have looked very monotonous. Use a very small round synthetic brush to paint these. Carefully paint them in and change the tones (light and dark) to suit. Keep referring to the reference print.
Painting the shadows of the lace
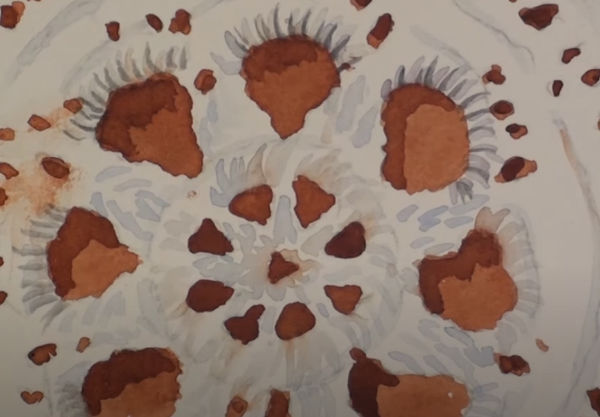
All the openings are completed and now we need to do the shading on the lace work to make it look three-dimensional. A light blue-grey is mixed from Ultramarine Blue and a touch of Alizarin Crimson.
It is important now to keep referring to the reference print. A series of small strokes are added to the openings for the stitching. Some places you only need to give the impression of stitching.
Overview of the painting lace
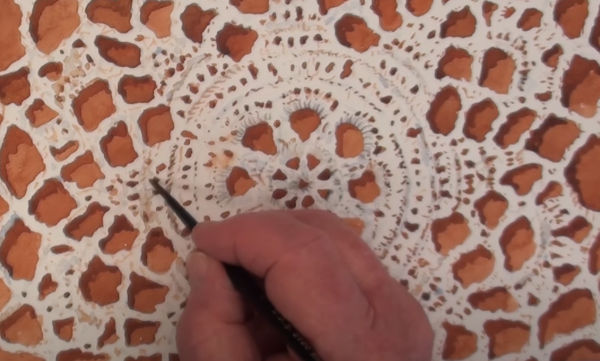
See how the lace-work is starting to look. Start from the centre and carefully paint in the “rings”. Do each ring separately and finish before starting another “ring”. Continue to add all the “spots”.
Final painting
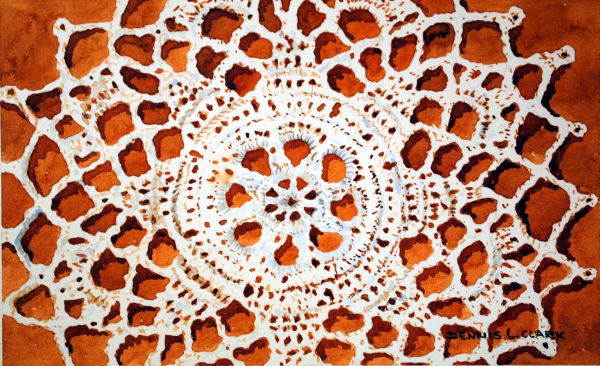
Click the button below to view the real time follow along version of this class:
Pin Me
