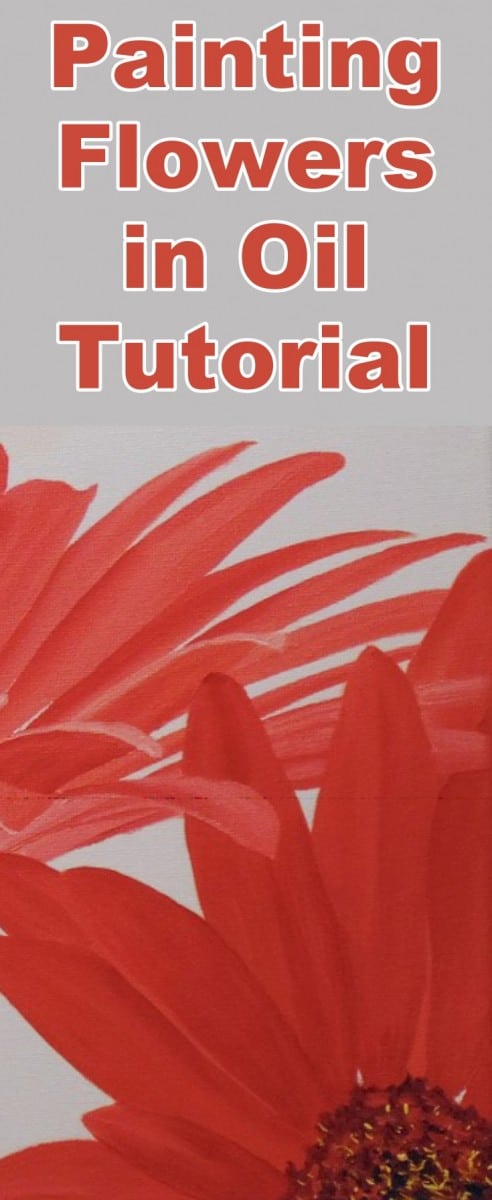
Class Tutorial
Planning
Reinforce what you may already know about colour mixing as Nolan gives a detailed explanation of how to mix colours, especially when adding highlights and shadows to a basic mid-tone color. Refer to your colour wheel (or Colour Buster) if you have one. (If you don't, you really should buy one.)
Drawing
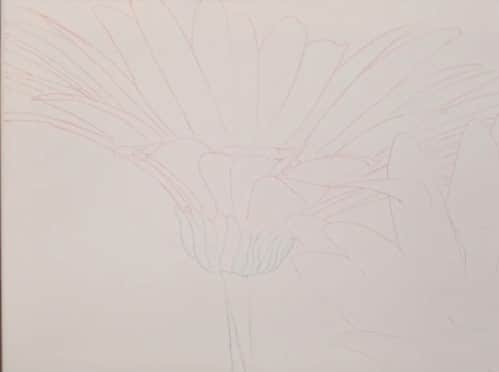
Note the importance of getting the overlapping of petals correct. To help make petals distinct, use your artistic license to extend some of the petals where the edge of one meets another.
Trace your gerbera daisies onto the canvas. If you wish to paint a background, place a mask over the flower to protect it.
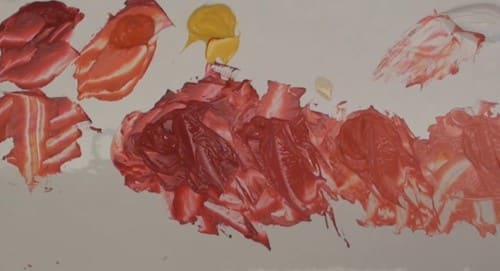
Mixing Colours for the Flowers
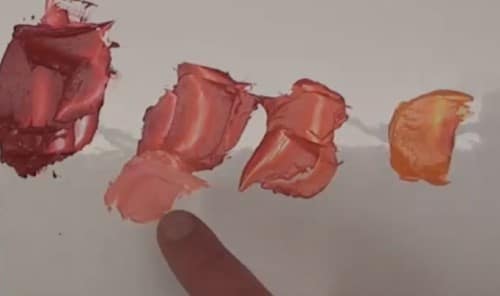
Prepare the paints you will need for mid-tones, highlights, and shadows.
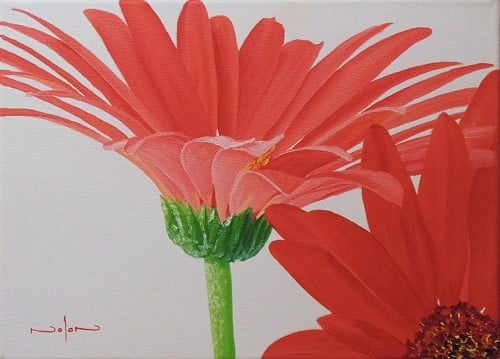
Painting the Main Flower
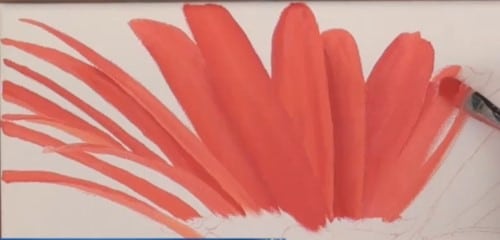
Starting at the top, block in the colors to the first petal, then blend them as Nolan does to keep each petal distinct. Continue on with each petal, being mindful of where the sun highlights each petal and also where shadows are cast. Change brushes as the petals get smaller or need fine details. Follow Nolan's lead as you finish painting the main flower. Note that as you do the underside of the bottom petals, your color tone will change to a more pinkish hue.
Mixing the Greens
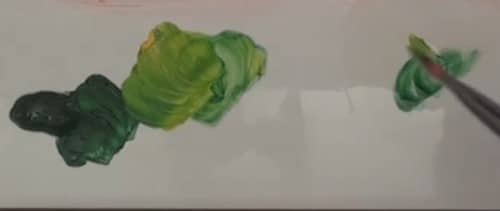
Prepare the color tones for the peduncle and stem.
Painting the Greens
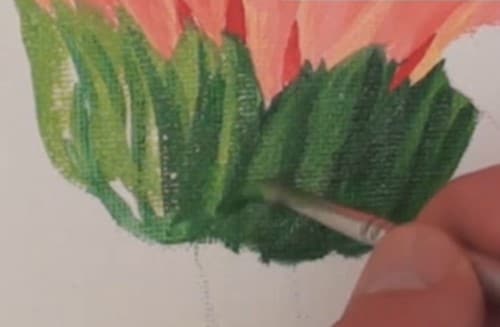
Block in the peduncle area with green, working from dark to light. Add touches of white in reflected light areas.
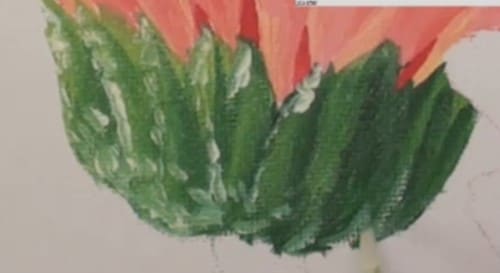
Begin working on the stem by applying the lighter tones that you used above. Cast a shadow under the peduncle
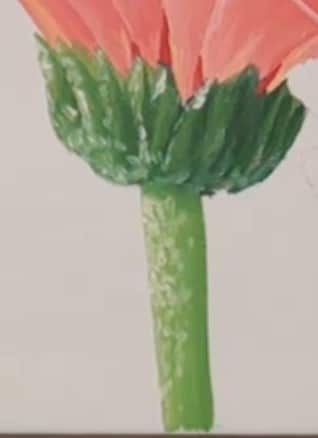
Using white paint, lightly tap on the hairlike structures along the highlighted side of the stem.
Painting the Second Flower
Follow Nolan's direction for painting the stamen areas to achieve maximum contrast. Then finish up with painting the petals, using the same painting techniques as you used for the main flower.
Click the button below to view the real time follow along version of this class:
Pin Me