Class Tutorial
Template
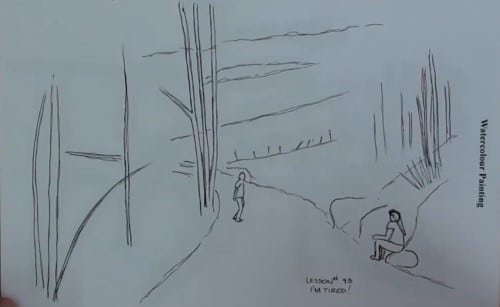
Print out the template and rub graphite with either a 3B or HB pencil on the underside over all the outlines. Use either a ball point pen or a hard pencil to trace over the lines once the template has been secured over the watercolour paper.
Masking fluid
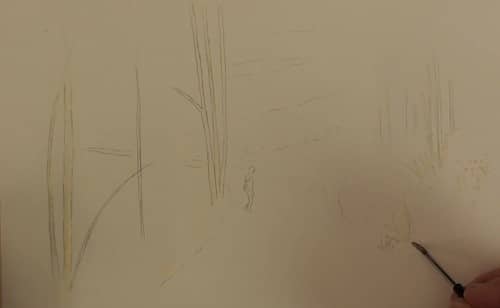
Use a small brush to add masking fluid to all the areas that are needed to be protected. Remember to wash the brush regularly to avoid the masking drying in the hairs. Cover all the tree trunks and the two figures. Also flick in some grasses on the side of the road and on the embankment on the right side. Add a few small dots for some light coloured flowers.
Paint the sky
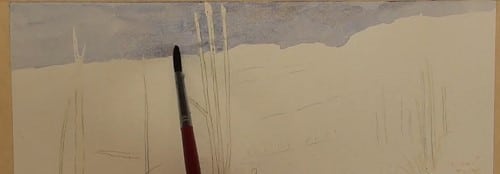
Here we have only a small section of sky. Add a slight touch of red to the blue to tone down the brightness of the blue. Paint right down to the profile of the hills, keeping it a bit jagged to simulate the tops of small trees and bushes.
The foreground hills
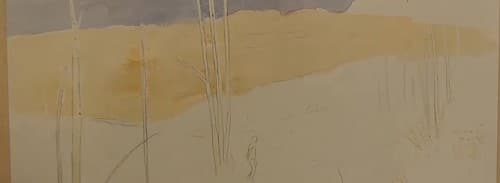
Paint a light wash of Burnt Sienna over the two hills, keeping the nearer one much lighter.
Distant mountain
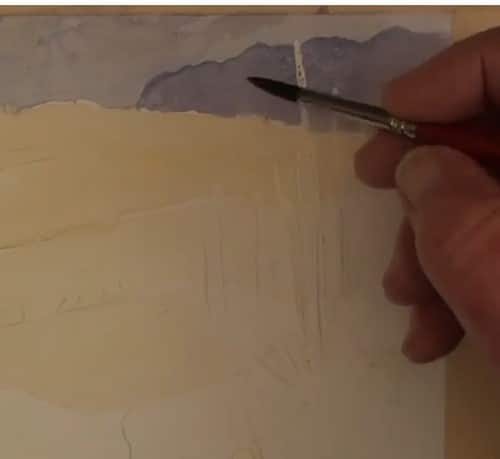
Lay in a wash of Ultramarine Blue with a touch of Alizarin Crimson for the distant mountain. Notice the area of masking fluid for the tree trunk.
Paint the road
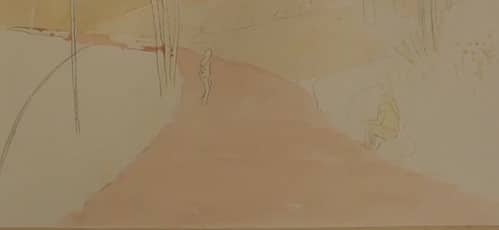
Add an underpainting of light orange in the road area. Paint in with horizontal movements of the brush. Any horizontal stripes will visually add to the flat surface of the road.
The green foreground
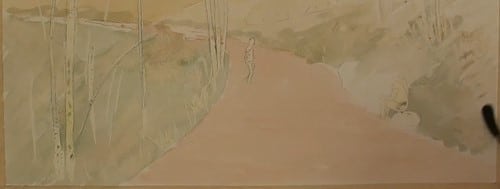
Begin adding the underpainting of the grassy slope and the small valley on the left with a neutral grey/green. Don’t make it too bright.
Texture of the hills
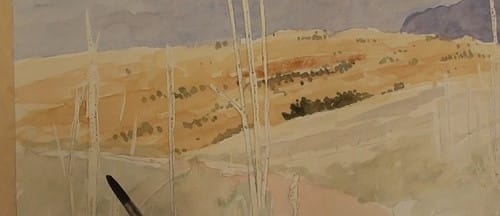
Add darker values to the distant hill and with a dark grey/green just dot in the distant trees – lighter in the distance and darker nearby to show atmospheric perspective. We are not following exactly as per the photograph.
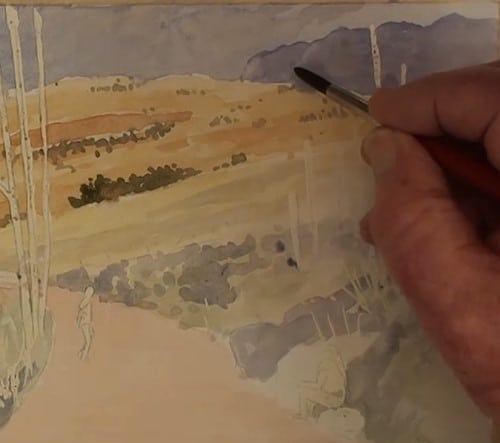
With a light blue/grey work on the nearest hillside, and the slope to the left of the road. These are shadow areas. Be careful not to lose the sunlit surfaces.
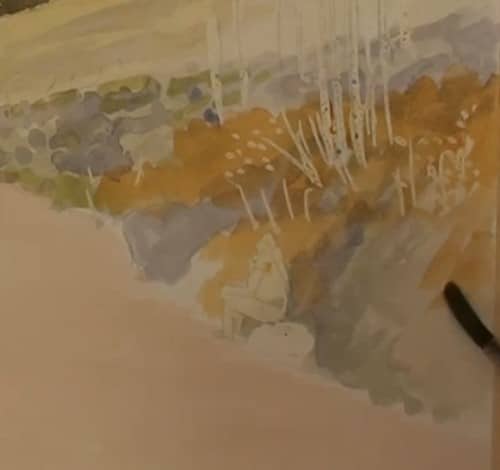
Build up the foreground with some light yellow/green and some orange on the right side slope.
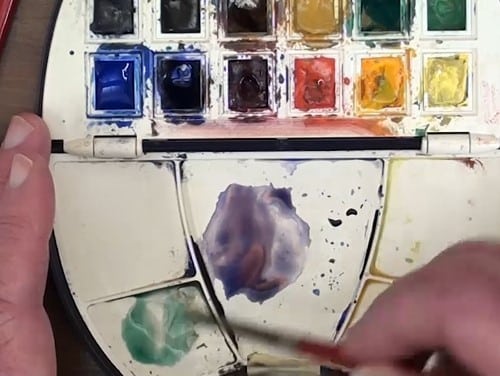
Mix up a dark blue/grey and carefully dab in the shadow of the bushes and grass areas. All the tree trunks, grass and flowers are now very visible.
Remove the masking fluid
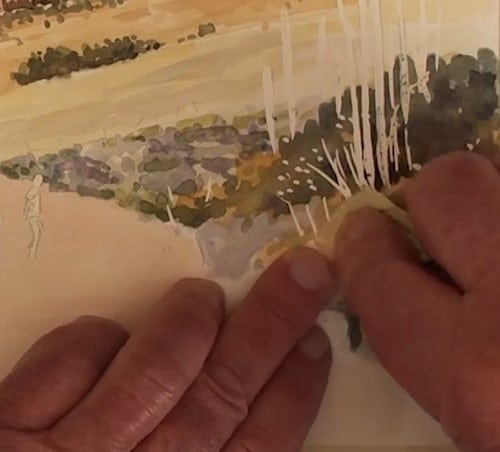
Remove the masking fluid off the tree trunks and grass only. Use a piece of masking tape for this. Keep the masking fluid on the figures at this stage. Notice how the finger is preventing the masking fluid from being removed from off the little girl.
Tree trunks
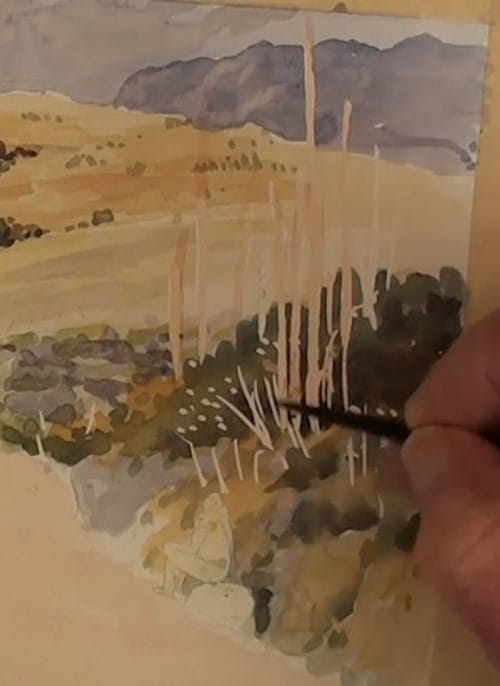
With a small round brush fill in the trunks with a light orange colour – this is the highlight colour
Painting the foliage
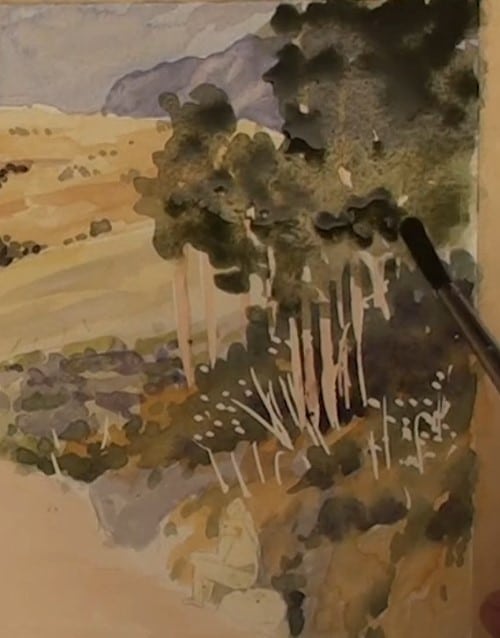
Mix a dark green using Viridian and Burnt Sienna and begin dabbing in the tree leaves on the right side. Remember we are only painting shapes and tonal ranges – no detailing of leaves.
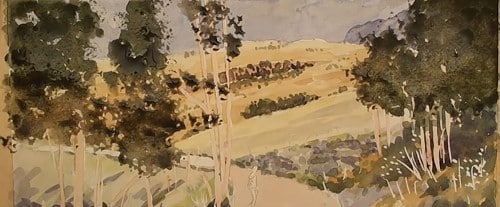
Do the same for the trees on the left. Because these are reasonably close, take a piece of natural sponge and carefully dab some paint on the centre trees. This will produce some lovely loose leaf patterns.
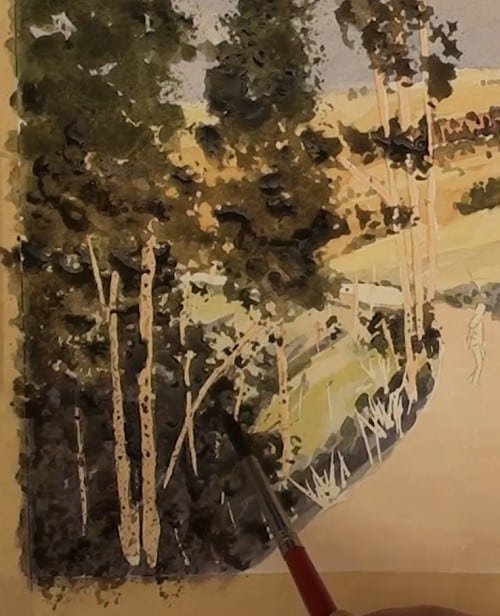
The sponge is also dabbed on for the shrubbery on the lower left and a touch on the right hand trees.
Road and tree shadows
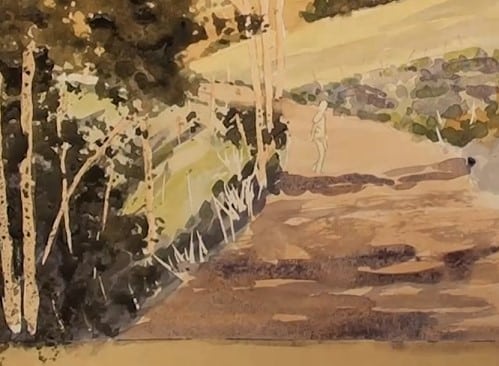
The shadows of the trees are added in with a warm mauve colour. Add the shadows to the tree trunks.
Paint the figures
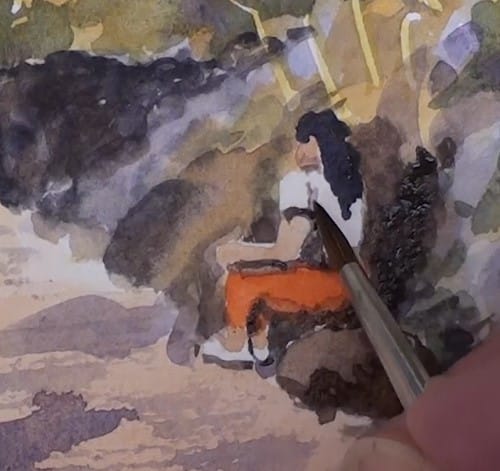
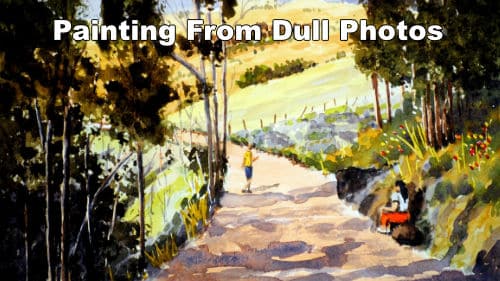
In order for the girl to stand out we need to darken the area around her. Now block in the skin colour and the clothes.
Final painting
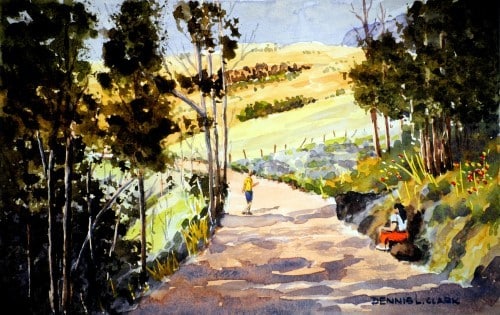
Click the button below to view the real time follow along version of this class:
Pin Me
