Short Class Video
Class Tutorial
Masking the flowers
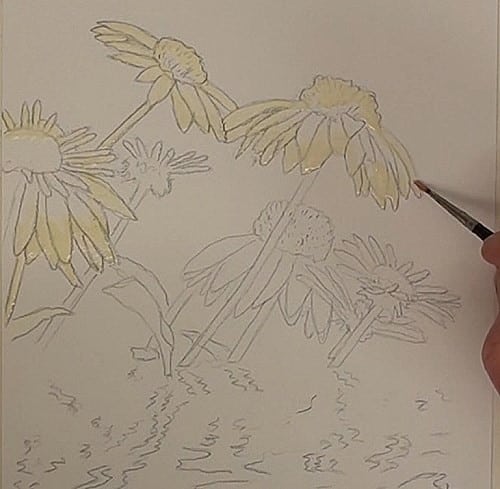
We have a nice picture full of contrasts, so we need to preserve all the light areas using masking fluid. Don’t forget to rinse out your brush very regularly while applying masking fluid. If you don’t then the fluid will harden on the brush. There are ways to remove the masking fluid so don’t throw the brush away.
Painting the background
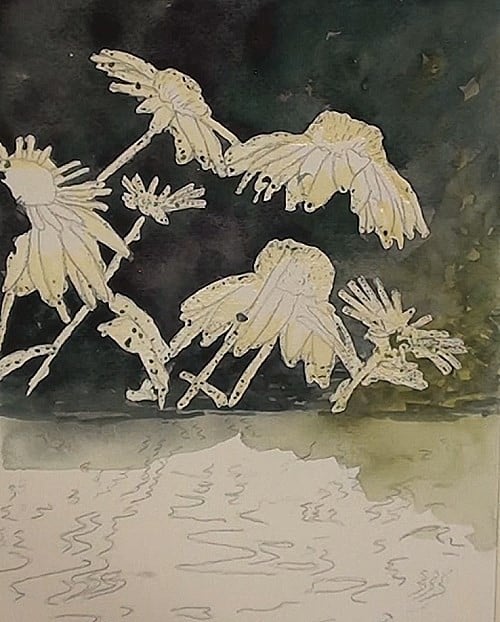
Start the background off with a very dark mix of Viridian and Burnt Sienna. Keep it dark in the top left hand corner and lighten slightly as we reach the bottom right hand side of the flowers. Remember that wet dark colors dry lighter. Add a touch of yellow here.
When this dark area is dry, add a few darker lines to show vegetation in the shadows and, by using a damp brush, lift out some lighter lines to add depth to this area.
Painting the flowers
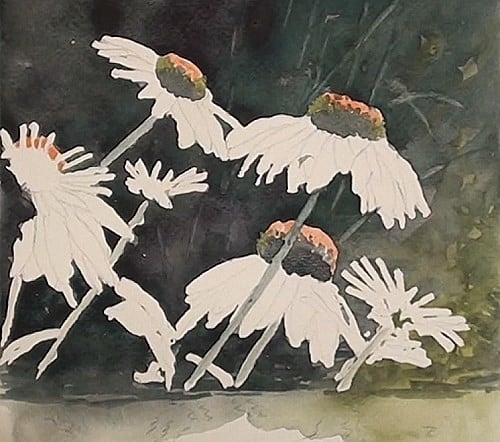
Remove the masking fluid once you are certain that the paint is completely dry. Paint in the Orange tops, then the shadow colors of the stems, and around the stamens of the flowers. This shadow color has a very slight yellow tinge to it. Build up the stamen area with small dabs of darker paint. Do this for all the flowers.
Painting the petals
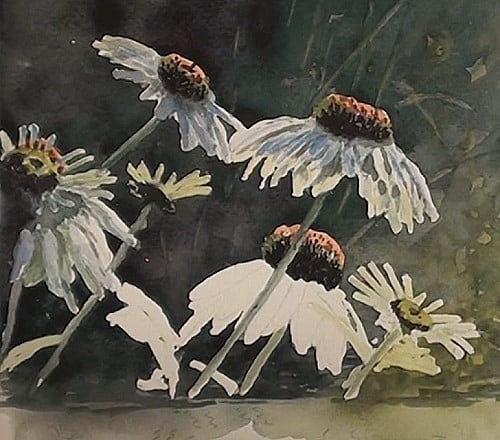
The brightest color of the petals is the highlight, so we first paint a very light yellow over all the petals. Starting with the main flower begin blocking in the shadow areas with a green-gray mix. This main flower must be kept lighter in tonal range than the others because it’s the main focal point.
Continue working on the petals, putting in the shadows and the lighter yellow. It is good practice to check all your colours on an identical piece of scrap paper as what you are painting on. Checking the colors before hand can often save a lot of heartache. Work backwards and forwards among the flowers as this way it is much easier to compare the colours and tonal ranges.
The flowers are all back-lit, so we have most of the petals in a semi-transparent condition with the sunlight shining through them and we have to try hard to copy this. If necessary, you may even have to lift off some color to keep the tonal ranges correct. Tonal ranges count more than color does.
Painting the leaves
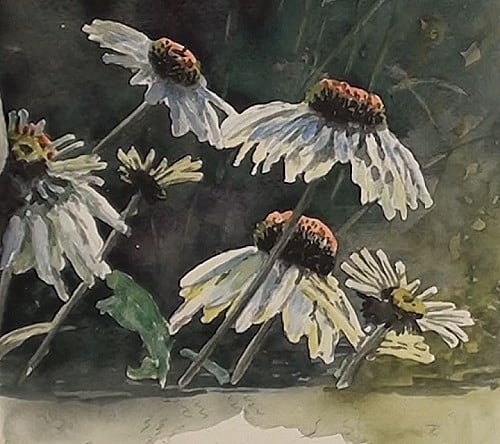
These leaves are mostly in the shade.
Painting the water reflections
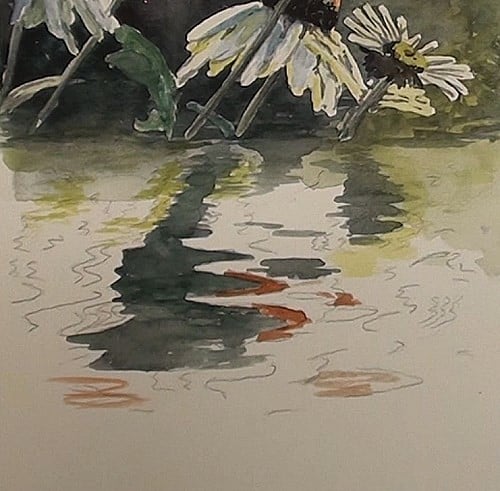
The best way to begin the reflections is to plot in all, or most of, the areas. It will be much easier then to see and paint in the lighter colored reflections.
Leave all the light areas until the last, being extra careful not to encroach to much into them. It is the dramatic play of light and dark that makes the painting pop. Where necessary darken some areas even more.
Darkening the water reflections
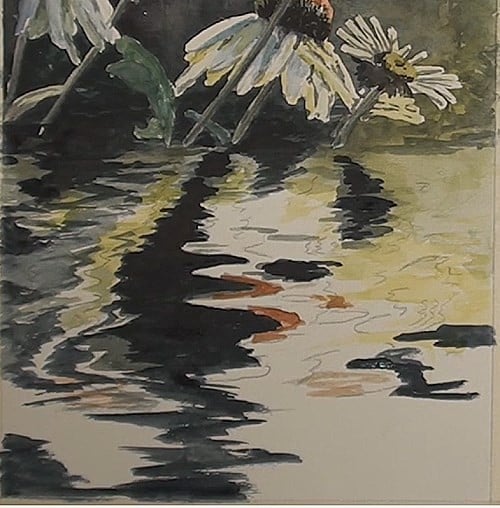
The main dark reflection is already painted in, so we now need to add in all the other supporting actors. Remember you are telling a story with your painting. Carefully weave the different colors and tonal ranges so that they are in harmony with each other.
I want you to notice how the main shadow is much lower down, and becomes like an arrow pointing to the focal point. The smaller shadow to the right points inwards to direct the viewers eye back into the painting.
Because of the movement in the water, all the reflections follow a zigzag pattern..
Just make sure you do not lose the orange reflections in the water.
Final painting
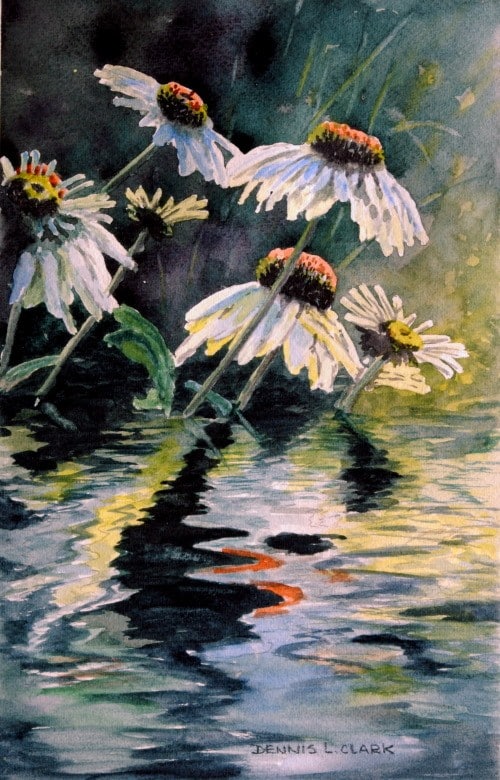
Click the button below to view the real time follow along version of this class:
Pin Me
