Short Class Video
Class Tutorial
Painting the sky
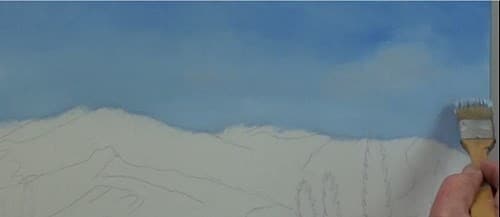
Paint the sky with a large flat brush to cover the area quickly. Add darker blue at the upper edge and then blend smoothly into the lower sky. Add a small touch of orange into white and, still using the large brush, tap in the cloud to the right and some softer ones into the distance.
Paint the mountains
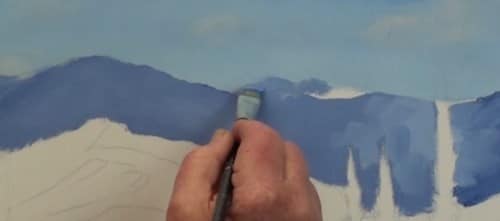
This first Blue/Purple mix was just too dark, so I toned it down with some white to the right shade and painted the rest of the mountain, keeping the top edge sharp against the sky.
Painting sunlight onto the mountains
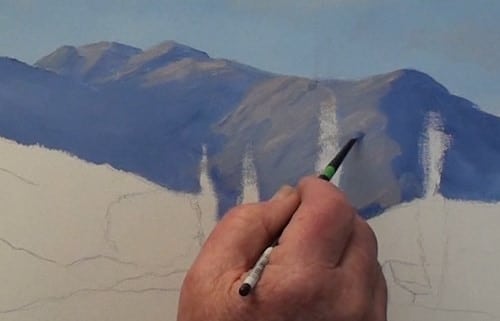
Some light orange is gently stroked into the mountain slopes with a small flat brush. The distant peaks also catch the sunlight. The mountain slope to the right also catches a glimpse of the sunlight. This patch will be used to contrast the dark tree against.
Painting the foothills
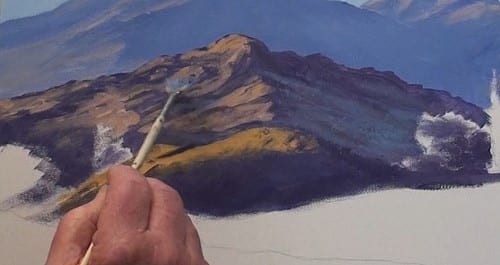
The foothills have more red in it than the distant mountain color. Notice that I have left some lighter patches as guides for the bright sunlit slopes.
A slightly brighter orange is used here for the sunlight on the cliffs and rocks. A muted yellow orange is painted in for the small foothill sunlight. Very lightly spread some of it into the shadow side of the hills.
Add the shadow of the large bush, and use a fan brush for some more detail on the hill slopes.
Painting the trees
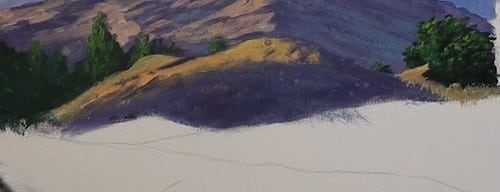
Paint in the dark green for the mass of trees in the valley. Add a few touches of yellow for highlights. Smear a bit of green over the lower slope.
Add some of the dark green into this central tree and then add some highlights with some yellow.
The hill is in full sunlight. The colour here is orange with a touch of blue. A small patch is added to the left side of the dark tree.
Use a small flat brush to paint the dark green of the plane trees. Pull out all the branches of the trees with the flat of the brush in the vertical position and round off the profile of the barn and the bales with a smaller brush.
Block in the barn and then begin to add the highlights to the trees with the large flat bristle brush. Keep the large tree more in sunlight than the other trees. This area is going to be the main focal point.
Painting the foreground
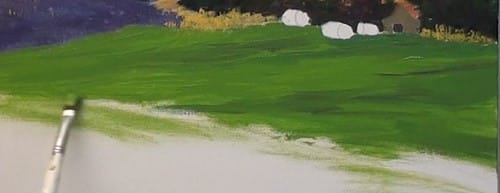
The underpainting to this field is a bright green. All the brush strokes must follow the slope of the ground. Now, with a small flat brush stroke in some dark lines to show the character of this field.
Block in the middle tones of the bales with Yellow Ochre. Add the shadows with the dark blue/purple and Lemon Yellow for the highlights and don’t forget to paint the cast shadows of the bales.
Use the flat side of the large brush and begin to tap in the Cadmium Yellow for the grasses catching the sunlight. Keep it patchy as shown. Darken some areas with Yellow Ochre.
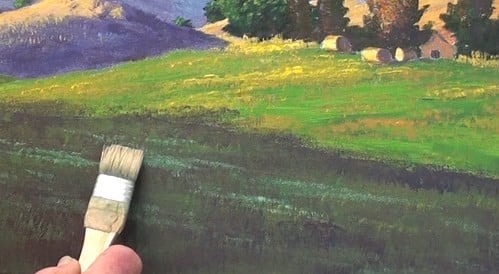
Using the same technique as previously, tap in the darker green, leaving a lot of the ground color showing. Add various tonal ranges for interest. Blend slightly into the sunlit field, and with some white with Viridian, tap in some highlights.
Final painting
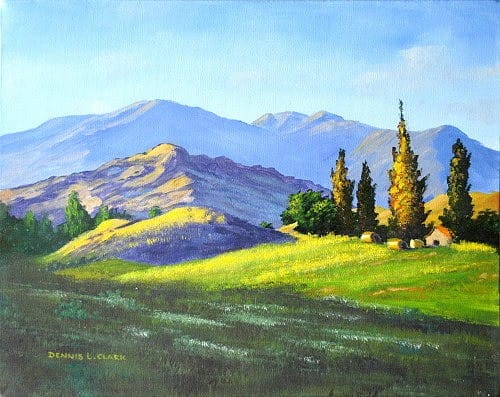
Click the button below to view the real time follow along version of this class:
Pin Me
