Short Class Video
Class Tutorial
Paint the background
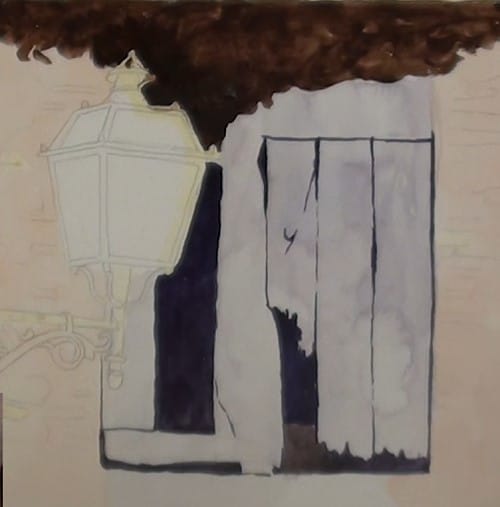
Masking fluid – It is very important to mask all the areas where you want to keep the white of the paper.
Background – First paint light washes of the various color to set the mood. Let it dry. They are the uinder-painting colors to help us.
Make a very dark mix of ultramrine and Burnt Sienna and paint all the dork areas and lines. This give you a much better visual of what we are about to paint. This brush has a nice point to it so it can do broad washes as well as fine lining.
For the next blocking-in the mix will have more Burnt Sienna to it and will be for the dark shadow areas. It can be slightly blotchy because it is an old wall.
Painting the lantern
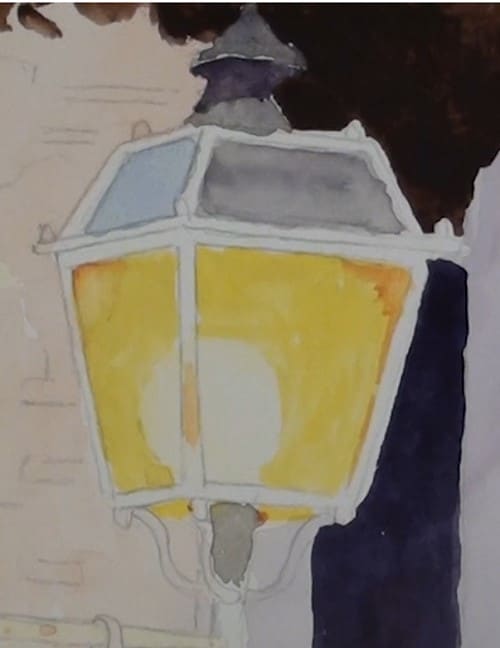
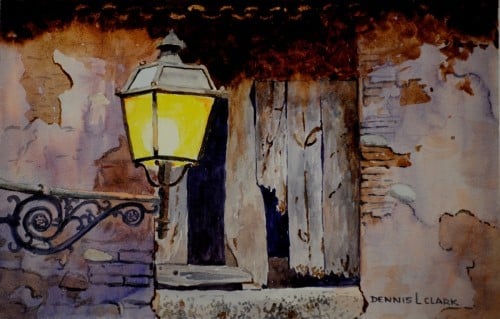
Use Cadmium Yellow for the glow and a very light wash for the lamp area. A few touches of orange will strengthen the glow.
Block in these colors to the lantern top. These will be the final colors.
Painting the wall
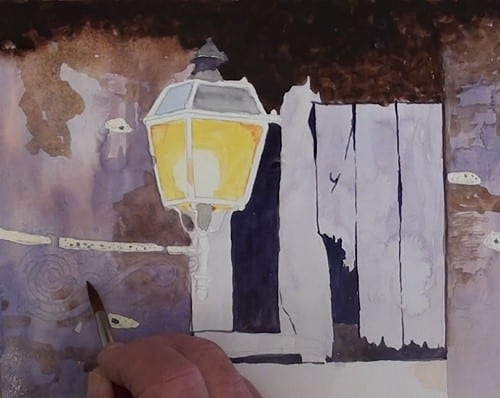
Wash in a stronger pink and keep it wet. Drop in some purple mixed from Ultramarine Blue and Alizarin Crimson. Keeping it darker towards the lower portion. Add the same colour to the right side and keeping it lighter lower down.
Use some of the brown color and paint all the patches of the original wall where the plaster has fallen off. You don’t need to match them exactly as in the photograph.
Adding more detail to the lantern and painting the window boards
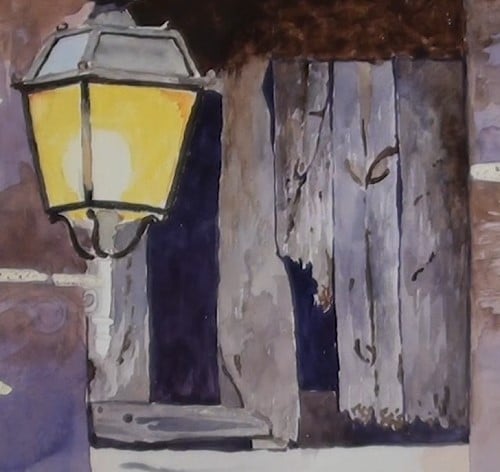
Lantern – Using a small round brush paint, with dark color, the thin strips leaving a section where the bright light causes it to fade somewhat. Compare against the reference photo where all the dark colors are and add in all the minor tonal ranges. This lantern is the focal point of this painting.
Window boards – Because of all the smaller detail we will keep to the small round brush. To start off the window boards we need to add a hint of brown for the original wood color. Most of the small washes are painted in with the side of the brush. Don’t overdo the marking though. We want to keep some character to the planks. Keep referring to the photograph. Copy some of the major markings and and some of your own as well. Once the basic colors and markings are finished you can now start washing in all the darker shadows. There are a lot of smaller marks and crack shadows on the planks. Add as many as you think you need for a nice presentation. Some places they will be wet over dry if still too wet in places this can be controlled with a tissue or a piece of paper toweling. Finish painting the lower section.
Painting the window sill
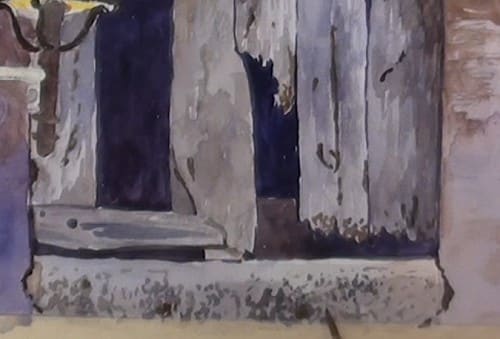
To indicate where the plaster has fallen off we need to know the light direction to enable the shadows to be painted in. Finish off the sill of the window.
Painting the lantern bracket and wall markings
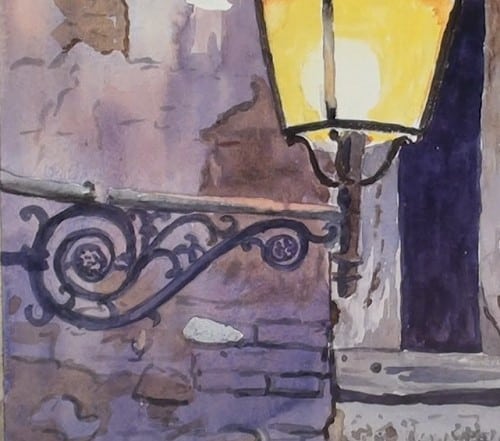
Lantern bracket – Use the dark mix to paint the fancy wrought iron bracket. If drawn correctly all you need to do is fill in between the lines. The main arm of the bracket is another color with a light orange reflection of the lamp on it. A shadow is painted on the underside. Touch up the vertical bracket under the lantern.
Wall markings – This wall has seen many seasons to weathering. With the result it is full of plaster fall-off and other dirt markings. Some bricks are even seen.
Painting the roof tiles
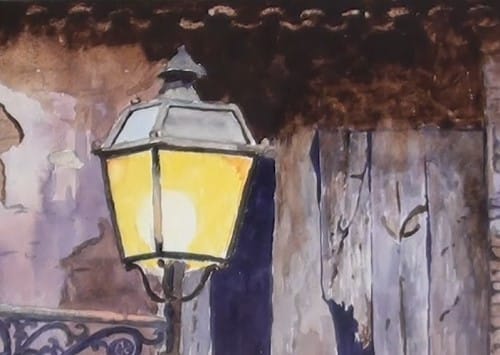
When you have done that all we need to do now is the lift out some of the paint to show the edges of the roof tiles. A tissue and a wet brush works miracles.
Final painting
Click the button below to view the real time follow along version of this class:
Pin Me
