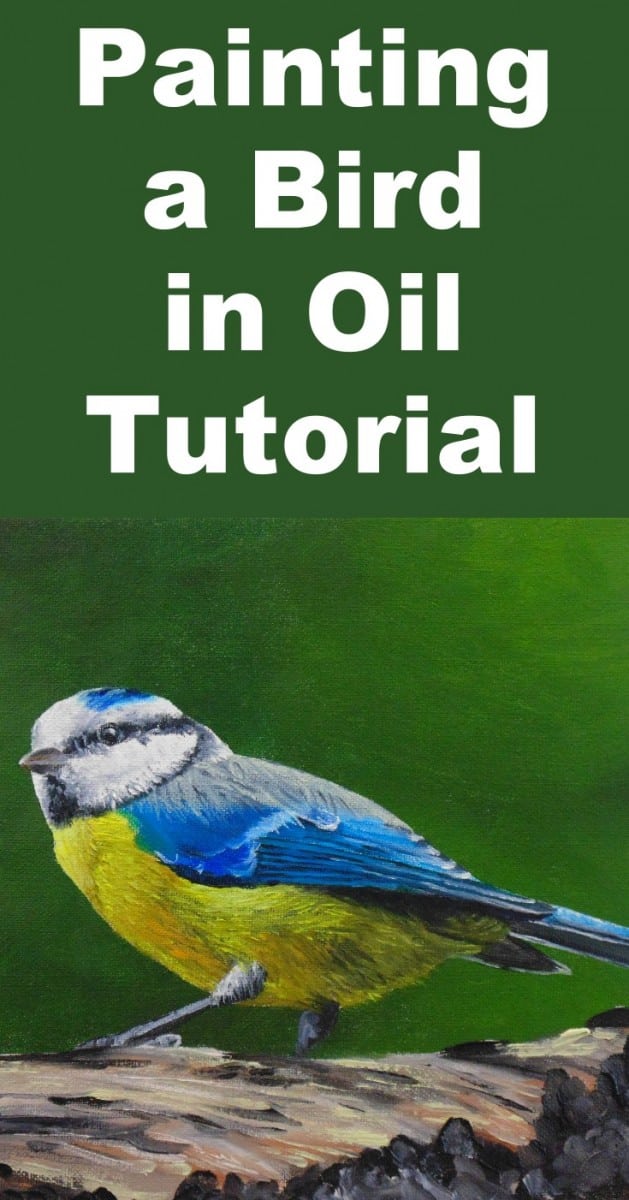
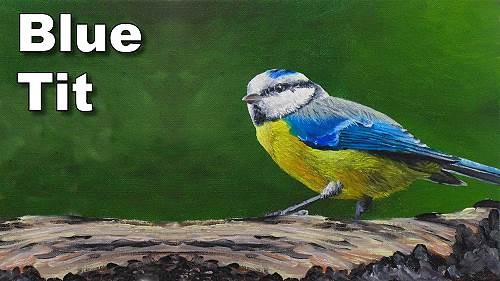
Short Class Video
Class Tutorial
Paint the background
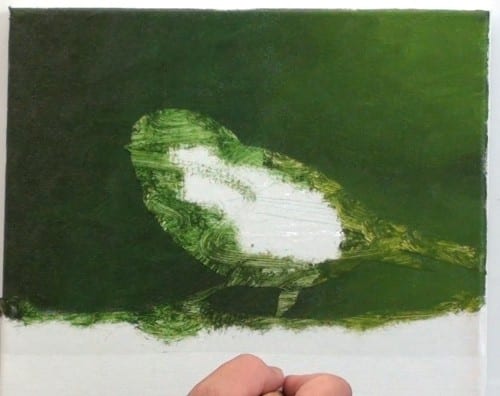
I start by masking off the birds and branch so I can quickly paint the background. I have used clear cover to do this, you can also use masking tape. I am going to use dark greens in the background to create maximum contrast for the birds feathers. Just block in a few random shades of green and blend them together. We cant add any detail here otherwise the background will compete with the bird for attention and we don’t want that. The bird must be the star of the show.
Paint the body
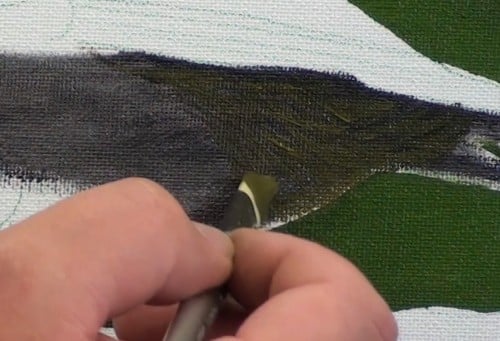
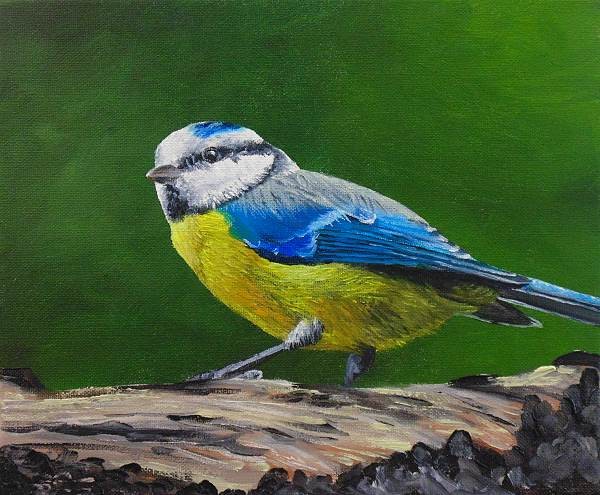
With the bird I will start by painting the body first, that way the feathers will overlap naturally. Although the feathers on the body are yellow, I first block it in with paynes grey, as you can see the grey skin of the bird showing through the feathers here and there. Then to paint the feathers we will gradually use lighter and lighter yellows. The darkest yellow has heaps of paynes grey in it. Then gradually reduce the amount of paynes grey until you are using neat cadmium yellow. The secret to painting the feathers is to actually not paint them at all. If you look at the feathers on the body carefully you will see that the feathers are matted so you actually cant see individual feathers at all. What you can however see are the general directions that the hairs on the feathers are following.
Paint the directions of the feathers
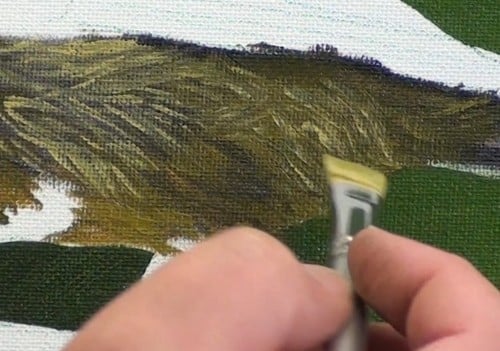
So start with the darkest yellow and paint these general directions in using short sharp strokes. I am using a soft filbert, you can also use a fine liner. What you are trying to achieve is a series of overlapping strokes gradually going lighter and lighter in the correct areas.
Paint the legs
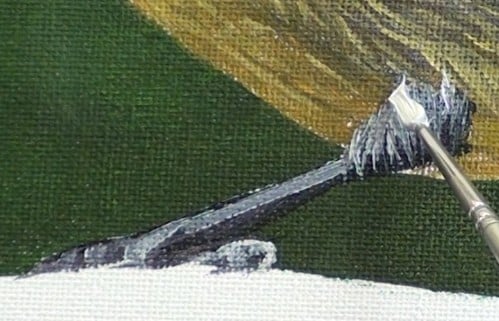
To paint the legs use paynes grey and highlight with white. Birds have really ugly legs so don’t worry to much about trying to make them look pretty.
Paint the wings
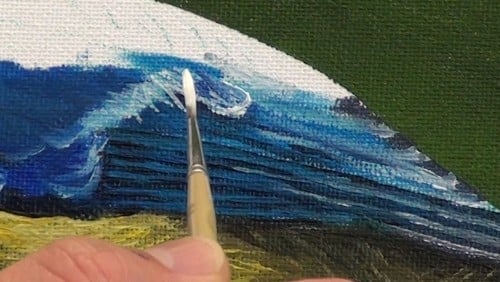
Now we can move on to the wings. Overall they seem to be darker on the sides than the back so I use french ultramarine on the sides and cerulean blue towards the back. I now use paynes grey for the shadow under and between each wing feather. Just get these lines to follow the curve of the wing. Then use a cerulean to highlight in between the shadows. Toward the back the feathers are more purple so add red to the blue. Highlight the edges with white. This white then fades away in to the blue highlight we added earlier. There I am just going to add a few highlights and shadows where I can see them.
Paint the top of the body
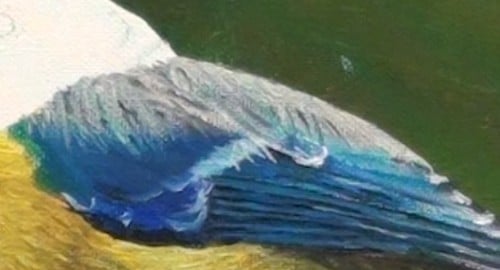
At the top of the body, the feathers mat again just like they did at the bottom. So block the area in with the purple wing colour and paint in the directions with short sharp strokes of white paint. Now I will suggest the detail using a few purple strokes for contrast.
Paint the tail feather
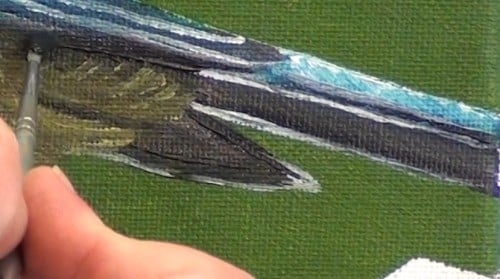
The bottom of the tail feather is a quick shading along the length of the feather to show it can move. Then use white for the reflection on the edges. Here I just needed to darken up the cast shadow a little more to lift the wing up off the body.
Paint the head
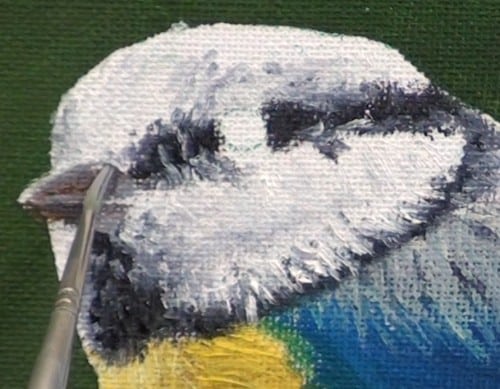
Now we can paint the head. I start by blocking in the black and white. But don’t shade them into each other. We will do that using a fine liner and tapping motion to get a smooth shading. This will trick your eye into thinking it can see the individual feathers on the head. The only feather detail that we paint is where the white overlaps the black. Everywhere else we are just getting the tonal value correct. I shade in the beak using paynes grey, white and a touch of raw umber.
Paint the reflection of the eye
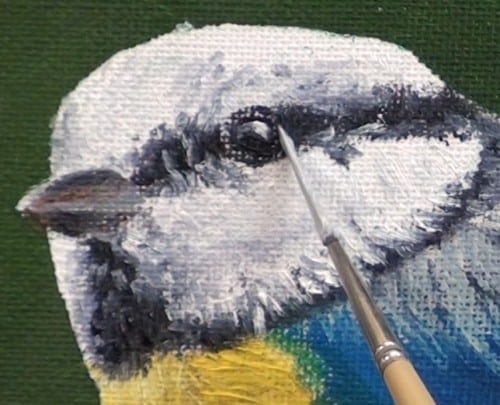
Now block in the eye with black and the reflection with white. A few dabs of blue on the top of the head to complete the bird.
Paint the branch
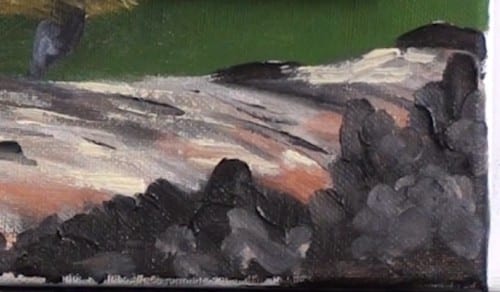
Now lets tackle the wood. As you can see this wood is pretty well weathered but painting it is really not going to be that difficult at all. Start off by mixing a few of the colours you can see on the wood. I see a brown, black, yellowy colour, pinky colour, grey colour and a burnt sienna colour. The length of the wood has a stripy effect so I dab these colours randomly along the length of the wood. The edge is painted with black and grey in a dabbing motion. That’s all you need to create the rough wood effect.
Final painting
Click the button below to view the real time follow along version of this class:
Pin Me
