Short Class Video
Class Tutorial
Paint the background
I start by masking the signs using clear cover. That will allow me to paint the sea in the background quickly.
As the signs are near the beach we will paint an indication of the sea and some palm leaves in the background.
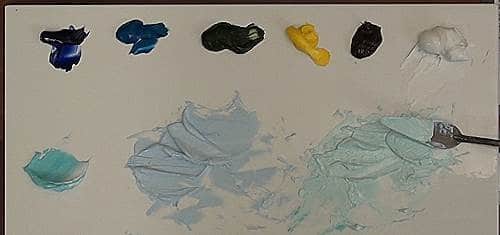
Paint the sky, using french ultramarine and white at the top, then gradually add more cerulean towards the horizon.
For the sea add french ultra to the top sky mix then more cerulean to the bottom sky mix then blend these colors into each other to make the sea recede into the distance.
Painting the sea
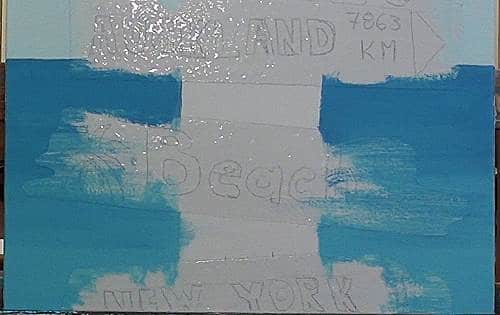
Suggest a few waves using a lighter color and horizontal strokes.
Suggest the beach by adding a mixture of yellow ochre and sky color.
That is all the detail we need in the distance.
Painting the palm leaves
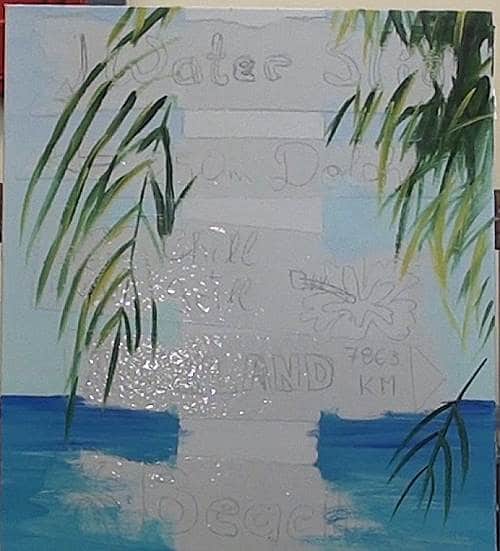
To paint the palm leaves use sap green. Start by painting the stem then add the leaves on either side.
Consecutive leaves become shorter and shorter towards the tip of the stem.
On the right we want to show lots of overlapping leaves so block in the area.
Then paint darker and lighter leaves.
The darker leaves as sap green plus red.
The lighter leaves have cadmium yellow added.
In this painting the sun is coming from the left so highlight the left hand side leaves where they point towards the sun.
Colors for wooden pole
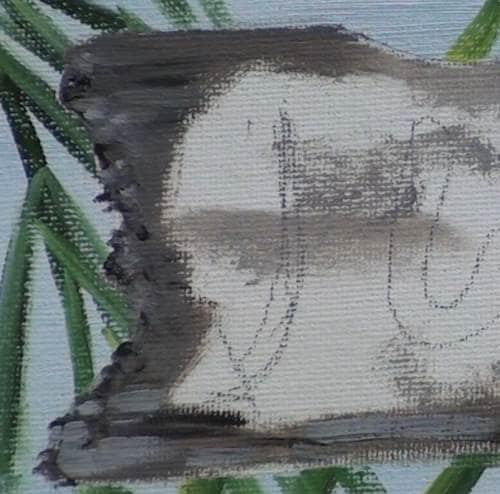
To paint the pole that our signs are attached to use raw umber and varying amounts of white to get three different tonal values.
Block them in on the correct places on the pole, then use a clean dry brush to fade adjacent colors into each other.
That will make the pole look round.
Now lets be proactive and add the shadows cast by the signs on to the pole.
Painting the wooden pole
To do this use raw umber and paint a banana shaped shadow under each sign.
The shadow is darkest at the top of the curve and fades away to the sides and bottom.
The top of the curve determines where the sign has been nailed to the pole so vary the placement of the top of the curve to match the position of the sign on the pole.
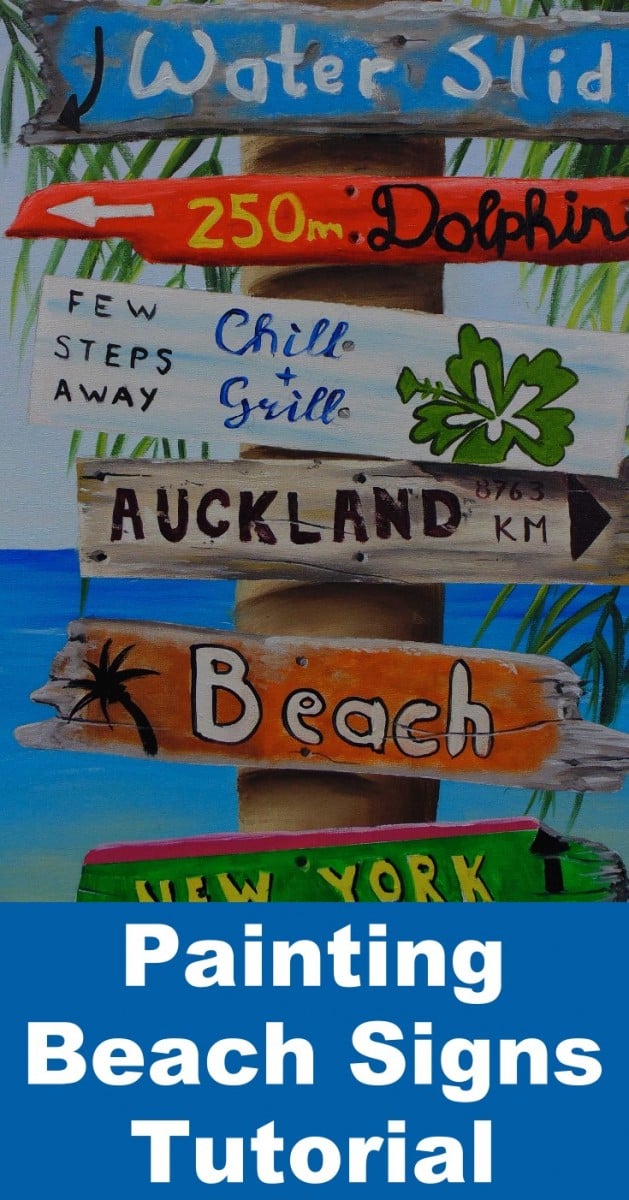
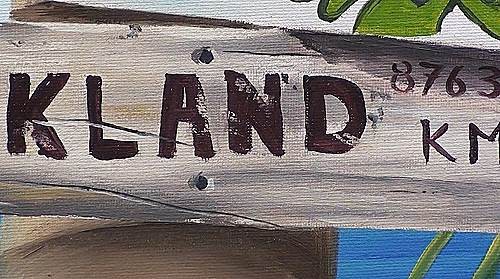
Painting the weathered look of the signs
Now we can remove the masks and begin to paint the signs.
We will start at the top and then work our way down.
You will notice that I am creating my own unique set of signs and not blindly copying the photo. I am however copying the textures on the signs.
If you do the same you will be able to create an unlimited amount of unique paintings using this method.
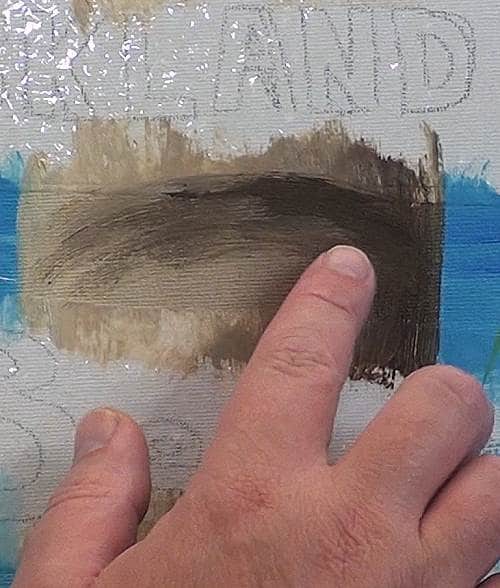
The main technique used to create the weathered signs is to mix the darks wood color and block that color in on the sign where you see it.
Then add varying amounts of white to the mix to paint in the lighter wood colors.
Notice how rough I am blocking the colors in. Rather add a bit too much wood color than too little.
To create a wood grain effect add a few contrasting lines and marks in the distance of the wood grain.
Notice how I am using an extra brush as a mahl stick so I don't touch the wet paint.
Painting detail onto the signs
To make a hole in the wood where the screws go in.
Paint a black hole then darken on the sun side and darken on the other side.
This will show a concave effect.
Add cracks in the wood with a black line and a white line below it.
Painting the weathered signs
To create the faded paint effect block the paint color in all around the wood, then blur the line between the wood and paint using a tapping motion.
To show paint peeling off the wood, cast a shadow with a darker wood color on the sides painting away from the sun and fade it away.
Then add little highlight on the edge of the paint if it is pointing towards the sun.
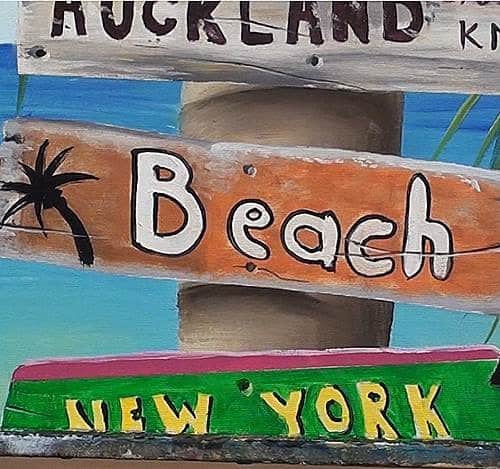
Now paint the wording using the correct color and a rigger brush.
The next sign is a new sign so block it in with cadmium red, adding white towards the top for a highlight and alizarin crimson towards the bottom of the shadow.
The word is painted using yellow and black.
I will now continue to use these techniques to paint the rest of the signs.
I ensure each sign looks different and unique with its own look and feel.
Lastly look out for any signs that casts a shadow on the one below it and work that in too.
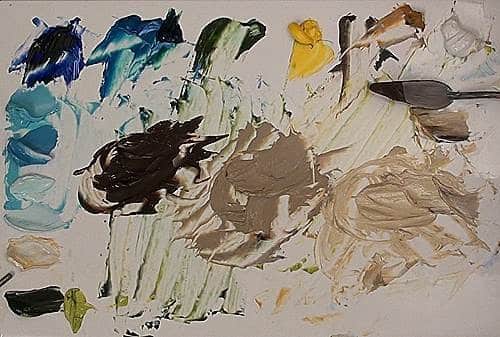
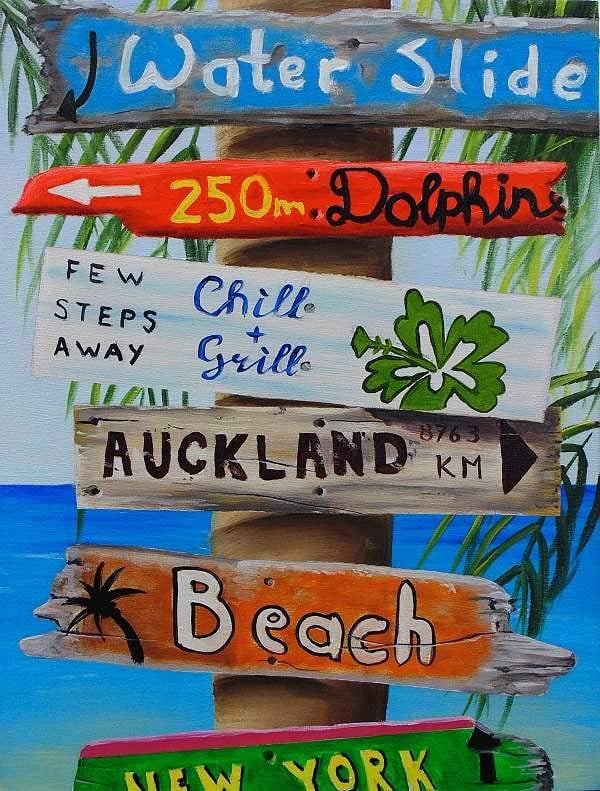
Final painting
Click the button below to view the real time follow along version of this class:
Pin Me