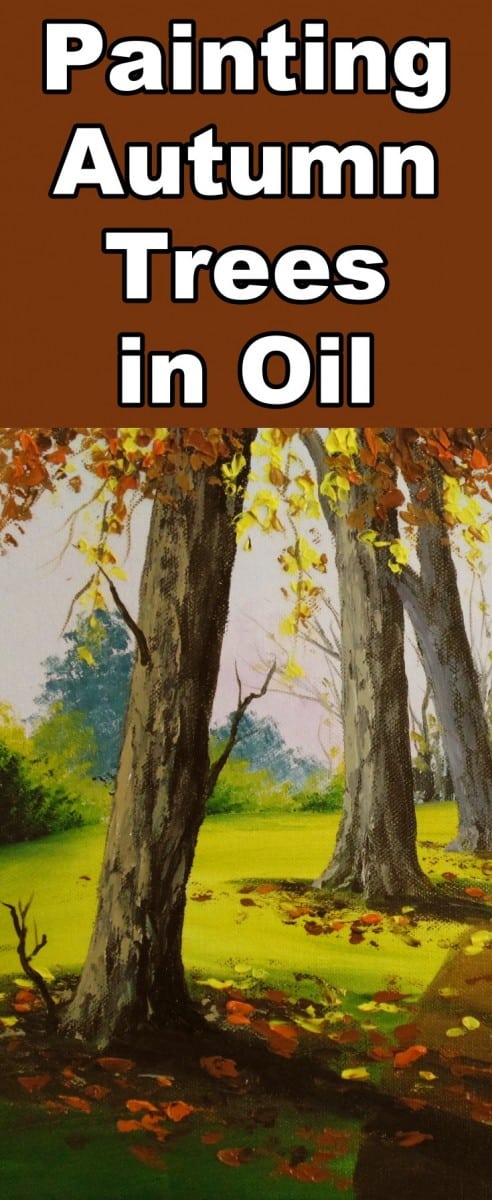
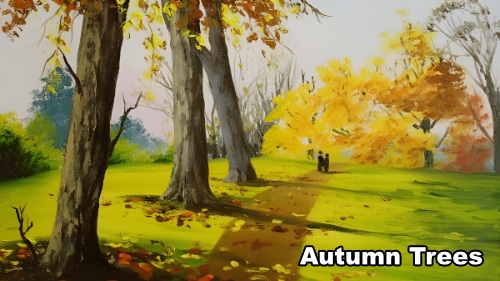
Class Tutorial
Sketching in the Scene
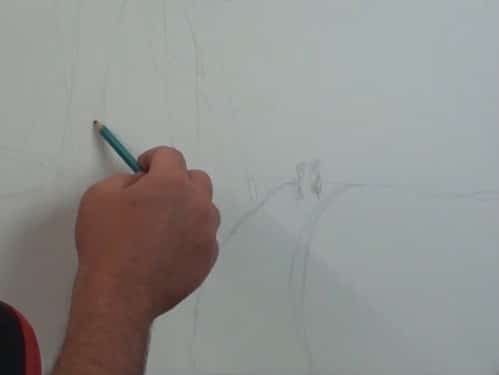
Sketch the scene roughly onto your canvas.
Mixing Colours for a Sky at Sunset
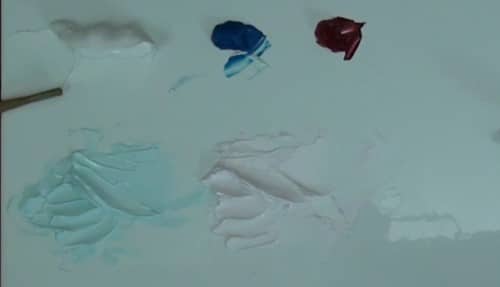
Begin by mixing your sunset sky colours. Prepare both a pale blue hue and a pink hue.
Paint the Sky
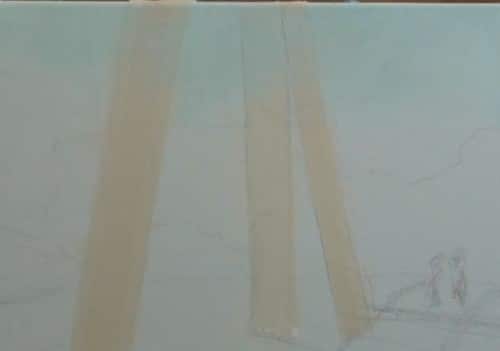
Begin by masking off the tree trunks if need be. Then apply a thin layer of both the blue and pink sky in the appropriate places.
Mixing the Small Trees and Shrubbery Colours
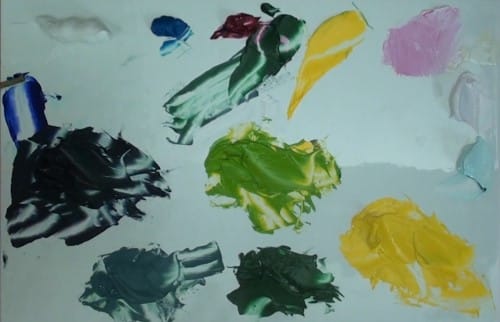
Mix the greens you will need for the trees and shrubs along the horizon line.
Painting the Small Trees and Shrubbery
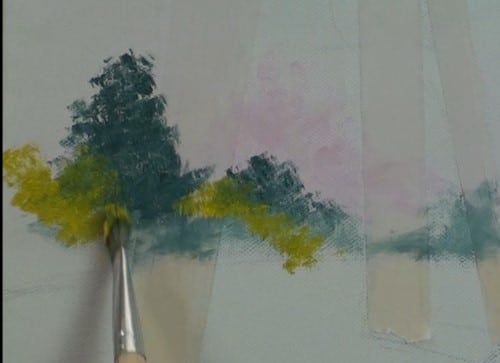
Starting from the left, paint in the trees and shrubery roughly as it appears in the reference photo. Start with the darkest colors, moving layer by layer to the lightest.
Painting the Twigs and Branches Along the Horizontal Line
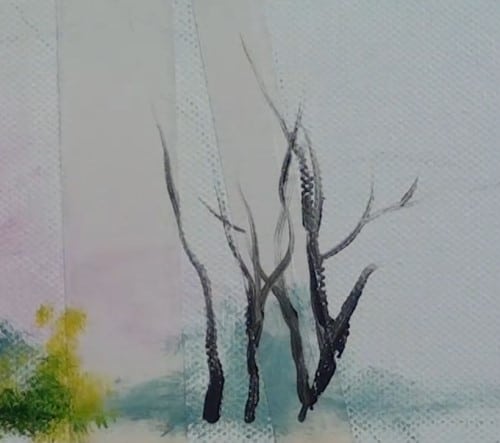
Mix the colours needed. Using the reference photo, paint in the twigs and branches between the tree trunks and the colorful trees. Paint right over the masking tape as it will help make your foliage fall behind the trees when the tape is removed, creating a sense of depth. Dab on a few of the remaining leaves on the tree.
Mixing the Autumn Tree Colours
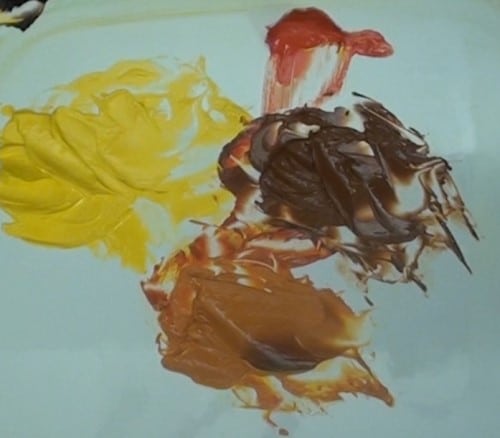
Prepare the colours you will need for the autumn trees – yellow, orange, and brownish tones.
Painting the Trees
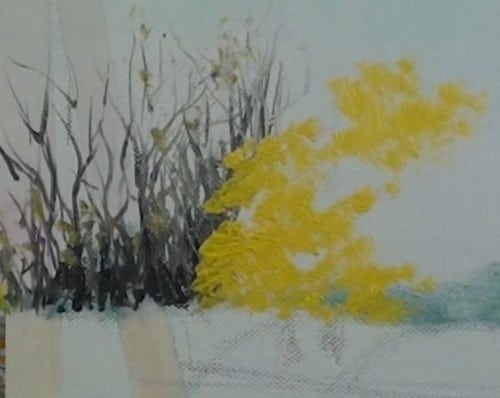
Begin with the yellow leaves on the left where the brightest light is. Note the tapping/stabbing brush technique that Nolan uses to apply the paint to create the look of leaves. Be sure to leave “sky holes.”
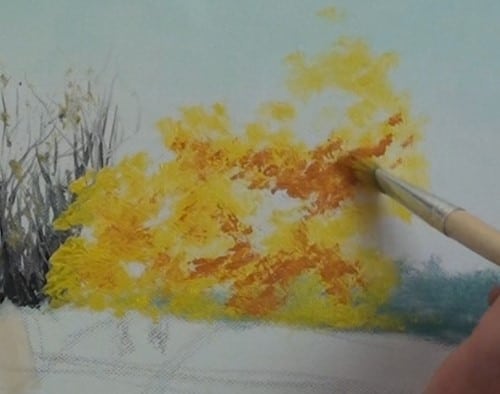
Using your reference photo as a guide, add in the orange and darker tones in appropriate places.
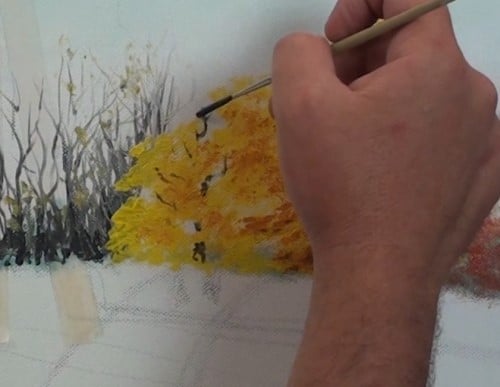
Mix some paint for the tree branches. Using a thin brush such as a rigger brush, paint in the basic skeletal shapes of the trees, being careful to make the branches look like they are behind the leaves.
Mixing the Colours for the Foreground
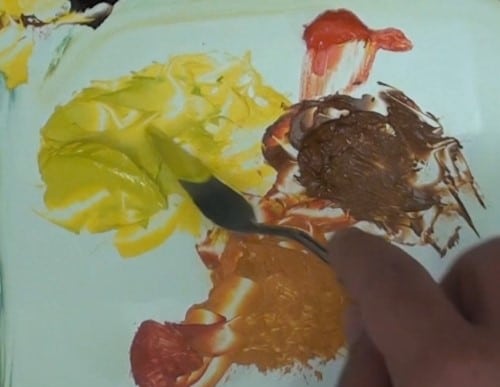
Mix the greens you will need for the foreground grasses, mid-tones, highlights and shadows.
Painting the Foreground
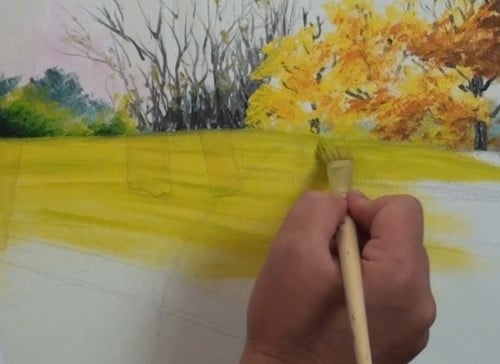
Start with the brightest sunlit area and work your way across and down the painting, darkening the colour as you go. Note that the grass will be contoured to the shape of the land. Add in the tree shadows.
Mixing the Tree Trunk Colours
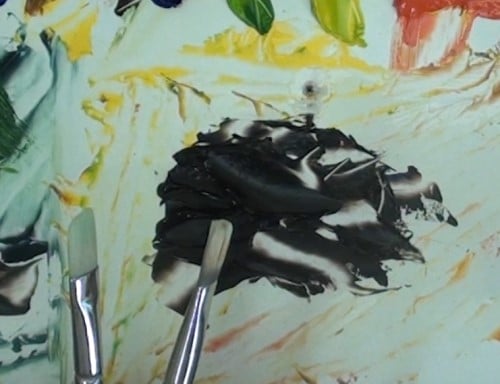
Prepare the paints to create the bark on the tree trunks, from really dark in the shadowed area to various shades of mid-tones and highlights to create the bark texture.
Painting the Main Trees using a Knife
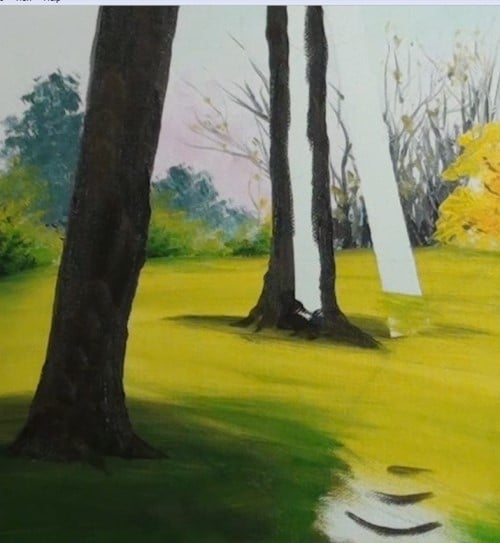
Brush on the base coat of each tree trunk. Starting with the back tree, use a knife to drag on the highlight tone onto the tree trunk. Note the technique that Nolan uses with the knife. Add more highlights as you go down the tree where it comes out of the shadows. As you move to the trees on the left, add more leaf colour into the highlights on the lower half of the trunks. Paint the maximum amount of contrast on the trunk on the far left, again using the knife to apply the paint.
Painting the Path
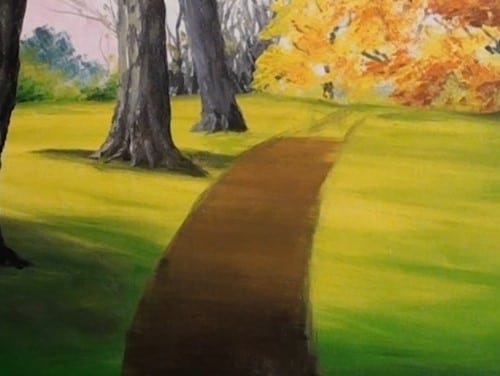
Mix the colours needed for the path. Starting at the bottom with the darkest shade, work your way to the top. Make it narrower and narrower and lighter and lighter as you go up.
Painting under the Trees and their Shadows
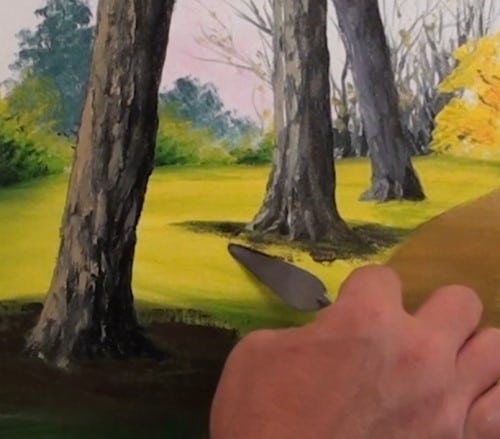
Use some dark shades to scrub on some colour of disturbed ground and dead leaves under the trees. Use darker tones to extend the shadows from the tree trunks across the path. Use the knife to scratch in the impression of other objects on the ground.
Painting the Tree Foliage
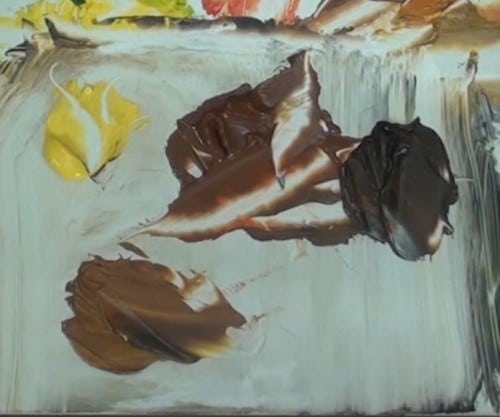
Mix the colours you will need to paint the leaves at the top of the main trees. Use the knife technique that Nolan employs. Note that the paint needs to be very thick at this point. Start with the yellow leaves, then move to the darker – coloured ones.
Painting the Fallen Leaves
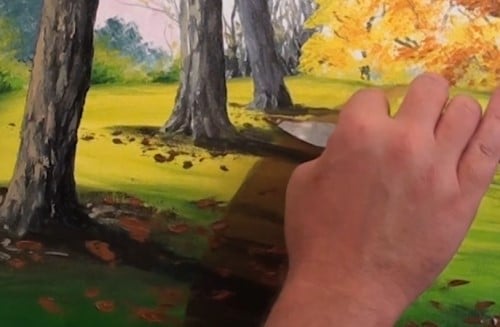
Use the knife to drop the leaf colours onto the ground randomly, starting with the darkest ones and moving to the light ones.
Adding in the People
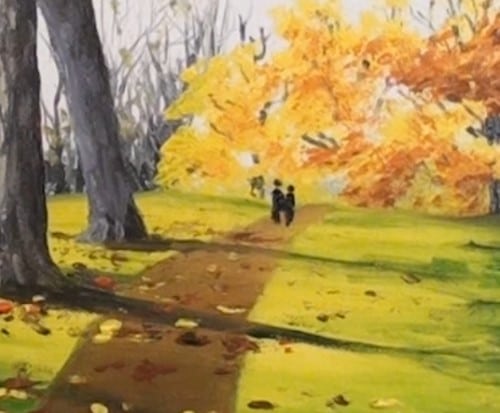
Do a test drawing to determine the correct size for the people walking on the path. Using a dark color, create their shapes in silhouette on the path. Add their cast shadows.
Final Overview
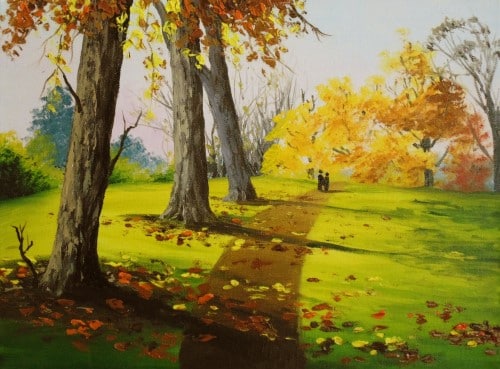
Go back over the painting, adding any little dabs and dashes that will give the painting better definition.
Click the button below to view the real time follow along version of this class:
Pin Me
