Short Class Video
Class Tutorial
Painting the mountains
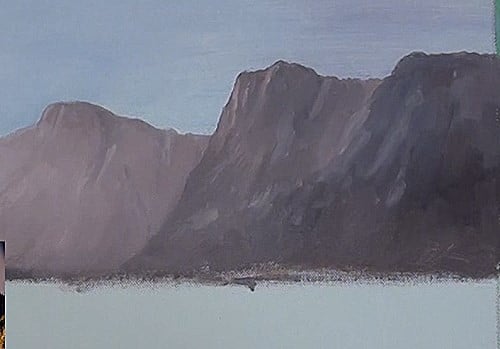
Because of the early morning light, the mountain has a nice warm glow to it. The profile has been changed and it will be slightly darker on the right hand side, ie, the shadow side.
This mountain is a darker mix of the previous mix with a touch of Blue added. The closer section will be even darker. This adds to the aerial or color perspective and adds an illusion of depth to the painting.
We can now add the final shadow to the distant mountain. Notice all the subtle tonal ranges to add to the mist effect.
All the sunshine reflecting off the rock faces and mountain side is painted with some of the light color and a small round brush is used to do this. Again, different tonal ranges are used to indicate where the full sunlight reflections are as well as the light in the shadow areas: Take your time when painting here because these mountains take up quite a substantial area of the picture.
Painting the distant trees
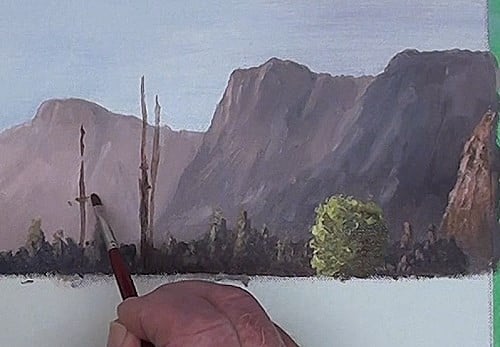
A dark mixture of Ultramarine Blue and Burnt Sienna is used to block in these distant trees. They are almost silhouetted with the sun behind them Also notice that I am painting them with more varying heights than shown in the reference photo as this adds more interest, as well as being less monotonous.
We can now paint in the reflections of the tree tops. Leave some trees dark because not all the trees are catching the sunlight.
Start this tree clump off with a nice light yellow-green color and then begin to carefully add the back-lit shadows. I’m using a dabbing action to give the impression of clumps of leaves. Once you have done this we can quickly add the closer cliff with some Burnt Sienna.
I’m using a small filbert brush to plot in these three trees. Rough in the branches with a dark yellow-green, and then dab in shadows. These trees are too far away to show any detail in them Once all three trees are painted, all we need do now is to add a few highlights.
The two central trees will have some of the early morning glow on them. This is added with some light Burnt Sienna. All we need to do now is tidy up the tree trunks.
Painting the meadow
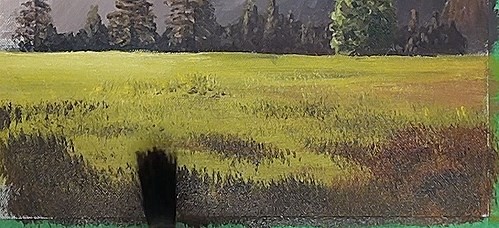
The green grass is reflecting all the yellow early morning light. Some Lemon Yellow grayed down slightly with some of the other dark colour is used here. This will allow for the final highlight, that will come later, to show up. Add some dark streaks to indicate shadows and hollows in the field. Some Burnt Sienna adds some warmth as well.
This meadow highlight is Lemon Yellow with White added to it. Keep this highlight more to the left side where the sun is.
With the same colour, and lightly dabbing down with the complete side of the brush, add the impression of short grass. Don’t touch the top third of the grass: the brush I’m using here is a normal ½ inch (12mm) Hardware bristle brush. My favourite brush for painting grass. As you paint closer to the foreground the flatter the brush dabs. Again, vary the tonal ranges for interest.
Now we can add the tree trunks and the long shadows. Try to make them look natural; follow the lay of the land and with natural breaks. They are not completely straight lines. Dab a few grass marks over some of the shadows for depth. Add the few trees in shadow.
Use a small round brush to add interesting details and objects in the grass.
Painting the foreground trees
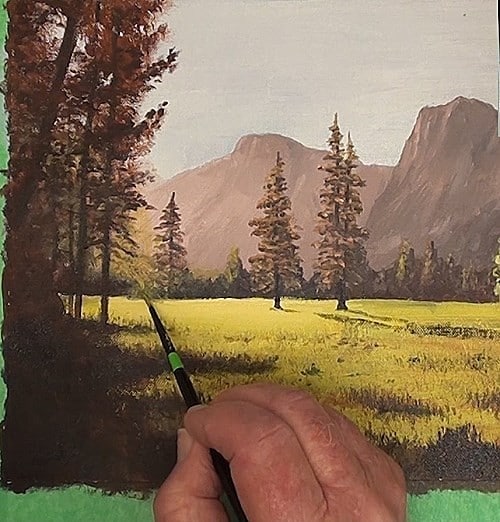
Plot in the basic mass of the leaf clumps and the tree trunks. Use Burnt Umber for this as it echoes the morning glow. Use a dabbing action to simulate the branches and leaves.
Use some of the grass color and work it into the lower open areas for the sunlit trees peeping through these foreground trees. With a smaller brush strengthen the trunks of the large trees and add a few distant ones as well.
All this area is in deep shadow, yet we still need to show some detail. Even if the photograph shows no detail, the human eye can still discern detail in the natural. Never leave large black spaces in your paintings. Strengthen up the cast shadows with the 1/2” (12mm) hardware brush.
Adding the final details & final painting
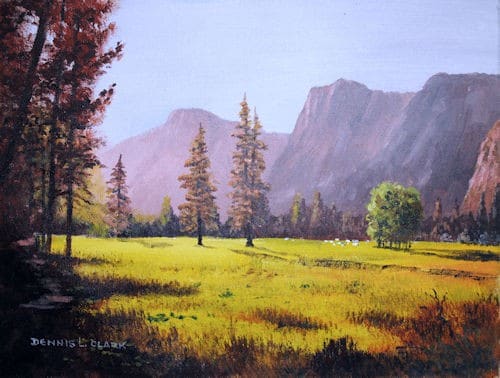
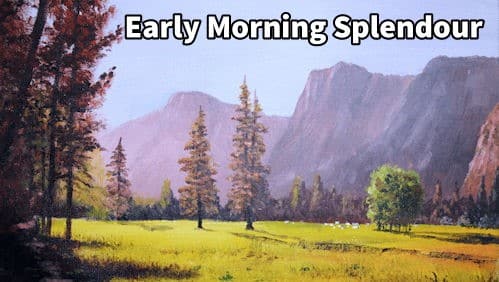
Touch up a few more details to the distant trees, as well as the meadow area. Add a small pathway in the shade to lead the eye into the picture and then, finally, a few sheep in the distance to give some life to the painting.
Click the button below to view the real time follow along version of this class:
Pin Me
