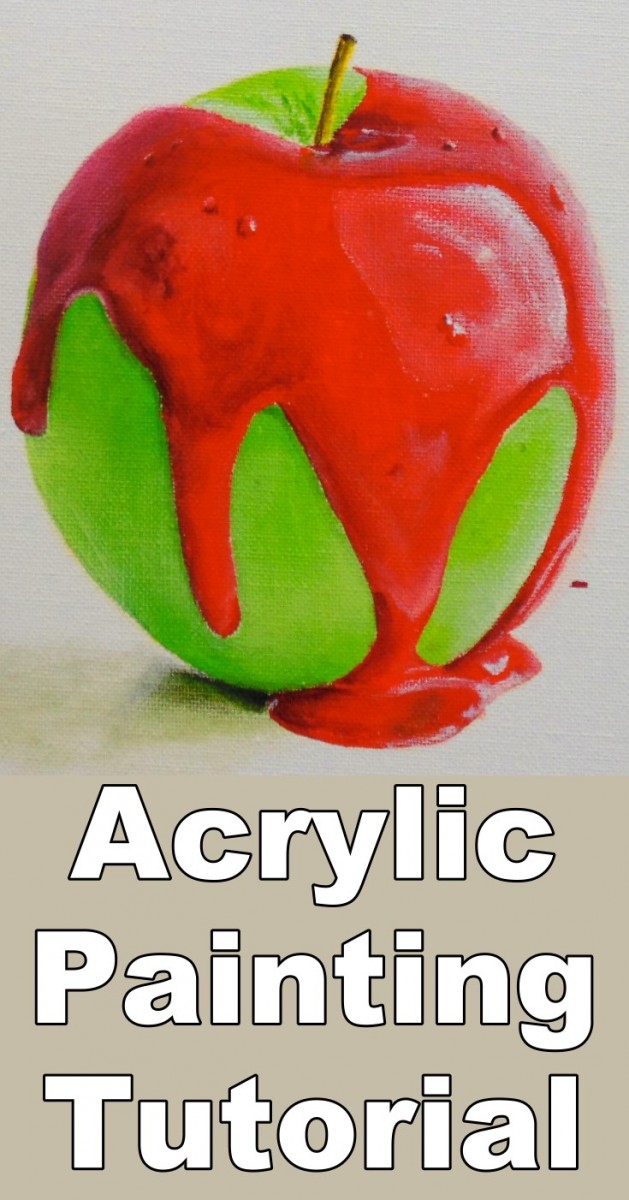
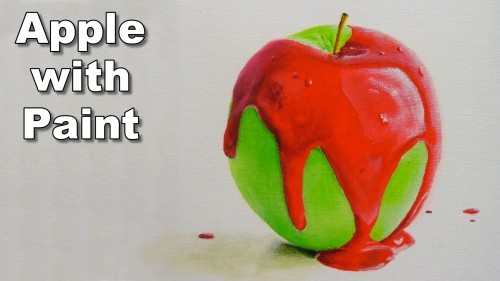
Short Class Video
Class Tutorial
Paint the Cast Shadow
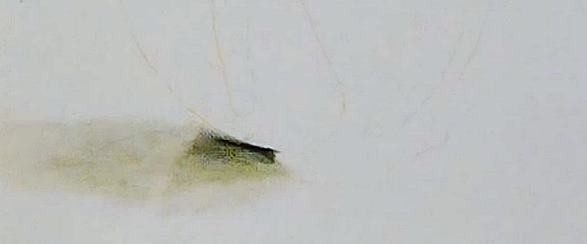
I start off with Sap green and Paynes grey and work in the cast shadow.
This shadow is mostly subtle so you will see that I lay down paint, then lift most of it off again using a clean dry brush until I am happy with the shape of the shadow.
Paint the Apple Skin
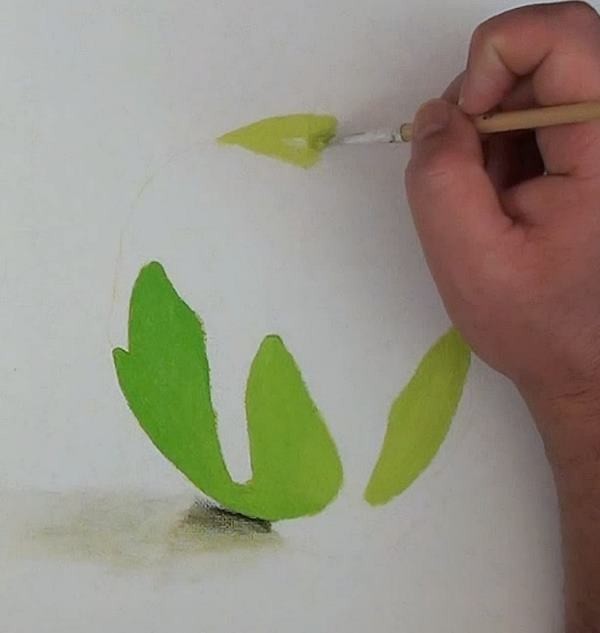
For the apple I use Permanent green light, Sap green as well as Cadmium yellow light to form a basic shading.
The light is from the right hand side so the apple shades lighter towards the right.
As you can see I am not trying to get any detail into the apple yet.
I am rather just concentrating on getting the basic shape correct.
Add Reflections to the Apple Skin
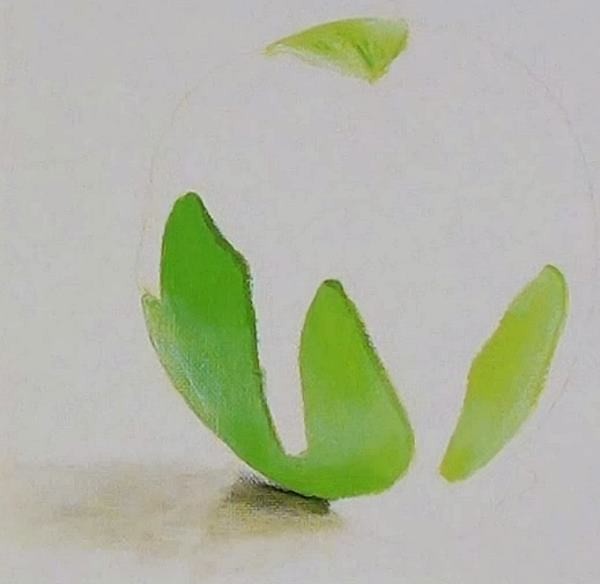
As the table is white, and the apple peel is reflective, the table will reflect in the peel. I use titanium white and a dry brushing technique to add this.
In order to complete the apple I add the shadows cast by the dripping paint.
Notice how the paint already looks 3D and we haven’t even started painting it yet. That just shows you how important shadows are.
Mix the Red Paint Shades
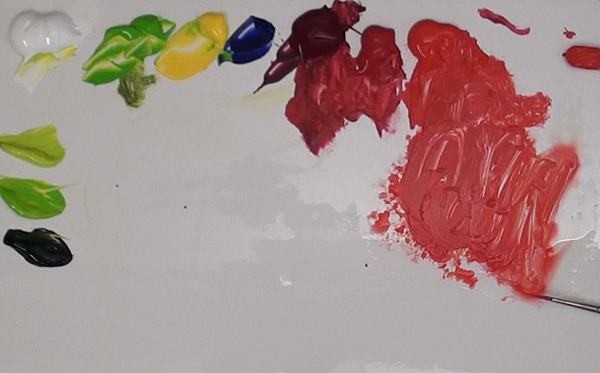
The dripping paint is a lot more complex than the apple so we will spend more time on it.
I start by mixing 3 reds:
Cadmium red
Cadmium red plus Orange and
Cadmium red plus Alizarin crimson
Block in the Red Paint Area
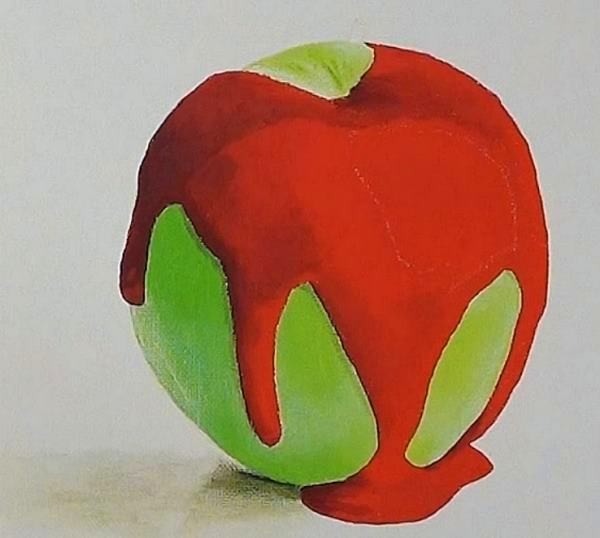
I then block these colours in at the correct places. As I paint, I am ignoring the reflections in the paint as well as the fine detail, like the bubbles in the paint.
I just want to get the overall shape of the dripping paint correct at this point.
As a result you will see that I leave the central area empty initially as it is even brighter.
I add more orange to the highlight color and use that in the central highlight area.
With the basic shape of the point established you can dry the painting using a hairdryer.
Dry Brushing
This will allow you to use a dry brushing technique to work in the reflections.
Dry brushing is when you use a dry brush and tiny amounts of paint on the brush to paint super thin transparent layers of paint over existing paint.
Dry brushing works great for adjusting areas of color on your canvas as well as for reflections.
By adjusting the amount of paint on your brush you can show brighter and more subtle reflections without having to wash your brush.
How dry brushing differs from glazing is that with dry brushing, no medium is used so the paint is a as thick as it would be when used directly from the tube.
Dry Brush in the Reflections
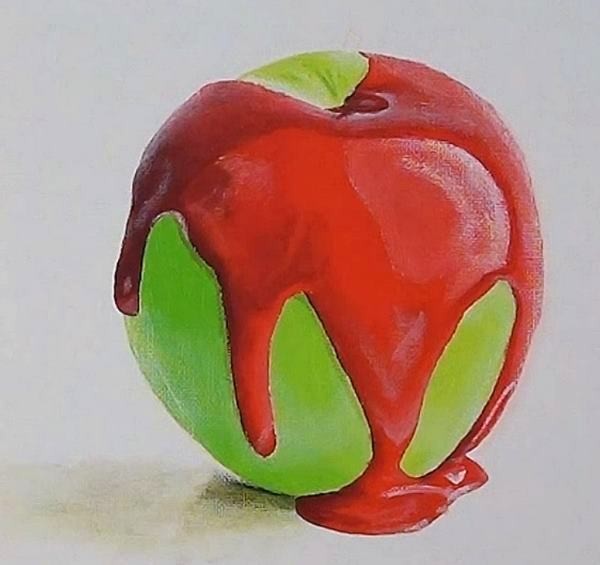
There is no secret sauce for knowing where to add the reflections.
All it takes is careful observation to know where to add them and how much paint to use on your brush.
I always start with the brightest and most obvious reflections and then gradually look for the lighter and more subtle ones as that way I can get used to the covering power of the paint being used. This then allows me to adjust the amount of paint I need on the brush for each effect.
Add the Fine Detail
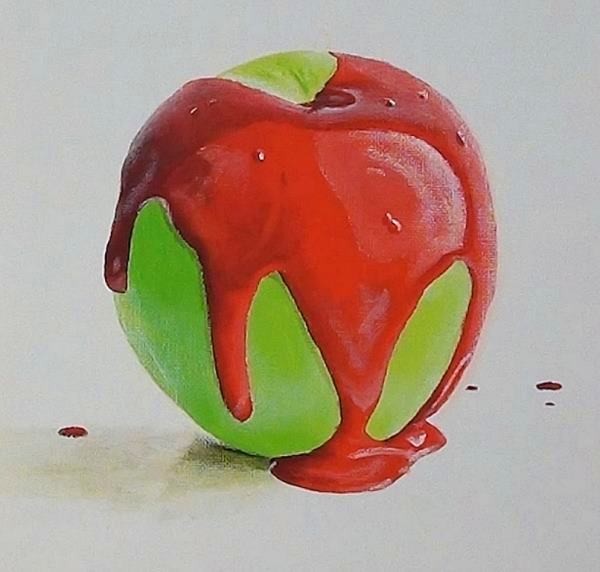
Once I am happy with the reflections, I will add the little bubbles into the paint. The bubbles are simply a highlight and shadow next to each other.
While I am busy with small details I will also add the loose drops of paint on the table. Block in each drop with a mid tone colour, then add a line from the highlight on the right and a line for the shadow on the left.
Paint the Stem
Lastly I add the stem using Cadmium yellow as a base and a few loose Raw umber strokes on the left to make it look round. With that our painting is complete:
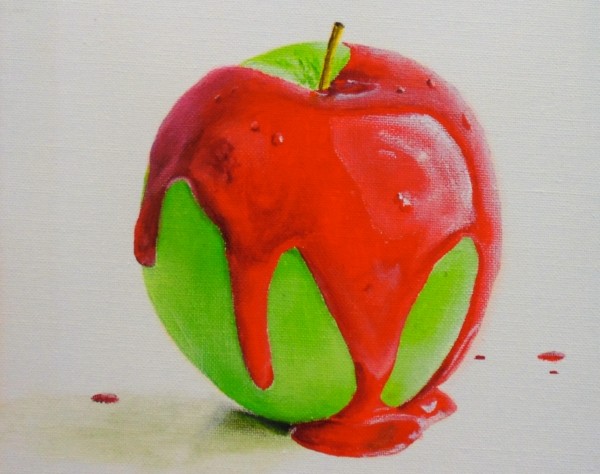
Click the button below to view the real time follow along version of this class:
Pin Me
