Class Tutorial
The template
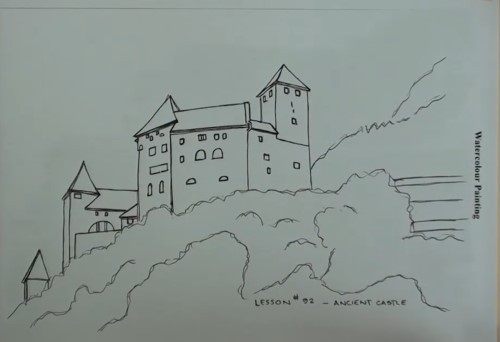
After tracing the outlines you can remove the template.
Masking fluid
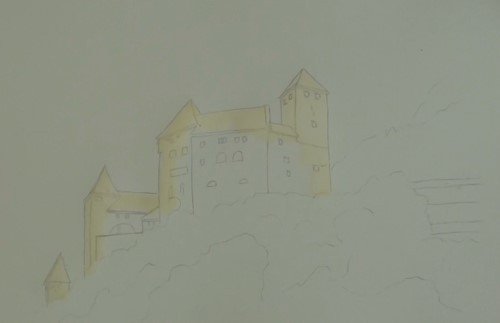
Apply the masking fluid all along the profile of the Castle. Leave a reasonable amount of protection. Remember to clean the brush with water at regular intervals – more often than not at all.
Paint the sky
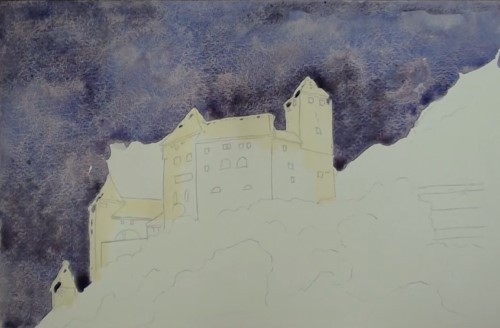
To add drama to the painting, and to contrast the castle against the sky, the sky needs to be painted a dark colour. Move the paint around to simulate a real stormy sky. Mix the paint a little darker than you think it should be as it will dry lighter. If it dries too light, then simply glaze another layer over it again.
Remove the masking fluid
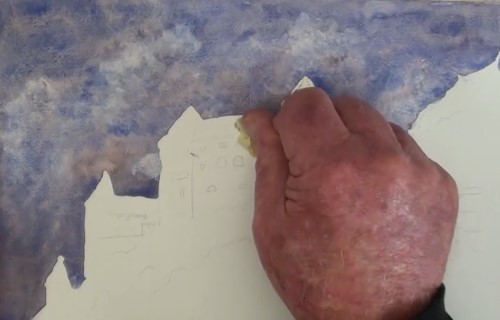
The painting must be thoroughly dried before using a piece of masking tape to pull off the masking fluid. Pull sideways and not upwards, otherwise you stand the chance of tearing the paper.
Mountainside
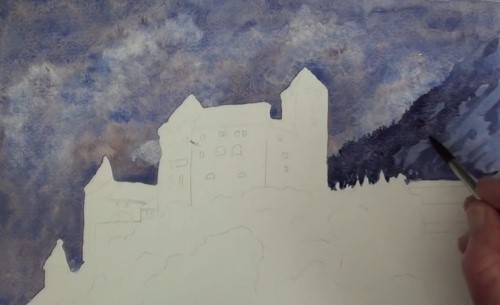
The mountain underpainting is a darker colour than the sky. With an even darker mix paint in an impressionistic manner, the distant trees.
Block in the roofs and walls
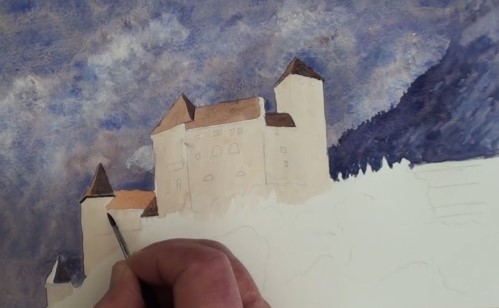
Block in the roofs and walls with an orange/brown colour . The sun is shining from the left side. Paint the walls in a very light colour to emphasize them being in strong sunlight.
The walls shadows
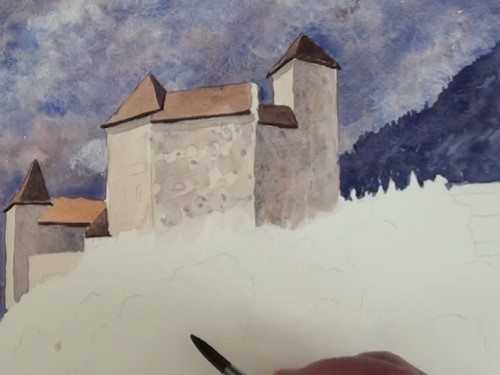
Mix a medium blue/grey colour and glaze it over the walls that are in shadow. The previous layer must be perfectly dry before glazing. Notice the blotching to imitate the masonry. The main building has three different tonal ranges due to the wall angles.
Roof and windows
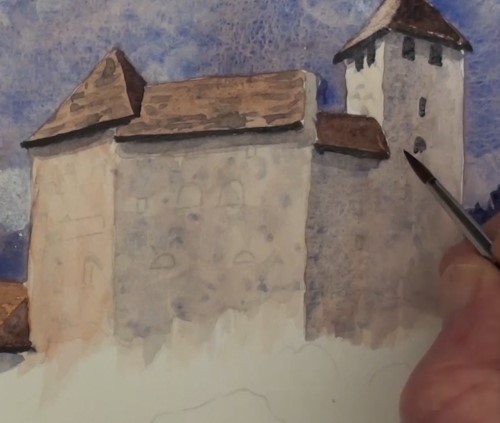
Add a few stripes on the roof to mimic the tiles. Begin to carefully paint in the windows with a small round brush. Add the finer lines and eave shadows.
Foreground
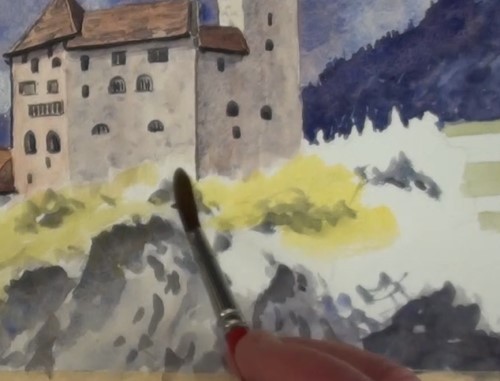
Paint the dark shadows of the foreground hillside and then paint the sunlight foliage with an initial yellow underpainting.
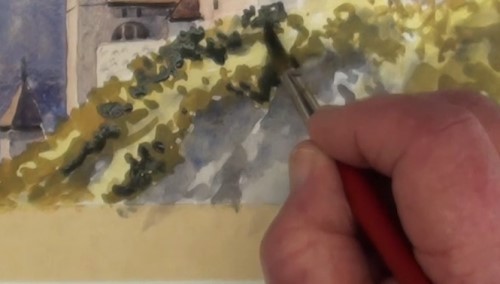
The medium shadows are now dabbed on to indicate that there are many small bushes and shrubs.
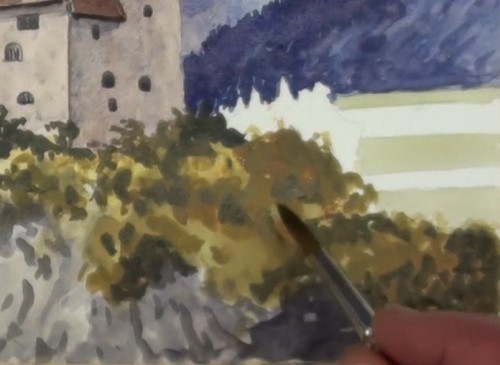
After completing the bushes, drop in some orange to add warmth to the scene.
The distant vineyards
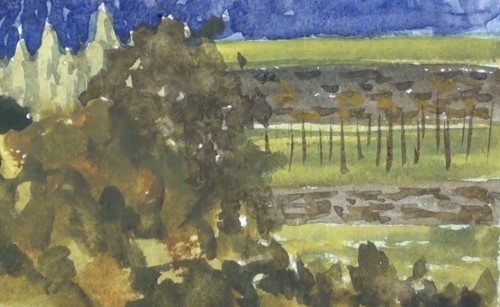
Paint the different terraces and stone walls with a lighter colour. Because of the distance, don’t try to paint any detail in the area. Very lightly flick in the posts with a small round brush.
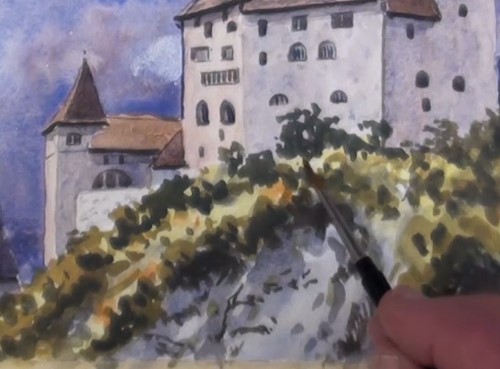
Brighten up the foreground with some more orange blobs to the foliage.
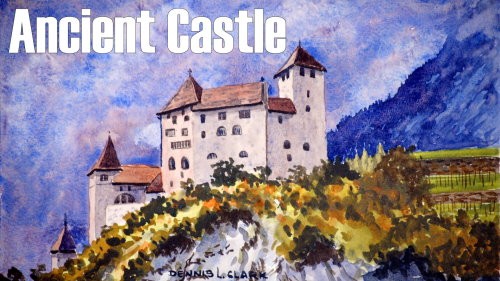
The final painting
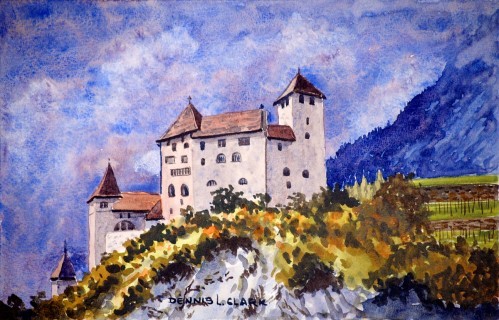
Click the button below to view the real time follow along version of this class:
Pin Me
