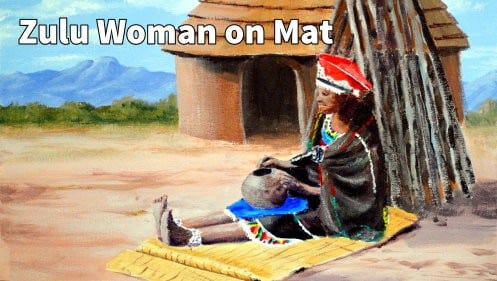
Short Class Video
Class Tutorial
Transferring the template to the canvas
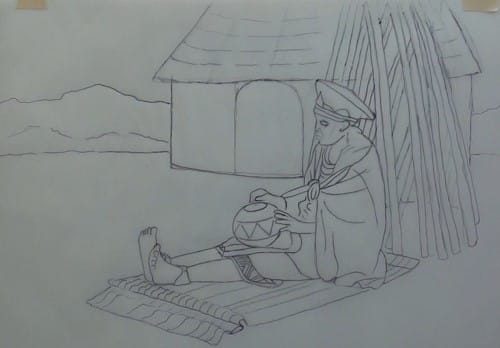
Use your preferred method to transfer the template onto your canvas, or use the tracing paper method. (Please note that if you are using a stretched canvas, be sure to carry your painting around to the sides of the canvas.)
The sky
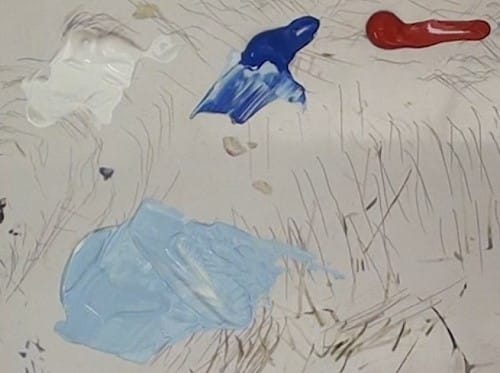
Arrange the following colours on your palette: white, blue (the particular colour will depend on the type of sky you want), and crimson red.
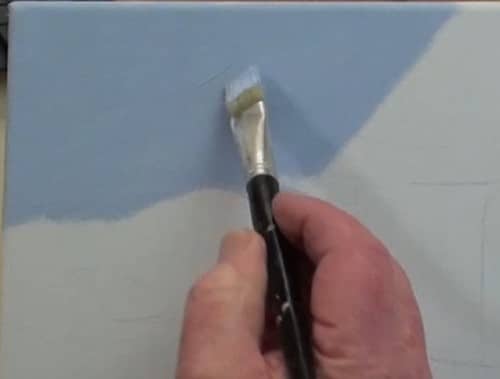
Begin by adding a small amount of blue and a very small dab of red to the white paint. By adding the red, you dull down the sky colour a bit, making it more of a gray/blue sky. Use a bristle brush to paint the blue sky colour onto the canvas.
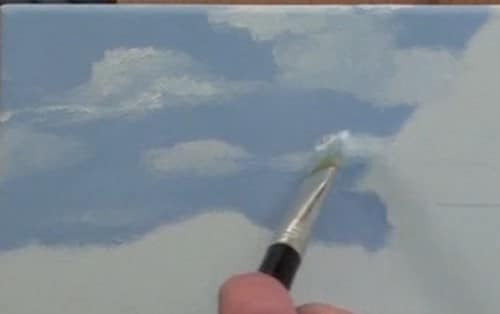
Add some orange paint to your palette. Now mix a batch of cloud colour using white with a very tiny dab of orange. Start first with pure white to paint some very light clouds on the left side of the sky. Paint the clouds larger on top and smaller toward the horizon. Use the orange-tinged cloud colour for some contrast, then add some thicker white for highlights. Follow the same procedure for clouds on the right side of the hut.
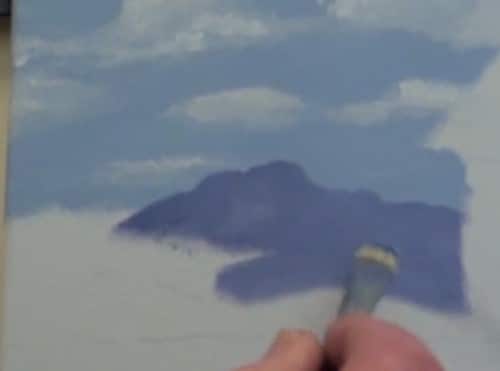
Add more blue paint to the sky colour, than add a tiny touch of red to create a colour for the distant mountains. Add a bit of water, then paint in the mountain on both sides of the canvas. Add in more blue as needed.
Now mix the orange-tinged cloud colour with the blue sky colour to create highlights for the mountains on both sides.
The ground
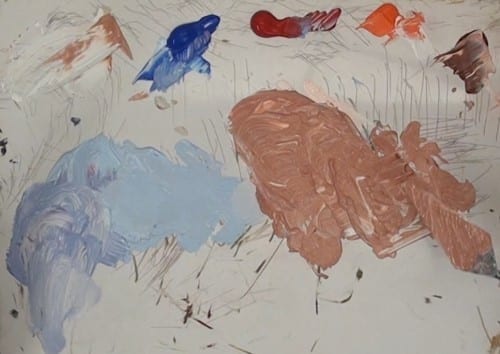
Add burnt sienna to your palette. Add a bit of orange and burnt sienna to white to form a ground colour. Add a bit of painting medium if need to be so that the paint will flow smoothly as you apply it to the ground. Adjust the ground tones as you work to give the ground some texture.
The hut
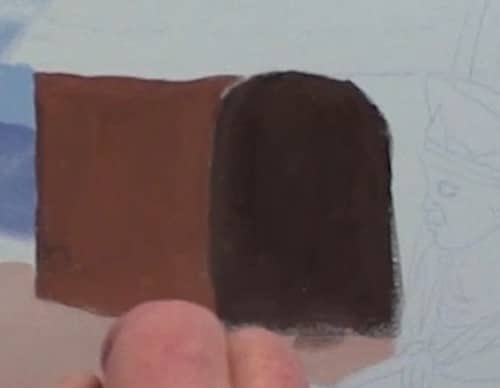
Add more burnt sienna to the palette. Mix a bit of blue into the burnt sienna and paint the door of the hut with it. Add a touch of red to make it even darker.
Make a lighter brown and paint the front of the hut. Use a smaller stiff brush when you are painting along the side of the woman.
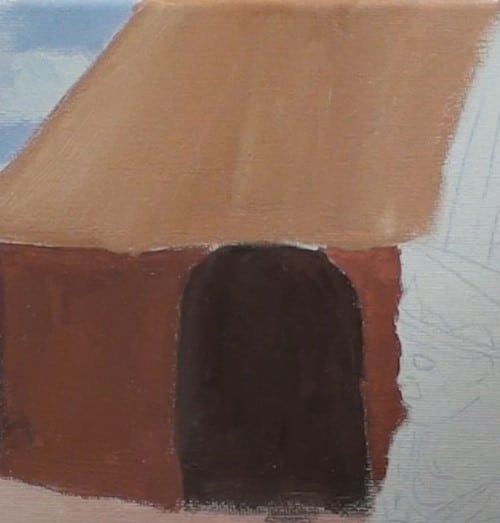
Make a slightly lighter colour with a touch of yellow ochre to give a grass-like look to the roof, starting at the left side. Use a darker tone for the right side of the roof and the area that will be under the poles.
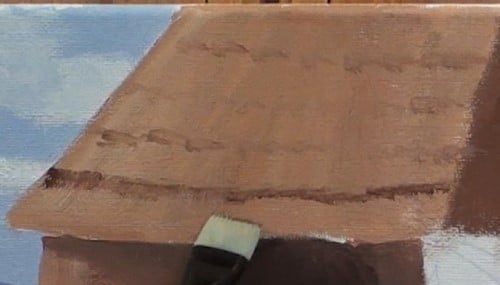
Use a lighter colour to show the sunshine on the left side of the hut. Mix up a gray-brown shade for the shadow under the roof.
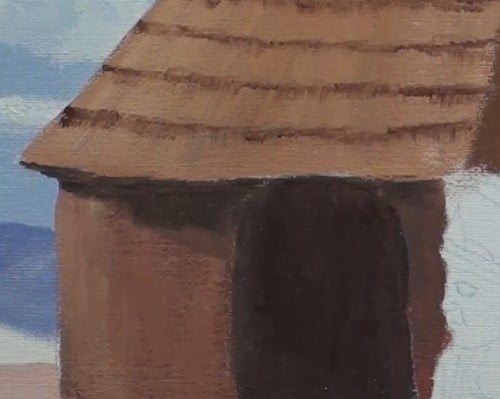
Dry brush some darker lines on the roof to create shadows. Use the darker colour also to mark ridge lines along the roof. Mix more dark brown shadow colour to darken those lines. Do the same on the right side with an even darker shade.
Adjust shadows under the roof.
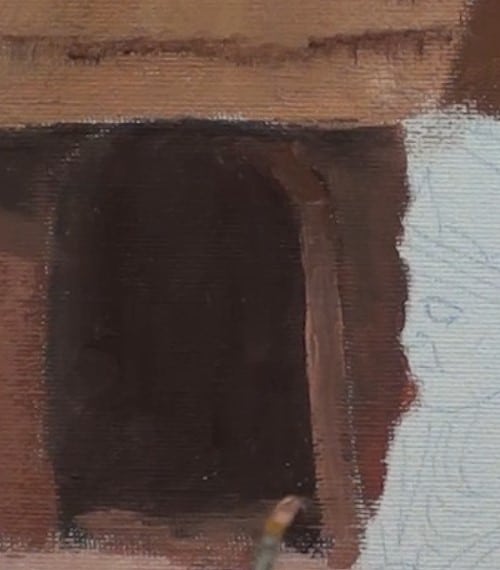
Use a lighter shade to paint the thickness of the sun-lit wall on the right side of the door.
Grass and bushes
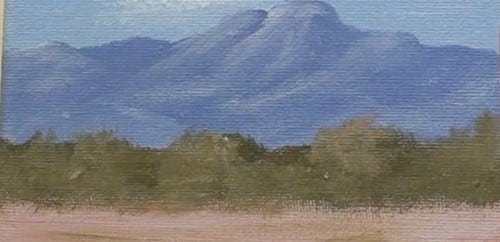
Mix up a grass colour with blue and yellow ochre. Paint the grass and bush area at the base of the mountains. Mix a lighter tone to give some texture to it.
Scratch some of the grassy colour randomly across the ground on both sides of the hut.
Shadows behind the poles
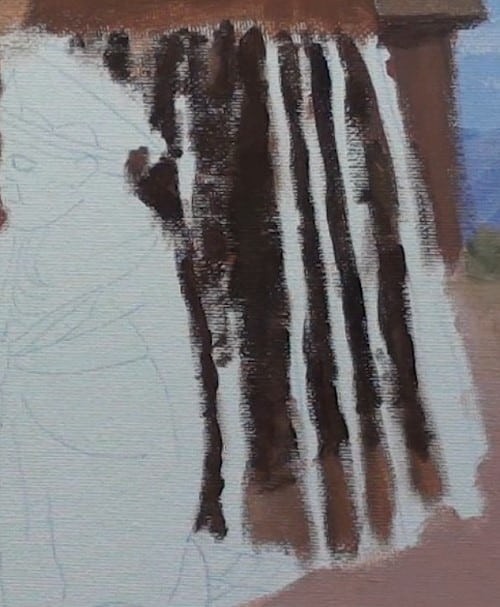
Use varying shades of the brown shadow colour to define the shadows behind the poles.
The poles
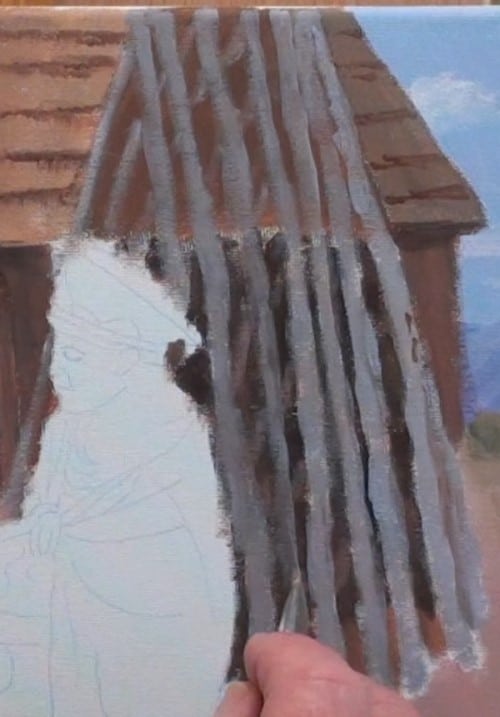
Mix a gray tone to paint the poles. Adjust the gray tone where the sunlight hits it. Be sure to add the poles behind the front poles.
The hat
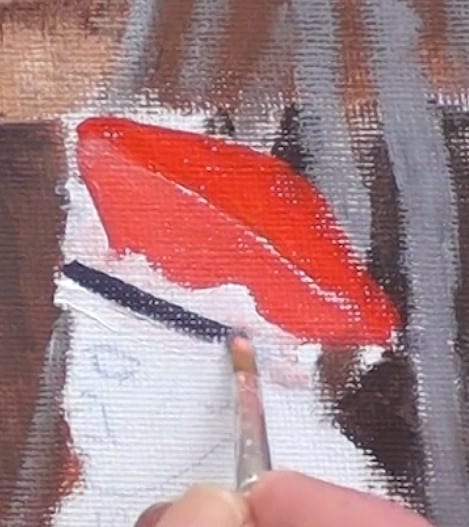
Mix some orange with a bit of red to paint the hat. Block it in, adjusting for sunlit and shadowed areas.
Paint in the white designs and band. Mix a dark colour for the other band and the designs.
Adjust the shadowed areas on the hat.
Skin
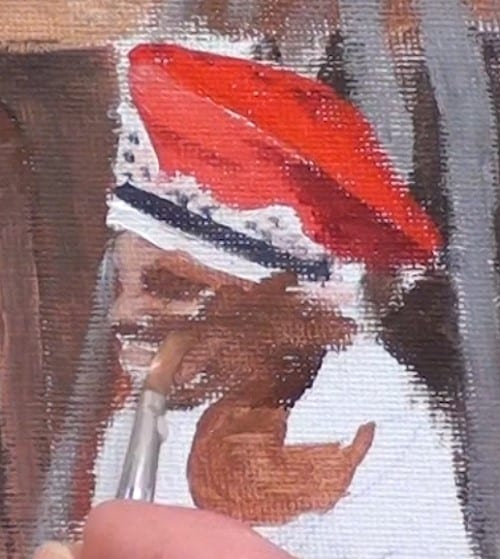
Use a burnt sienna to paint the dark skin, again adjusting for sunlit and shadowed areas.
Coat
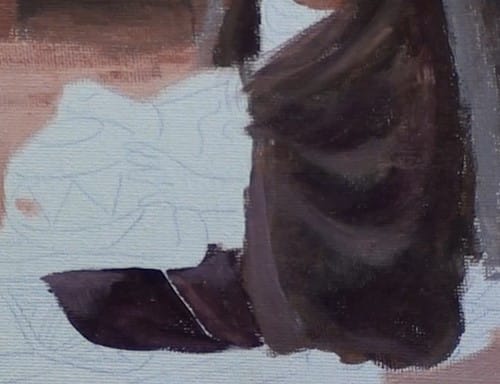
Mix a bit of blue into the brown to paint the coat. Block in the areas of darkest colour first, then add the other lighter colours and blend together slightly. Be sure to include the contours of the folds in the fabric. Add a bit of purple to warm up the tones and accentuate the folds. Use a lighter tone to highlight the sunlit areas, especially the spot above her knee.
Add a bit of green in the area around her mid-section and on her lap.
The necklaces
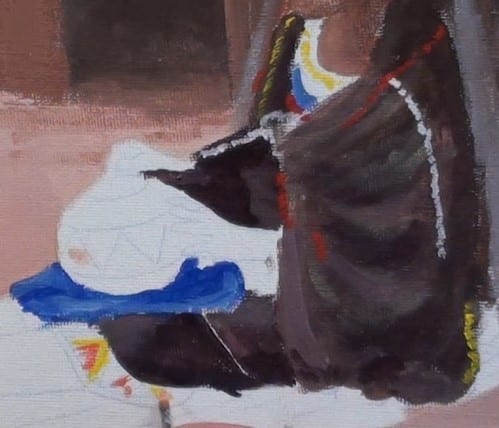
Mix the colours needed for the necklaces and paint them using a rather impressionistic style.
Beading
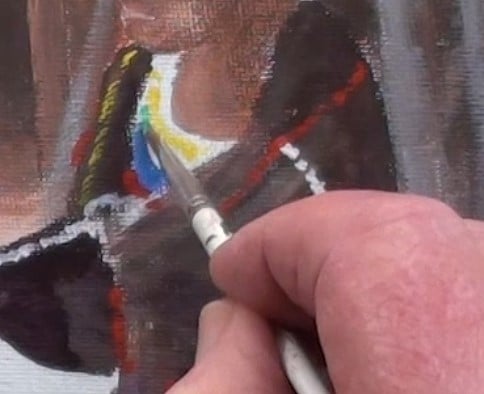
Using the appropriate colours, begin painting the beading on the coat and the band on the skirt.
Pot
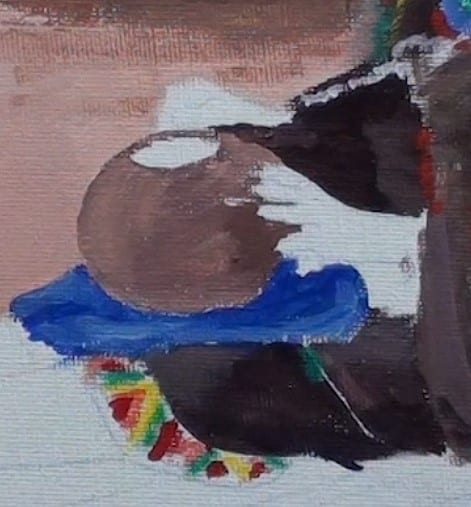
Mix up a grayish colour to paint the clay pot. Block in the darkest tones first, then blend in the lighter tones for highlights. Use a very dark tone to paint the inside of the pot and any other dark shadows on it. Roughly sketch on the triangular markings with a lighter colour.
Hands
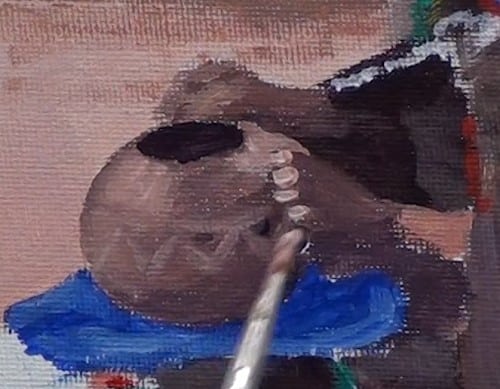
Block in the shape of the hands with a dark skin tone, then use the highlight and shadow colours to define the fingers. Add the dark shadow under the hand.
Legs and feet - rough
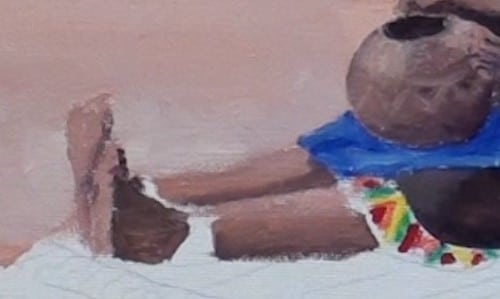
Use the same technique for the legs and feet as you did for the hands. You may need to lighten the ground colour to make the feet stand out. Add some texture and shadows to the ground to make it all blend in.
Mat
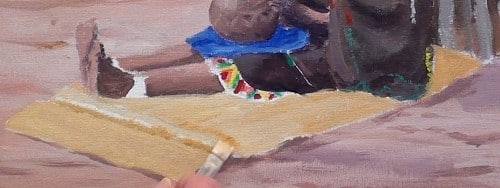
Mix yellow ochre with a bit of white to paint the mat. Then add the highlights and shadows, especially in the area where the mat rolls a bit. Add darks along the edge to show the thickness of the mat.
Legs and feet - detailed
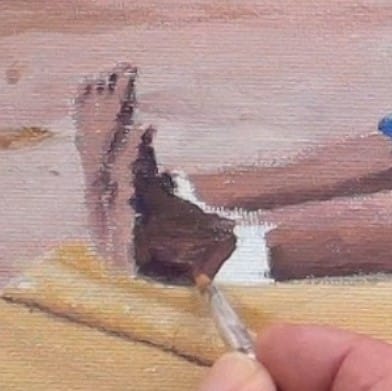
Use darks to outline the toes and define the shadows under the toes and legs. Add highlights to the legs and bottom of the feet. Use white to define the shape of the anklets, then mix a dark red/blue tone to show the design.
Remaining details
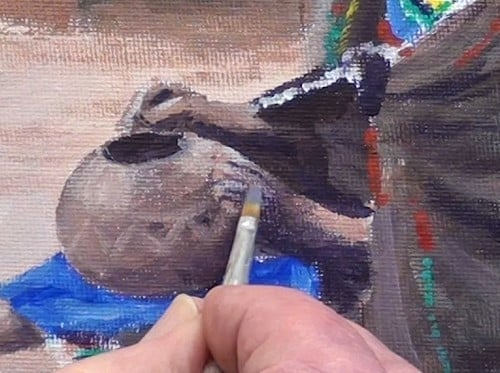
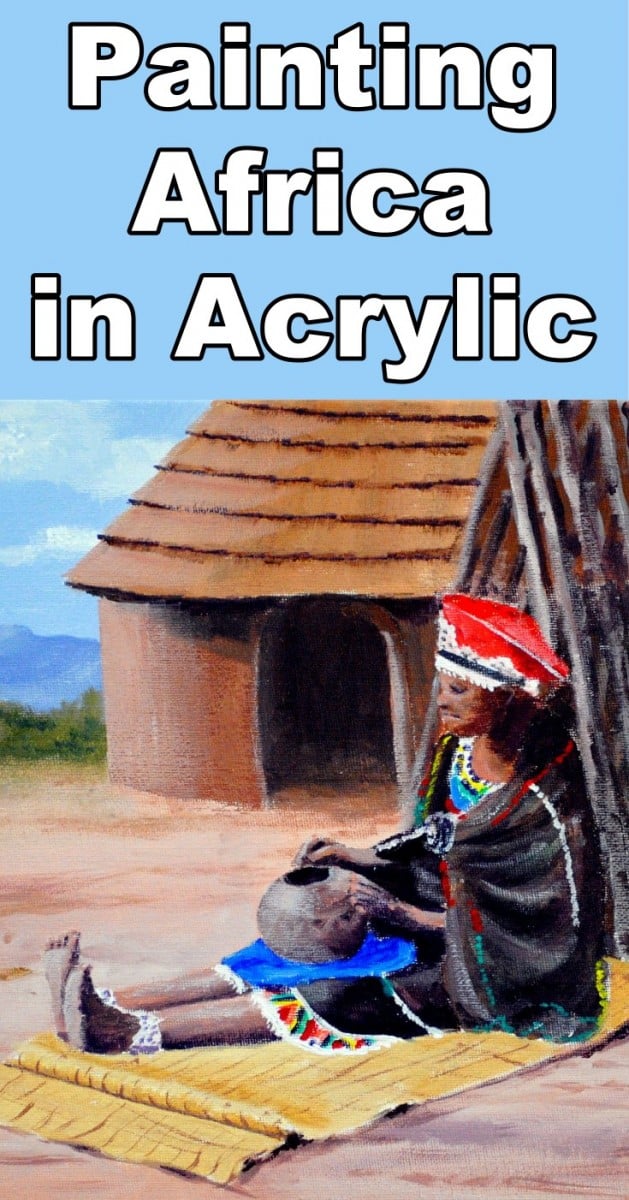
Add a row of blue beads to the necklace. Highlight the fingers and fingernails. Darken shadows where needed. Define the features of the face a bit more. Fill in areas where the white of the canvas still shows. Add shadows to the poles and give them cast shadows. Add texture lines to the mat. Put a touch of glow from the sun on the woman’s face. Place a white edging along the bottom and top of the hem band. Add any other highlights and shadows needed, especially for a layered effect on the roof.
Final painting
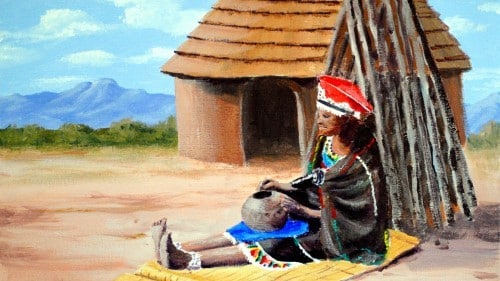
Click the button below to view the real time follow along version of this class:
Pin Me
