Short Class Video
Class Tutorial
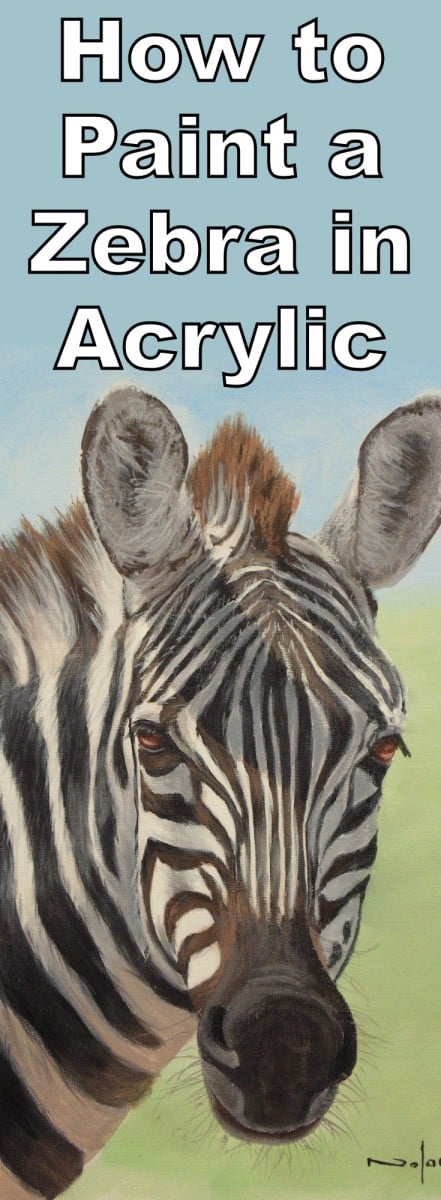
Let's paint a zebra in acrylic.
Paint the Black Lines
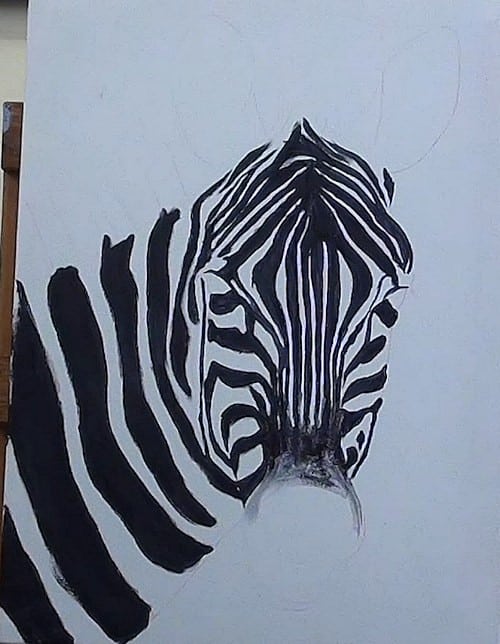
I start off by blocking in all the black stripes using Lamp Black. This is the most difficult part of the painting process as the canvas is awash with lines at this stage so it is easy to get confused with what should be black and what should be white. The best advice I can give is to keep checking on your reference photo as often as necessary to ensure you stay inside the correct lines.
Block in the Sky
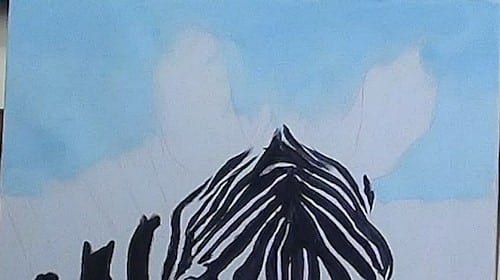
Block in the sky using Cerulean Blue and Titanium White. Make the area closer to the horizon lighter than the top to create the illusion of perspective.
Suggest the Distant Grass
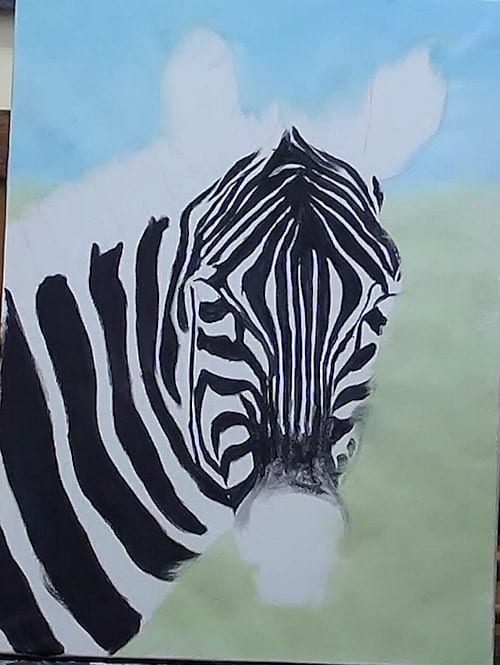
The grass and foliage in the distance is out of focus so we will not try to paint it. I block it in using Titanium White with Sap Green added. To suggest some detail I stab in a few darker green patches as well as a few with Burnt Sienna added to the background green mixture to suggest patches of ground between the grass.
Before moving on to the next stage I dry the painting using a hairdryer.
Paint the Mane
I will start with the long black hairs on the mane. These I add with Lamp Black and a medium sized bristle brush using an upward flicking motion. On top of that I lay down some brown hairs – zebra don't like to bath so can get pretty dusty, lol. Between that I flick in the white hairs.
Notice that I am overlapping the hairs in order to create a natural looking affect.
Paint the Black Highlights
With a light brown I work in the shape of the neck by suggesting the highlights on the black stripes. Notice how I add these highlights in a very rough fashion as that will help me create a hair effect later.
Add Highlights to the Face
I continue to do the same thing on the black facial lines, adjusting the brown color to match the reference photo as I go along.
The ears cast shadows over the face. We need to show these shadows if we want to show the sun is streaming through the painting. As a result I am careful to avoid the areas where the shadows are being cast.
Paint the Shadows

With all the highlights added to the black stripes, we can now start to add shadows to the white stripes. (Notice that – we add highlights to the black stripes and shadows to the white stripes).
This shadow color is mixed using Lamp Black and White. I paint this onto the white areas using the same rough strokes as used on the black stripes.
I will also adjust the color as I go along to match the reference photo – notice the brown tinge on the underside of the neck as a result of the ground reflecting on the coat.
At this stage the majority of the canvas has been covered but the hard work is just beginning as we still need to do the detail work.
Paint the Ear
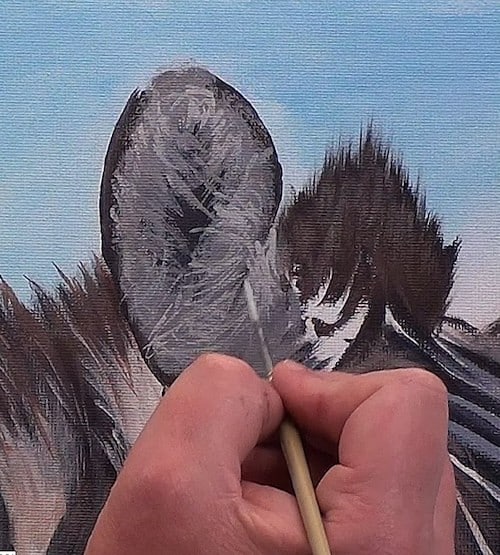
The ears are painted from dark to light so I block in the black areas, then roughly flick in the grey areas using a quick chopping motion. This allows me to get a feel for the correct directions of the hairs.
The detail is then added using white and a rigger brush.
Paint the Sunlit Mane
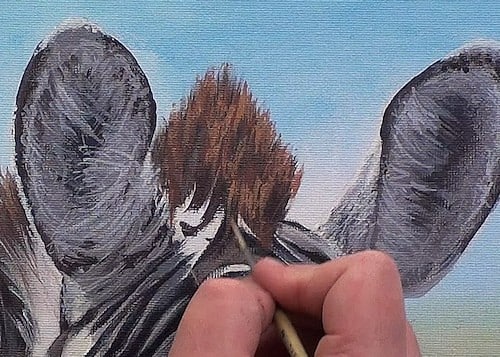
The top portion of the main is is full sunlight so I add this sunlit effect using Burnt Sienna and White.
Paint the Zebra's Eyes
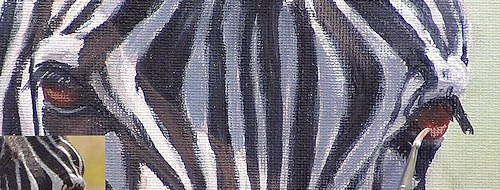
Moving on to the eyes I block them in using more Burnt Sienna. To paint the darker areas I add black and to lighten I add White.
While in the area I also complete the detail around the eyes as well as the eyelashes.
The eye area is the focal point of the painting so spend the time to add as much detail here as you can.
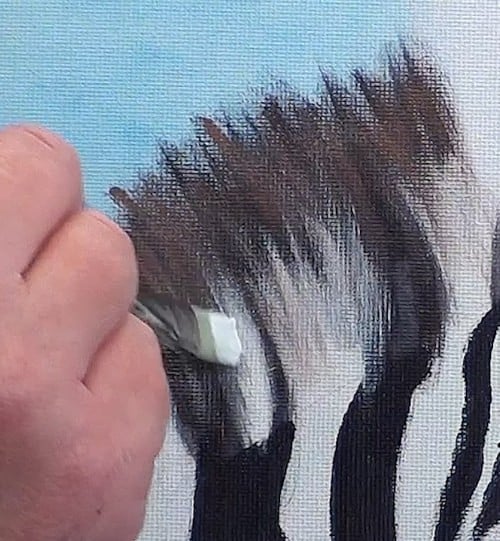
Create the Hair Effect

Now we can add the hair detail to the body. The big trick here is not in trying to add every hair into the stripes, but rather to concentrate on painting the overlapping hairs where the colors meet.
The black hairs overlap into the white stripe and the white hairs overlap into the black stripes.
When adding these overlapping strokes you need to pay special attention to the direction in which you add these hairs as that indicates not only the direction, but also the shape of the body.
I continue to do the same thing on the facial hairs around the forehead and eyes. The hairs around the bridge of the nose and mouth are however too short so there is no need to paint an overlapping effect in that area.
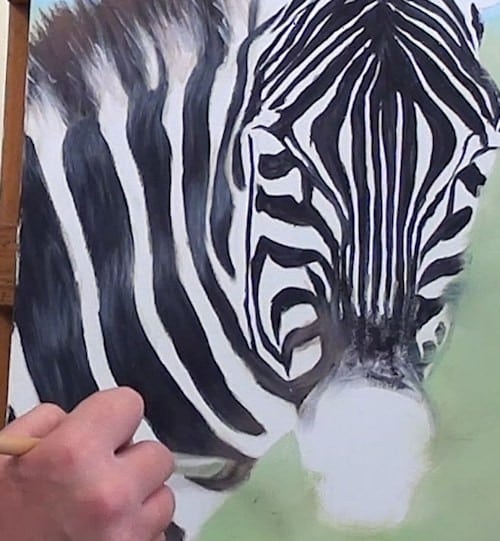
Paint the Mouth and Nose
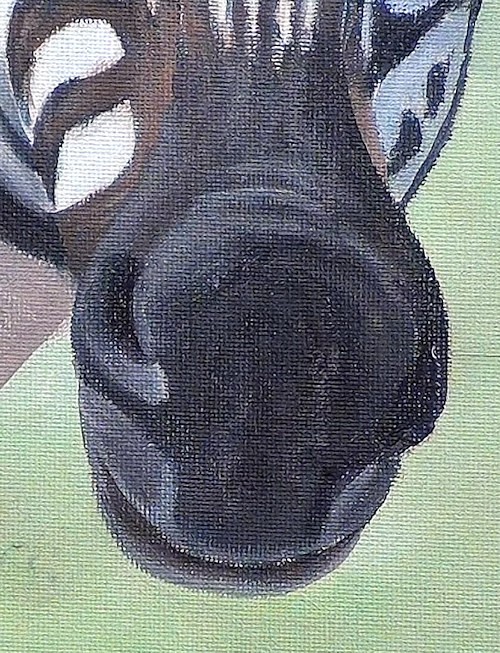
The mouth and nose area is the trickiest to paint so take your time in this area. With the zebra being back lit the front area is dark with other areas is full sunlight. As a result you want to concentrate on getting these lovely contrasts in correctly on the sides of the face.
On the top of the nose there are a few subtle wrinkles to shade in as well. In this area I have used Lamp Black, Titanium White and touches of Burnt Sienna.
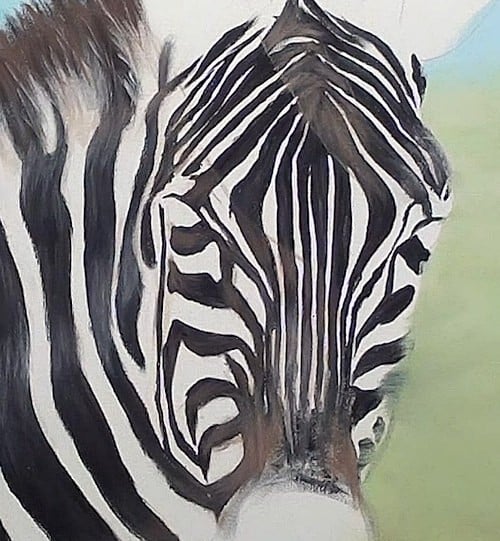
Add the Whiskers
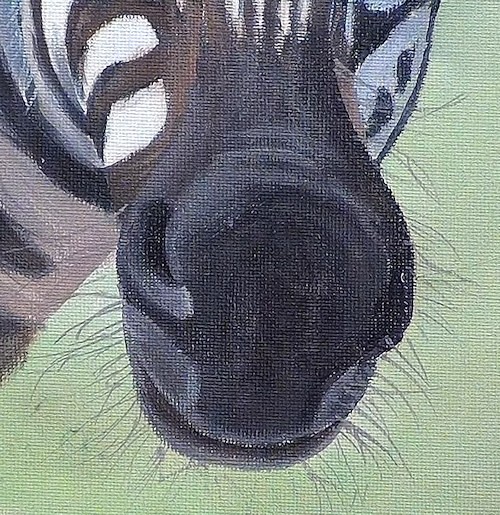
To finish off this painting we need to add the whiskers. Unlike cats and dogs, zebras actually have heaps of whiskers which I painting using a rigger brush and a grey mix which has been thinned to the consistency of an ink.
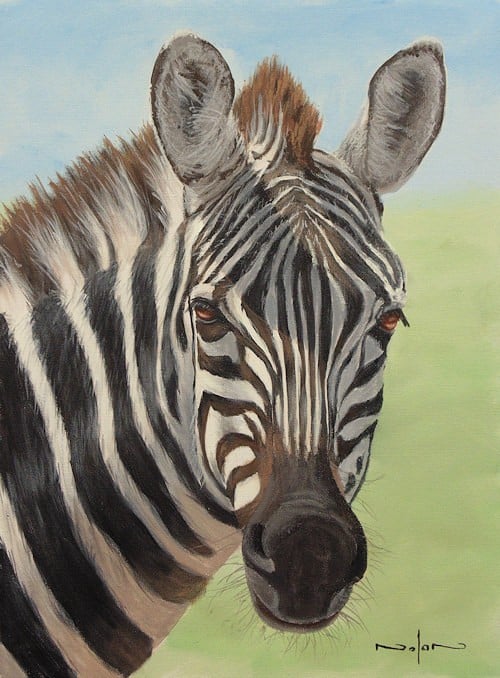
With that the zebra portrait painting is complete. I hope you have enjoyed the tutorial. Good luck with your zebra painting.
Final Painting
Click the button below to view the real time follow along version of this class:
Pin Me