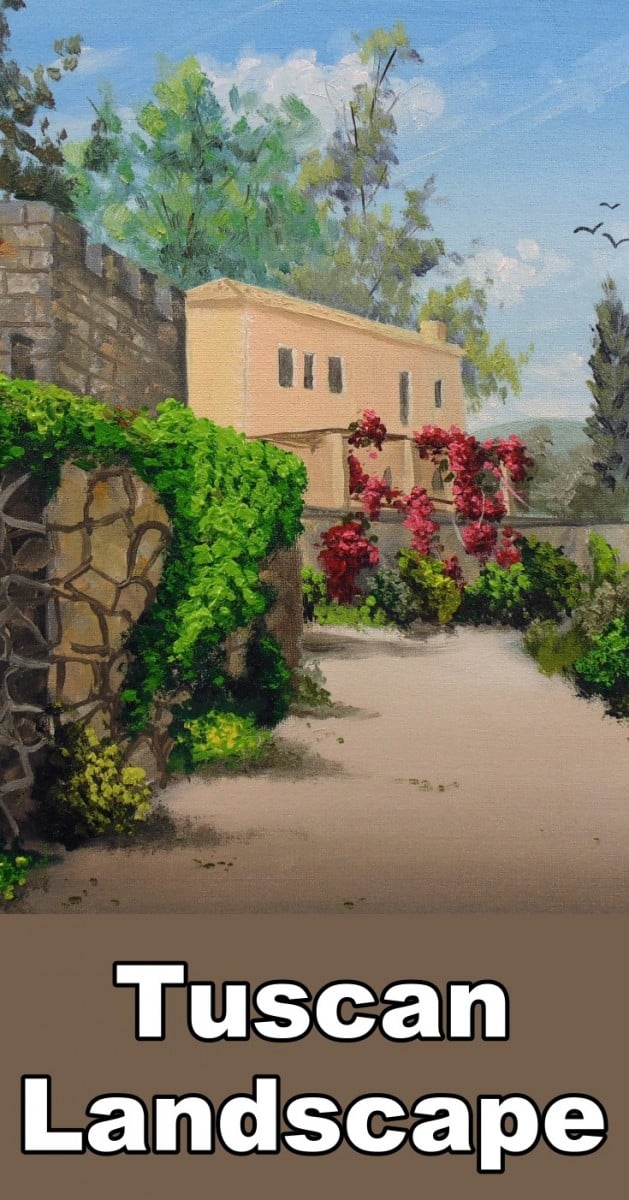
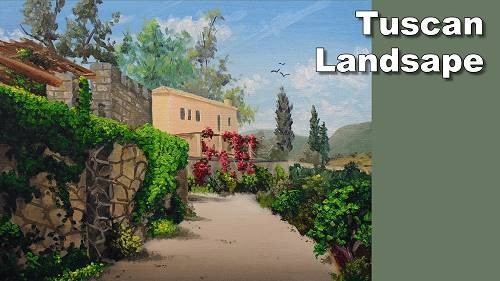
Short Class Video
Class Tutorial
Paint the sky
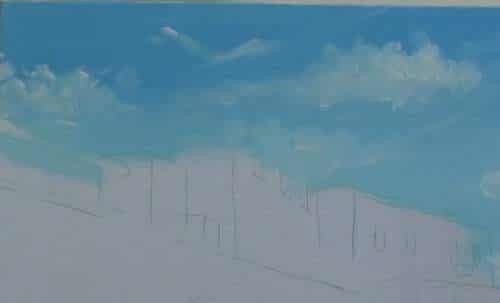
Start off by blocking in the sky. I use french ultramarine plus white at the top and cerulean plus white at the horizon then blend them together.
Although it is a beautiful summers day we are still going to add some clouds to keep the sky interesting. Use titanium white and add a touch of orange into it. This warms up your clouds and allows you to add white highlights later. I am using a soft filbert brush and creating my own random cloud shapes.
Paint the distant mountains
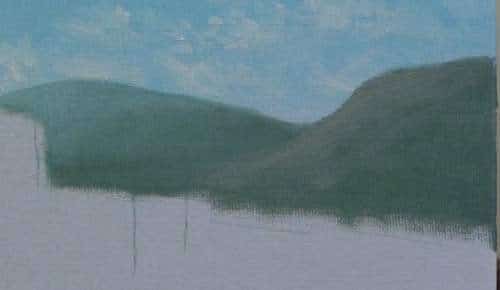
Now paint the distant mountains. Block them in with a gray green highlight by adding more orange and white to the mix. Don’t try to paint any detail here, the mountains are too far away.
Mix greens for the trees
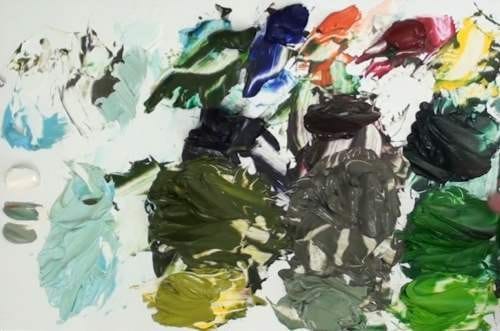
To paint the trees behind the houses I have mixed up 3 sets of greens, one for each tree. Each set has a highlight, mid tone as well as a shadow colour.
Painting the trees
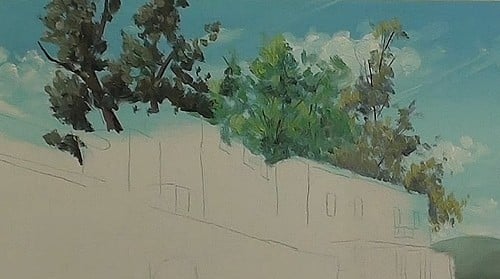
I will now create the shape of the tree using the shadow colour. Add colour to it using the mid tone colour and add depth and dimension using the highlight colour. Use raw umber for the branches. To paint the distant trees and foliage. Add sky colour to the original tree colours. This makes them look further away.
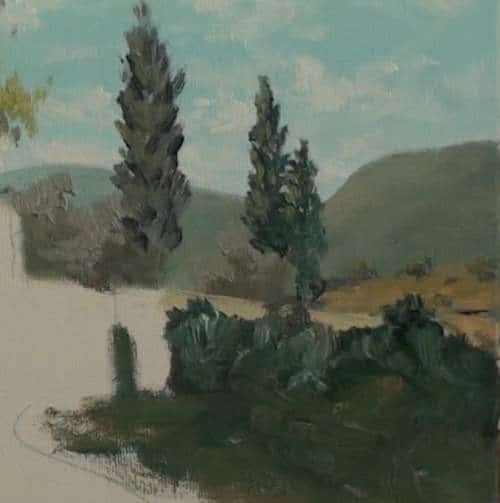
Paint the poplar trees using a wedge shape, one stroke this way, one stroke that way, this way , that way and so on. This front foliage area I will just block in for now and add detail later.
Paint the house
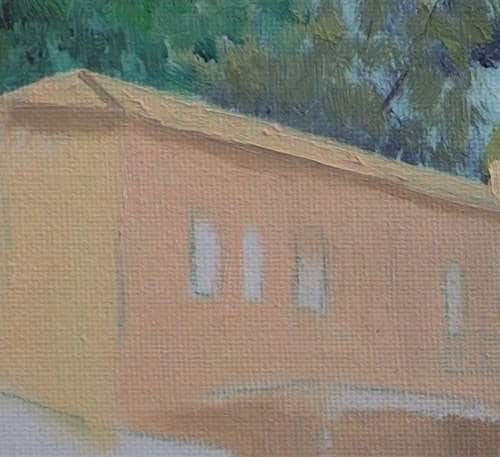
Now lets start painting the house. The sun is coming from the left so make the left wall brighter than the right to show they are at different angles. Do the same for the roof, veranda and chimney. Also notice that I have added a shadow on the wall to show that the roof has an overhang.
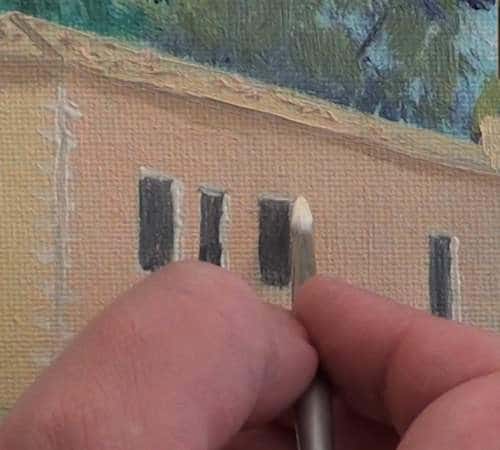
Paint the windows in with a dark grey and highlight the thickness of the wall. With the veranda, there are heaps of details. I wont even try to paint them in. I will rather just concentrate on getting the basics right.
Paint the distant stone wall
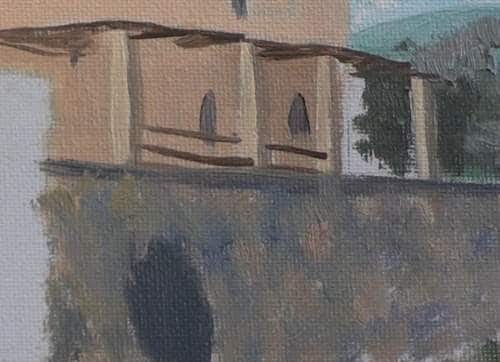
Block in the stone wall in front of the veranda using various grey colours. Don’t try and paint each stone, the wall is too far away so rather just paint a mottled effect. Your brain will fill in the detail for you.
Block in the front stone wall and pathway
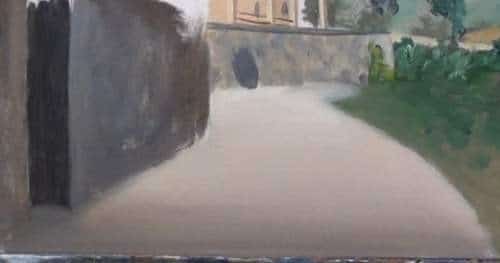
Now we can use the same colours to paint the foreground wall. Start off by blocking in with the darkest tones, making the left side of each wall lighter to show the sun direction.
Block the path in with the brick colour and then shade the foreground darker. This horizontal shading flattens the path and creates the illusion of distance.
Detail the wall
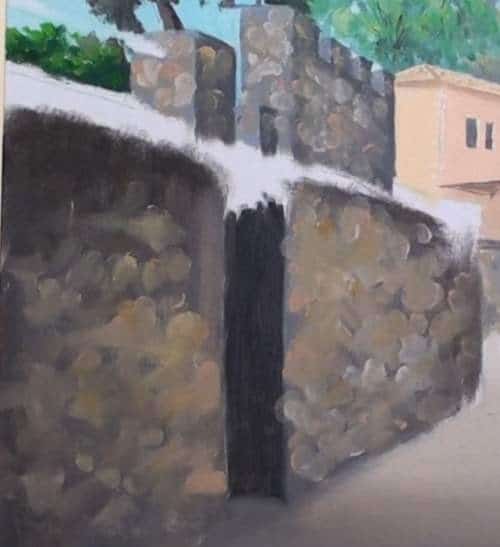
To paint the rocks on the wall mix a few of the different colours you see, then dab them using your finger. It looks like a real mess now but once you add the grout between each rock using a dark colour, each rock suddenly looks unique. When painting the grouting make sure you get the angles correct otherwise your perspective will be off.
Painting the veranda poles
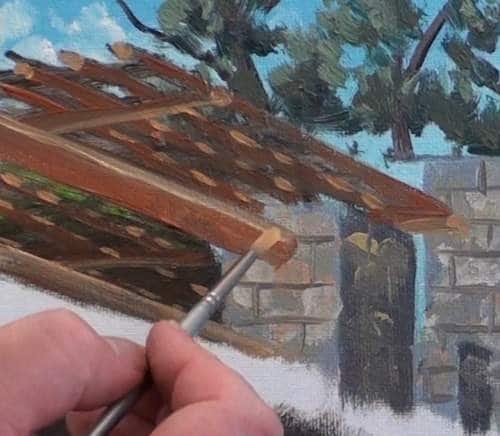
Lets move on to paint the poles for this veranda roof. Using raw umber paint the poles in again pay special attention to the angles. If you get these angles wrong it will spoil the whole painting. Now we can add the colour using burnt sienna. Using white plus burnt sienna it shows off the lovely sun spots.
Painting the distant veranda and the Bougainvillea.
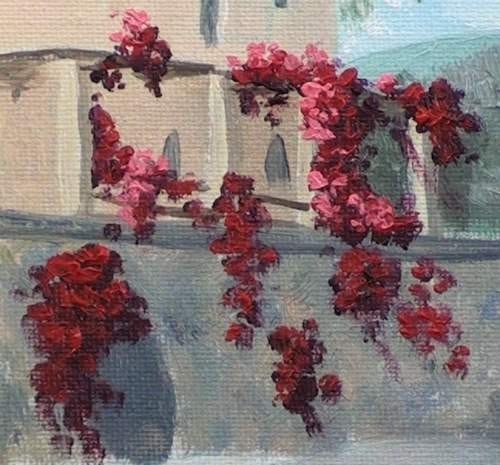
Darken crimson with french ultramarine to paint the flowers. Try to get a hanging effect. Now we can add colour with using reds. Lastly highlight with a pink. We are going to do a similar effect on the front veranda except there we will use greens. This will make it look like a creeper instead of a Bougainvillea.
Add a creeper to the front wall
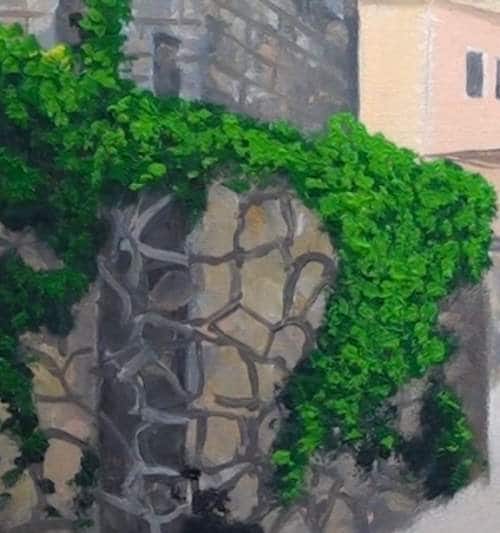
Now lets make the creeper grow down the wall. When doing this I am not trying to match the shapes of the creeper on the photo. I rather use it as inspiration to create my own creeper. As before create the shape with the dark green. Add with the mid green and add same with the highlight green. For the leaves in full sun use neat cadmium yellow.
Also note how nice the wall looks with it’s grouting added.
Painting the bushes
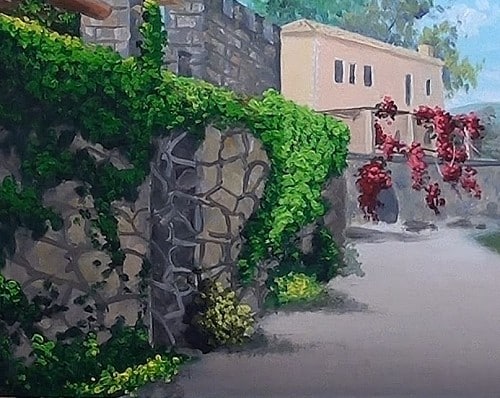
Add some bushes to the garden in the front of the wall. As with the trees, each plant is unique so use different greens for each shrub. Although technically not correct, I add a long cast shadow to each shrub. This makes the sunny bits of the path in between look brighter and causes the sun to stream through the painting.
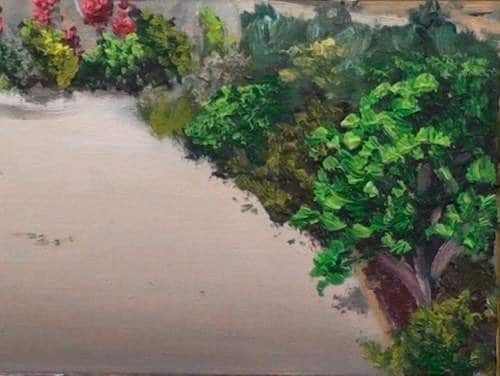
Finalise the painting by adding the plant to the right side of the path. Remember to use different greens for each one, otherwise they will all just blend together.
Add the finishing touches
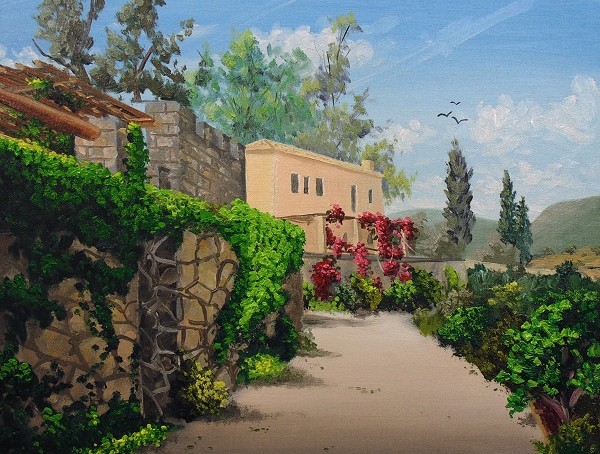
Now dab a few loose leaves on the ground and add a few birds in the sky. And that should complete this painting.
Click the button below to view the real time follow along version of this class:
Pin Me
